We’ve rounded up some FAQs about how to art supply storage to save time, effort, and waste next time you’re feeling creative. Always remember to check your product’s packaging for any specific storage hacks not covered in this blog. Better to be safe than sorry!

1. What is the best way to store art supplies?
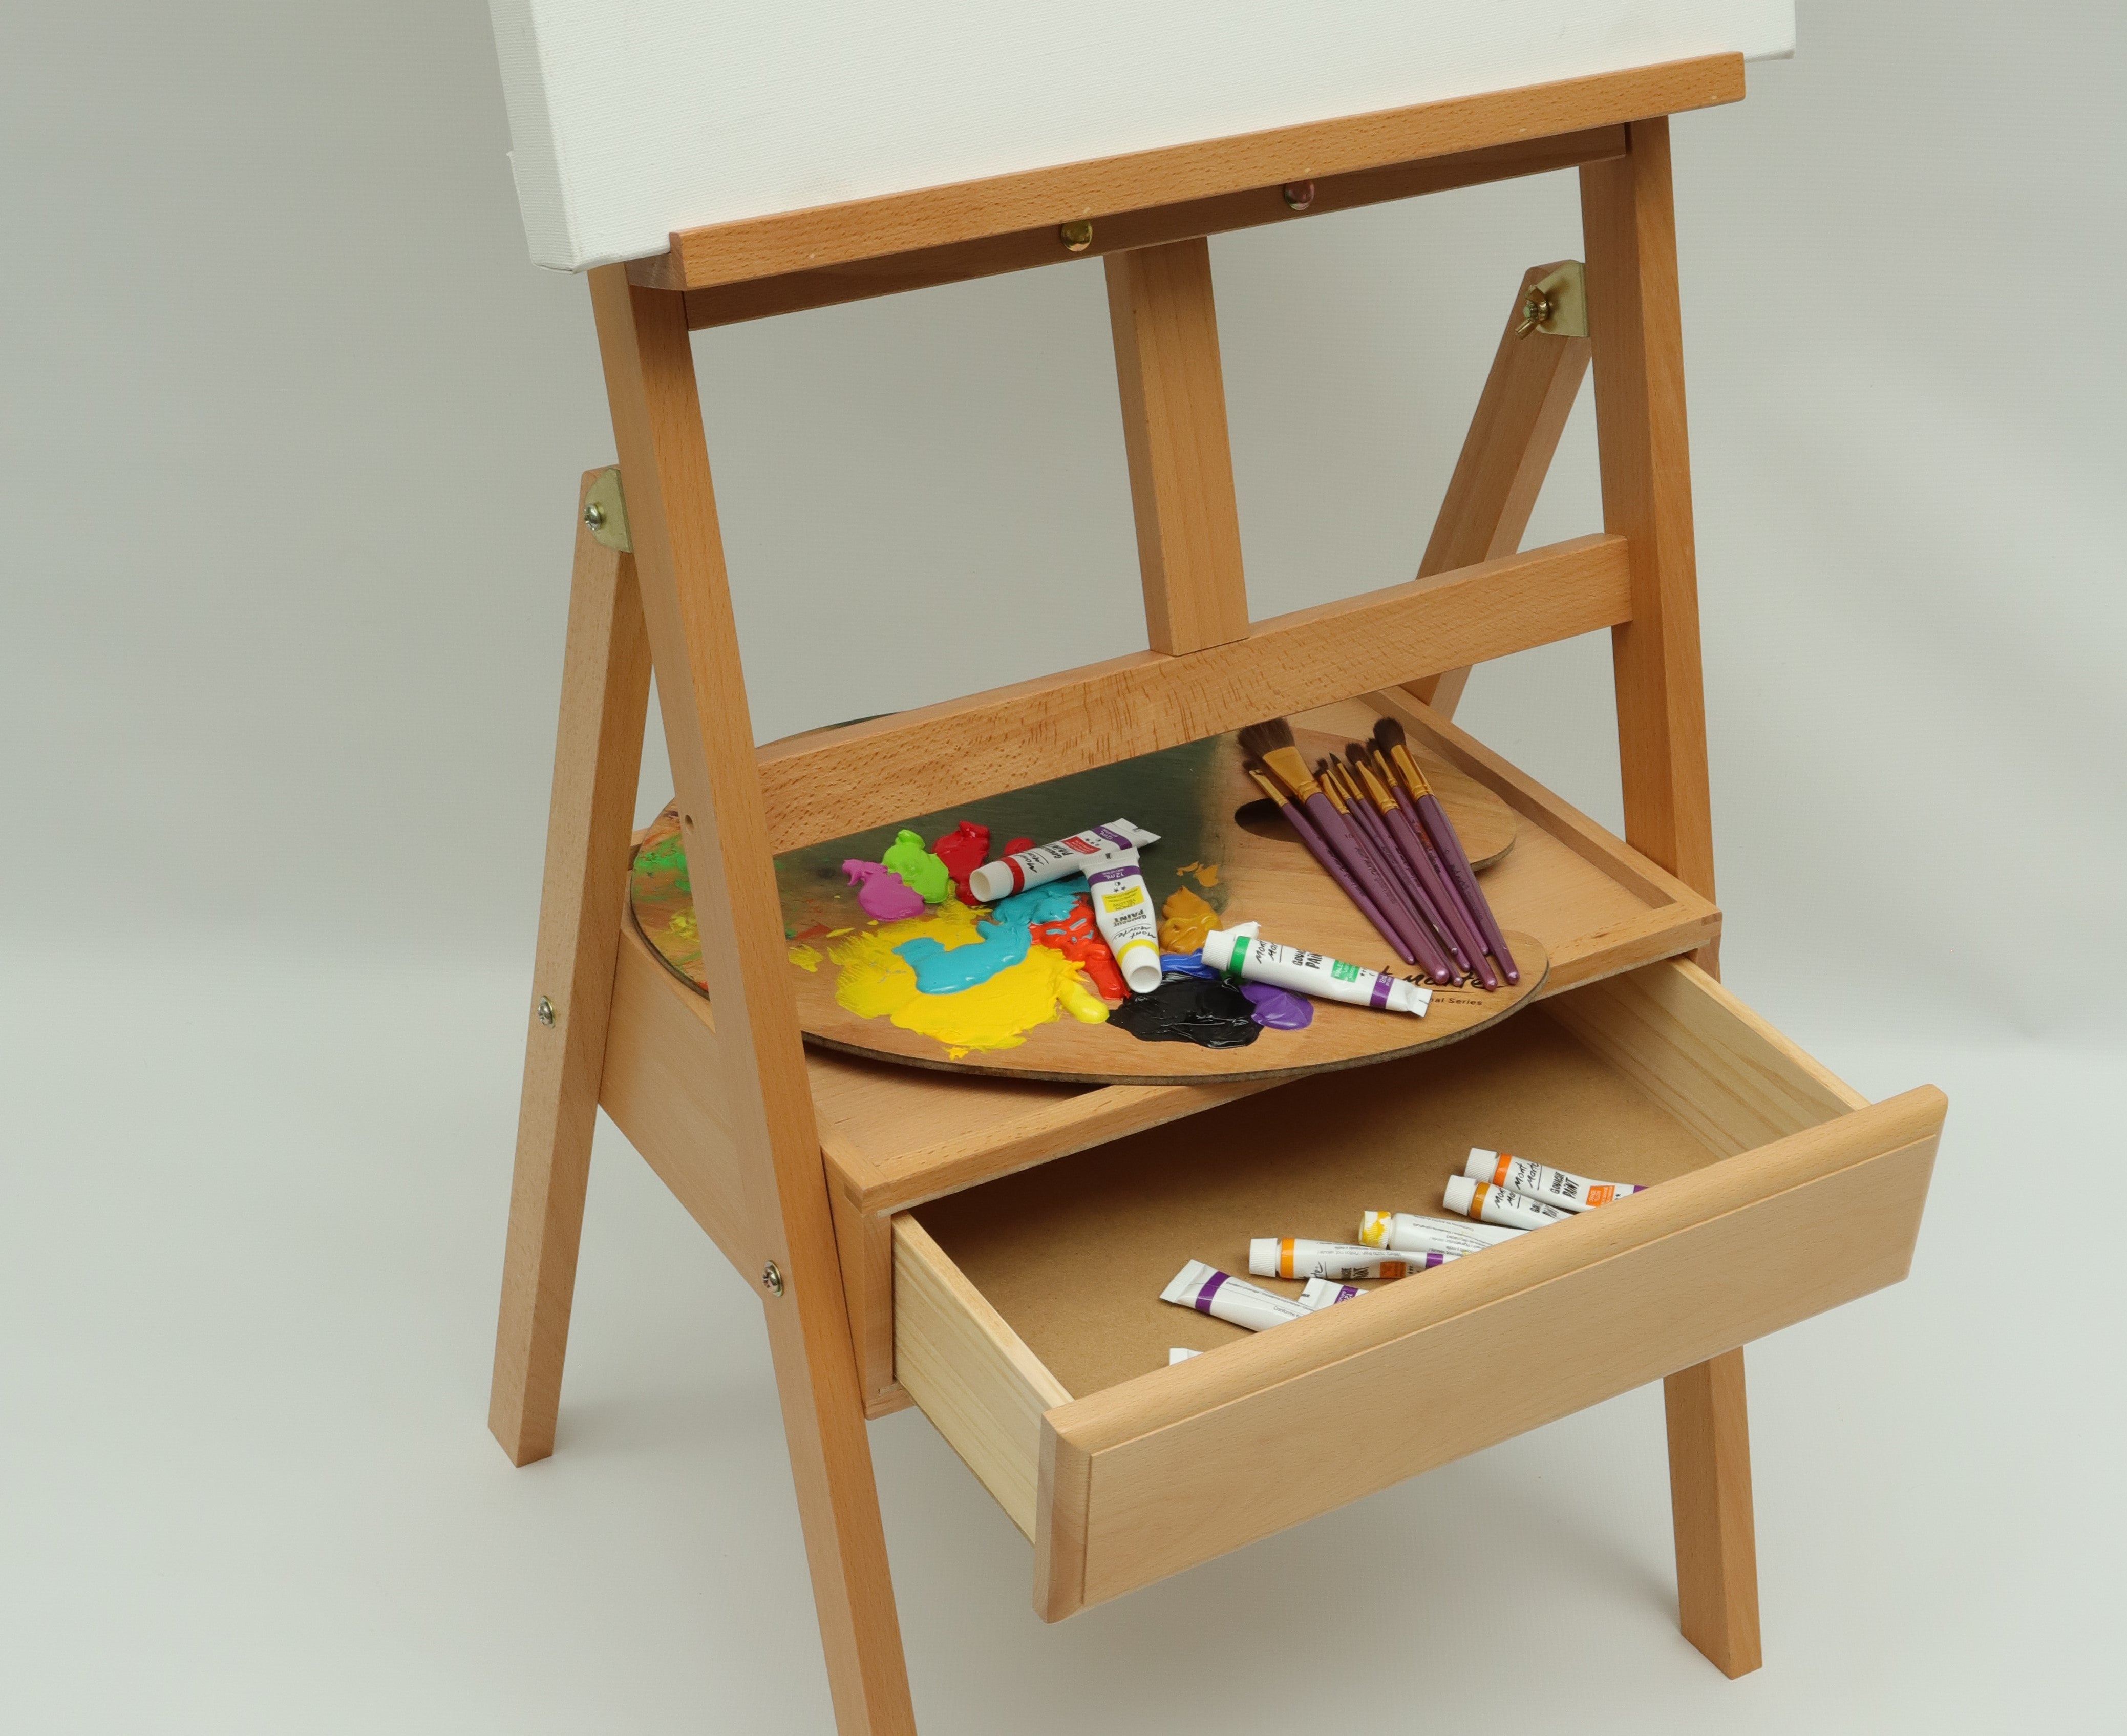
Being organised is easier than it looks – there is a whole host of storage options out there to make keeping art supplies a breeze. Decluttering your space can help improve your creative mindset, preserve products, and easily access your equipment. We carry a range of stands, boxes, organisers, trays, and cases to keep your loose pieces accounted for such as brushes, markers, pastels, paints, and more!
Knowing where your equipment is means you are more likely to use it, which really is the goal with art storage solutions 😊 Make sure your supplies are visible but not all over the shop for the best storage outcome.
2. How to save paintbrushes?

Keeping paintbrushes pointed, straight-bristled, soft, and ready to use is actually easier than it seems. Crusty brushes are a thing of the past, so long as you follow a couple of simple steps:
2. Once you’re either done with the brushes or it’s been a couple of days, it’s time for a deep clean. If your paints are water-based (e.g., acrylic) they will require a different cleaning process to oil-based (e.g., oil paints). See the next question for a deep dive into how to do this!
3. A handy tip to make sure your brushes don’t lose their shape and stay pointed is to use a small amount of standard hair conditioner to reshape the brush bristles into their original form. After you’ve done this, store the brushes upright in a container, jar, or organiser to dry. It’s okay that the conditioner dries on the bristles as it will seal and protect them until their next use. Just remember to always rinse your brushes before using them!
How to clean brushes used for water-based paint projects

These brushes are simpler to clean as water can be used to remove the product from the brushes (it doesn’t just roll off). We even have a how-to video you can watch! First and foremost, make sure you give them a wash in a container of water and pat them dry when not in use during your project. Secondly, remove any excess paint with a rag or paper towel before washing – we don’t want clumps of paint heading down the sink! When you’ve done that, use mild soap and cold water to get out any remaining paint or stains on your brushes.
To go the extra mile, you can avoid using harsher chemicals like dish soap just to keep your brushes even softer. It’s often a good idea to do one brush at a time, using a container of cold soapy water to submerge the brush heads and work the paint out with your hands or a paper towel. Give them a rinse and if the water runs clear then they should be clean! Dry upright and do the conditioner trick and you’ll be good to go.
How to clean brushes used for oil-based paint projects

Though a little more complex, oil brushes are actually pretty easy to clean once you know how. A solvent (e.g., white gum or turpentines, etc.) is essential to clean them, as it dissolves the paint and removes the oil from the brush bristles. We actually have a nifty how-to video on this process which you can follow step-by-step!
Start by removing any excess paint from your brush with an old rag or paper towel before moving on to the solvent. Pour a small amount of solvent into three separate containers (avoid plastic as solvents can dissolve some plastics) and start by removing most of the remaining colour in the first container. Once the oil paint has mostly come off the brush, wipe the bristles on a paper towel to continue to remove the colour. Repeat this a couple of times if required.
Move onto the second solvent container to clean further and loosen any remaining colour stains, wiping the bristles on a rag or paper towel in between washes. Once it is leaving a clearer trail on your paper towel, move onto the third solvent container to remove the last of the colour. You’ll notice this solvent should be mostly clear as you clean the brush. Wipe the solvent off and leave the brush to dry.
Note: never pour solvent down the sink, whether it’s used or not. Keep a jar to pour the used solvent into, and when you’re ready or the jar is full, take it to your local hazardous waste facility to dispose of it. Trust me, the environment will thank you.
3. How to preserve paint?

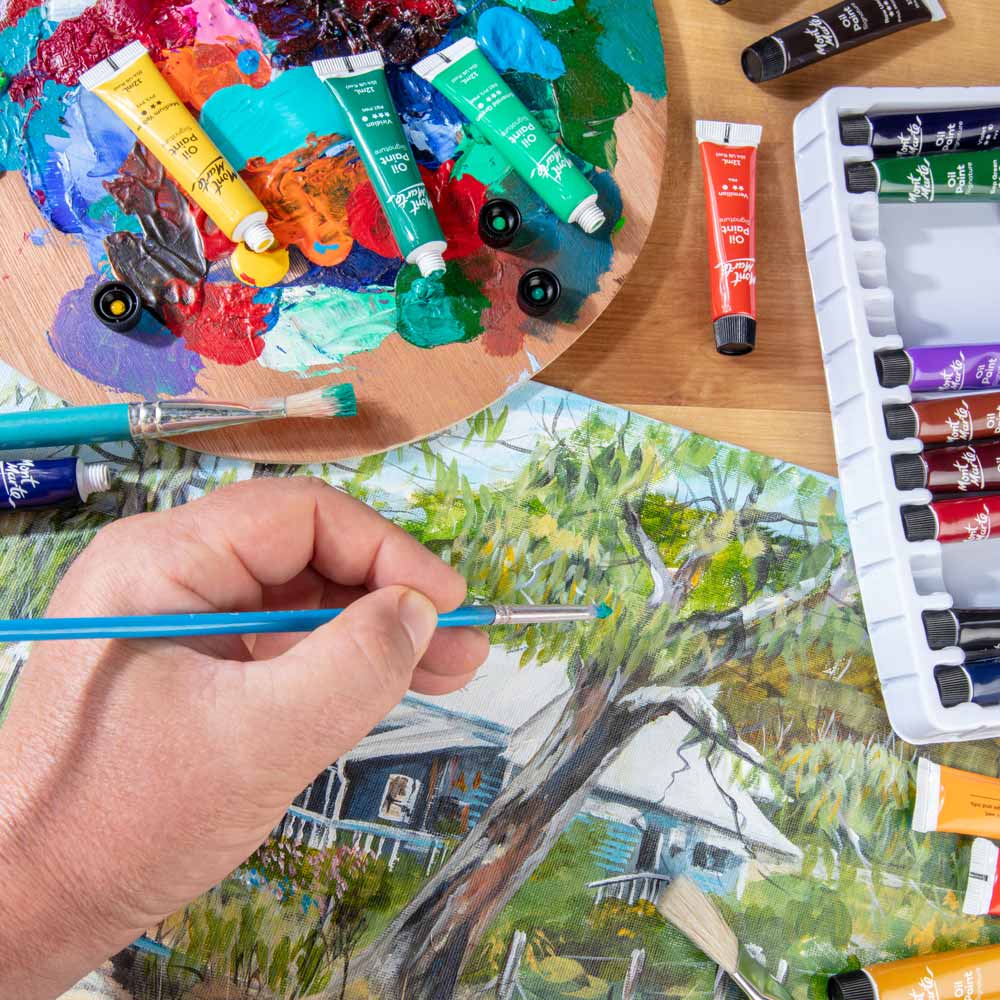
Most paint comes in convenient, resealable packaging which makes preservation pretty easy. As a rule of thumb, oils are more likely to stay usable for longer than water-based products, although both have the potential to be used for a while! The best way to preserve paints is by looking after them and using them thoughtfully.
When approaching a project, only squeeze or dish out the amount of paint you think you will need in that sitting. The benefits are twofold: you conserve your paint, and you don’t contaminate the main paint supply as you dish it out rather than sticking your brushes directly in. This will preserve your paint for longer and avoid harbouring funky smells or bacteria in your paint pots and tubes.
If you’re working on a project for a few days and have mixed up a colour you need to keep fresh, you can temporarily save it when not in use with our handy friend, cling film. Wrap your palette tightly in clingfilm, trying your best not to trap air in the paint. For one night, this should be fine as is if the temperature is mild, but in extreme weather, it’s best to pop it in the fridge. Just ensure the paint doesn’t come into contact with any yummy food!
If you want to create longer-term fixes to keeping mixed paint, try hanging onto resealable containers at home (e.g., yoghurt, jam, peanut butter, pickle, & miso containers, etc.). You can use these containers to temporarily store mixed paints (or paints you accidentally squeezed out a bit much of) and reuse them by throwing unwanted paint out and cleaning the container when done! We even sell airtight watercolour palettes that are designed to allow watercolour painters to keep using their paints for longer.
4. How to store clay?

Air dry: To keep it from drying out once open we recommend keeping the clay wrapped in cling wrap in an airtight container stored in a cool dark place. To keep it from drying while you are using it you can add water!
Polymer: While the polymer clay won’t dry out like air-dry clay, it can weather when exposed to dust and debris. Keep it covered in a cool, dry space. You can even keep it in its original packaging and just wrap it in clingfilm or pop it in a snap lock bag.
5. How should I store my art markers?
To get the most out of your art pens and markers, it’s important to take care of them. Here are some handy hints to help you out:
We’ve got a how-to video to run you through our top tips to correctly store art markers.
6. What about storing pencils?

Pencils are easy to keep in good condition. The biggest rule to follow is to never store them tip-down, so there is less breakage. You can store them vertically, with the tip facing up, or horizontally in boxes, wallets, drawers, and pencil cases.
We have a number of pencil sets that come in boxes or tins for built-in storage and organisation. Check them out to see how they’d fit in at your place.
Hopefully, you feel a little more comfy storing your art supplies now! 😊
We would love to have inspired you to start a new project, return to an old one, or even just organise your supplies – either way, you will be set to give your equipment the TLC it deserves.
#montmarteart or tag us @montmarteart on Instagram or Facebook. We’d love to see what you create.
Looking for more? Check out our Artist Gallery for some inspiration. If you need supplies, equipment, or materials, jump online to check out our range of art products.


