


How to sculpt FAQs
Want to learn how to use clay? We’ve got you covered! Find out all about sculpting and the tools you need to do it in this handy FAQs blog. We’ll answer loads of common questions about clay types, techniques, and more.
What are the 4 basic types of sculpture?
Sculpture is a fascinating art form all about creating three-dimensional pieces. You can break it down into four basic types of sculpture (but remember you can use all four in one project!). We’ve got info on the four types, as well as a video demo for each down below:
Carving
Carving is one of the oldest methods. It involves cutting away at a solid clay block to shape your sculpture. You create details and shapes by subtraction, as you take away from the larger slab to reveal your design. Tools like flexible knives, loops, and other modelling tools can be used to finesse your sculpture.
Modelling
Modelling is about building up shapes from clay by addition. Simply start with a basic shape and add on clay to shape and reshape until you get the desired form. It’s kind of the opposite to carving, as you add clay rather than subtract!
Casting
Casting involves making a mould of your sculpture and then pouring a liquid material, like plaster or resin into the mould. You start by making a master sculpture from clay, then make a mould from silicone around it, and move onto casting. This method is useful for making multiple identical copies of a sculpture and capturing fine details.
Assembling
Assembling, or construction, involves putting together different materials and objects, such as clay, metal, wood, plastic, and found items. You can join these pieces using clay, glue, ties, and more. By combining various sources into one sculpture, you can express yourself by including elements of the world around you!
These four foundational sculpting techniques are a great starting point when it comes to understanding how to make three-dimensional art. Each method has its own approach and tools, and you can combine all four to create a range of effects!
How to start sculpting?
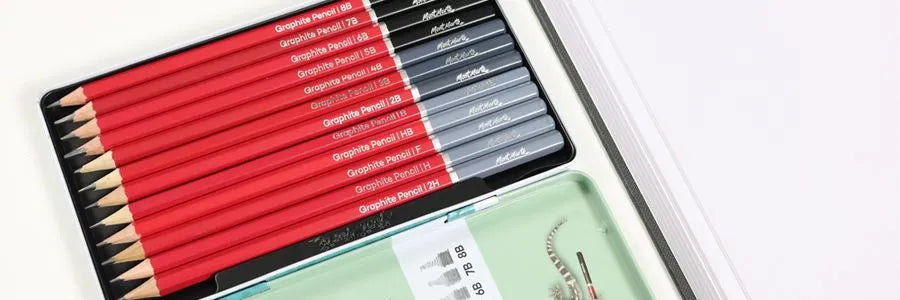
To get started with sculpting, you'll need a few essential materials. Firstly, pick a clay or plaster – air dry and polymer clays are fairly beginner-friendly. You'll also need a basic set of sculpting tools, which typically include carvers, loops, and shapers. A clean, flat work surface is important to keep your sculpture steady and your materials organised. Having a damp cloth on hand will help you keep your hands and tools clean. If you’re using air dry clay, you may want a pot of water on standby to smooth your clay or make a slip (a mixture of clay and water).
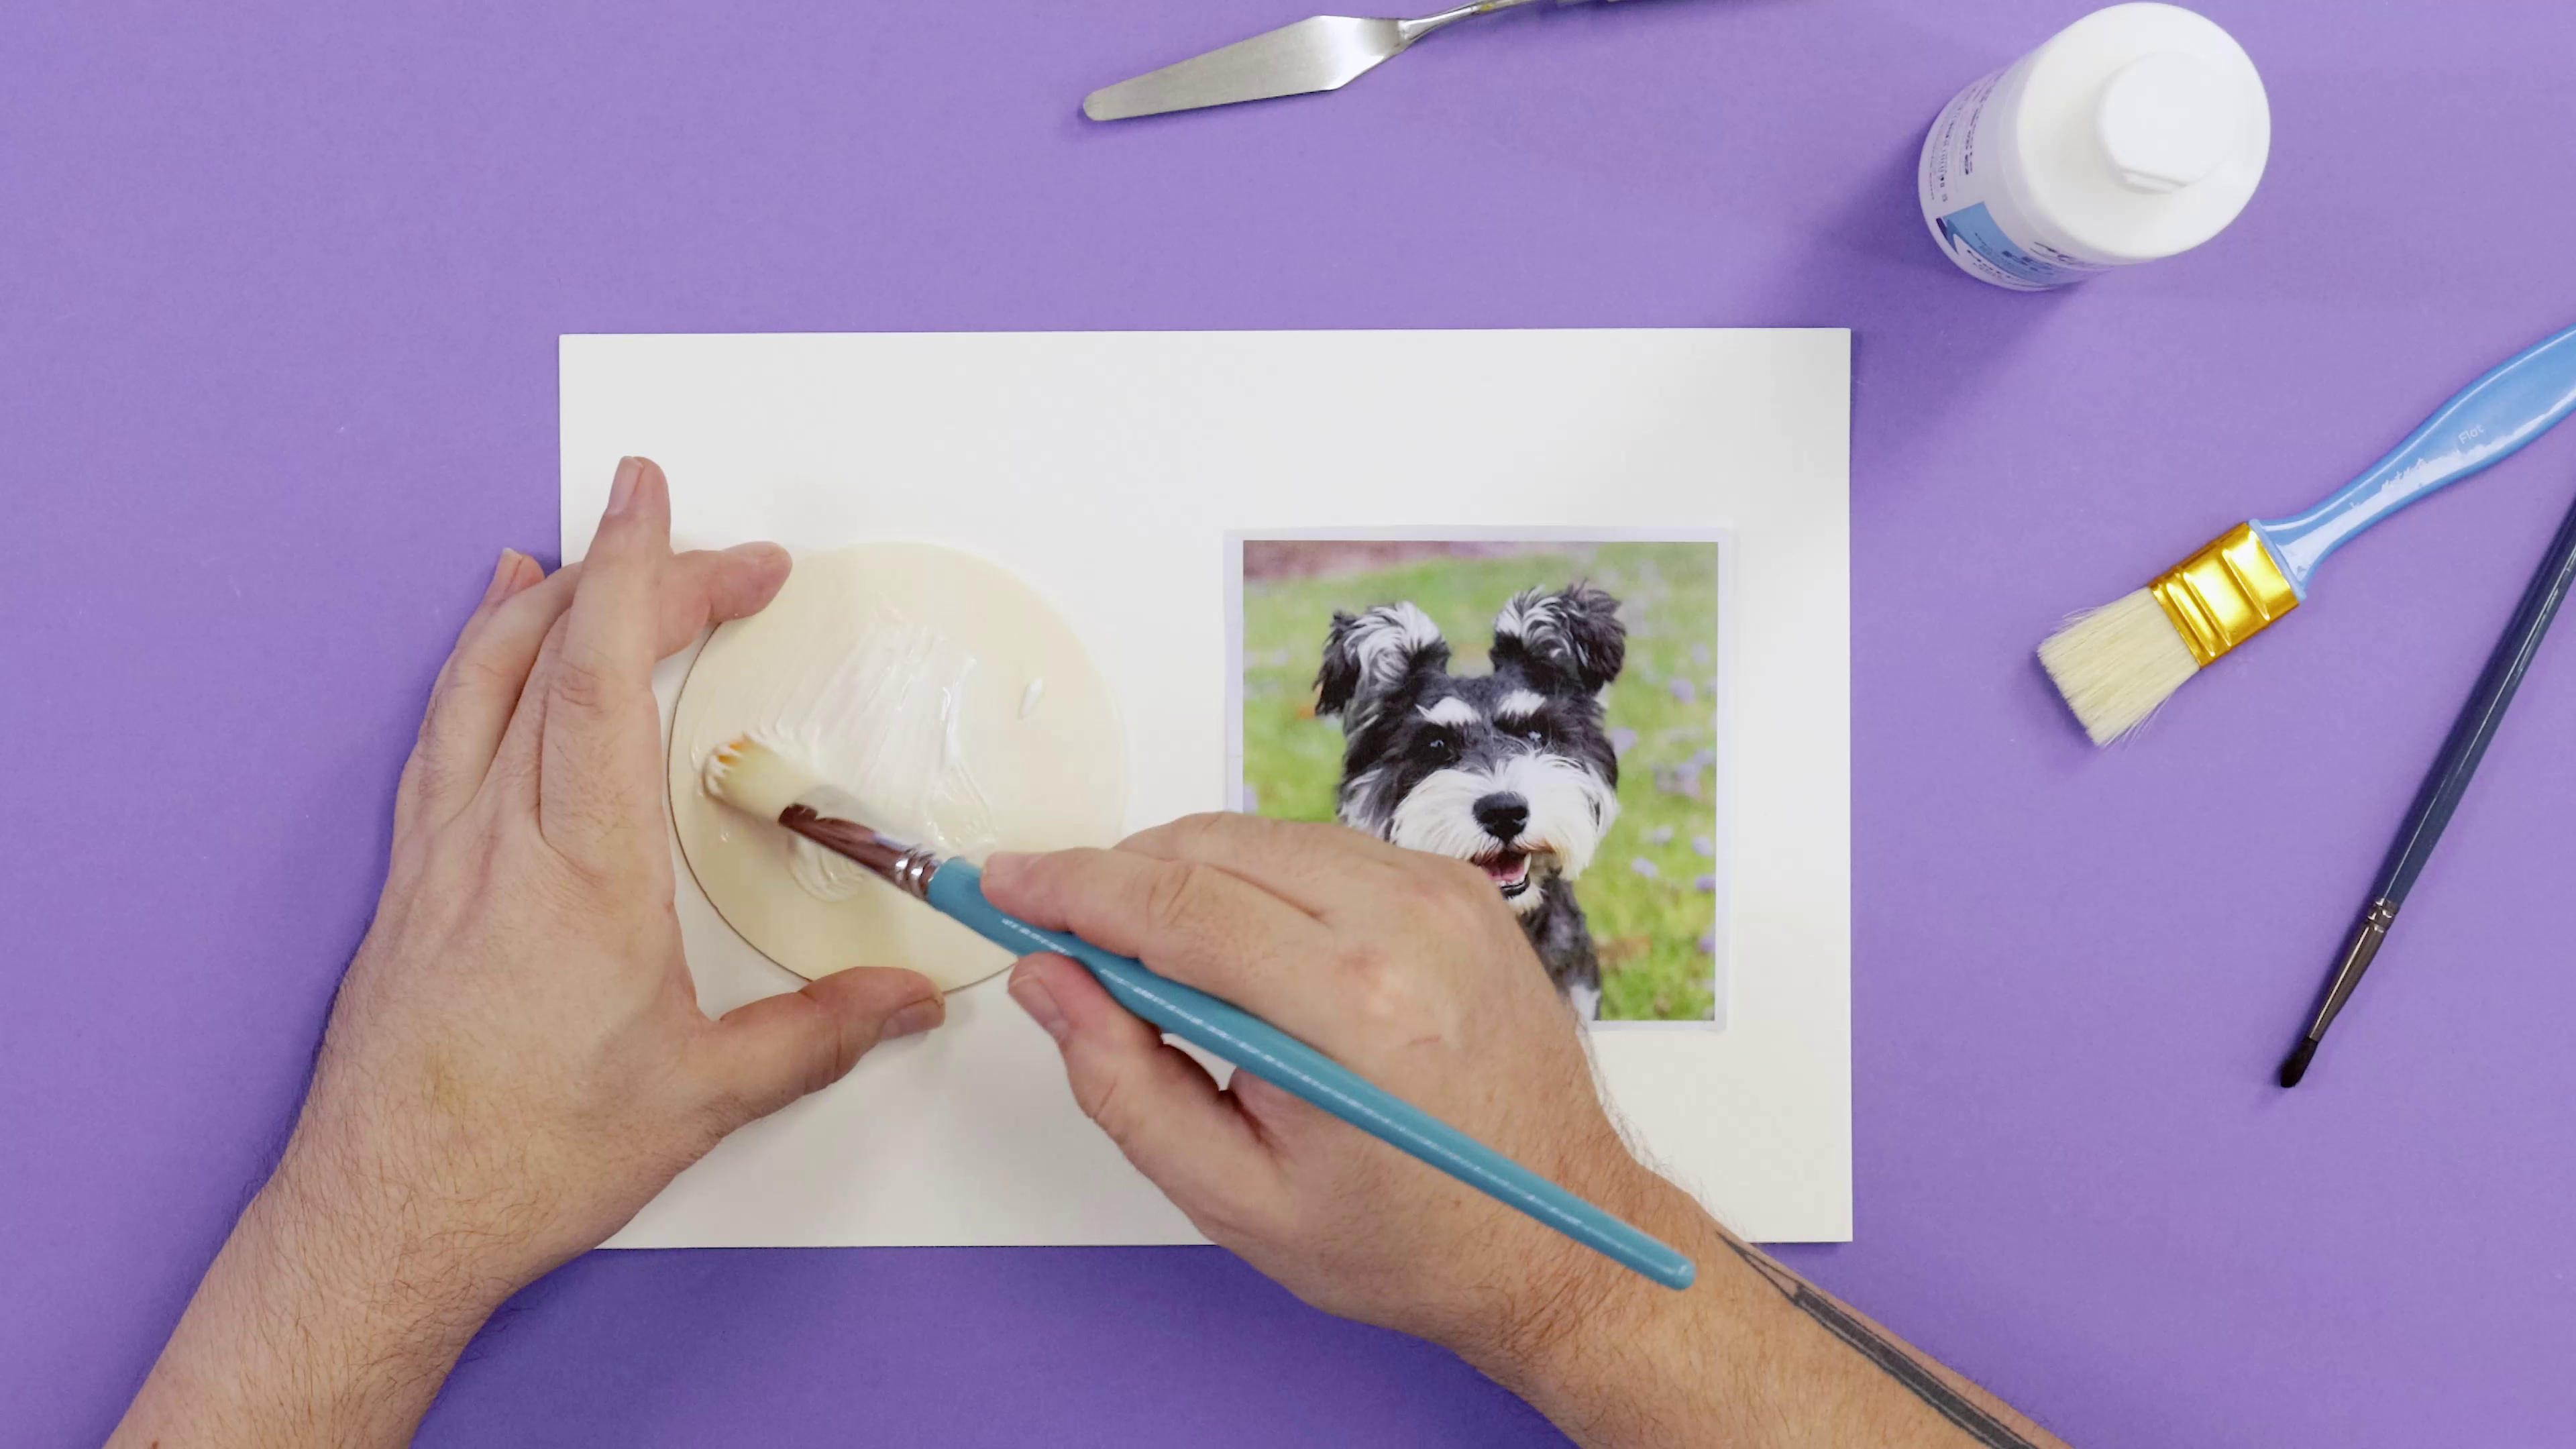
Next, decide what to sculpt! You may want to use a reference pic so you can keep proportions and details at the forefront while modelling. Start simple with basic shapes and minimal details, working up to more complex ideas. Try out various mediums to find your lane and keep an open mind – art is all about expression and there’s no one right way to do it.
What clay is best for beginners?
Air-dry clay and polymer clay are both great choices for beginners. Air dry clay is easy to work with; it hardens naturally when exposed to air, so you don't need a kiln or heat to finish your projects. It's great for creating a variety of items, from small figurines to larger sculptures. Our air dry clay range comes in Terracotta, Grey, and White and can be painted after its dry for a pop of colour. It’s easy manipulated and smoothed with water but beware it’s a little messy – all part of the fun!
Polymer clay, on the other hand, is a colourful medium that can be baked in a standard oven (yes, the one you have at home!). It comes pre-coloured and is ideal for making detailed sculptures and jewellery. It feels a lot less textured than air dry clay and is initially harder (though softens quickly with conditioning). Once you make your design, simply bake according to packaging instructions (usually no more than 30min or so) and allow to cool before adding any painted details.
Plaster of Paris is also a pretty simple medium, but may feel more intuitive once you’ve tried sculpting with clay. One safety tip: plaster heats up while curing so never submerge your hands into it as it may cause burns. Wear gloves and use tools to manipulate the liquid formula.
What are the best tools for clay carving?
Choosing the right sculpting tools can make a big difference. For beginners, a basic set of tools that includes carvers, loops, and shapers is a good start. We’ve got loads of Modelling Tool Sets to choose from in various sizes to suit your skill level!
Each tool serves a different purpose: carvers are great for cutting and shaping, loops are useful for removing clay and creating fine details, and shapers help to smooth and refine your sculpture. As you become more experienced, you might want to invest in specialised tools like wire-end tools, texture tools, and needle tools to expand your techniques and capabilities. These are great for adding realism and finer details, so you have more creative options!
We also have a wide range of polymer clay tools, including rollers, double-sided press moulds, cutters, hole punches, and more. You can find the right tool for your sculpture by checking out our Guide to Polymer Clay Accessories.
How to fix cracked clay?
Preventing cracks in your clay sculptures involves proper preparation and handling. Ensure that your clay is adequately conditioned by kneading it thoroughly to make it pliable. If using air dry clay, keep it fresh and moist by occasionally spritzing it with water or covering it with a damp cloth when not in use.
Build your sculpture in stages, allowing each layer to dry slightly before adding the next to avoid internal stress. For air-dry clay, drying your sculpture slowly and evenly is crucial; cover it loosely with plastic to control the drying process. If cracks do appear, gently press them closed with your fingers and add a small amount of water or slip. Smooth the area with a tool or your fingers to blend it into the rest of the sculpture.
We have handy videos on fixing cracks in both air dry and polymer clay, so you can see the process up close!
How to join clay?
To join pieces of air dry clay, score (scratch) the surfaces you want to connect and apply a small amount of water or slip to create a strong bond. Press the pieces together firmly and smooth out any seams with your fingers or a tool. This technique ensures that the pieces stay attached as your sculpture dries and hardens – see it up close by checking out the video above!
As for polymer clay, it’s mostly the same process but without the slip. Carve a crosshatched pattern into either end of the parts you want to join before pressing together. Use a smooth modelling tool or your fingers to smooth the join until the line disappears.
Which sculpting techniques are worth learning?
Basic sculpting techniques include rolling, pinching, coiling, and slab building. Rolling exactly how it sounds and is great for creating smooth, even surfaces – just imagine rolling dough! Pinching can be used to make hollowed designs or small, detailed shapes. You may have heard of pinch-pots – these are quick and easy pots made by pinching your clay and shaping it around your thumb.
Coiling involves rolling clay into long ropes and stacking them to build forms. You can create a pot in this method by laying the coil on itself in a circle shape, building upwards for height. Slab building uses flat pieces of clay to construct larger shapes. As you gain confidence, you can experiment with combining these techniques and adding more advanced methods like carving and hollowing out.
A final technique that you might want to try out is creating armatures. These are structures made to support your clay from the inside, usually made from wire, alfoil, and other strong, malleable materials. Simply build a skeleton structure from your chosen materials and build your clay around it – this will support your sculpture as it grows in size. Check out more techniques in our handy blogs – we have one on air dry clay and one dedicated to polymer.
How do I create clay texture?
Create texture on your clay using toothpicks, forks, and other pointed sculpting tools. You can also press objects like fabric, leaves, or textured mats into the clay to imprint patterns. Experimenting with different materials and techniques will help you discover unique textures that can add depth and interest to your sculptures. For finer details, you can use small, pointed tools or even household items like a toothbrush or comb.
We made a gingerbread texture in the video above by rolling a ball of alfoil over the clay before baking. Check it out to see the technique in action!
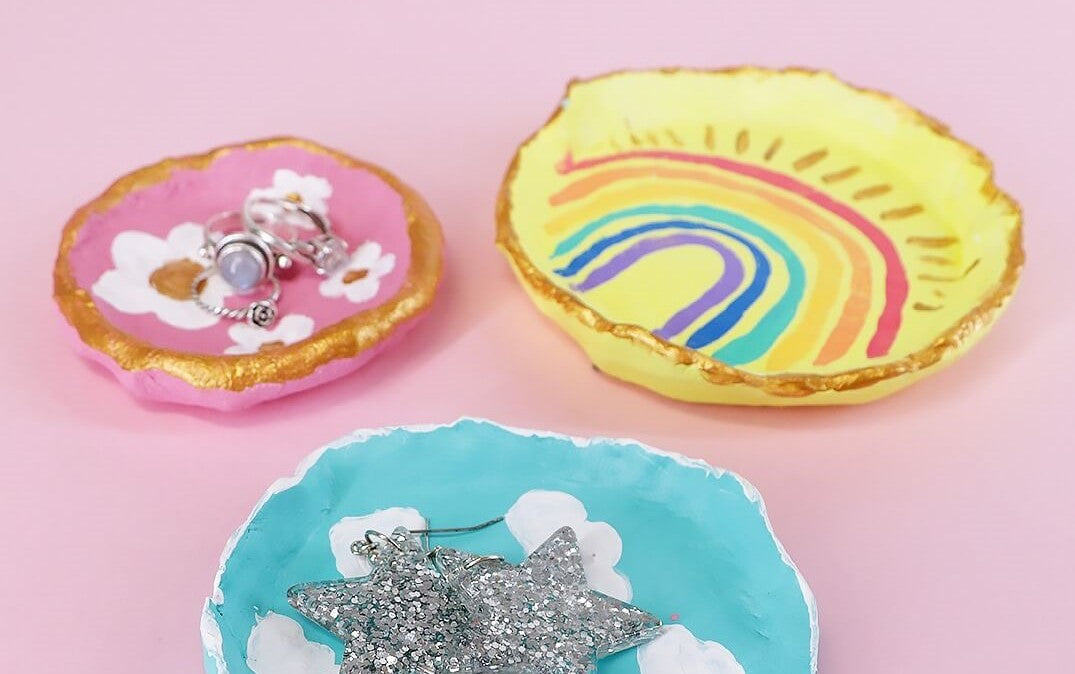
Can you paint clay?
Yes, you can paint your sculptures once they are fully dry. Acrylic paints work well for most types of clay. Finish with a sealer like our Gloss Clay Varnish or Gloss Acrylic Varnish to protect your painted designs. You can also experiment with different painting techniques, like dry brushing or adding metallic accents, to give your sculpture a unique finish.
If you’re using air dry clay and want to add colour before it dries, you can mix it into your clay. Do this before sculpting as it gets a bit messy and requires you to knead the paint into your clay. Watch the video above to see how much paint to add and how long to knead it for – it’s super simple! One tip – wear gloves for an easy clean-up (we didn’t - oops!).
How to store clay?
To keep unused clay fresh, wrap it tightly in plastic wrap or store it in an airtight container. For air-dry clay, add a damp cloth inside the container to keep it moist for longer. Store polymer clay in a cool, dry place to prevent it from hardening prematurely. Storing your clay properly will make sure it’s ready to use the next time inspiration strikes!
If your air dry clay does dry out a little by accident, it may be salvageable! Check out our handy how-to video below to see how to revive it with a little water and a plastic snap-lock bag.
We hope you’ve learned something new and are feeling ready to sculpt! If you do get creating, #montmarteart or tag us @montmarteart on Instagram or Facebook. We’re excited to see what you make!
For art ideas, explore our Projects and How-tos. If you’re looking for more answers to commonly asked questions, jump into our FAQs collection.
Stay up to date with the latest Mont Marte news, info, products, projects, and more by subscribing to Creative Connection down below. Simply enter your email to get loads of free art lessons and inspo sent straight to your inbox.


