Paint an easy landscape with acrylics
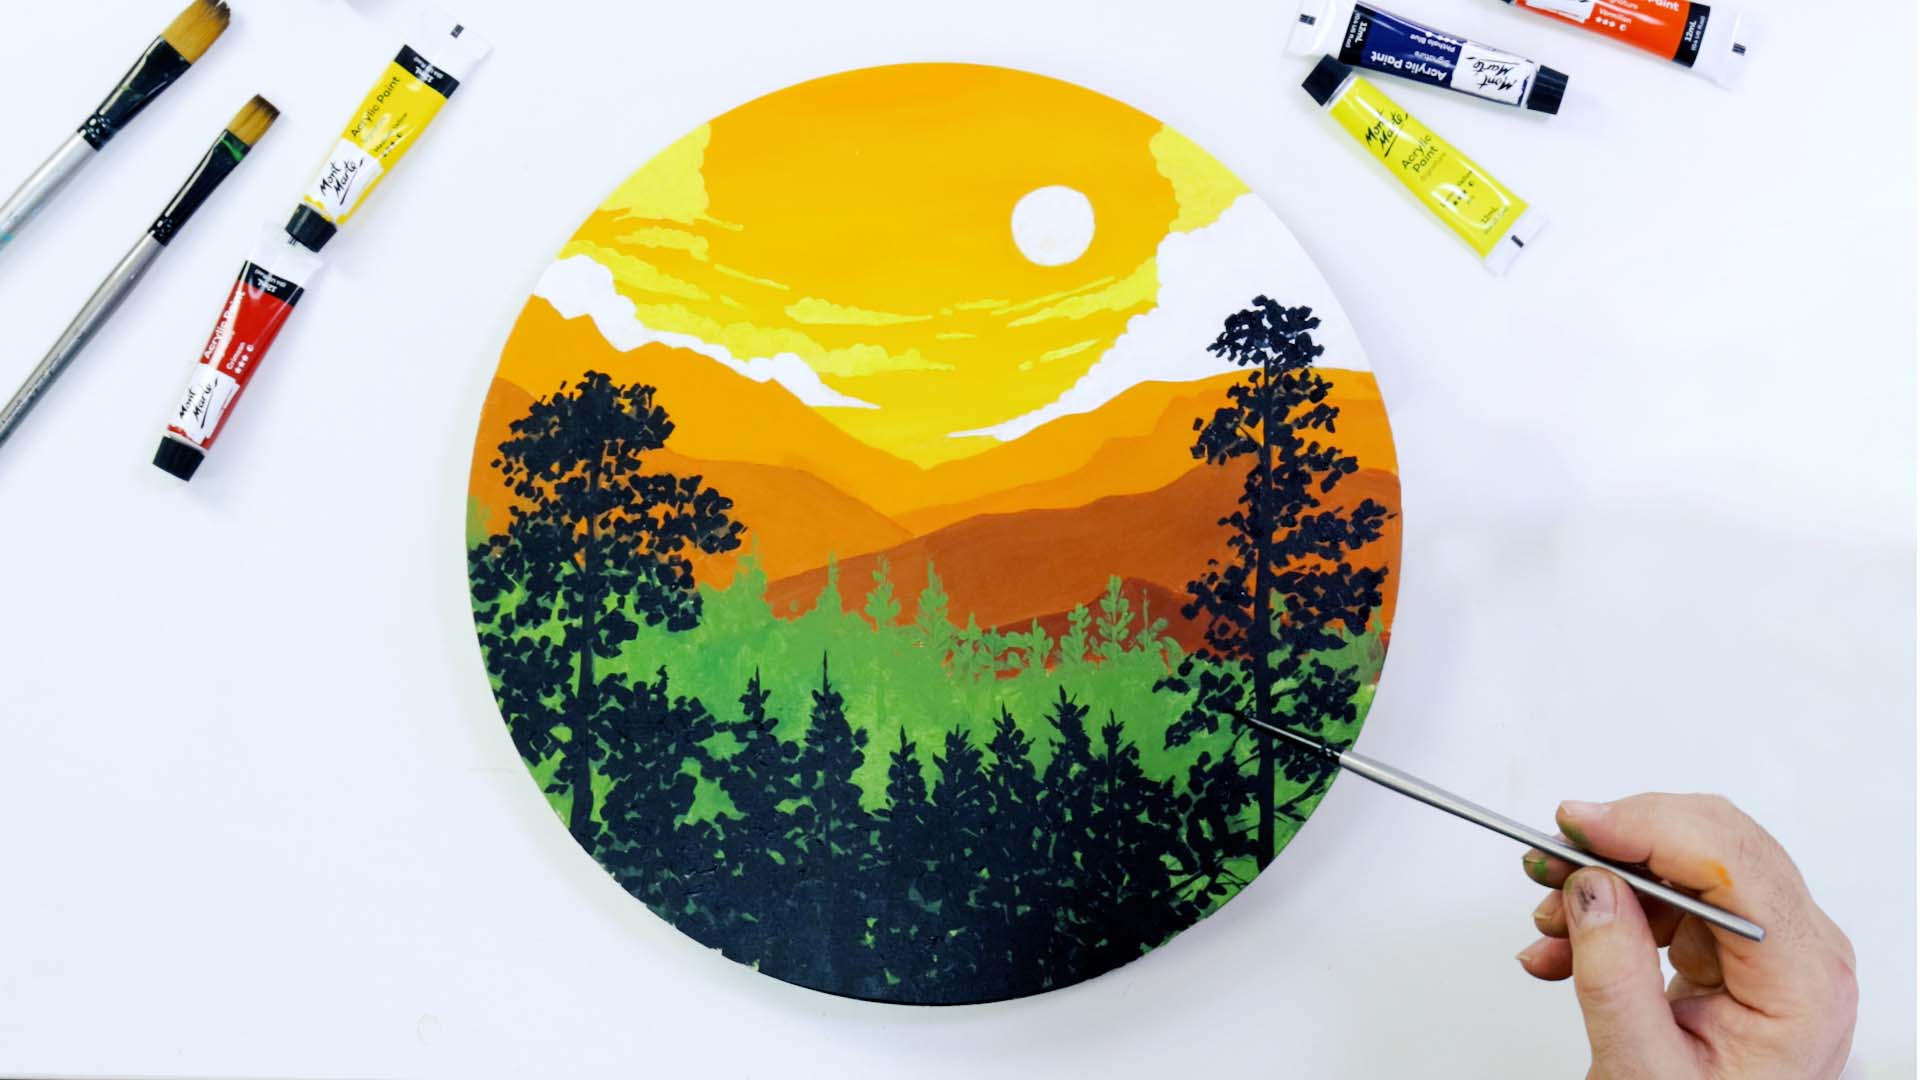
This week we show you how to create a simple landscape painting using acrylic paints. Here you will learn a variety of techniques including blending and layering. Check out the step-by-step instructions below!
You will need
MBST0030 MM Painting Board Round 30cm
BMHS0016 MM Gallery Series Brush Set Acrylic 5pc
MPA2501 MM White Texture Gesso 250ml
PMHS0026 MM Acrylic Paint Set 12pc x 12ml
MCG0008 MM Oval Plastic Palette 34x25cm
From your studio
7B and 2H pencil
Large flat brush
1. Preparing the board
Begin by sealing the painting board. Painting boards are quite absorbent so by applying a layer of white gesso the paint will sit on the surface and the white will also make the colours look more vibrant. Using a textured gesso will make it easier to transfer the graphite. Apply the gesso by squeezing a little into the middle of the board and spreading evenly with a large flat brush. Allow to dry.
While the gesso dries, prepare the sheet to transfer. There are two outlines supplied, the first image only includes the sky and mountain range while the second outline includes a tree line. The second one is the one to use to follow along with this lesson. To fit the 30cm painting board, print to A3 size. Flip the image and shade the backside with a 7B pencil. Flip the sheet back over, shaded side down, tape it into position and retrace the outline with a sharp 2H pencil. Alternatively, you can freehand the outline.
2. Painting the trees
Begin painting the trees. Squeeze Lamp Black out onto the palette and add a touch of water so the paint flows a little easier. Start by laying in the trunk of the trees first. After these have been painted in, use a small flat brush to apply the foliage. Leave little areas free of tone so the background shows through. Painting the black trees first allows the linework to shine through the colours of the mountain range.
3. Painting the sky
Once the trees are dry, move onto the sky. Squeeze out some Lemon Yellow and Vermillion and create an orange. Paint this into the top portion using horizontal strokes. As you work down the board slowly add more yellow into the area so the colour lightens to a pure yellow as you reach the top of the distant mountain range.
4. Painting the mountains
Create a warm orange next by mixing a little Burnt Sienna into the orange sky mixture. Lay this tone into the distant mountain range using a flat brush. For the next set of mountains, mix in a little more Burnt Sienna into the orange mix and paint it in. Follow this process for the other three mountain ranges. The lowest mountain range will be almost pure Burnt Sienna. You will have to paint over the black trees but should be able to faintly see these through the coat of paint.
5. Painting the clouds
Once the sky is dry, paint in the clouds. Mix up a light yellow from Lemon Yellow and Titanium White and paint in the cloud tops with a small flat brush. Yellow is a very translucent colour so if it doesn’t cover enough to your liking, allow to dry and add a second coat over the top. Then, paint pure Titanium White into the bottom of the clouds.
6. Final details
The trees in the middle ground are a sap green colour. This can be mixed from Viridian, Titanium White and Yellow Ochre. Use a small flat brush to paint the profile of the trees in, then switch to a larger brush and work the colour down the board. This will cover the trees again but they should still be visible through the coat. Once the trees are dry, repaint the trees into the foreground using Lamp Black.
Material List
- Painting Board Round Premium 30cm (11.8in)
- Acrylic Brushes Signature 5pc
- White Texture Gesso Premium 250ml (8.5oz)
- Acrylic Paints Signature 12pc x 12ml (0.4 fl.oz)
- Oval Plastic Palette Discovery 34 x 25cm (13.3 x 9.8in)


