


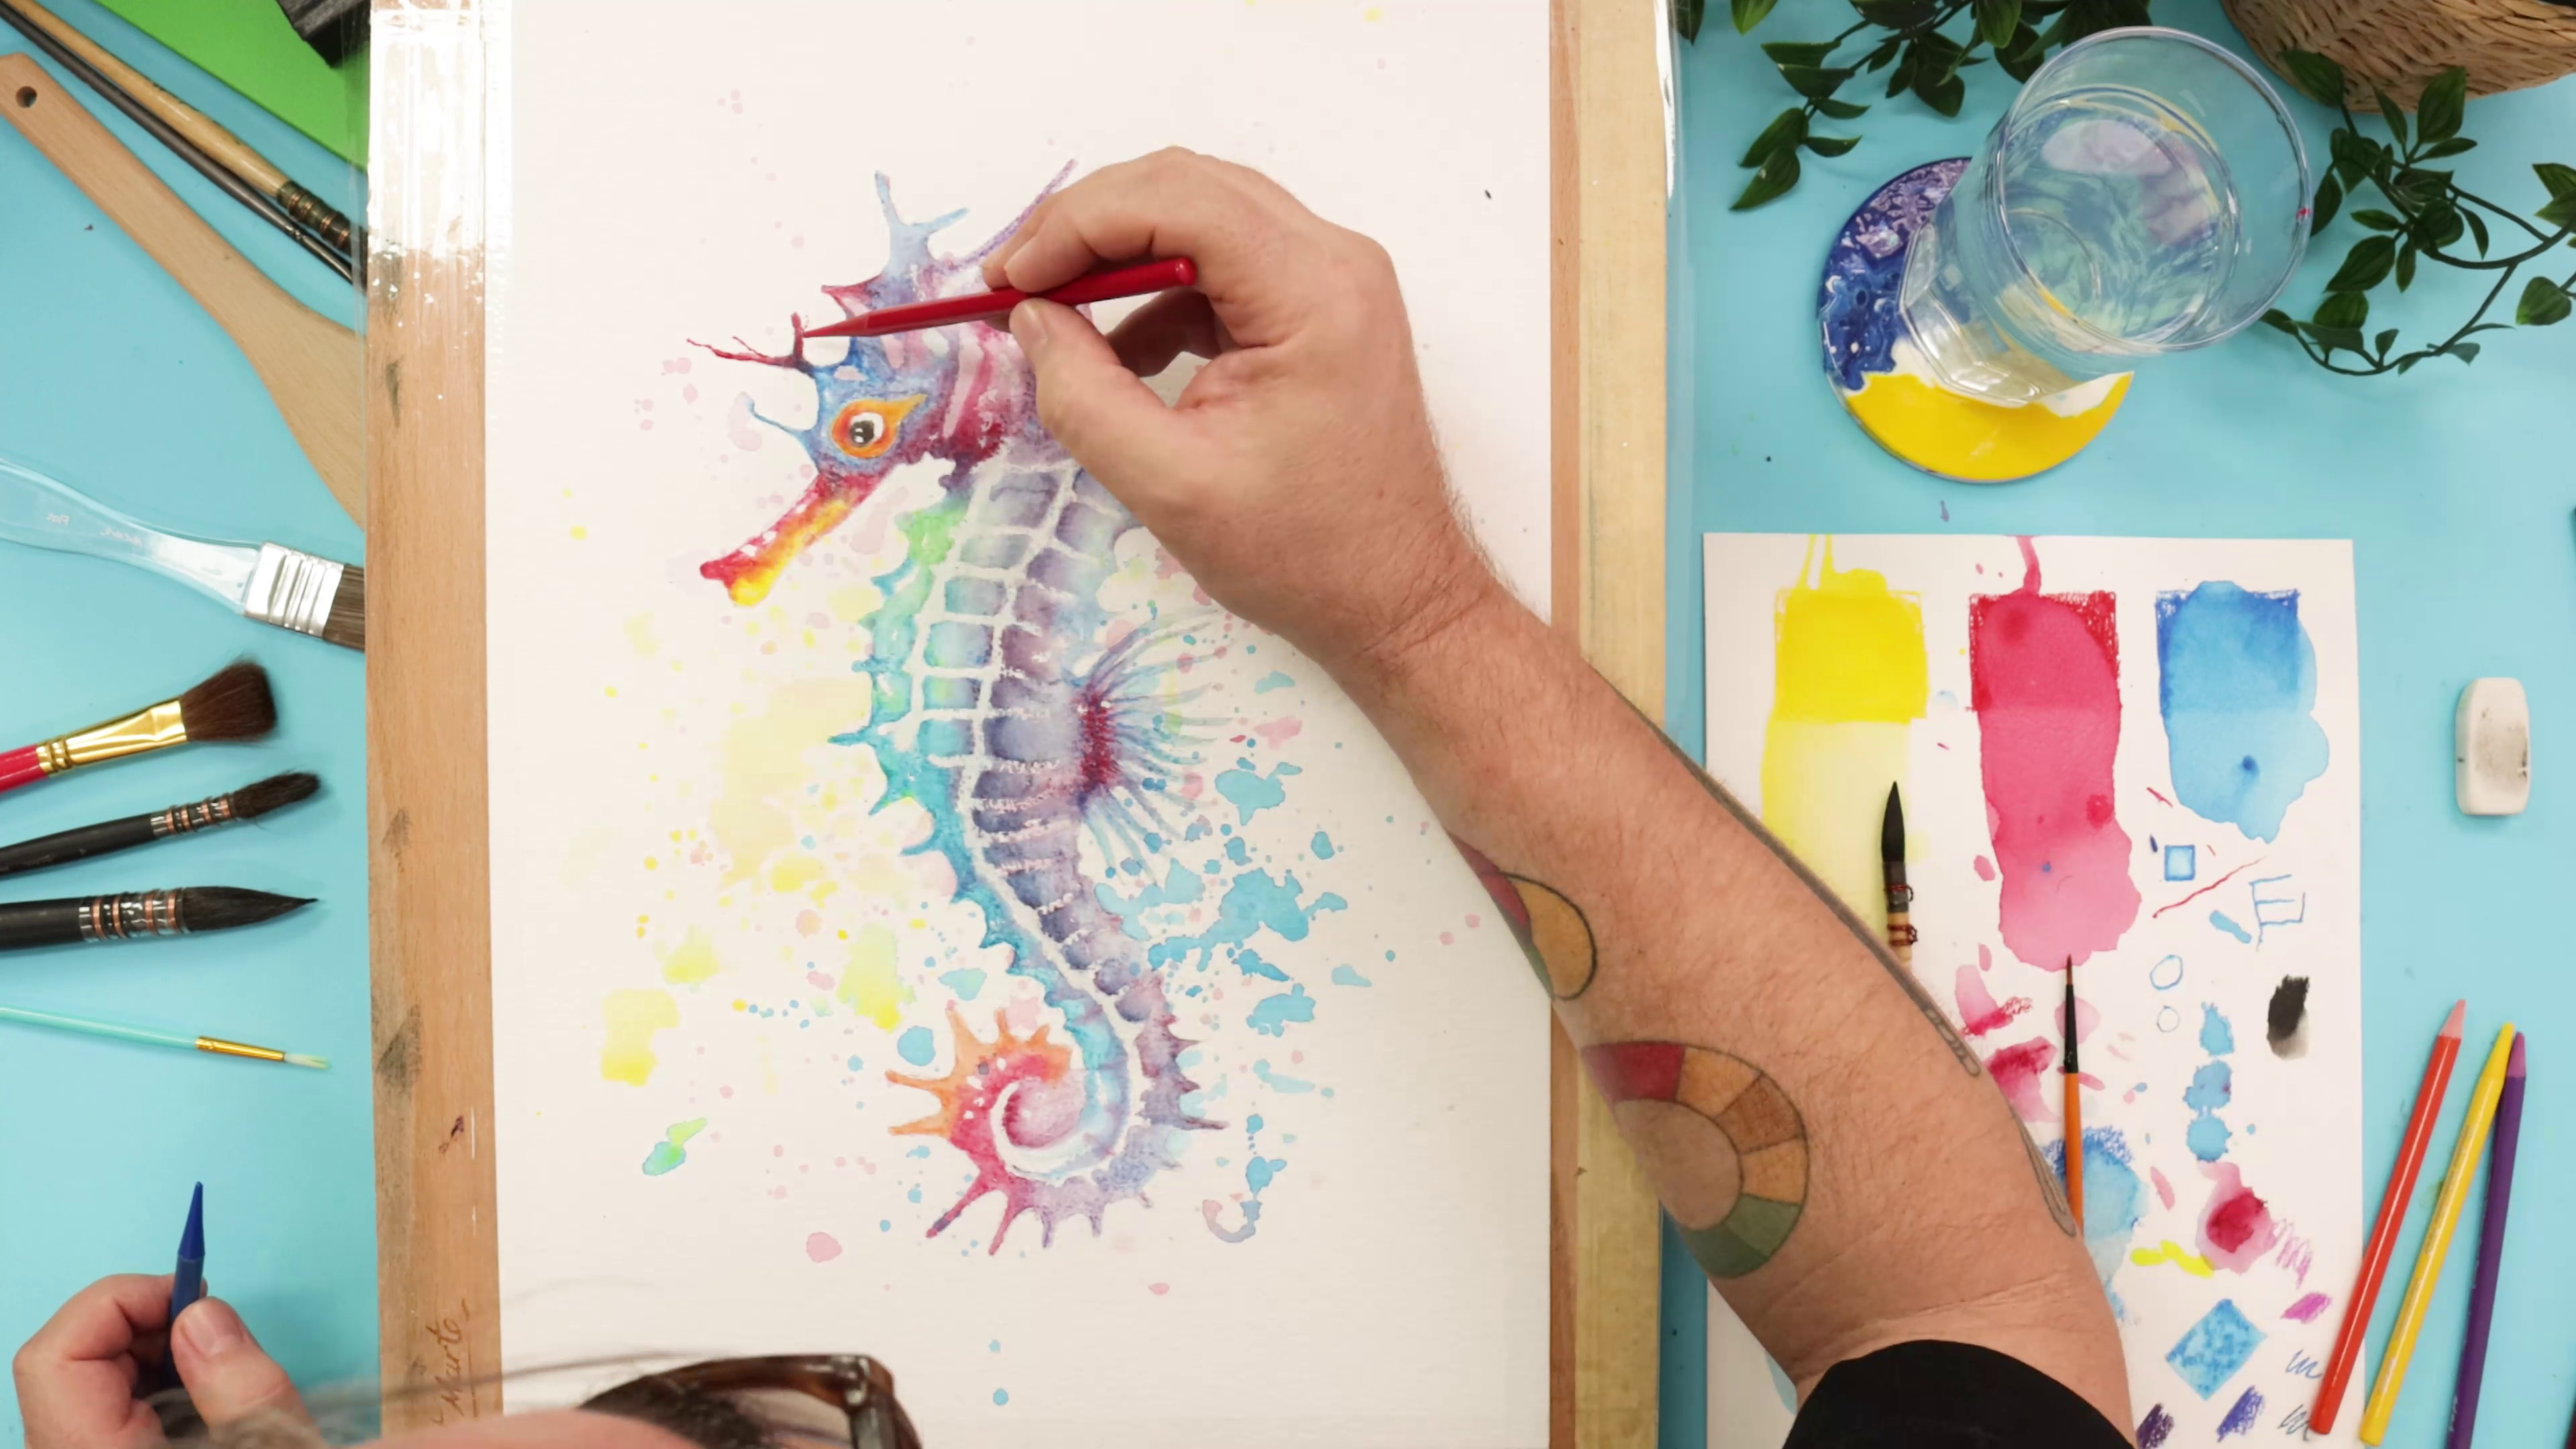
How to draw a watercolour seahorse
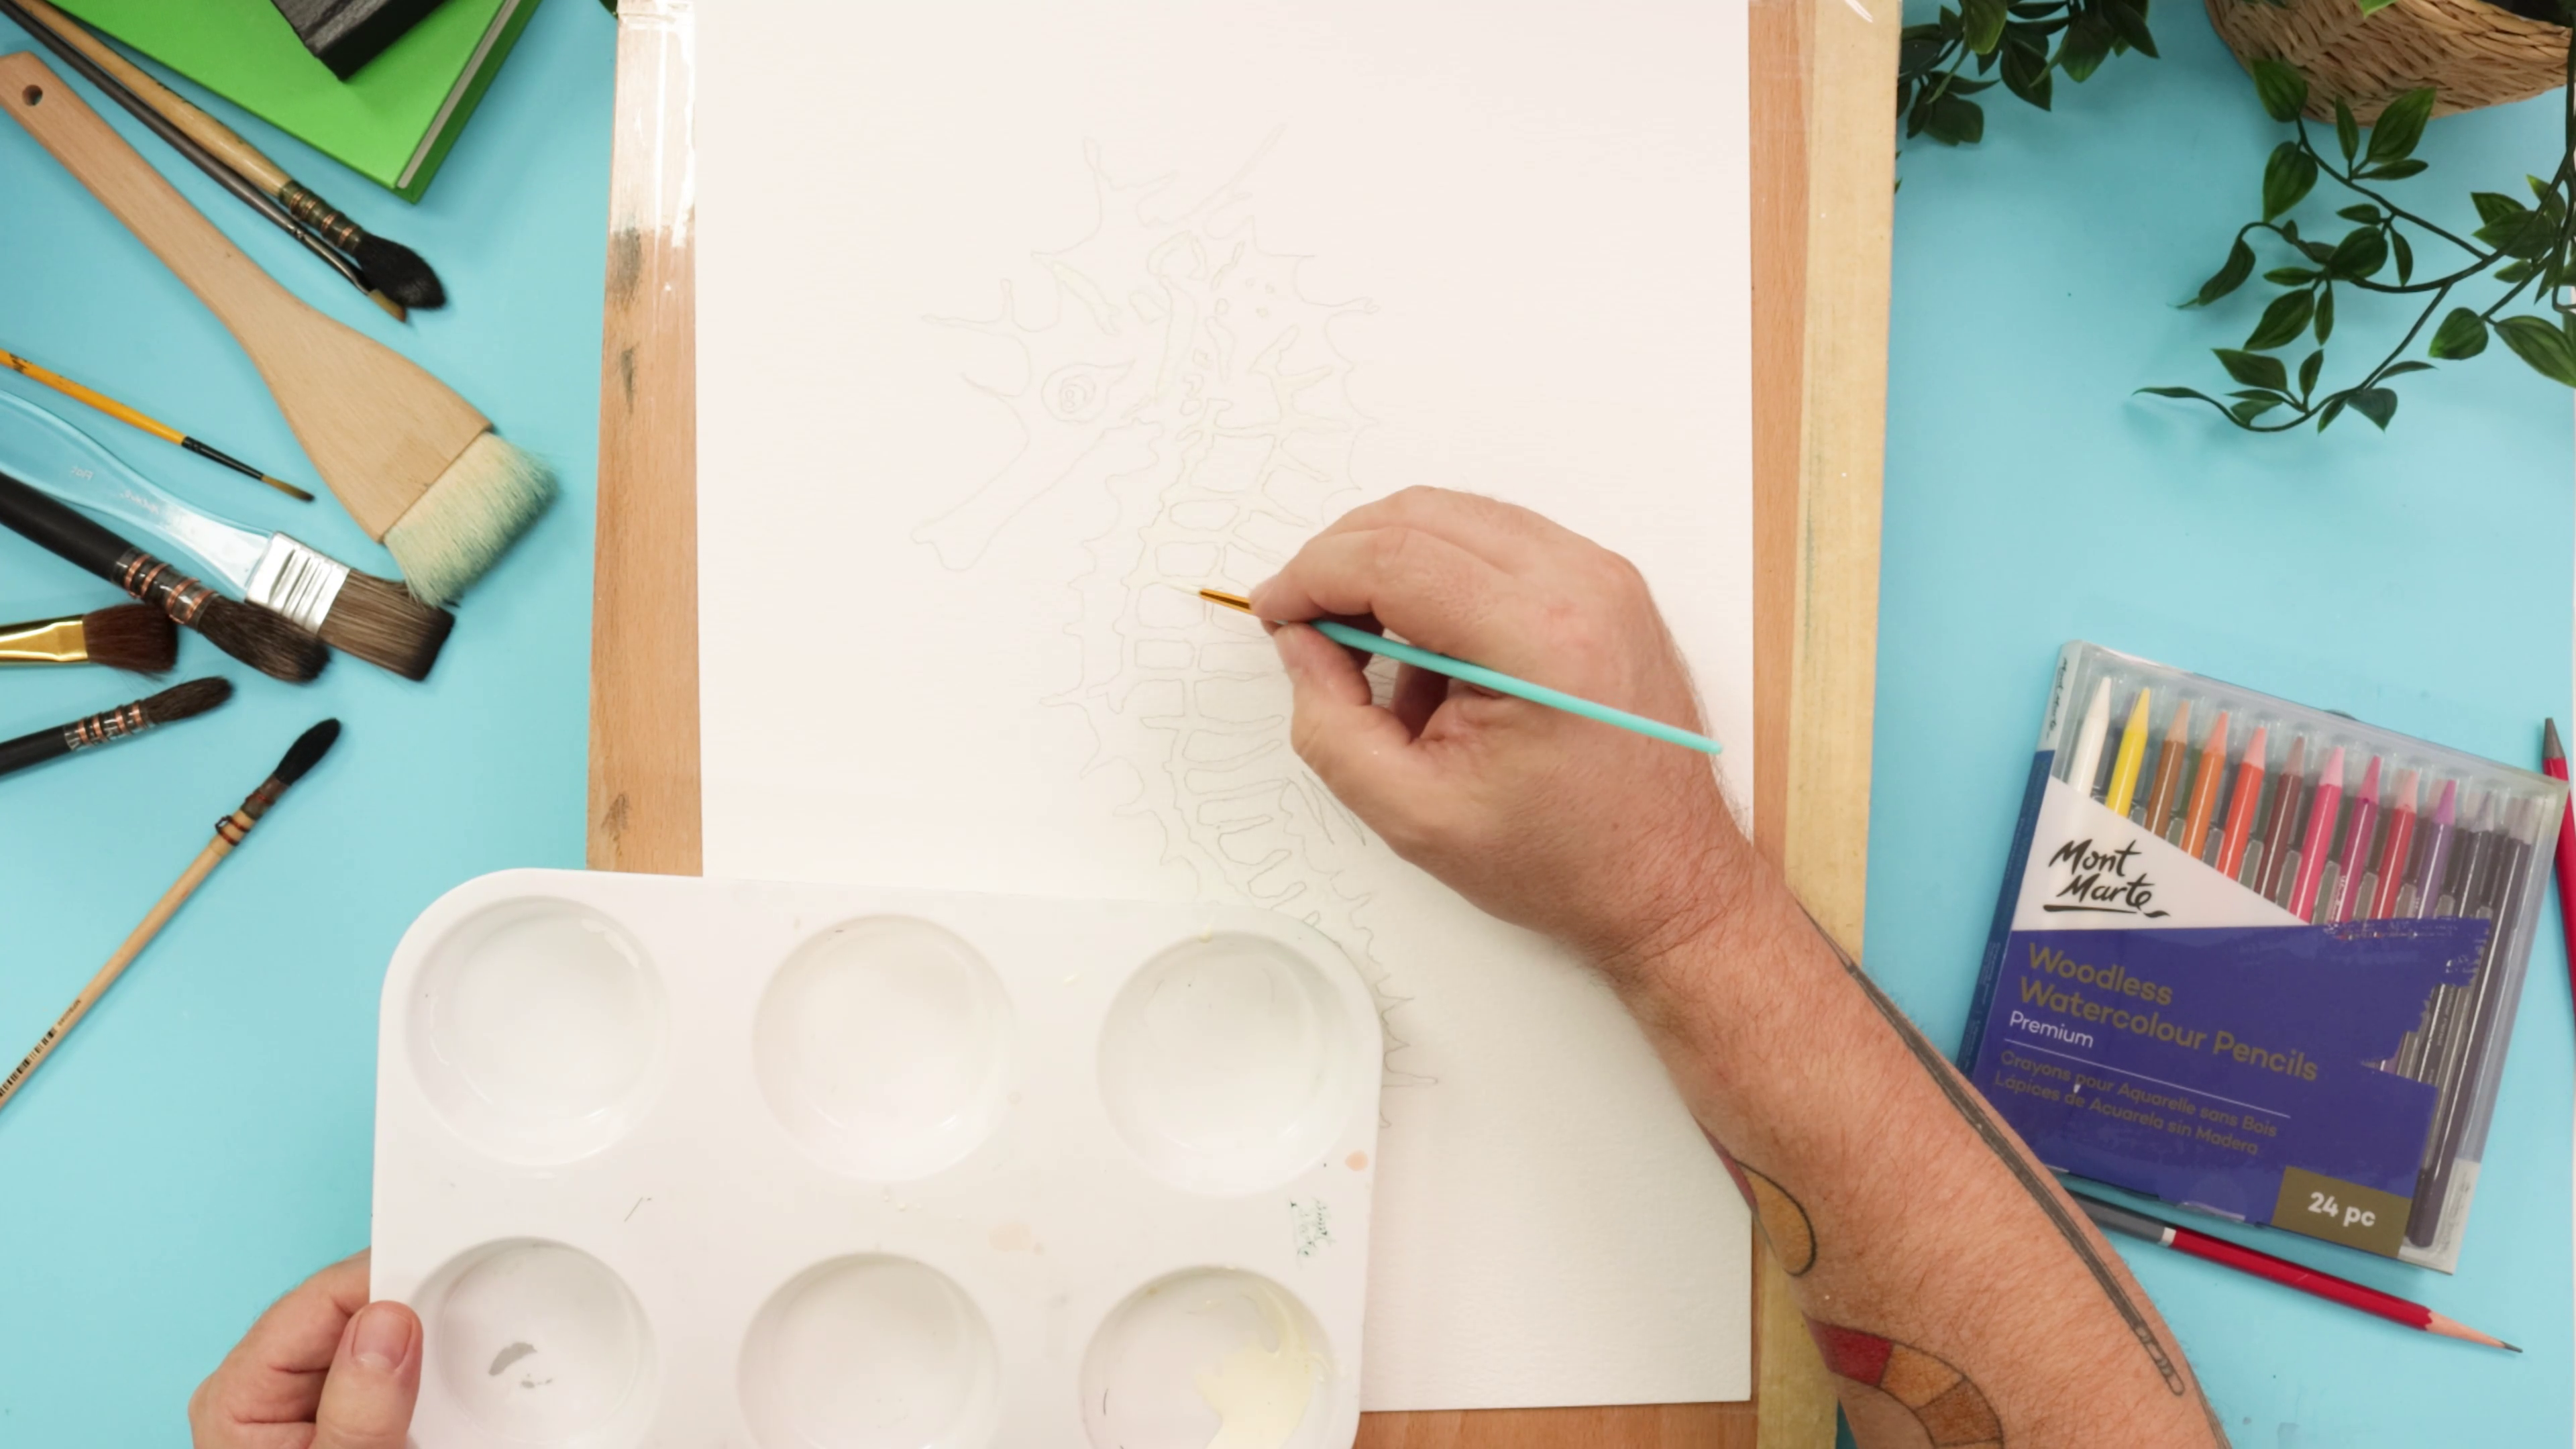
Step 1: Drawing transfer

- Print the reference image or draw it directly onto your paper
- If using a printout, shade the back with a 6B pencil and trace over it onto your watercolour paper
- Use an F grade pencil to darken the outline lightly
Step 2: Using Masking Fluid
- Shake masking fluid well and pour a small amount into a palette or jar lid
- Use a cheap brush to paint the fluid onto the exoskeleton area of the seahorse
- Flick a few drops of masking fluid around for fun white splatters
- Let masking fluid dry completely
Tip: Clean the masking fluid from your brush and working surface straight after use
Step 3: Background painting
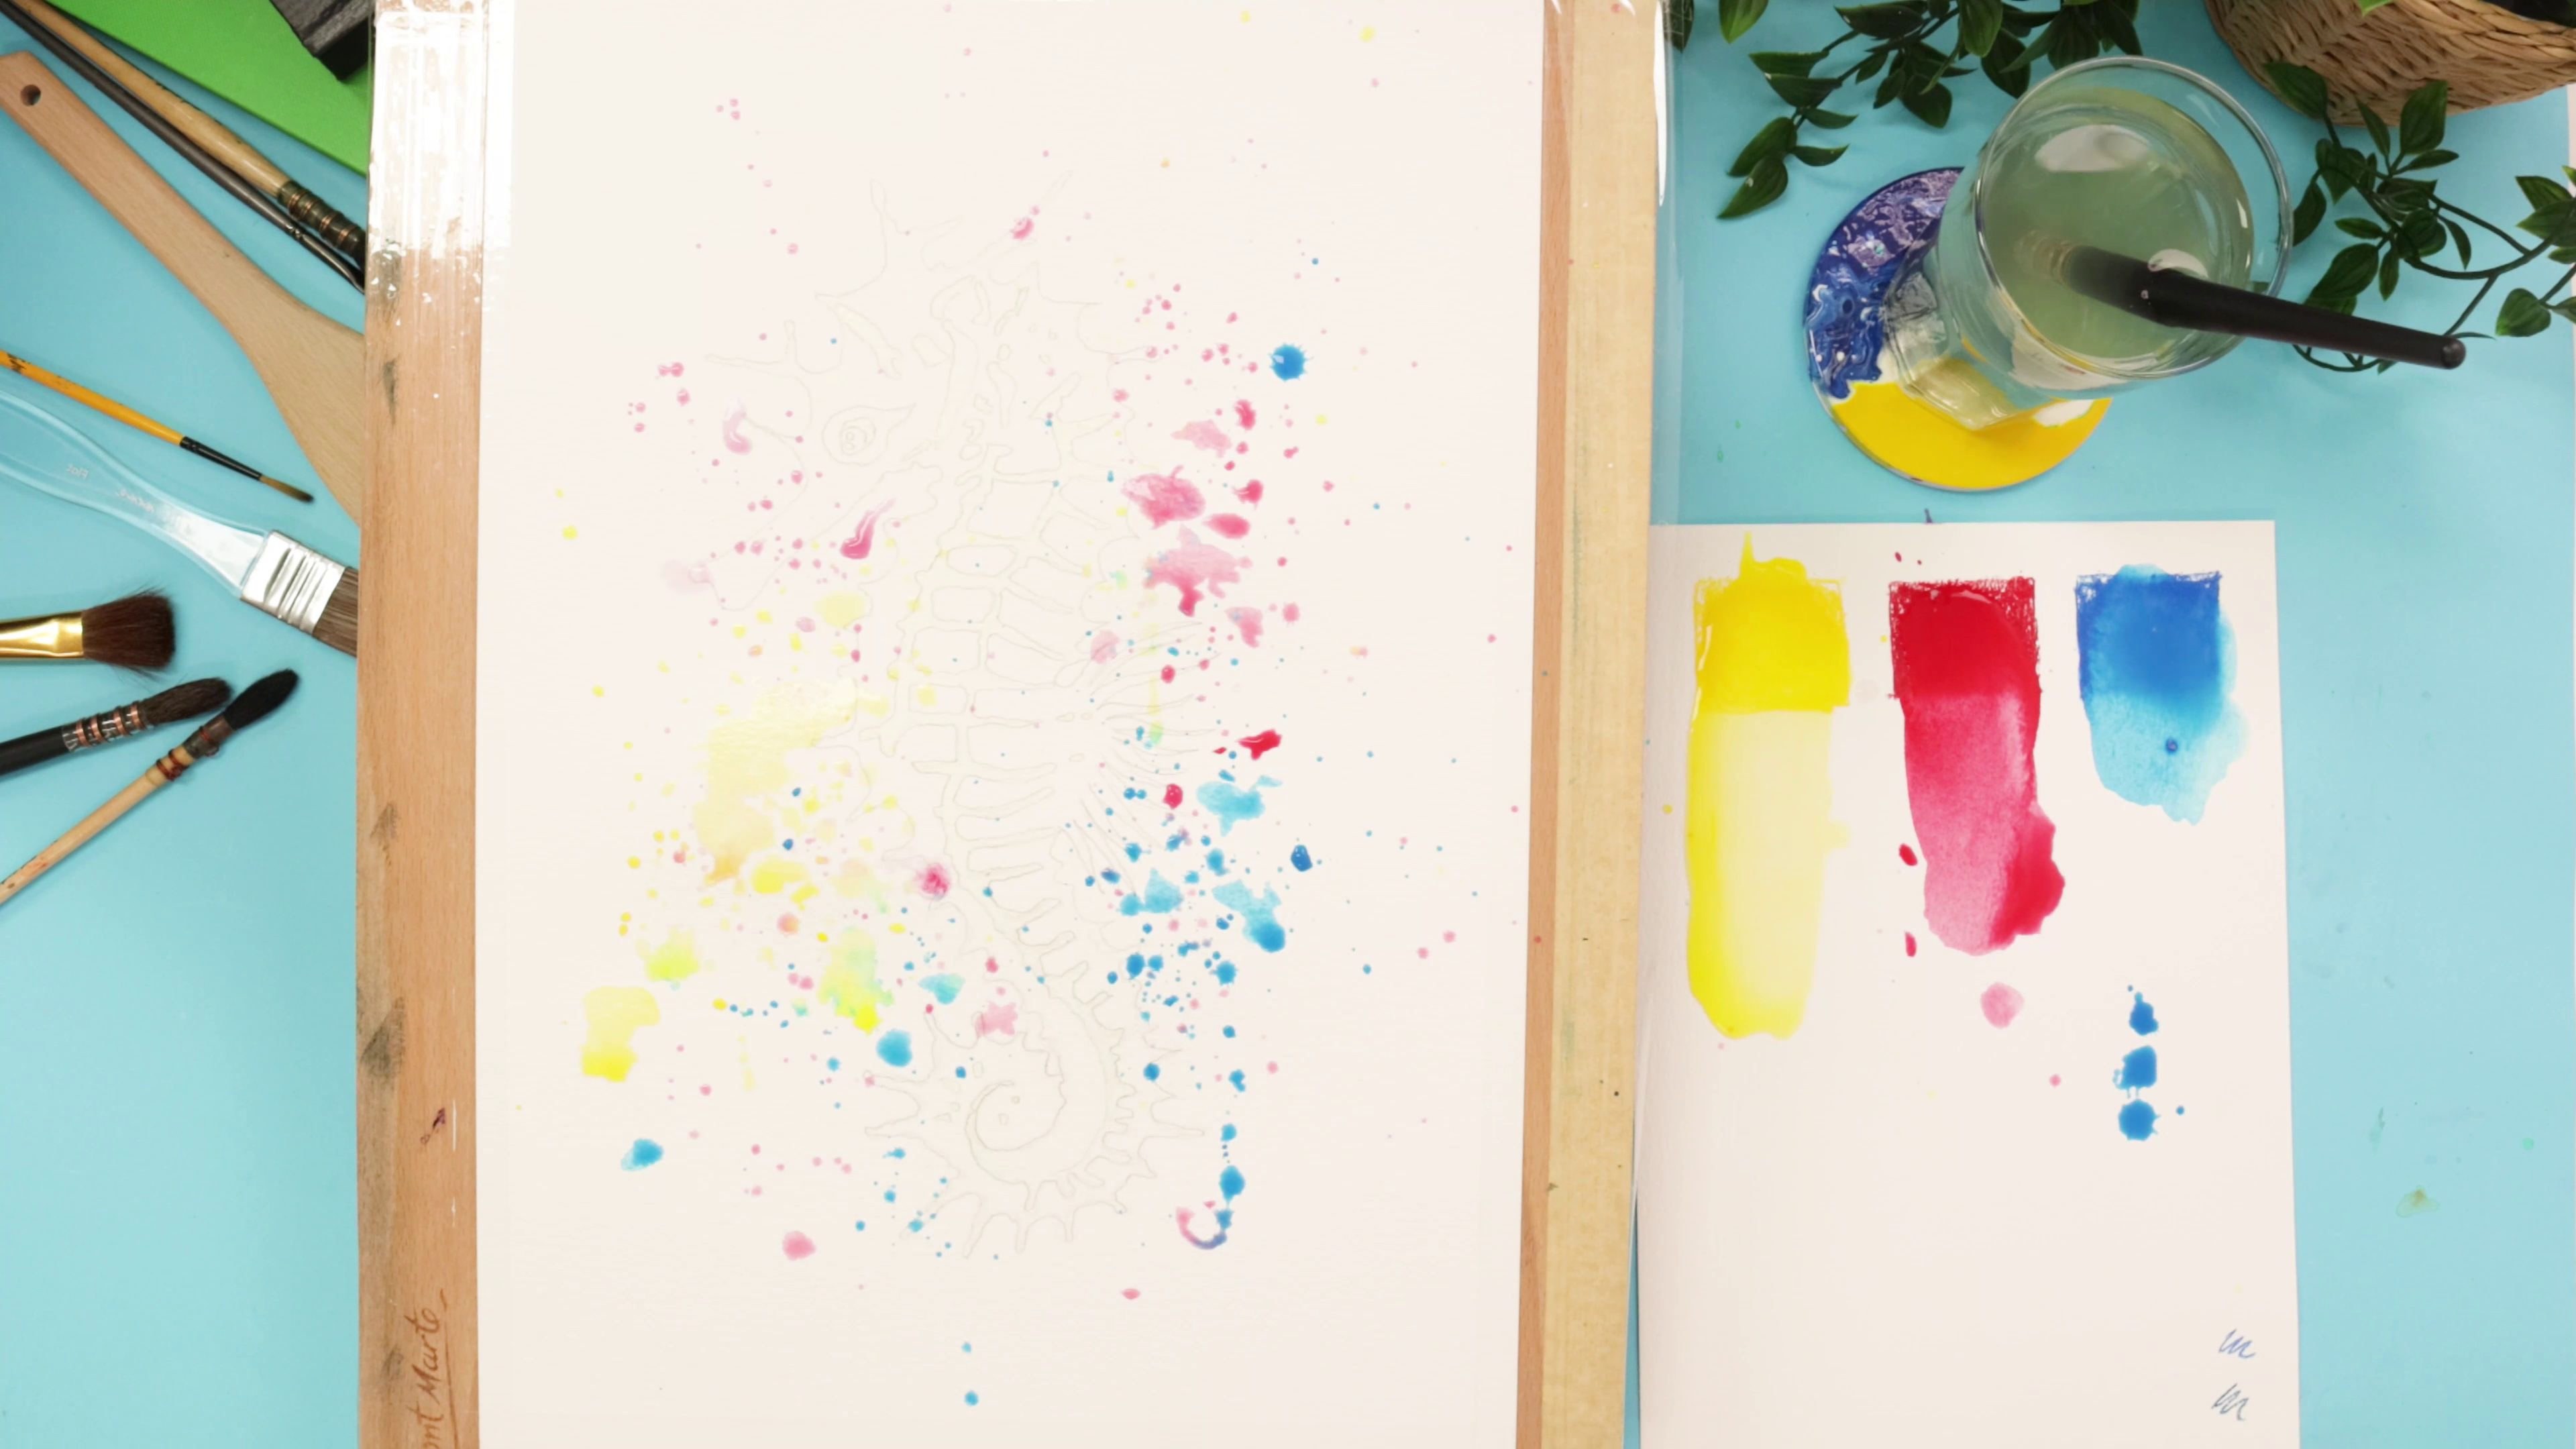
- Tape the watercolour paper to your drawing board or table using packing tape to help minimise warping
- Use your Woodless Watercolour Pencils to create large colour swatches on a separate piece of paper (Cadmium Yellow, Crimson, Cerulean Blue)
- Use a mop brush dipped in water to pick up the colour from the swatches and flick it onto the paper
- Start with yellow, then red, then blue to add colour around the seahorse
- Let the background dry fully
Step 5: Seahorse colouring
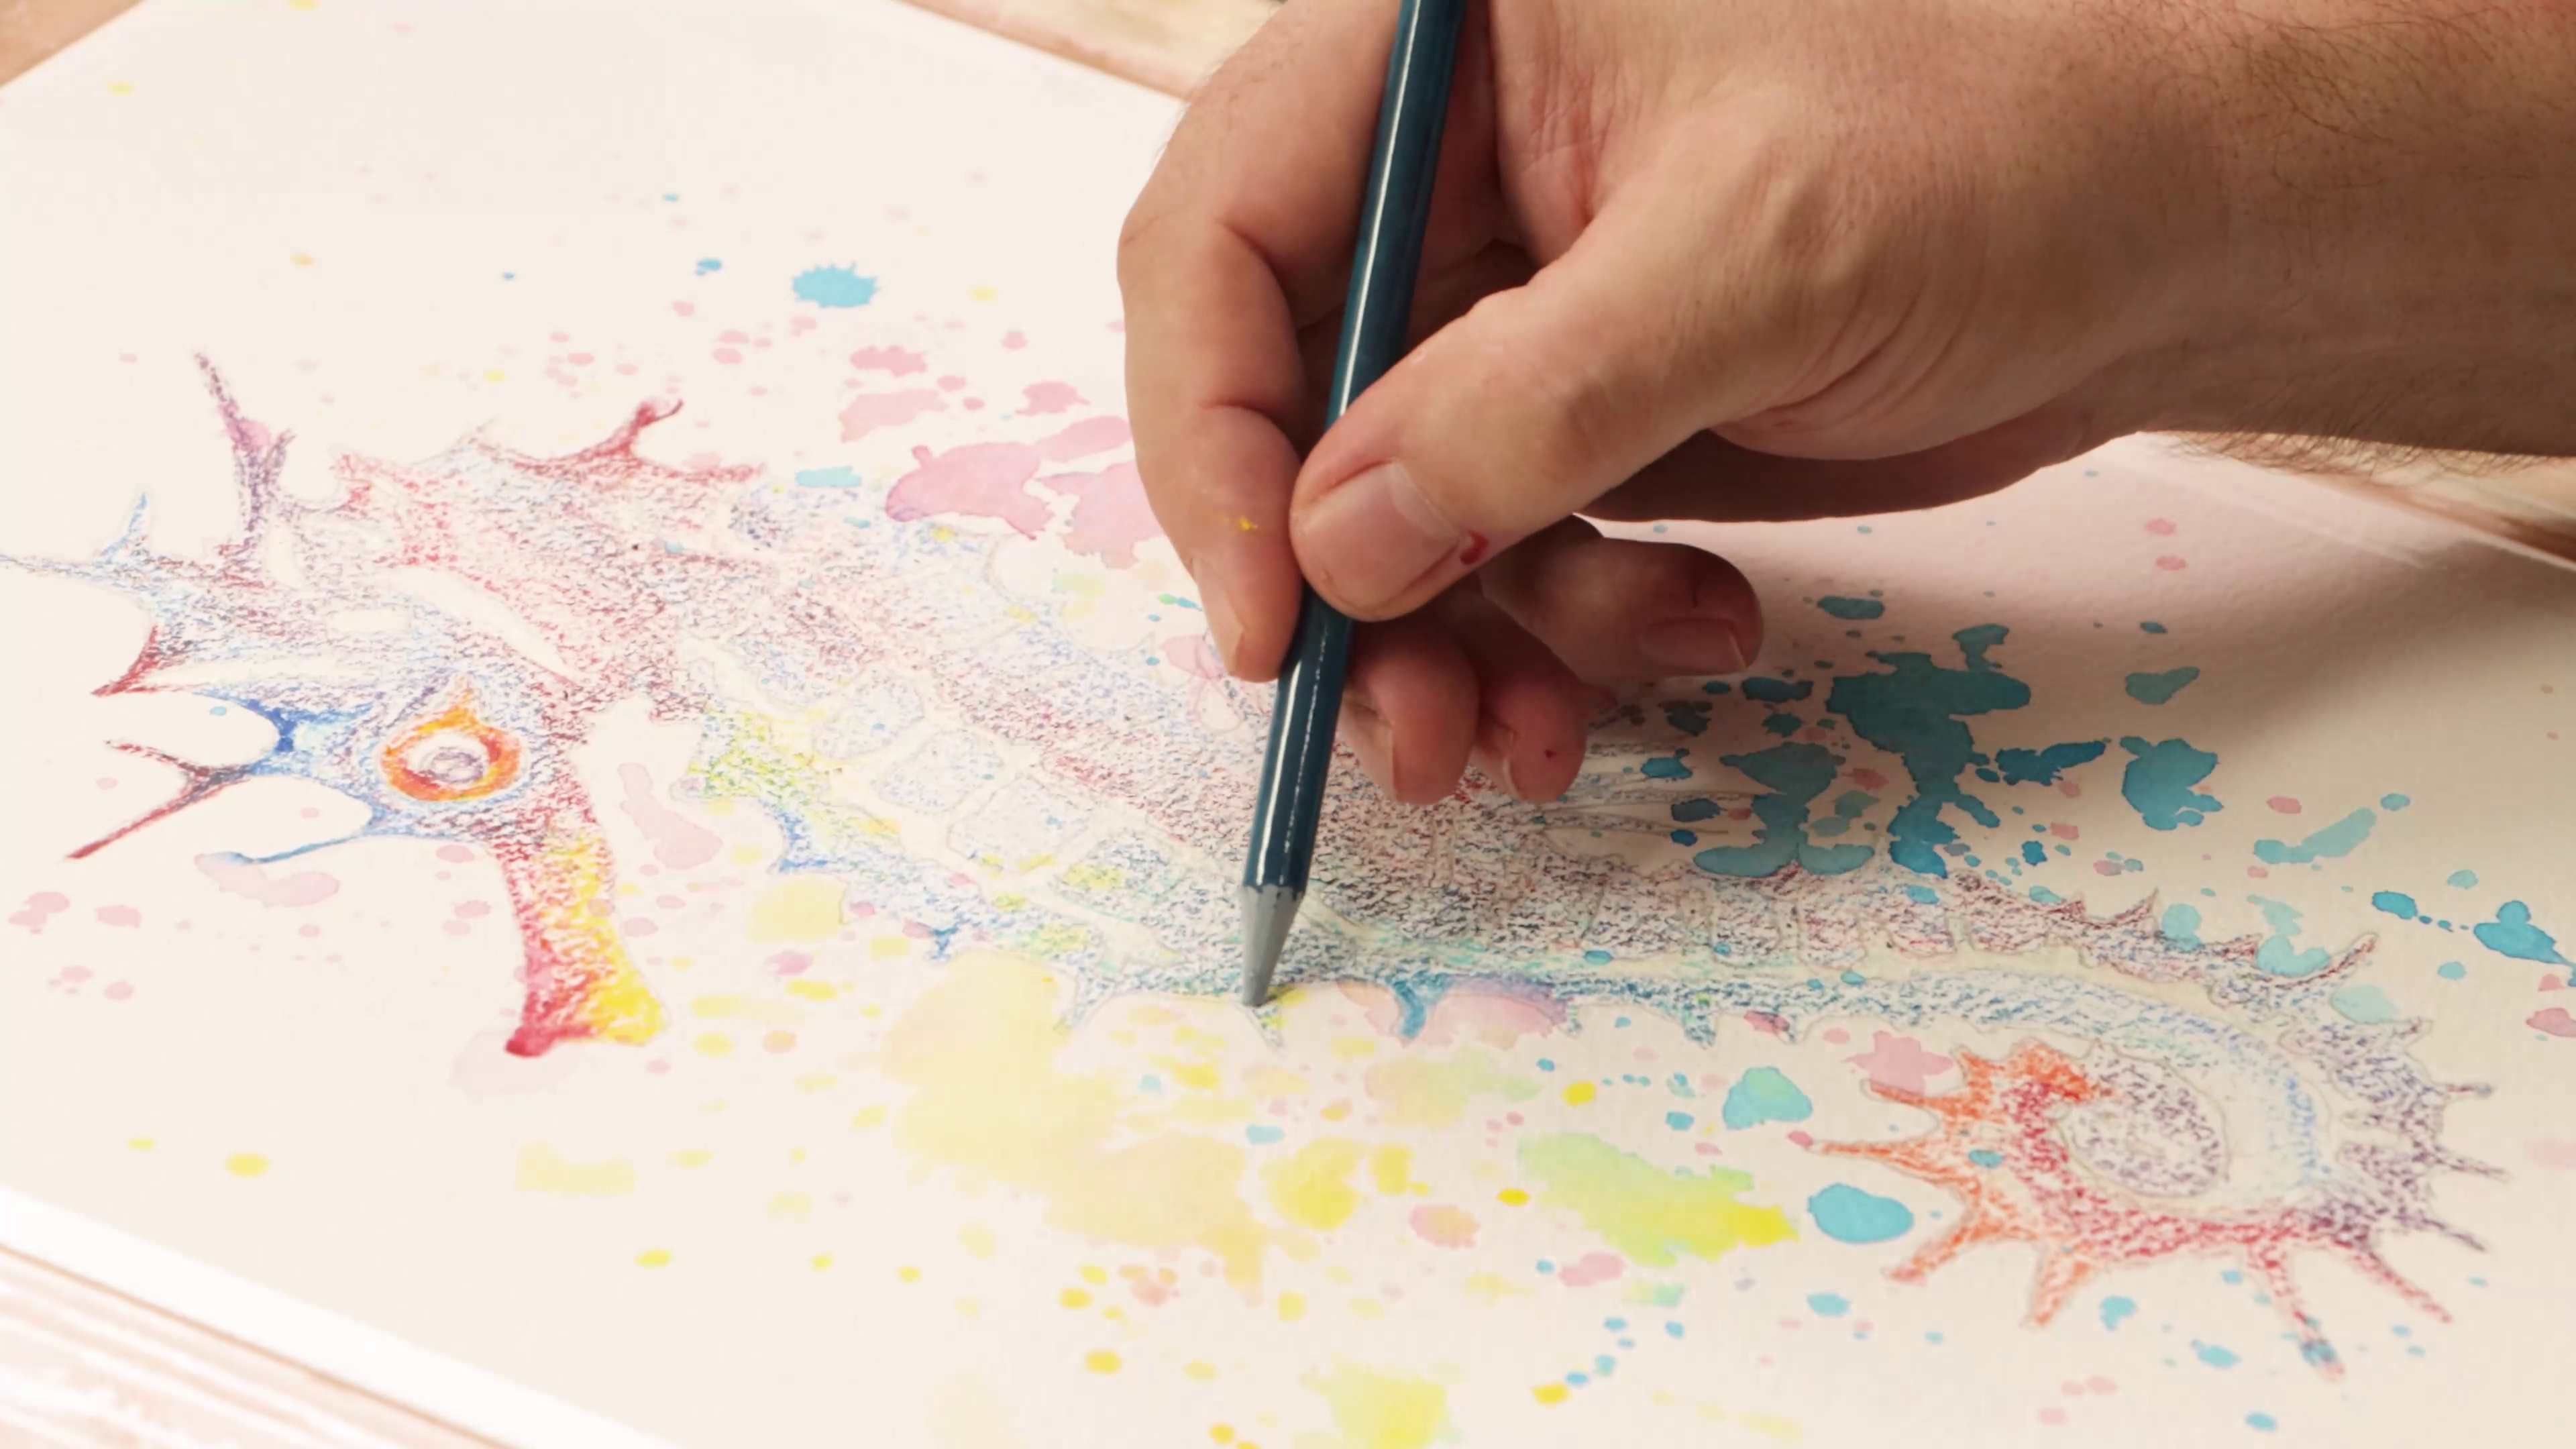
- Using the pencils directly on the paper, colour in the seahorse:
- Crimson on the muzzle
- Cadmium Yellow blending into the Crimson
- Cerulean Blue along the body
- Orange near the eye plus Lavender on the eye with touches of Yellow
- Switch between Crimson, Scarlet, Cerulean and Lavender down the body
- Phthalo Green for the belly
- Darken the spine area with Scarlet and Yellow
Step 6: Blending watercolour
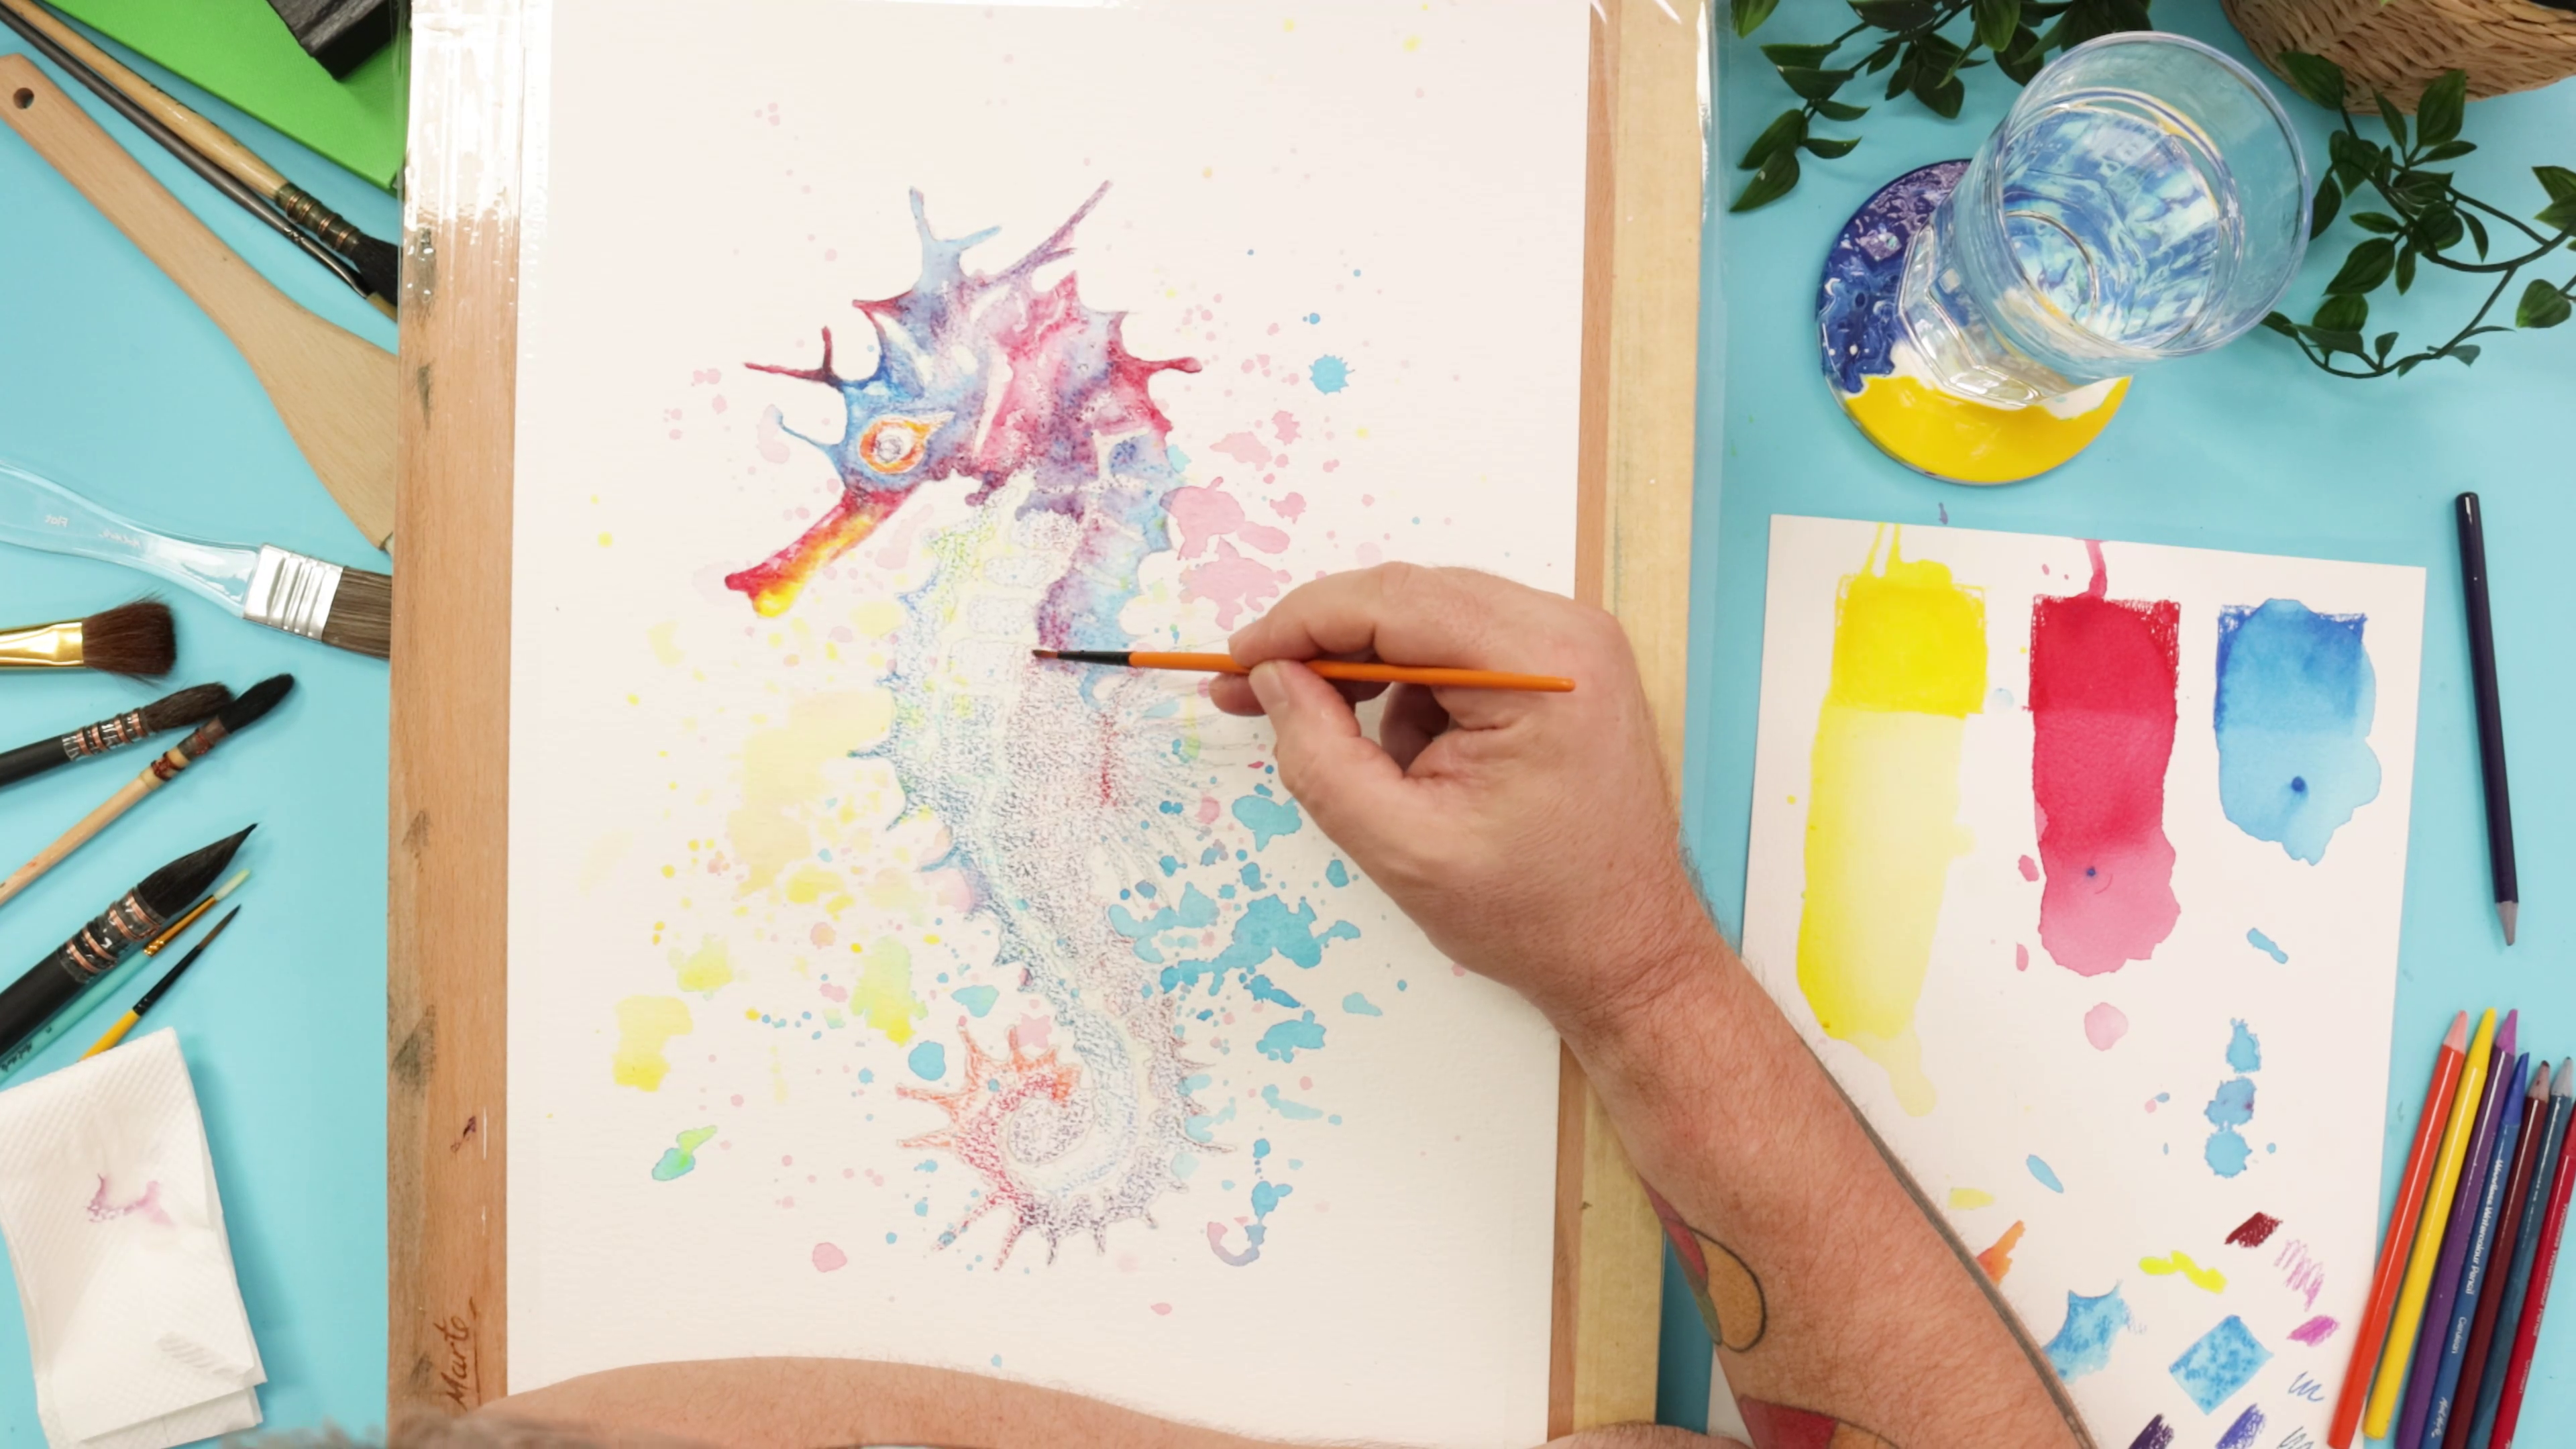
- Use a small round brush dipped in water to activate and blend the pencil marks
- Clean your brush between colours
- Blend slowly and leave a little texture from the pencil marks
- Add a touch of black to the eye for contrast
Step 7: Remove masking fluid and add details
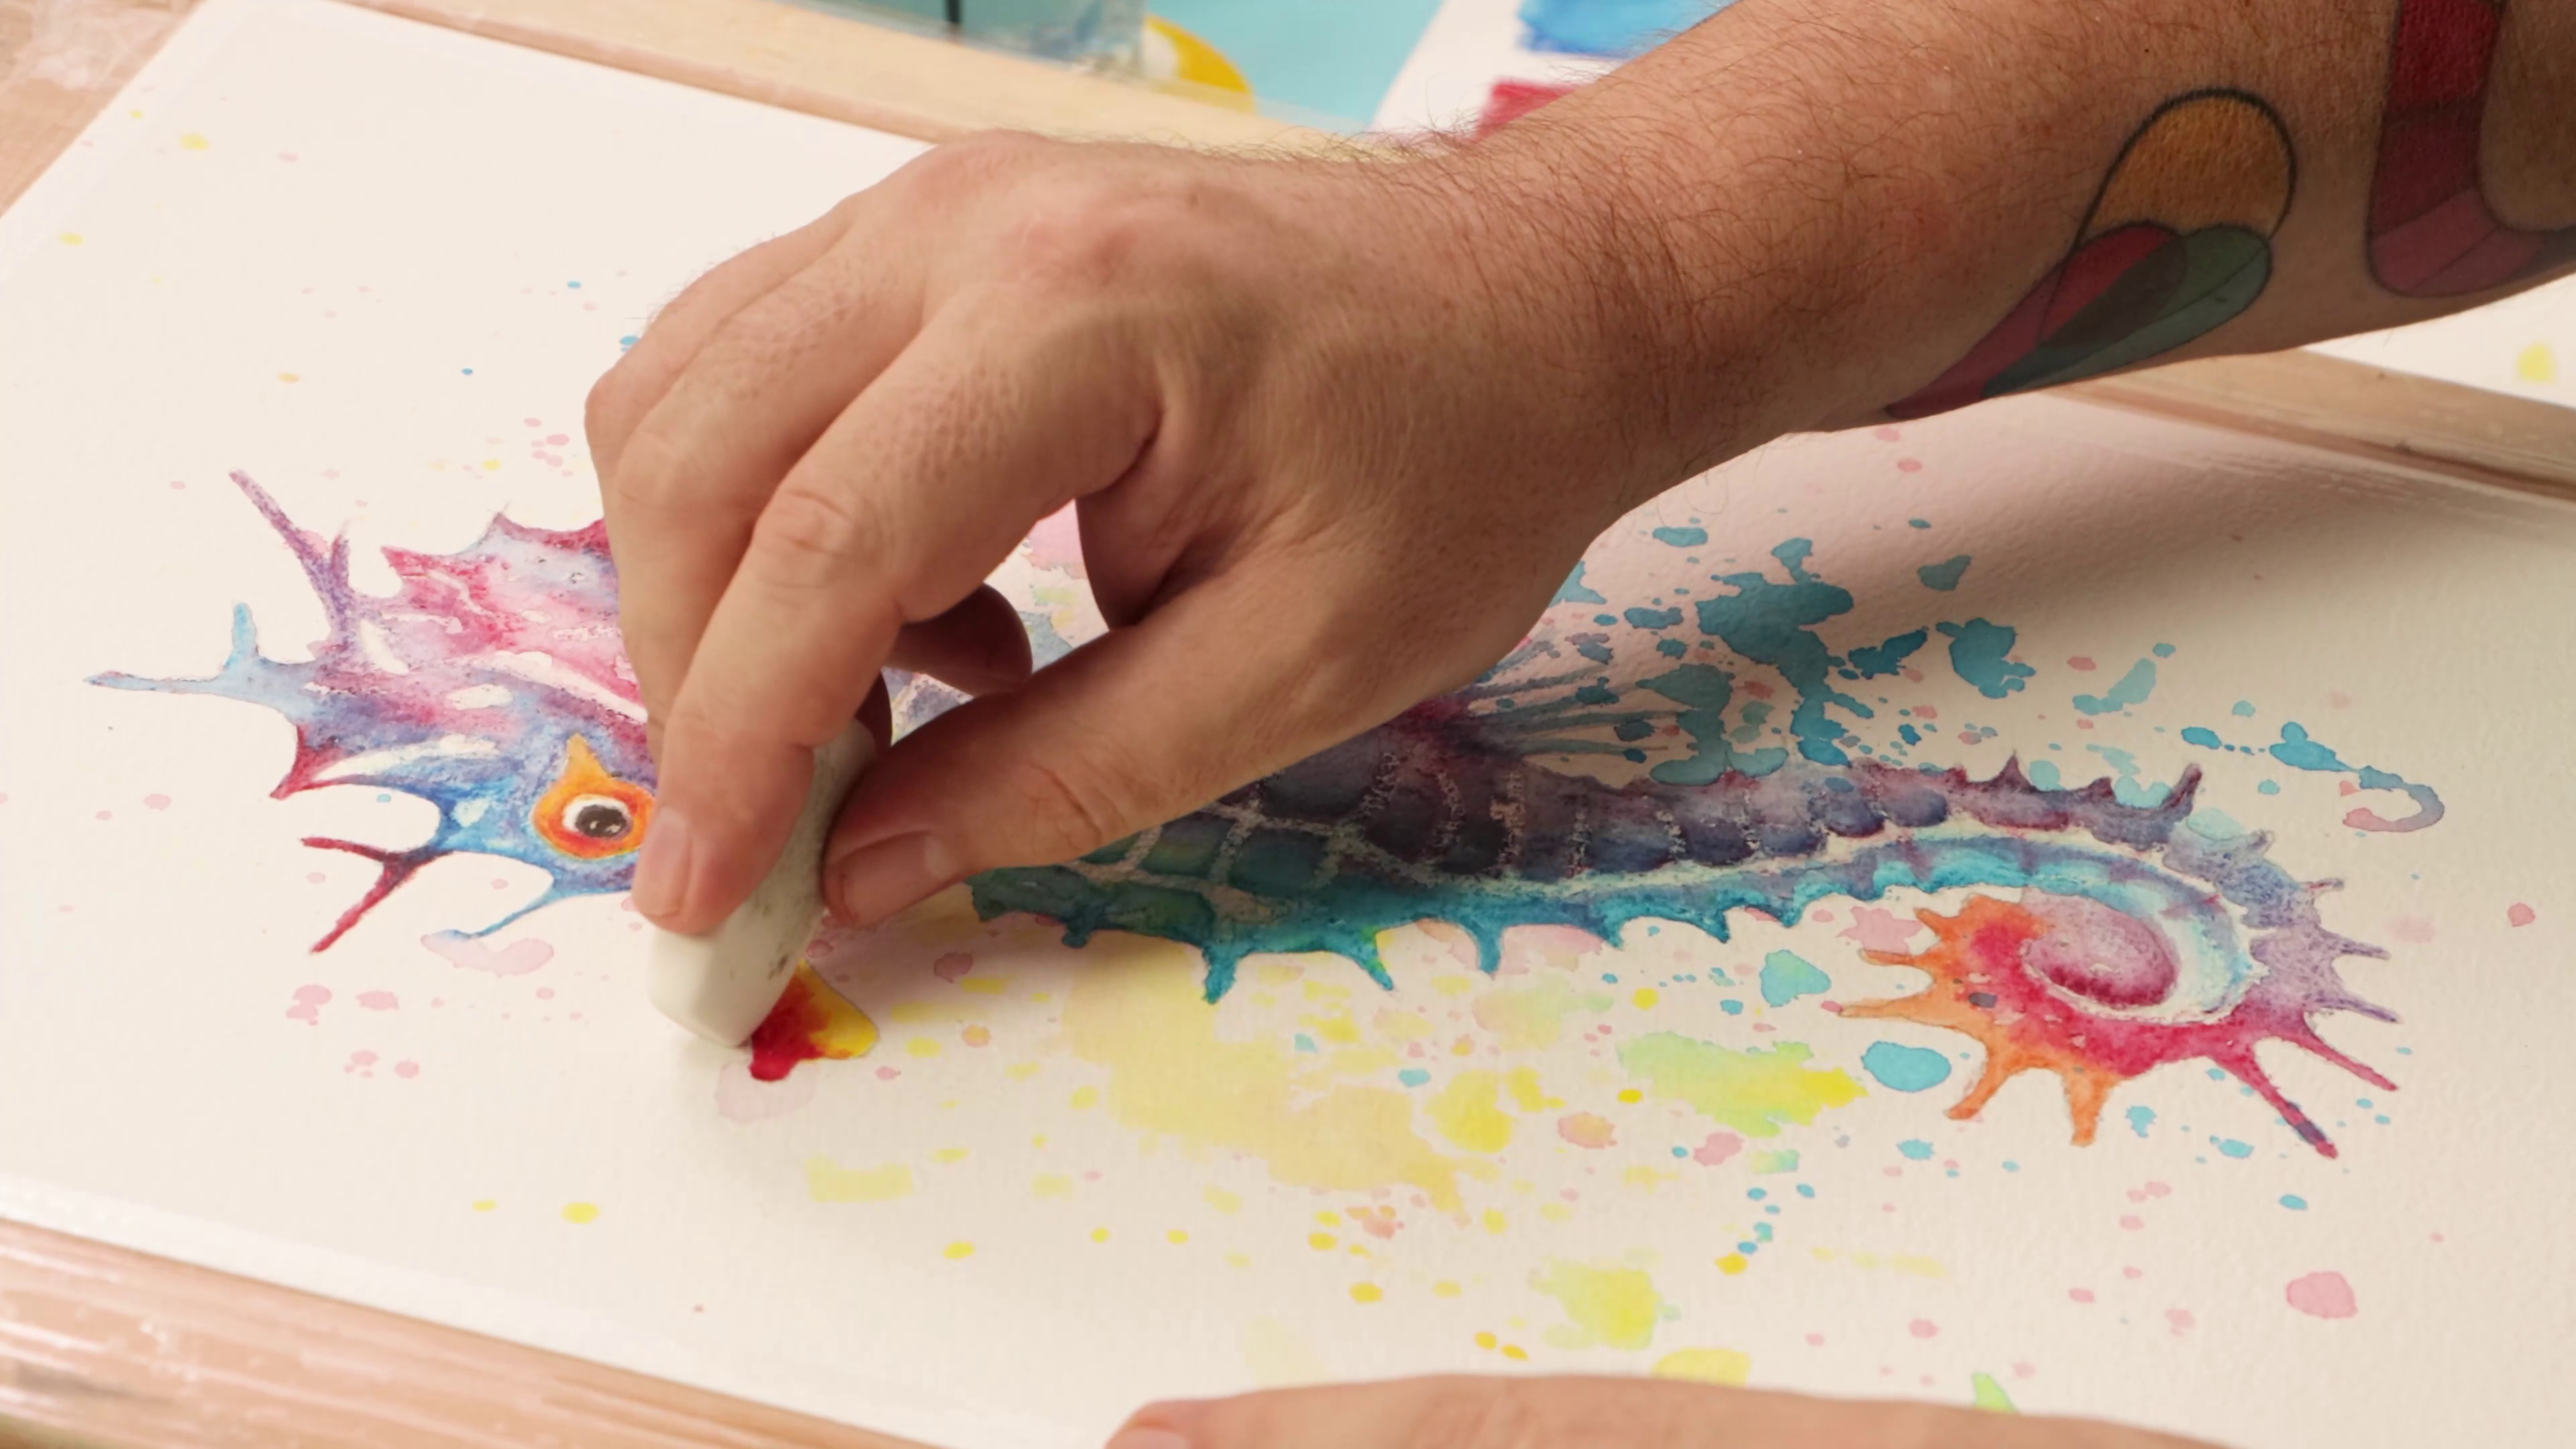
- Once fully dry, gently peel off the masking fluid with your finger or an eraser
- Use Cerulean and Scarlet to accentuate the seahorse skeleton
- Dip the tip of your pencil into water and draw directly onto the paper
- This creates bold, precise lines—great for the spines along the seahorse's head and back
Step 8: Final touches:
- Deepen your colours or add highlights where needed
- Let everything dry completely and remove from the drawing board
Done! You’ve created a playful, textured seahorse using watercolour pencil techniques. This project is a great intro to working with masking fluid, blending with water, and layering colour—and who doesn’t love a rainbow seahorse? 🌈🌊
- Woodless Watercolour Pencils Premium 24pc
- A3 Cotton Watercolour Paper (use the rough side)
- Masking Fluid + inexpensive brush
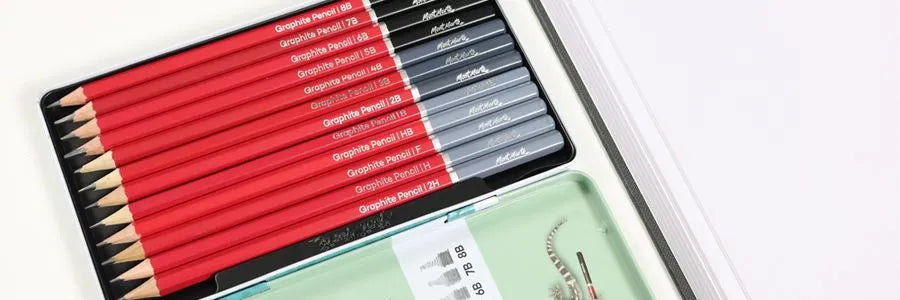
- Pencils (6B for transferring outline and F grade for finessing outline)
- Tear-off Paper Palette or extra sheet of watercolour paper
- Watercolour brushes (Mop, Round, Detail)
- A3 Drawing Board (optional, but helpful)
- Reference outline (download from Mont Marte website)
- Packing tape or paper tape
You may also like
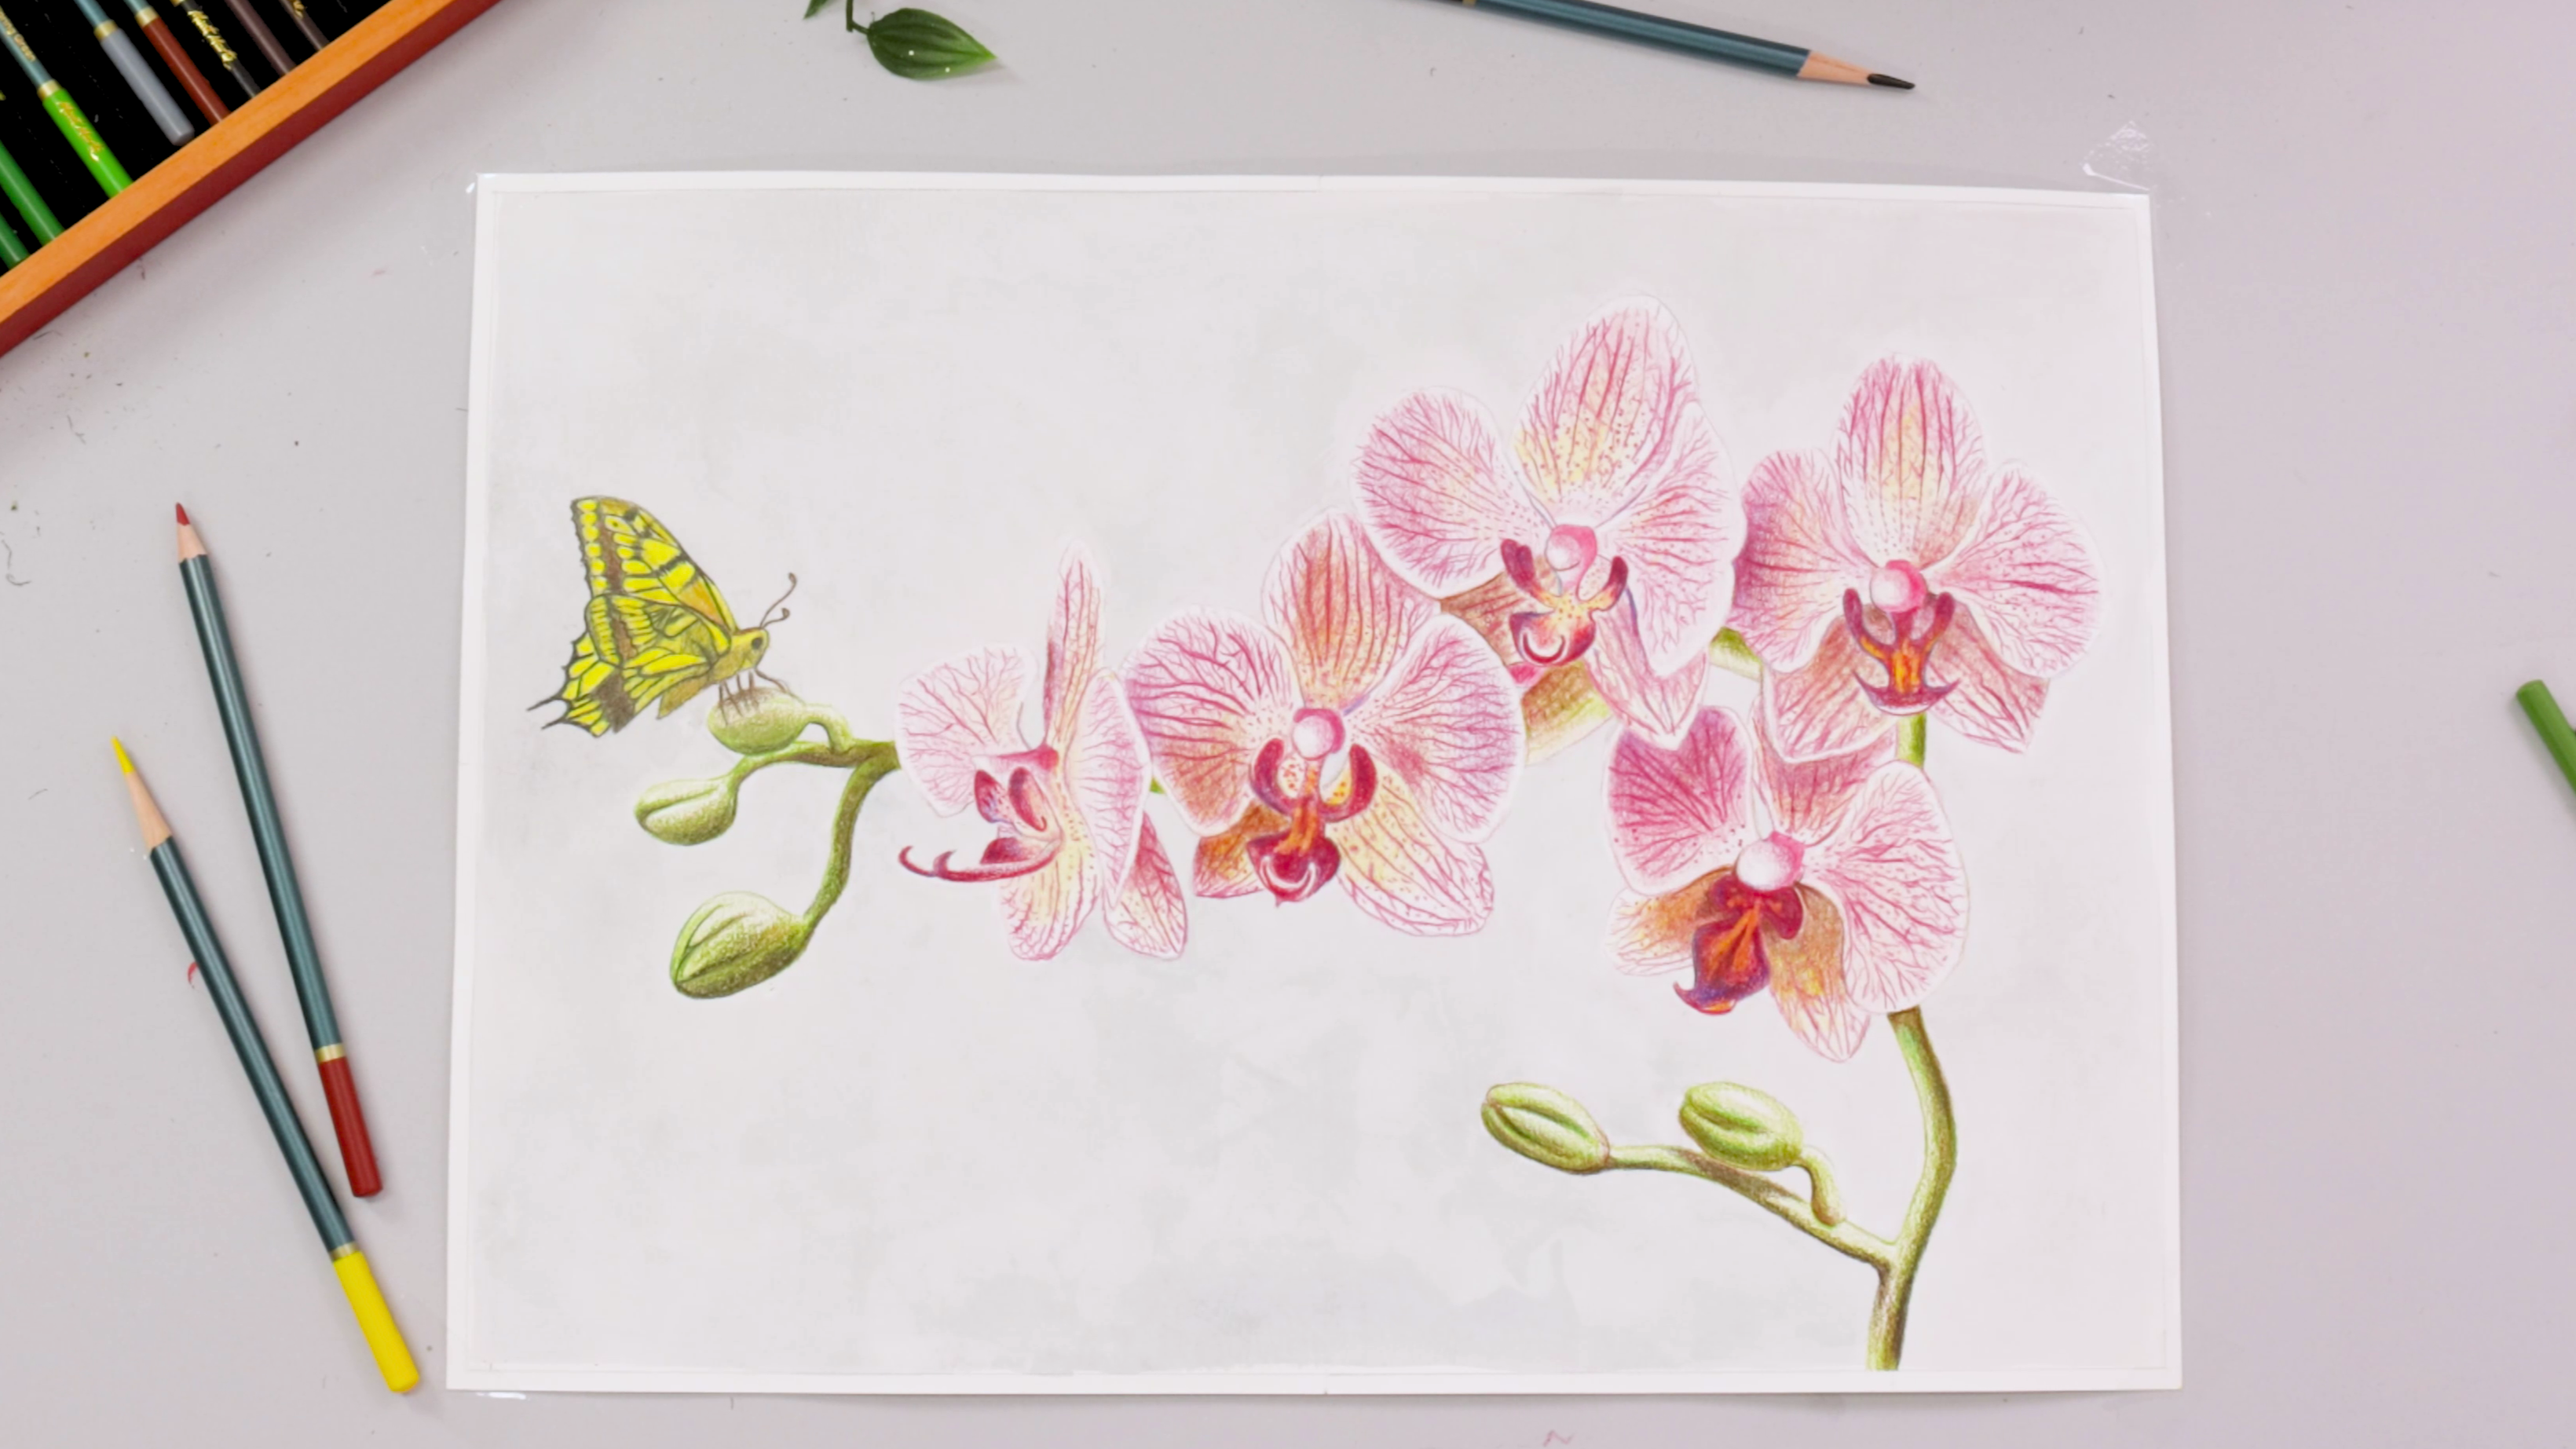
How to draw an orchid with coloured pencils
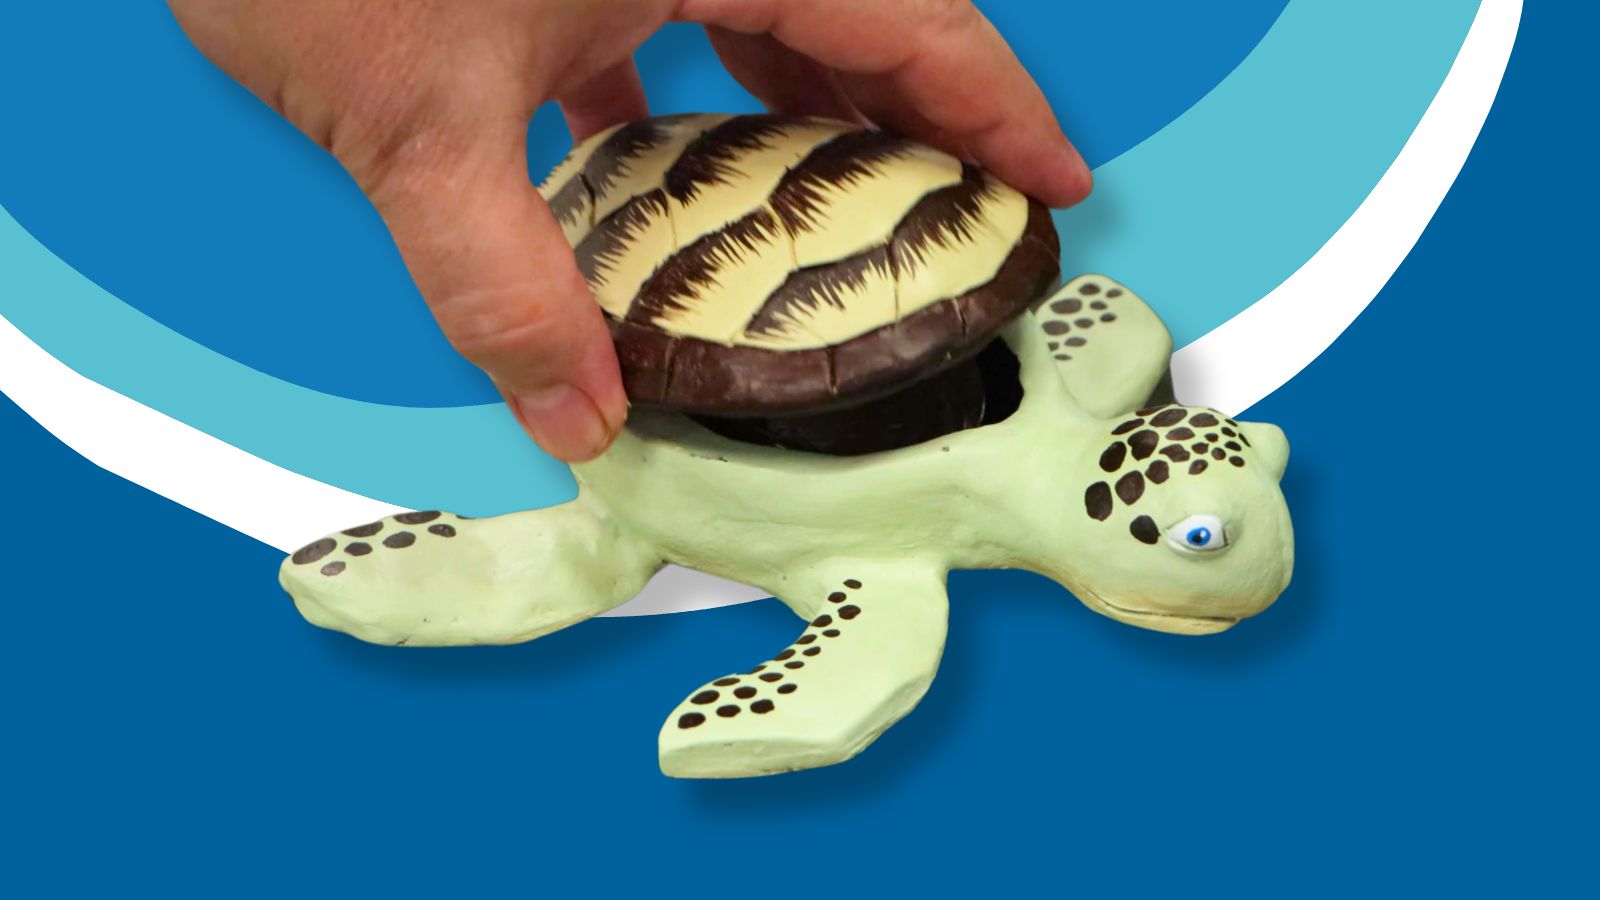
Turtle pinch pot with air dry clay
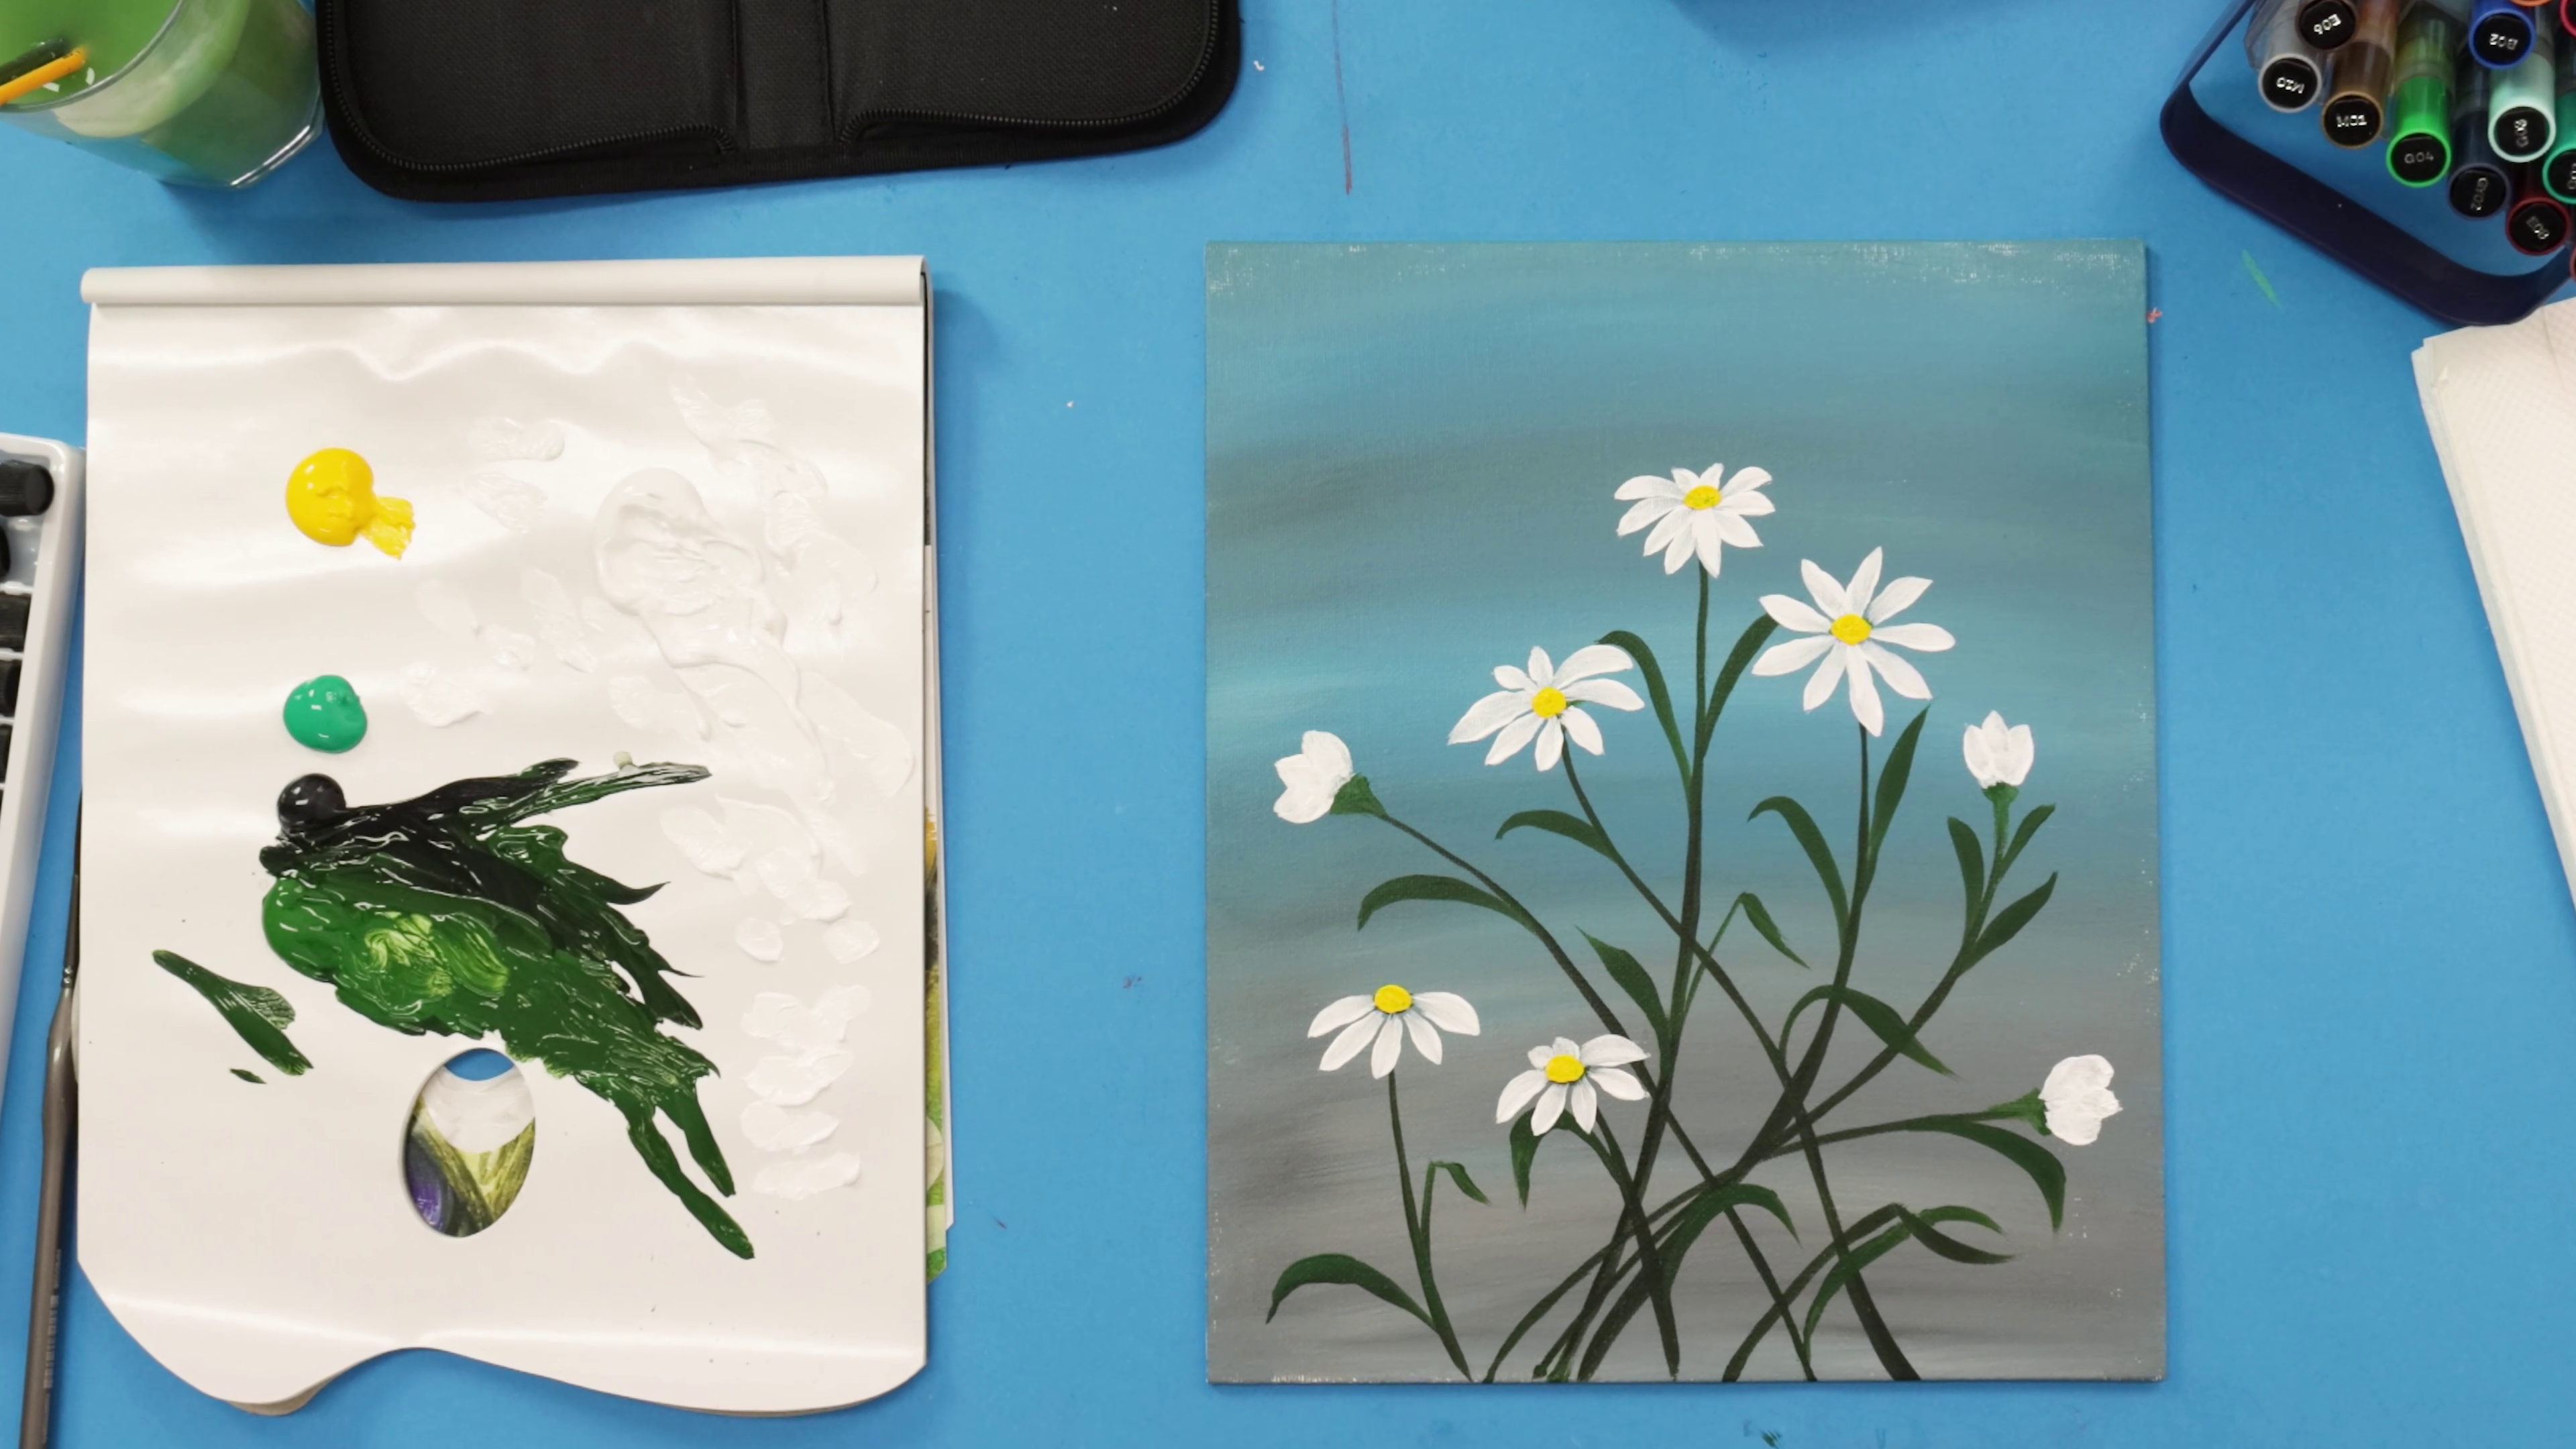
How to paint acrylic flowers for beginners


