


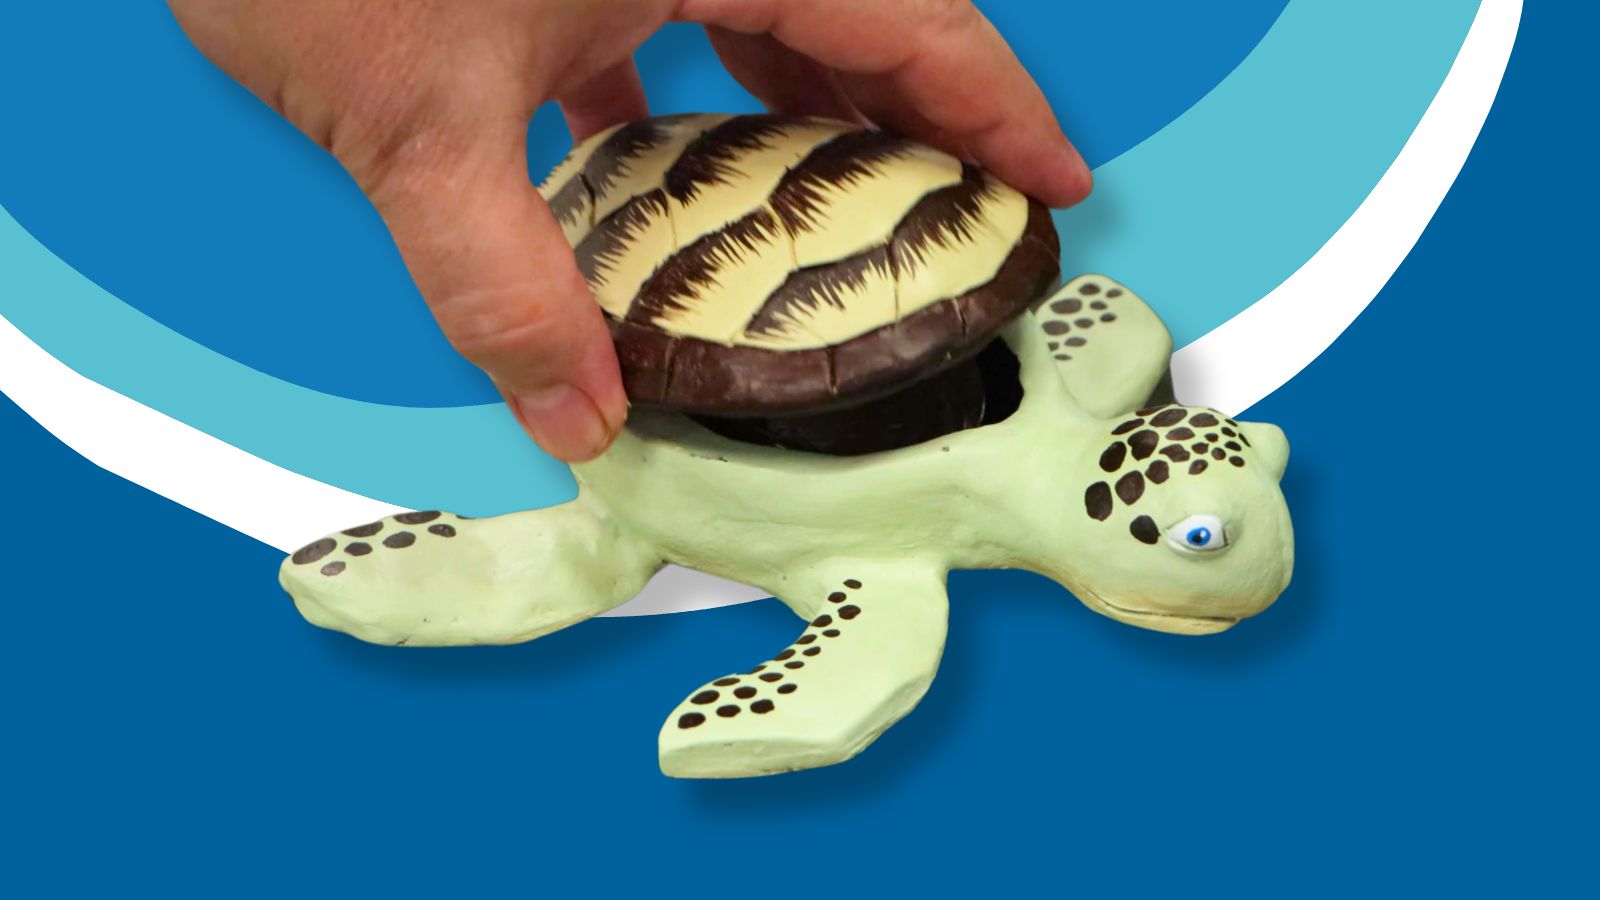
Turtle pinch pot with air dry clay
Step 1: Shaping clay
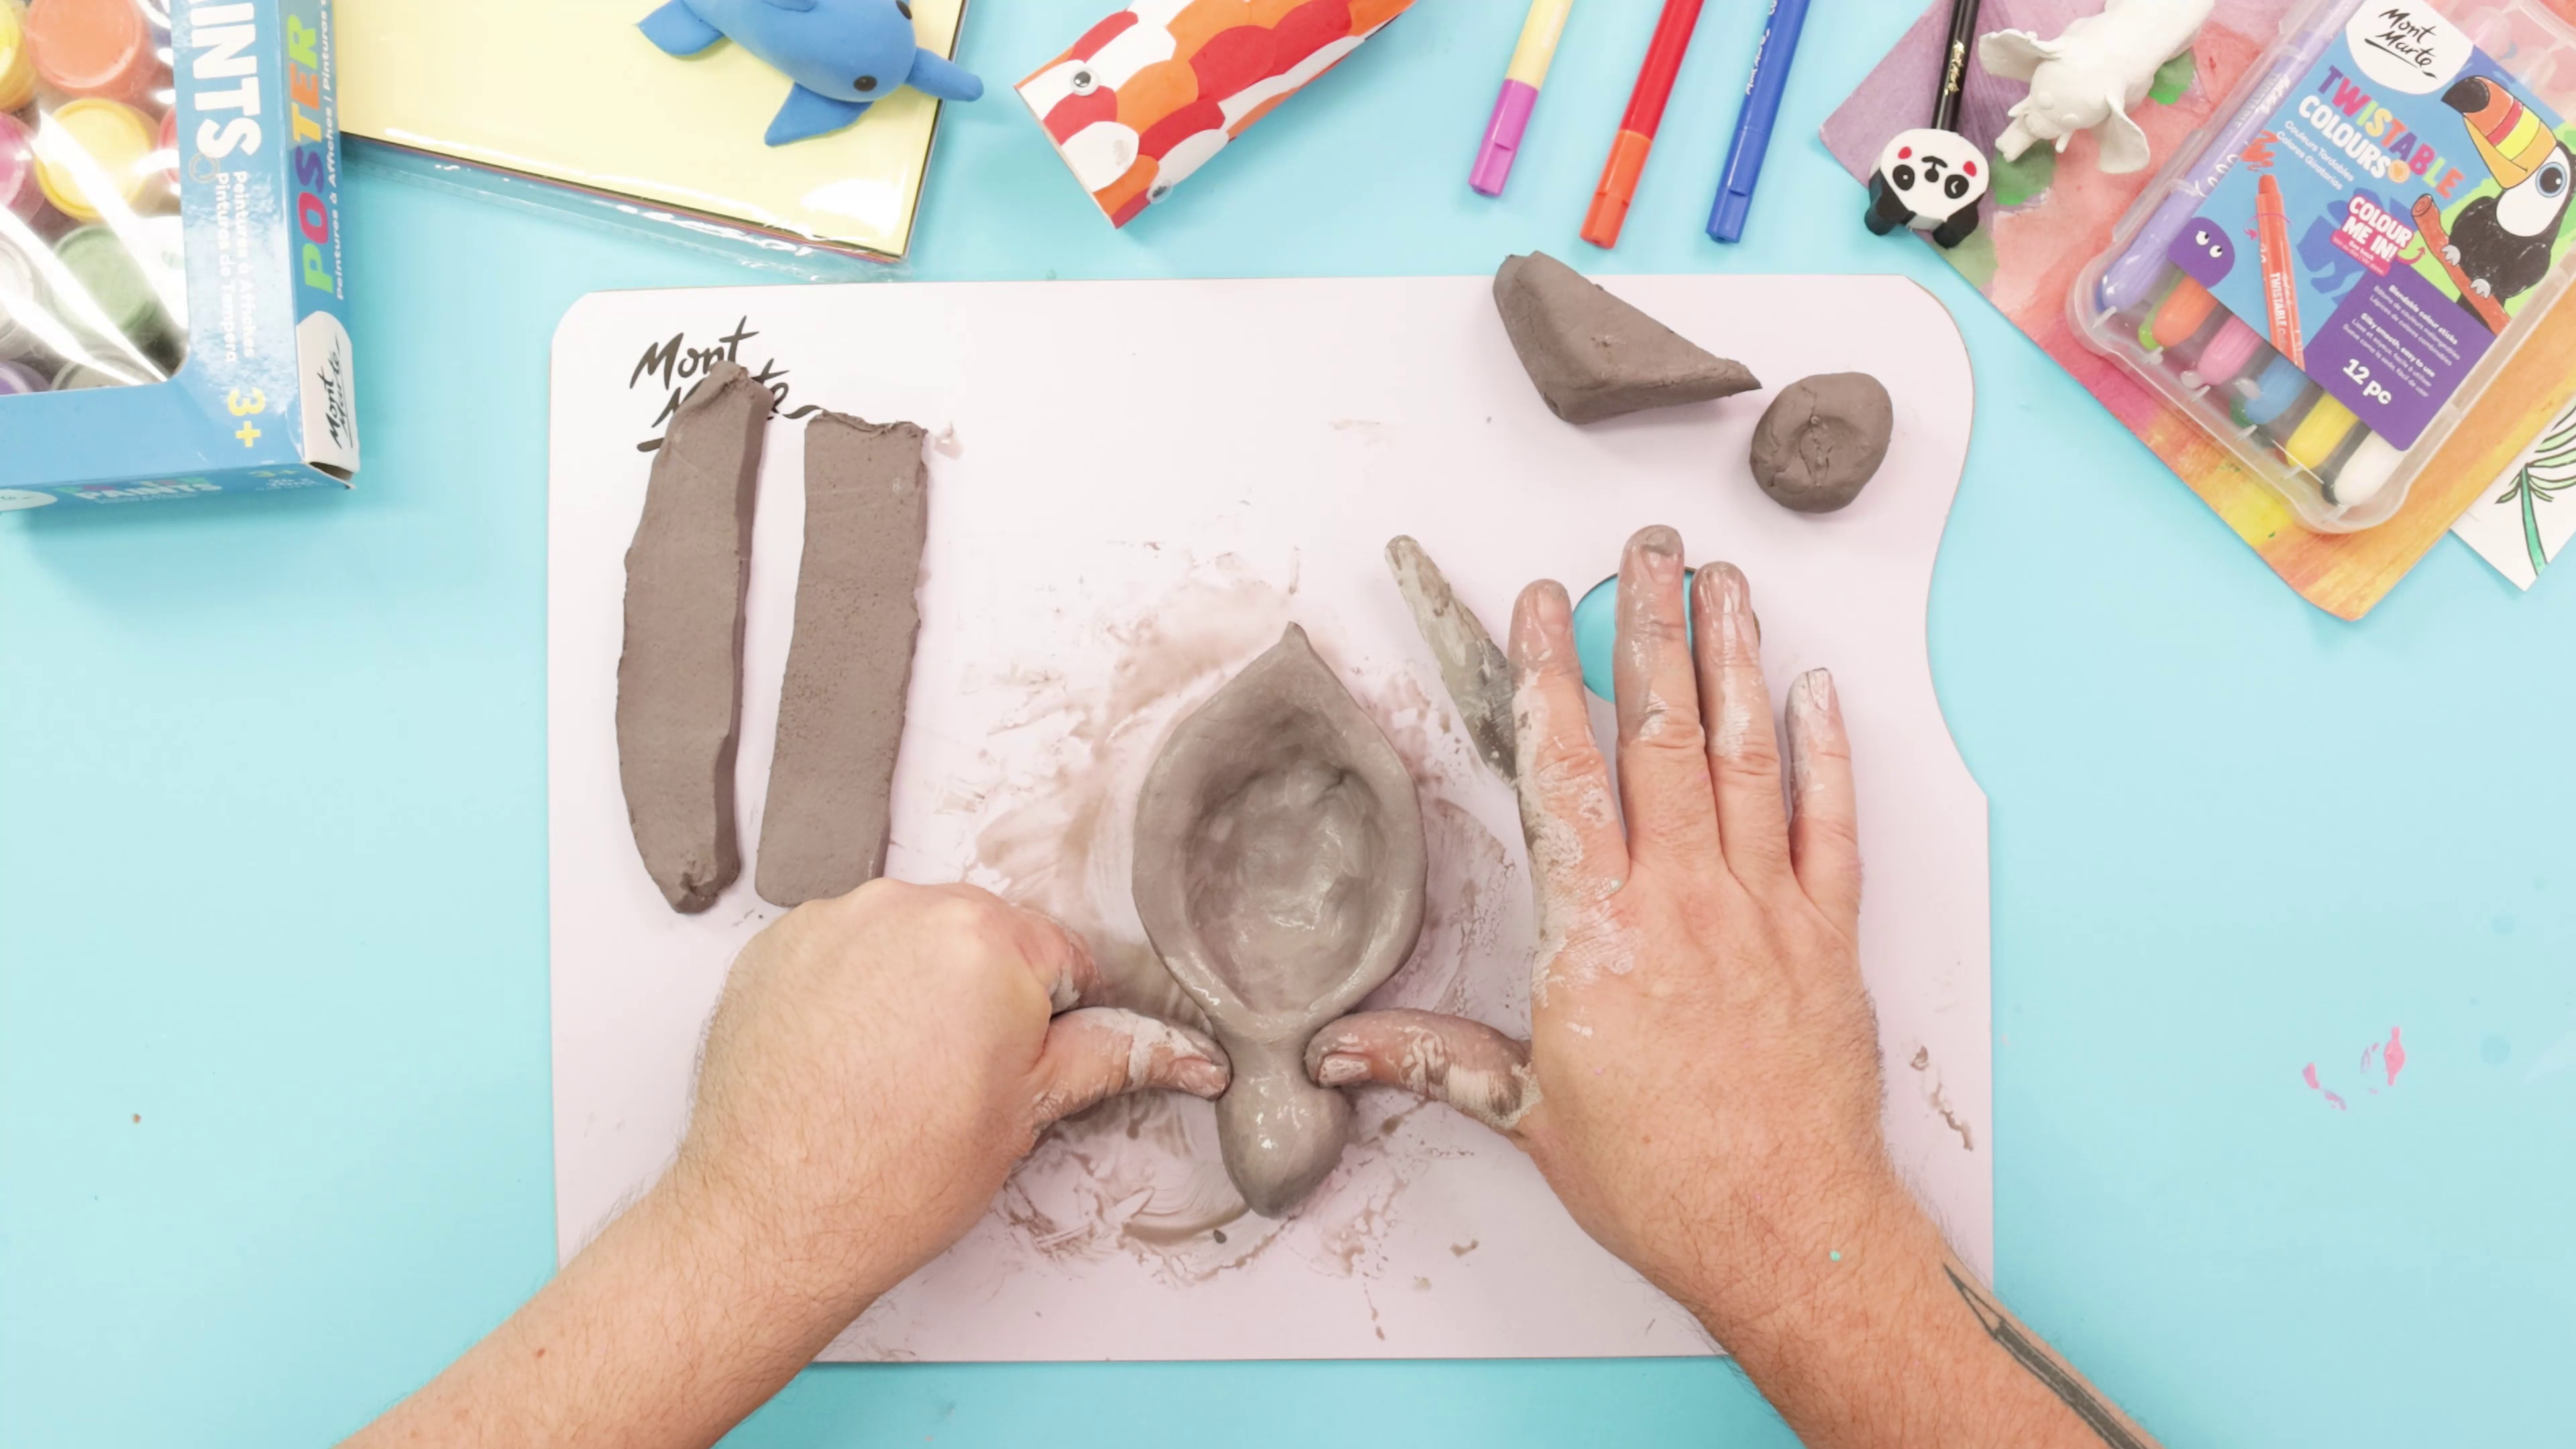
- Set aside two smaller pieces of clay for the flippers
- Use the rest to shape an oval body with a pinched head
- Gently press into the middle to create a shallow bowl shape
- Don’t forget to pinch a small tail at the back
Step 2: Make the flippers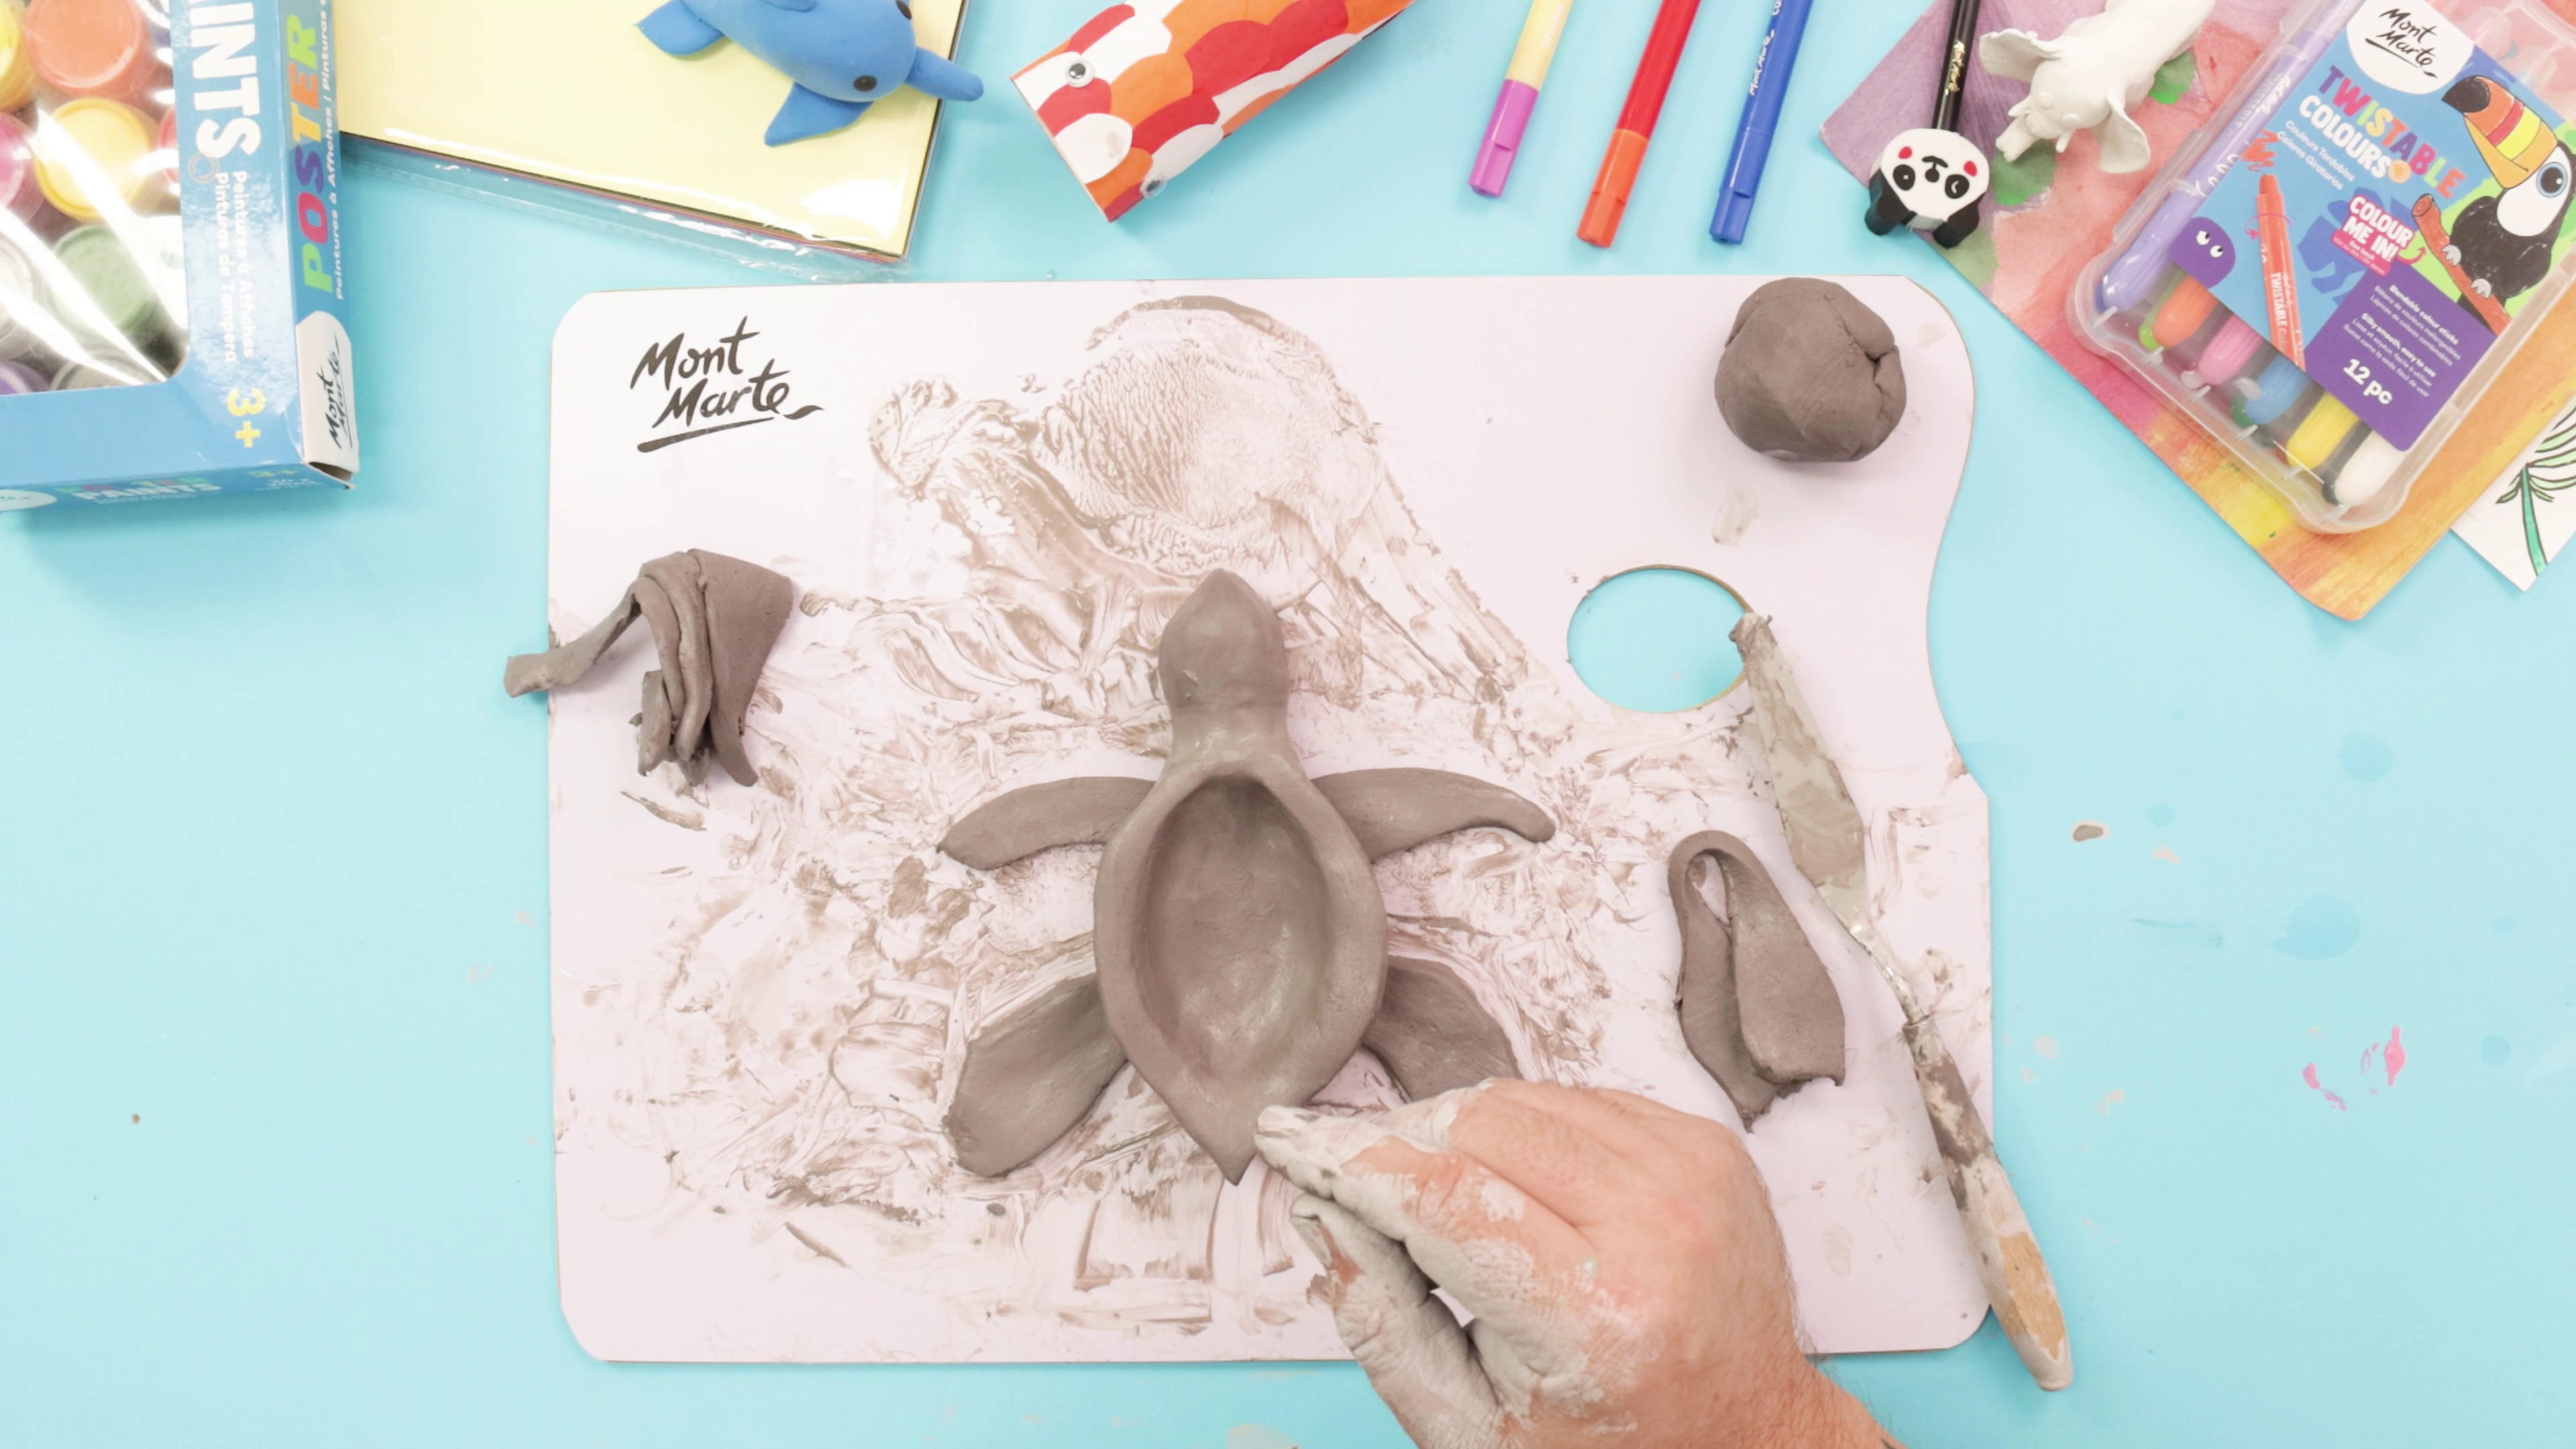
- Flatten the smaller clay pieces into two flipper shapes (not too thin)
- Gently lift the turtle body and press it down onto the flippers
- Adjust and refine the flippers if needed
Step 3: Smoothing air dry clay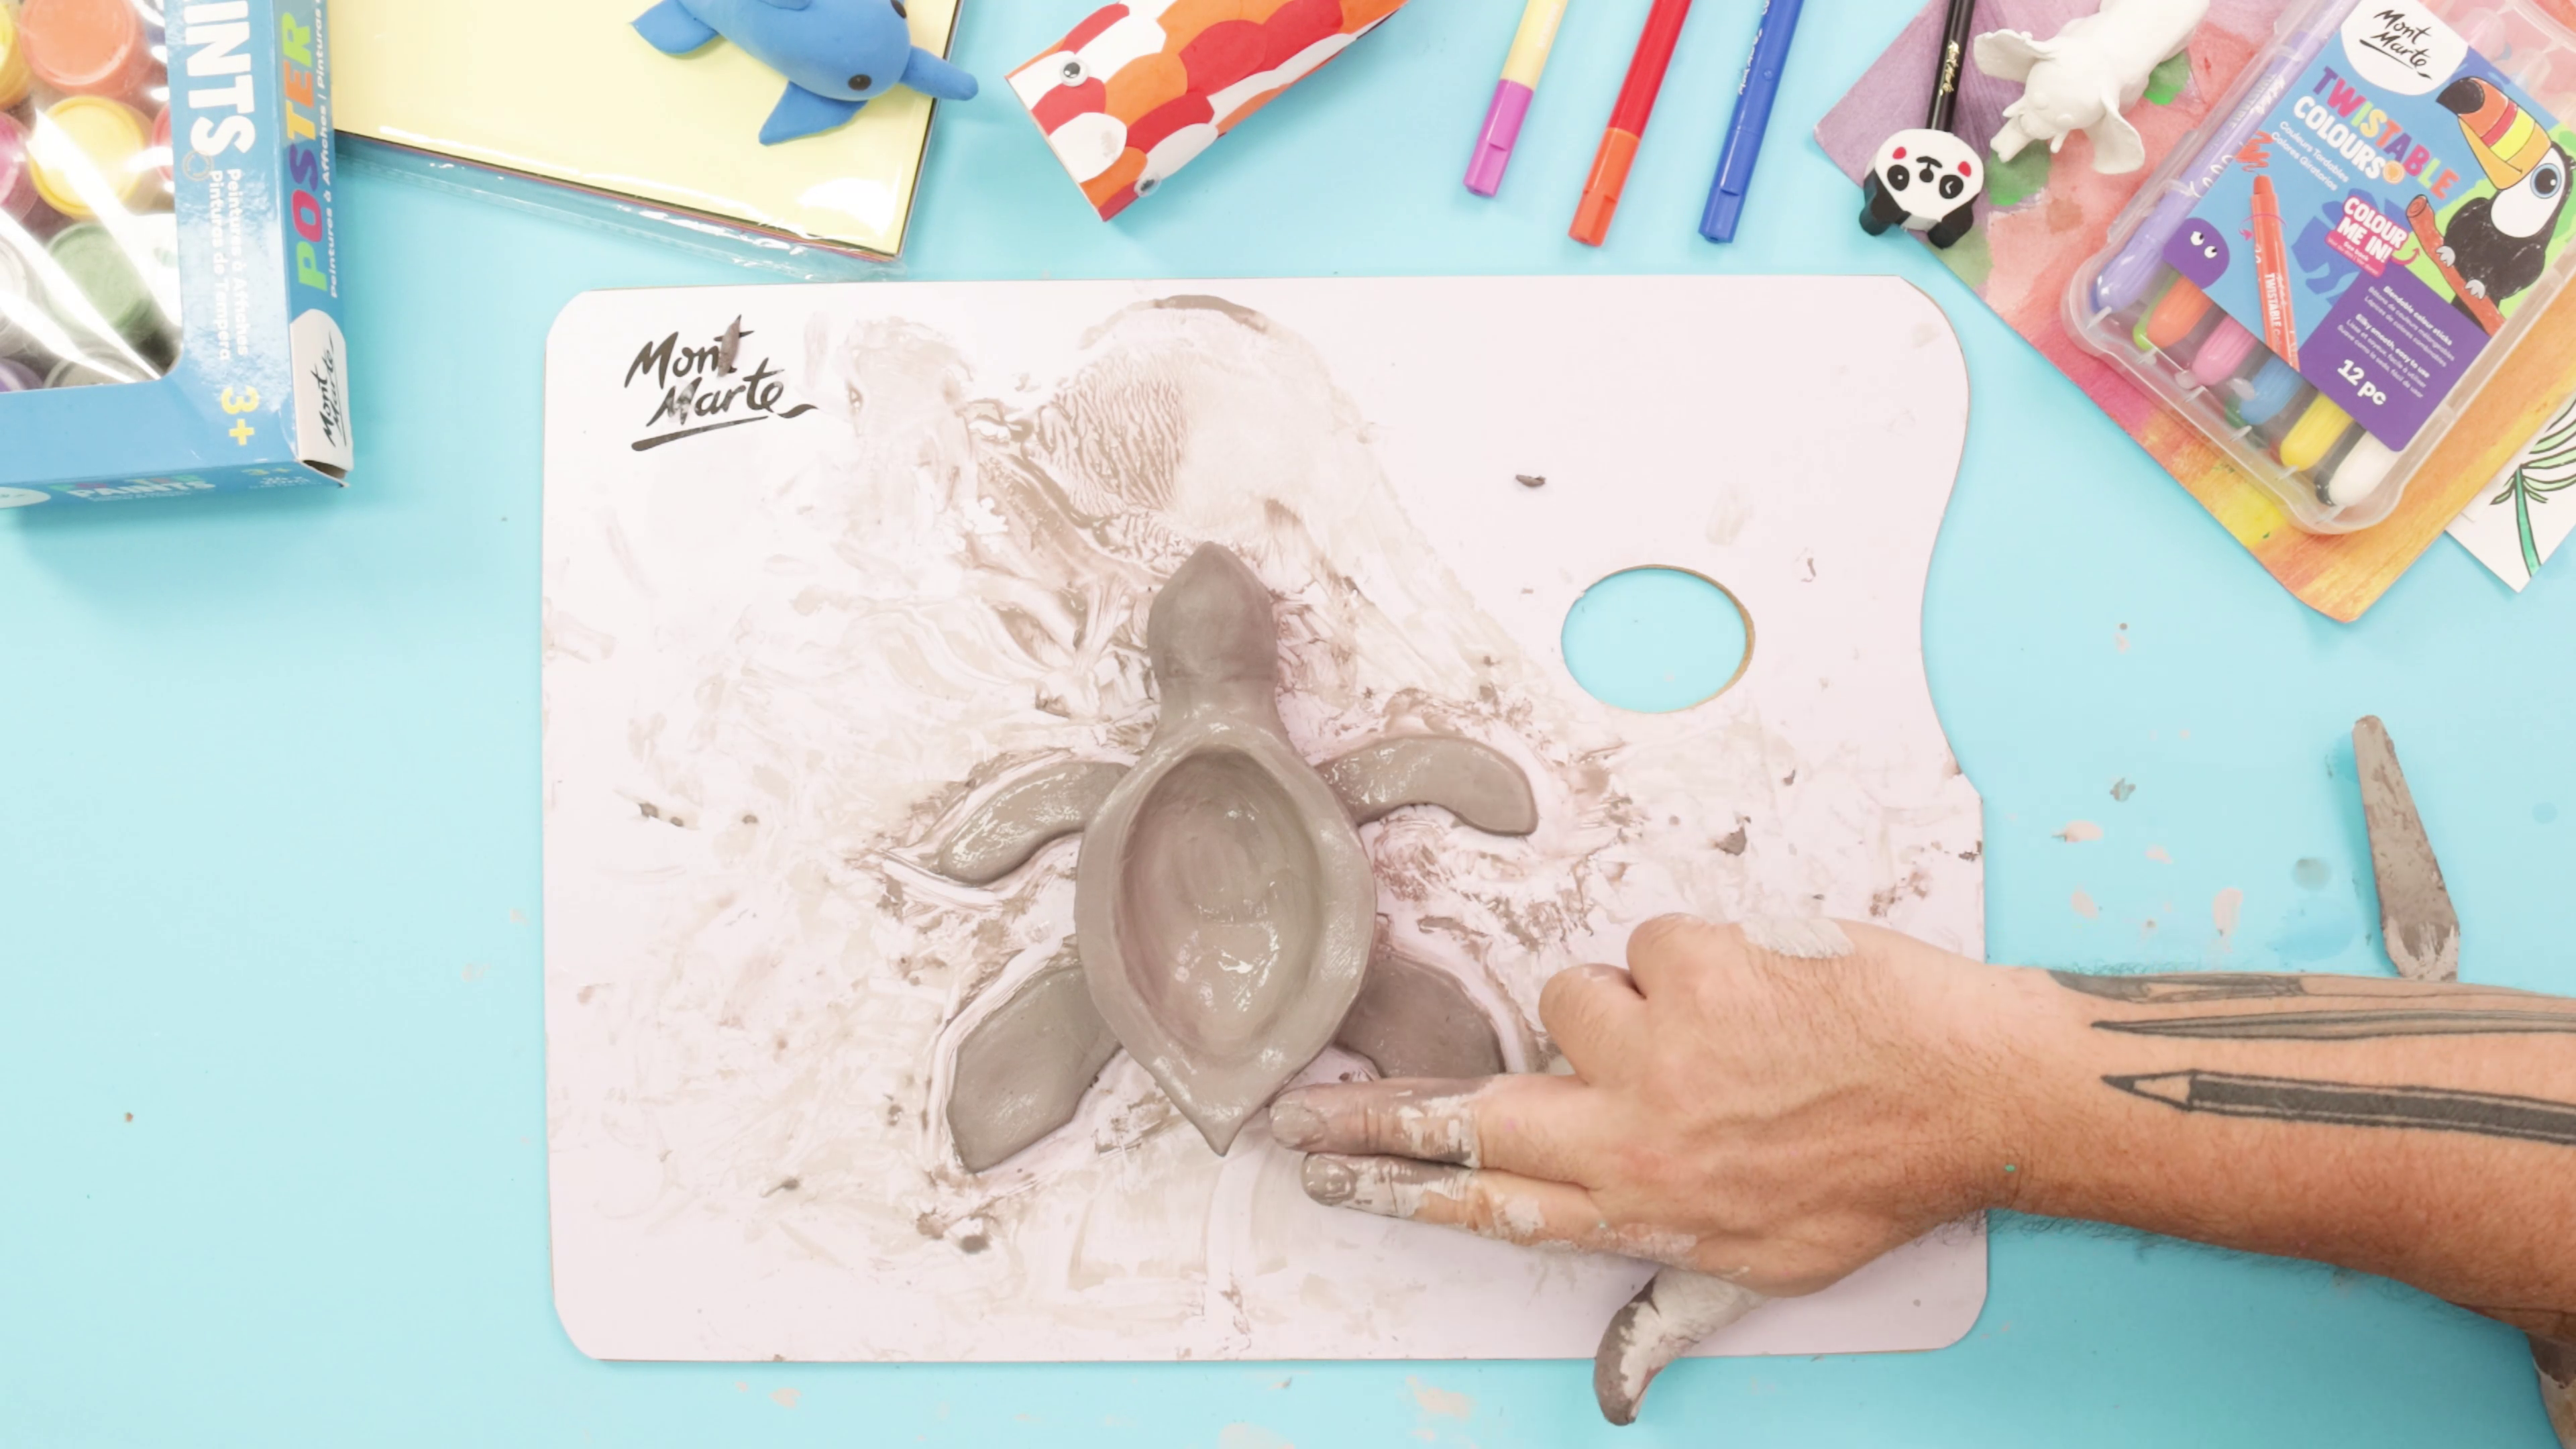
- Dip your fingers in water and gently smooth out the surface
- Don’t use too much water—just enough to help your fingers glide
- Let any extra moisture dry off before continuing
Step 4: Clay face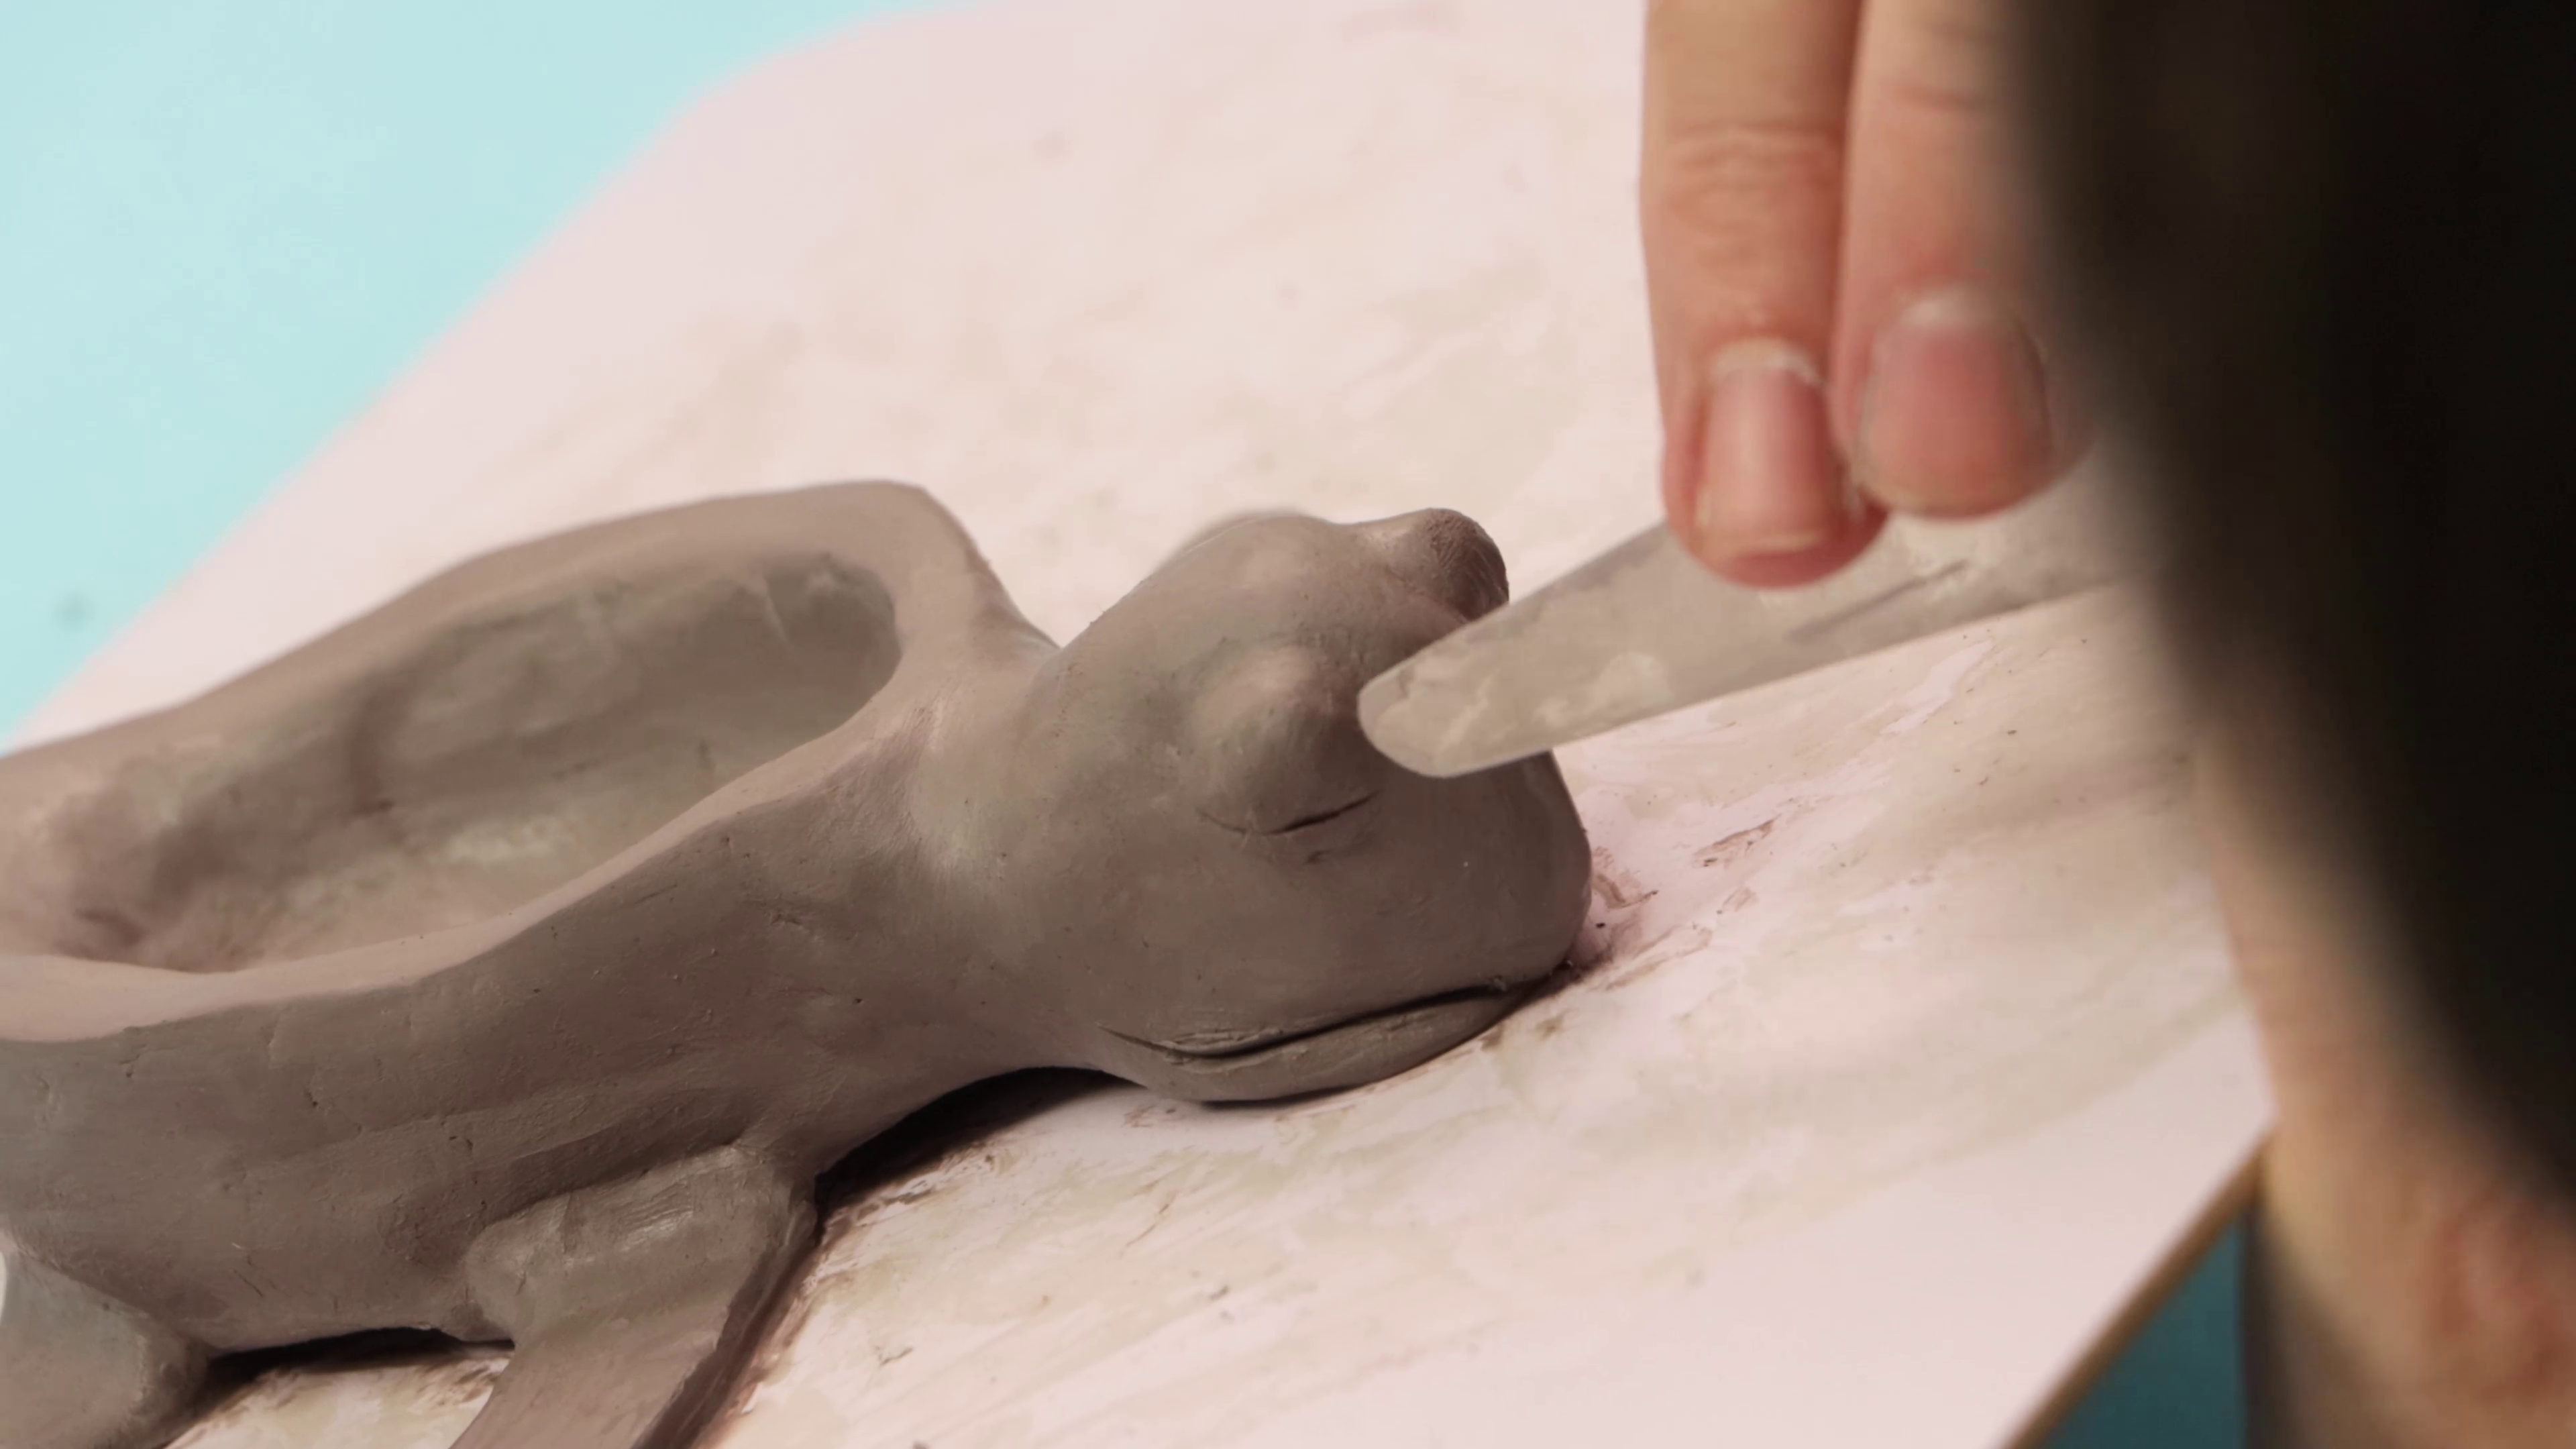
- Carve a little smile using the edge of a palette knife
- Roll two small balls of leftover clay for eyes and press them into place
- Once set a little, carve eye slits using a fine sculpting tool or toothpick
Step 5: Clay turtle shell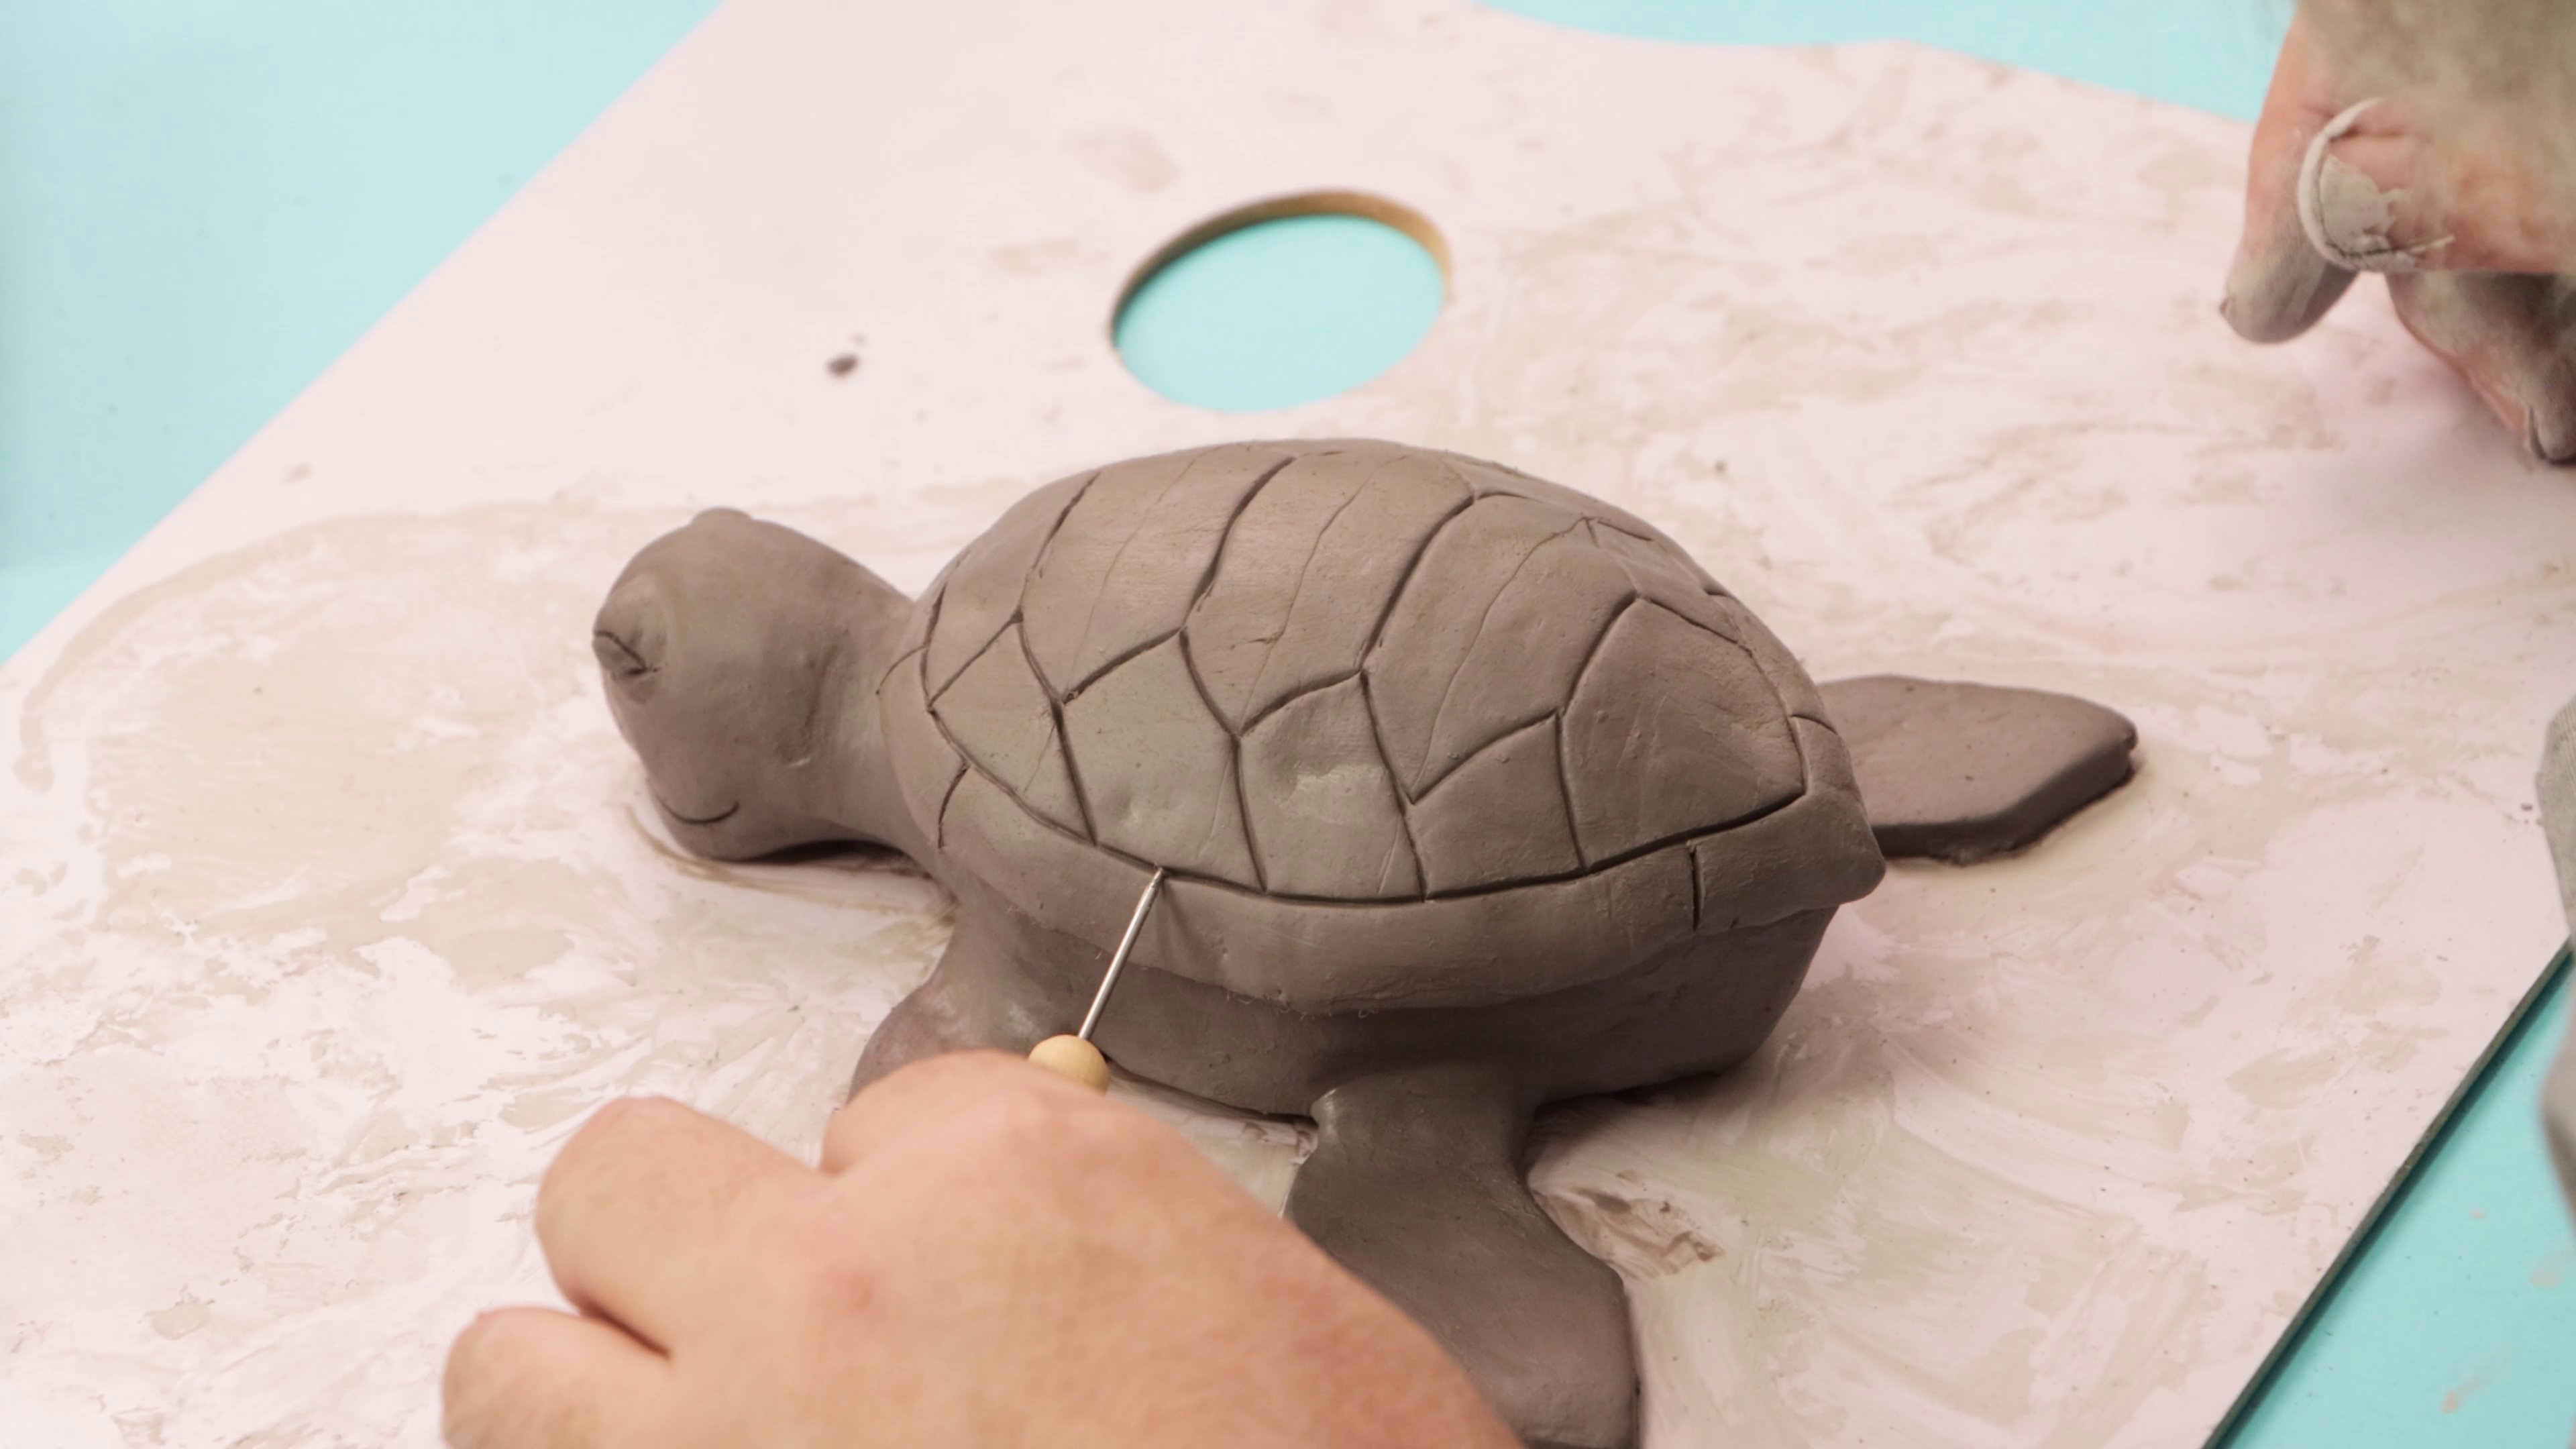
- Roll leftover clay into a dome shape that fits over the turtle’s back
- Smooth it out and check the fit
- Fix cracks using a tiny bit of water and your palette knife
- Add shell patterns using a fine point sculpting tool (draw a circle edge, cross lines, and shell shapes)
Step 6: Let it dry
- Leave the turtle and shell to dry completely – this may take 1–2 days
- You can stop here and enjoy the raw clay look or move on to painting
Step 7: How to paint clay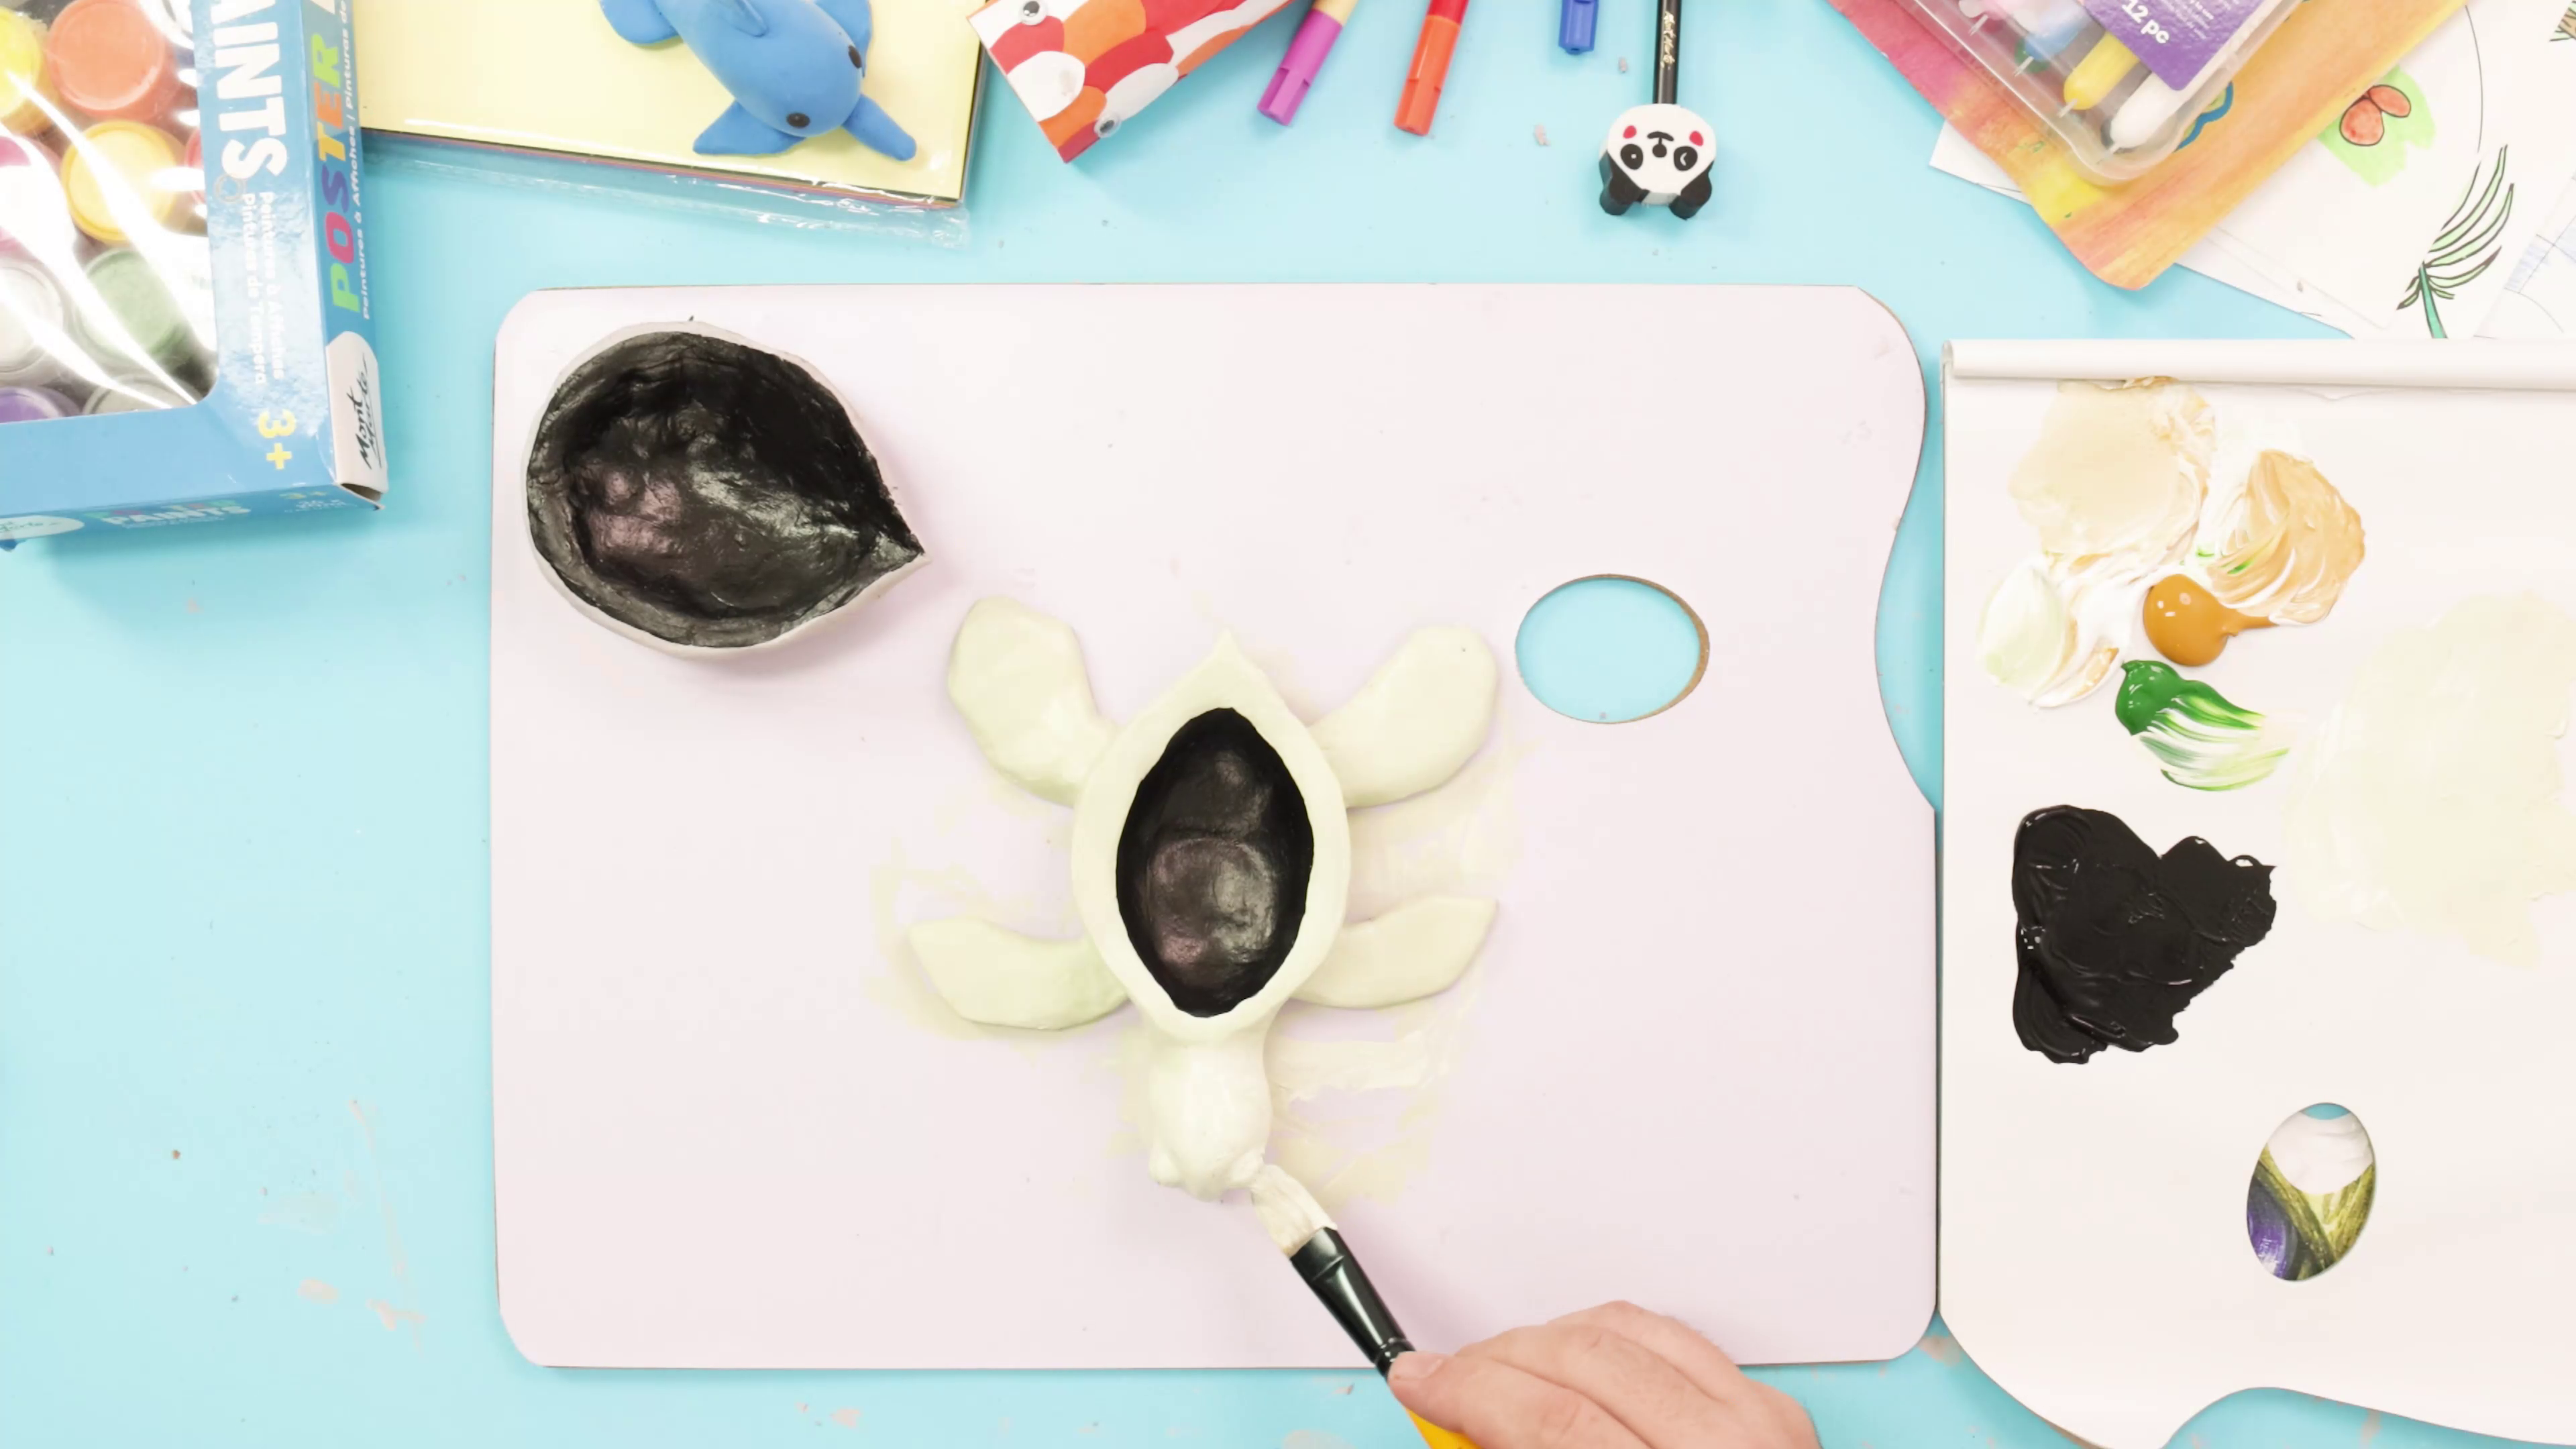
- Paint the inside and bottom of the dish using Lamp Black
- Mix Titanium White, a touch of Sap Green, and Raw Sienna to create a pale green for the turtle body
- Paint the top of the shell using the same pale green with a bit more Raw Sienna
Step 8: Add shell details
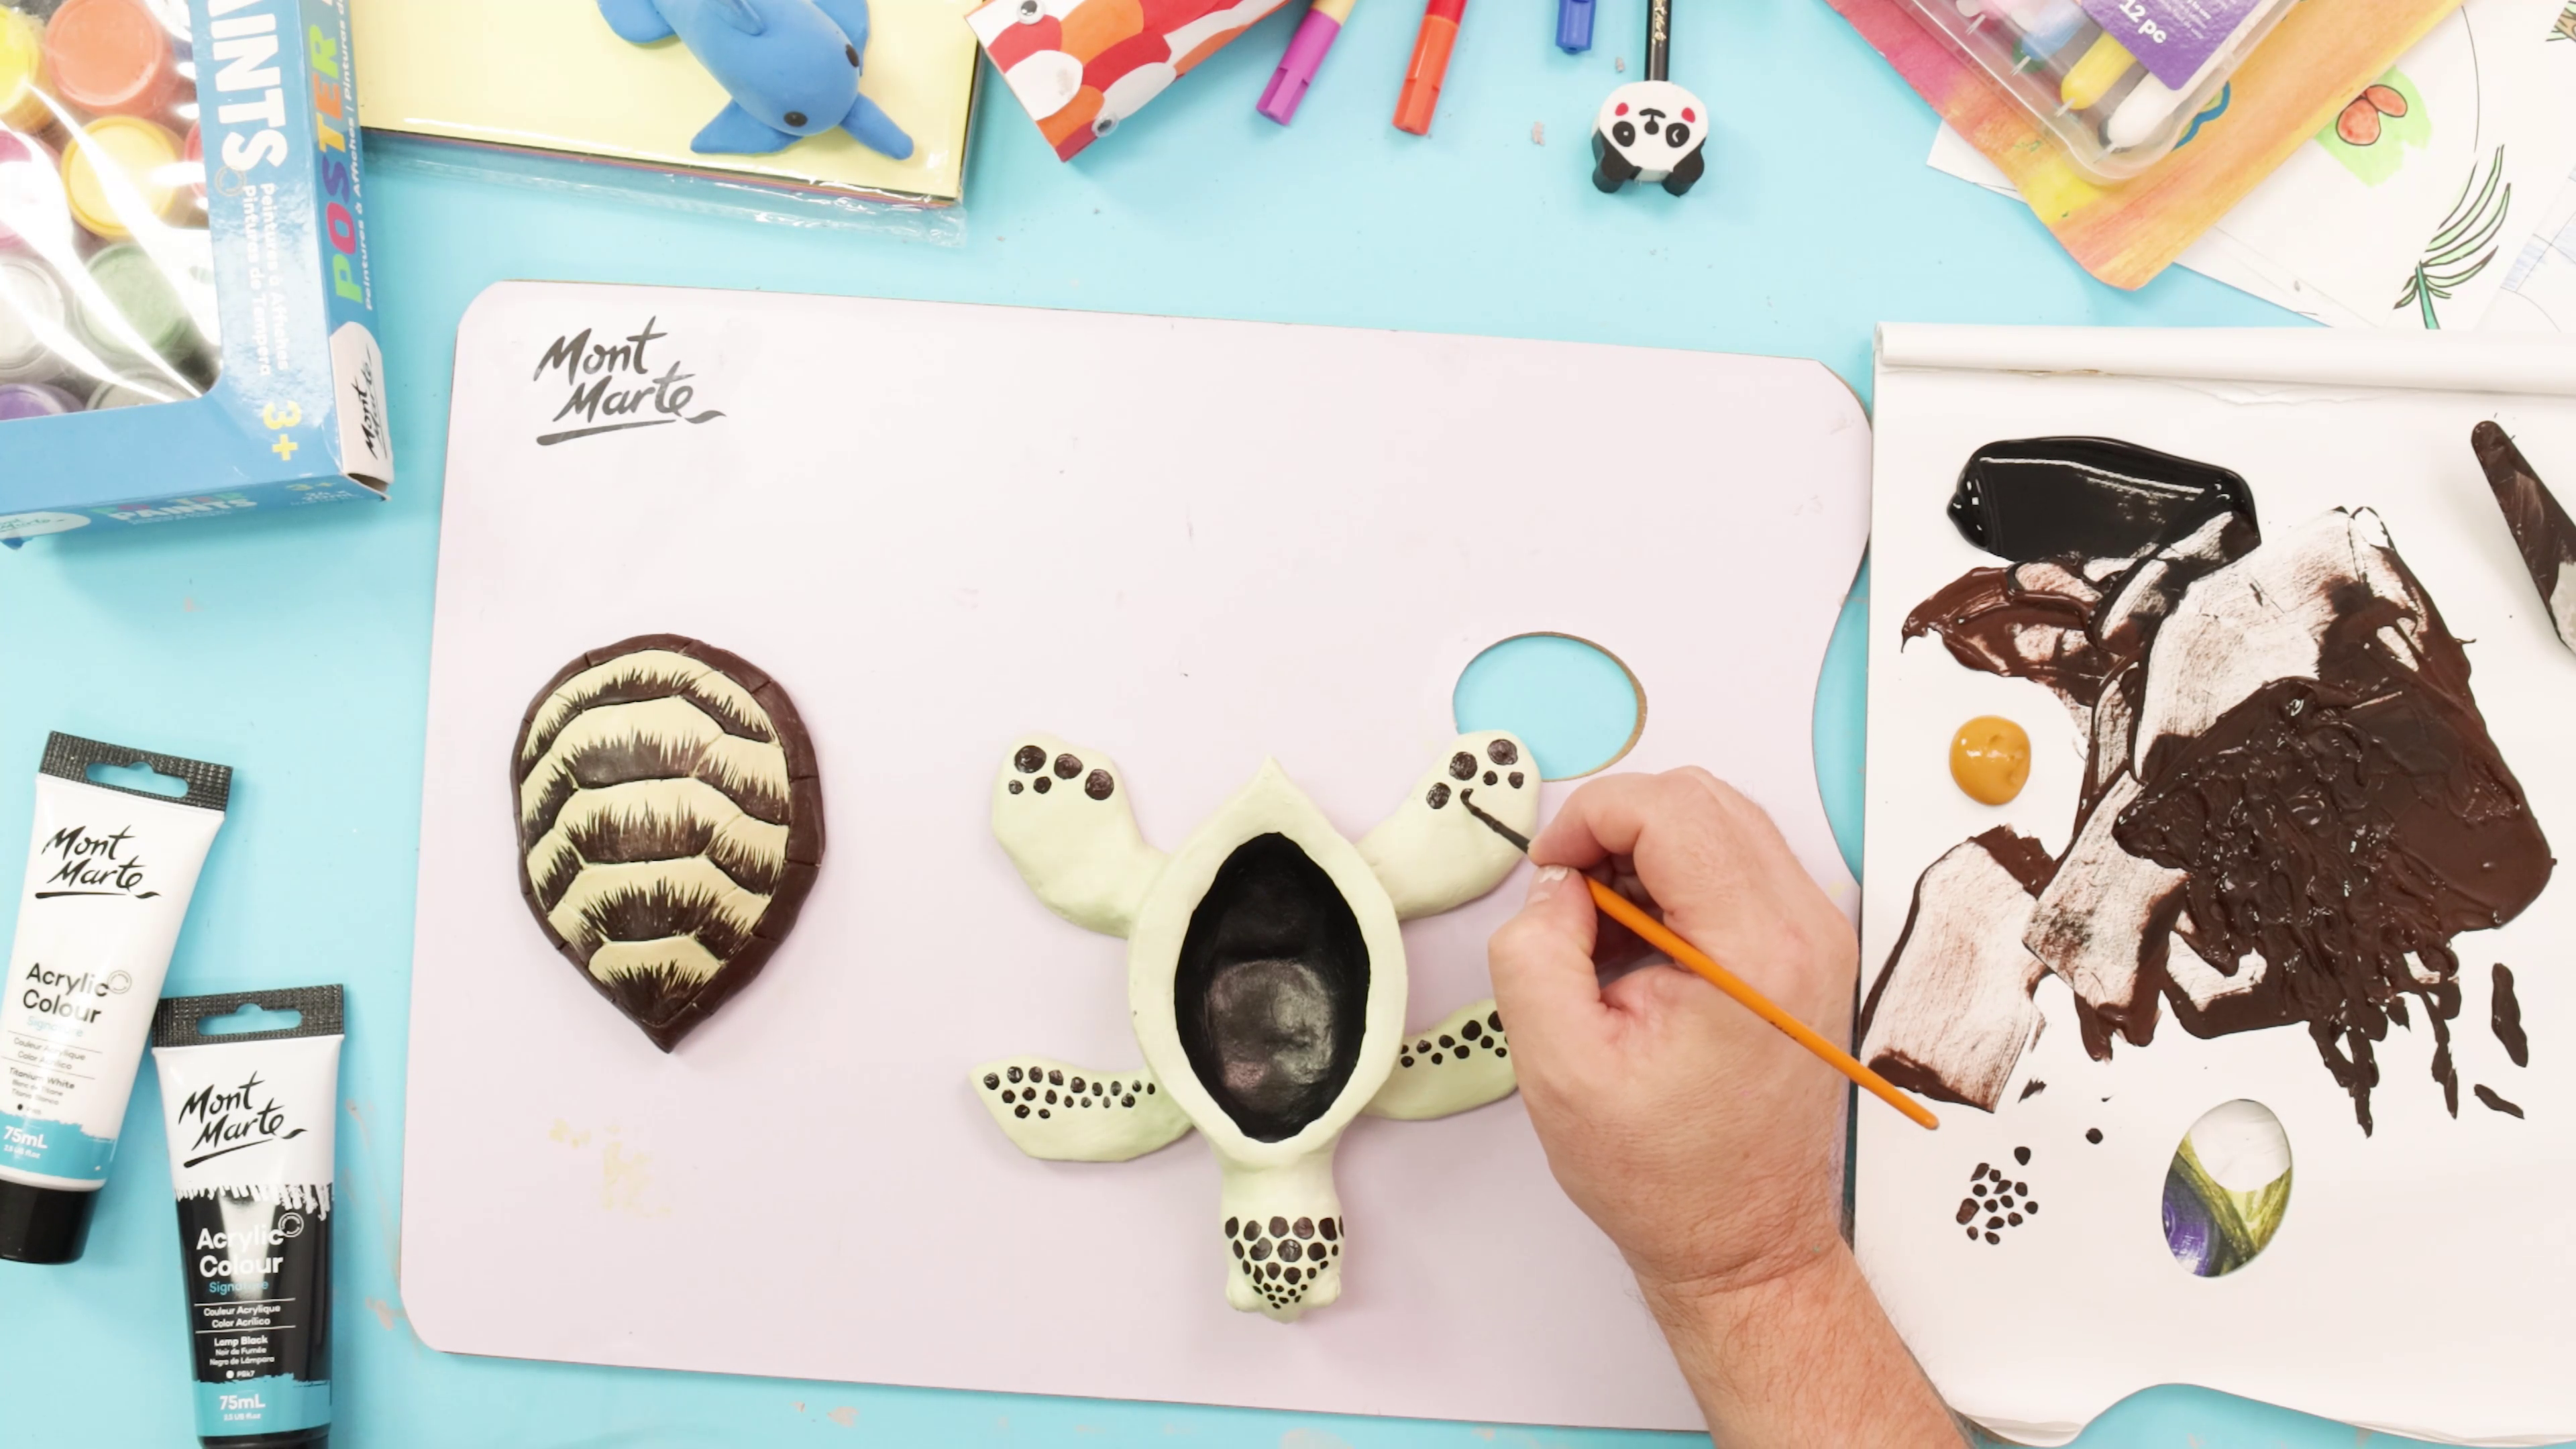
- Mix Burnt Umber and Lamp Black for a rich brown
- Use a fine liner brush (from any Brush Set) to paint the bottom half of each shell segment
- Add circular patterns on the flippers and head—practise on paper if needed
Step 9: Final touches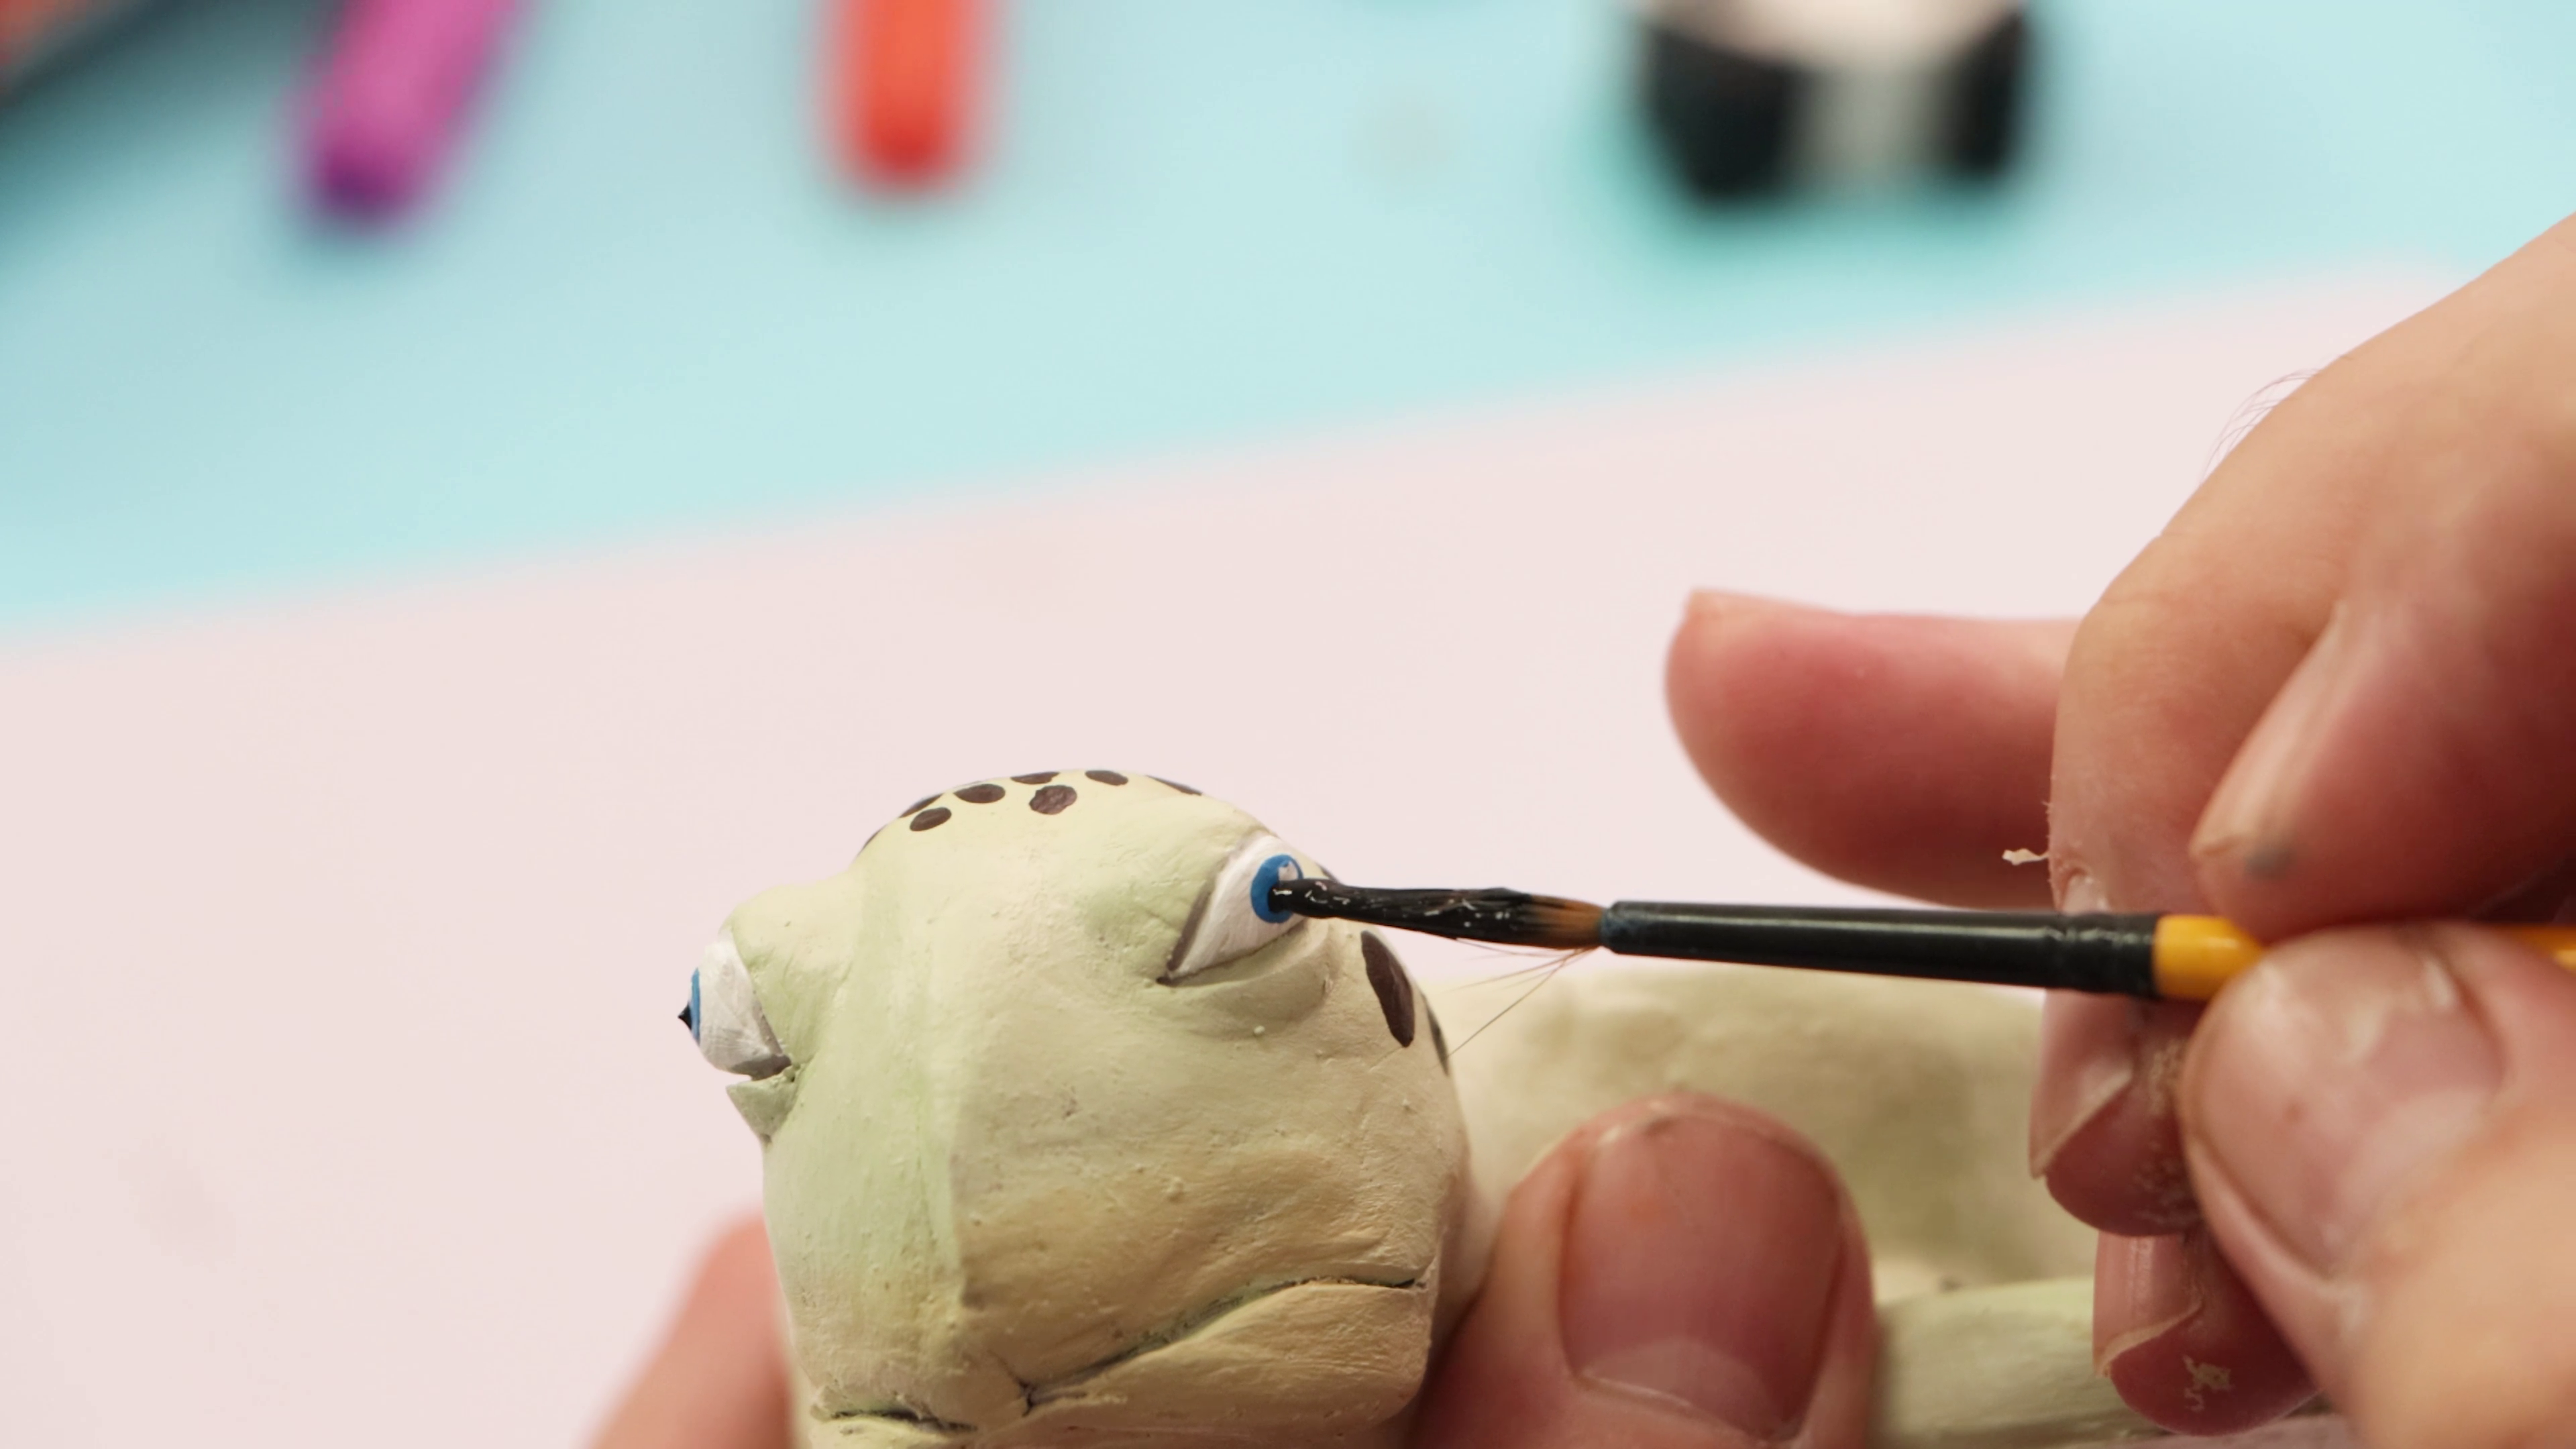
- Paint the eyes white, then add a touch of Brilliant Blue to the centre
- Let everything dry fully and admire your cute little turtle tray!
That’s it—your turtle trinket tray is done! 🐢 What will you keep safe in it?
- Air Hardening Modelling Clay 500g – Grey
- Palette Knife
- Acrylic Paints (Green, Brown/Yellow Ochre, White, Blue, and Black)
- Tear Off Paper Palette (optional, for easy clean-up)
- Sculpting tools (or anything with a fine point)
- Small bowl of water
- Toothpicks
You may also like
Turtle pinch pot with air dry clay
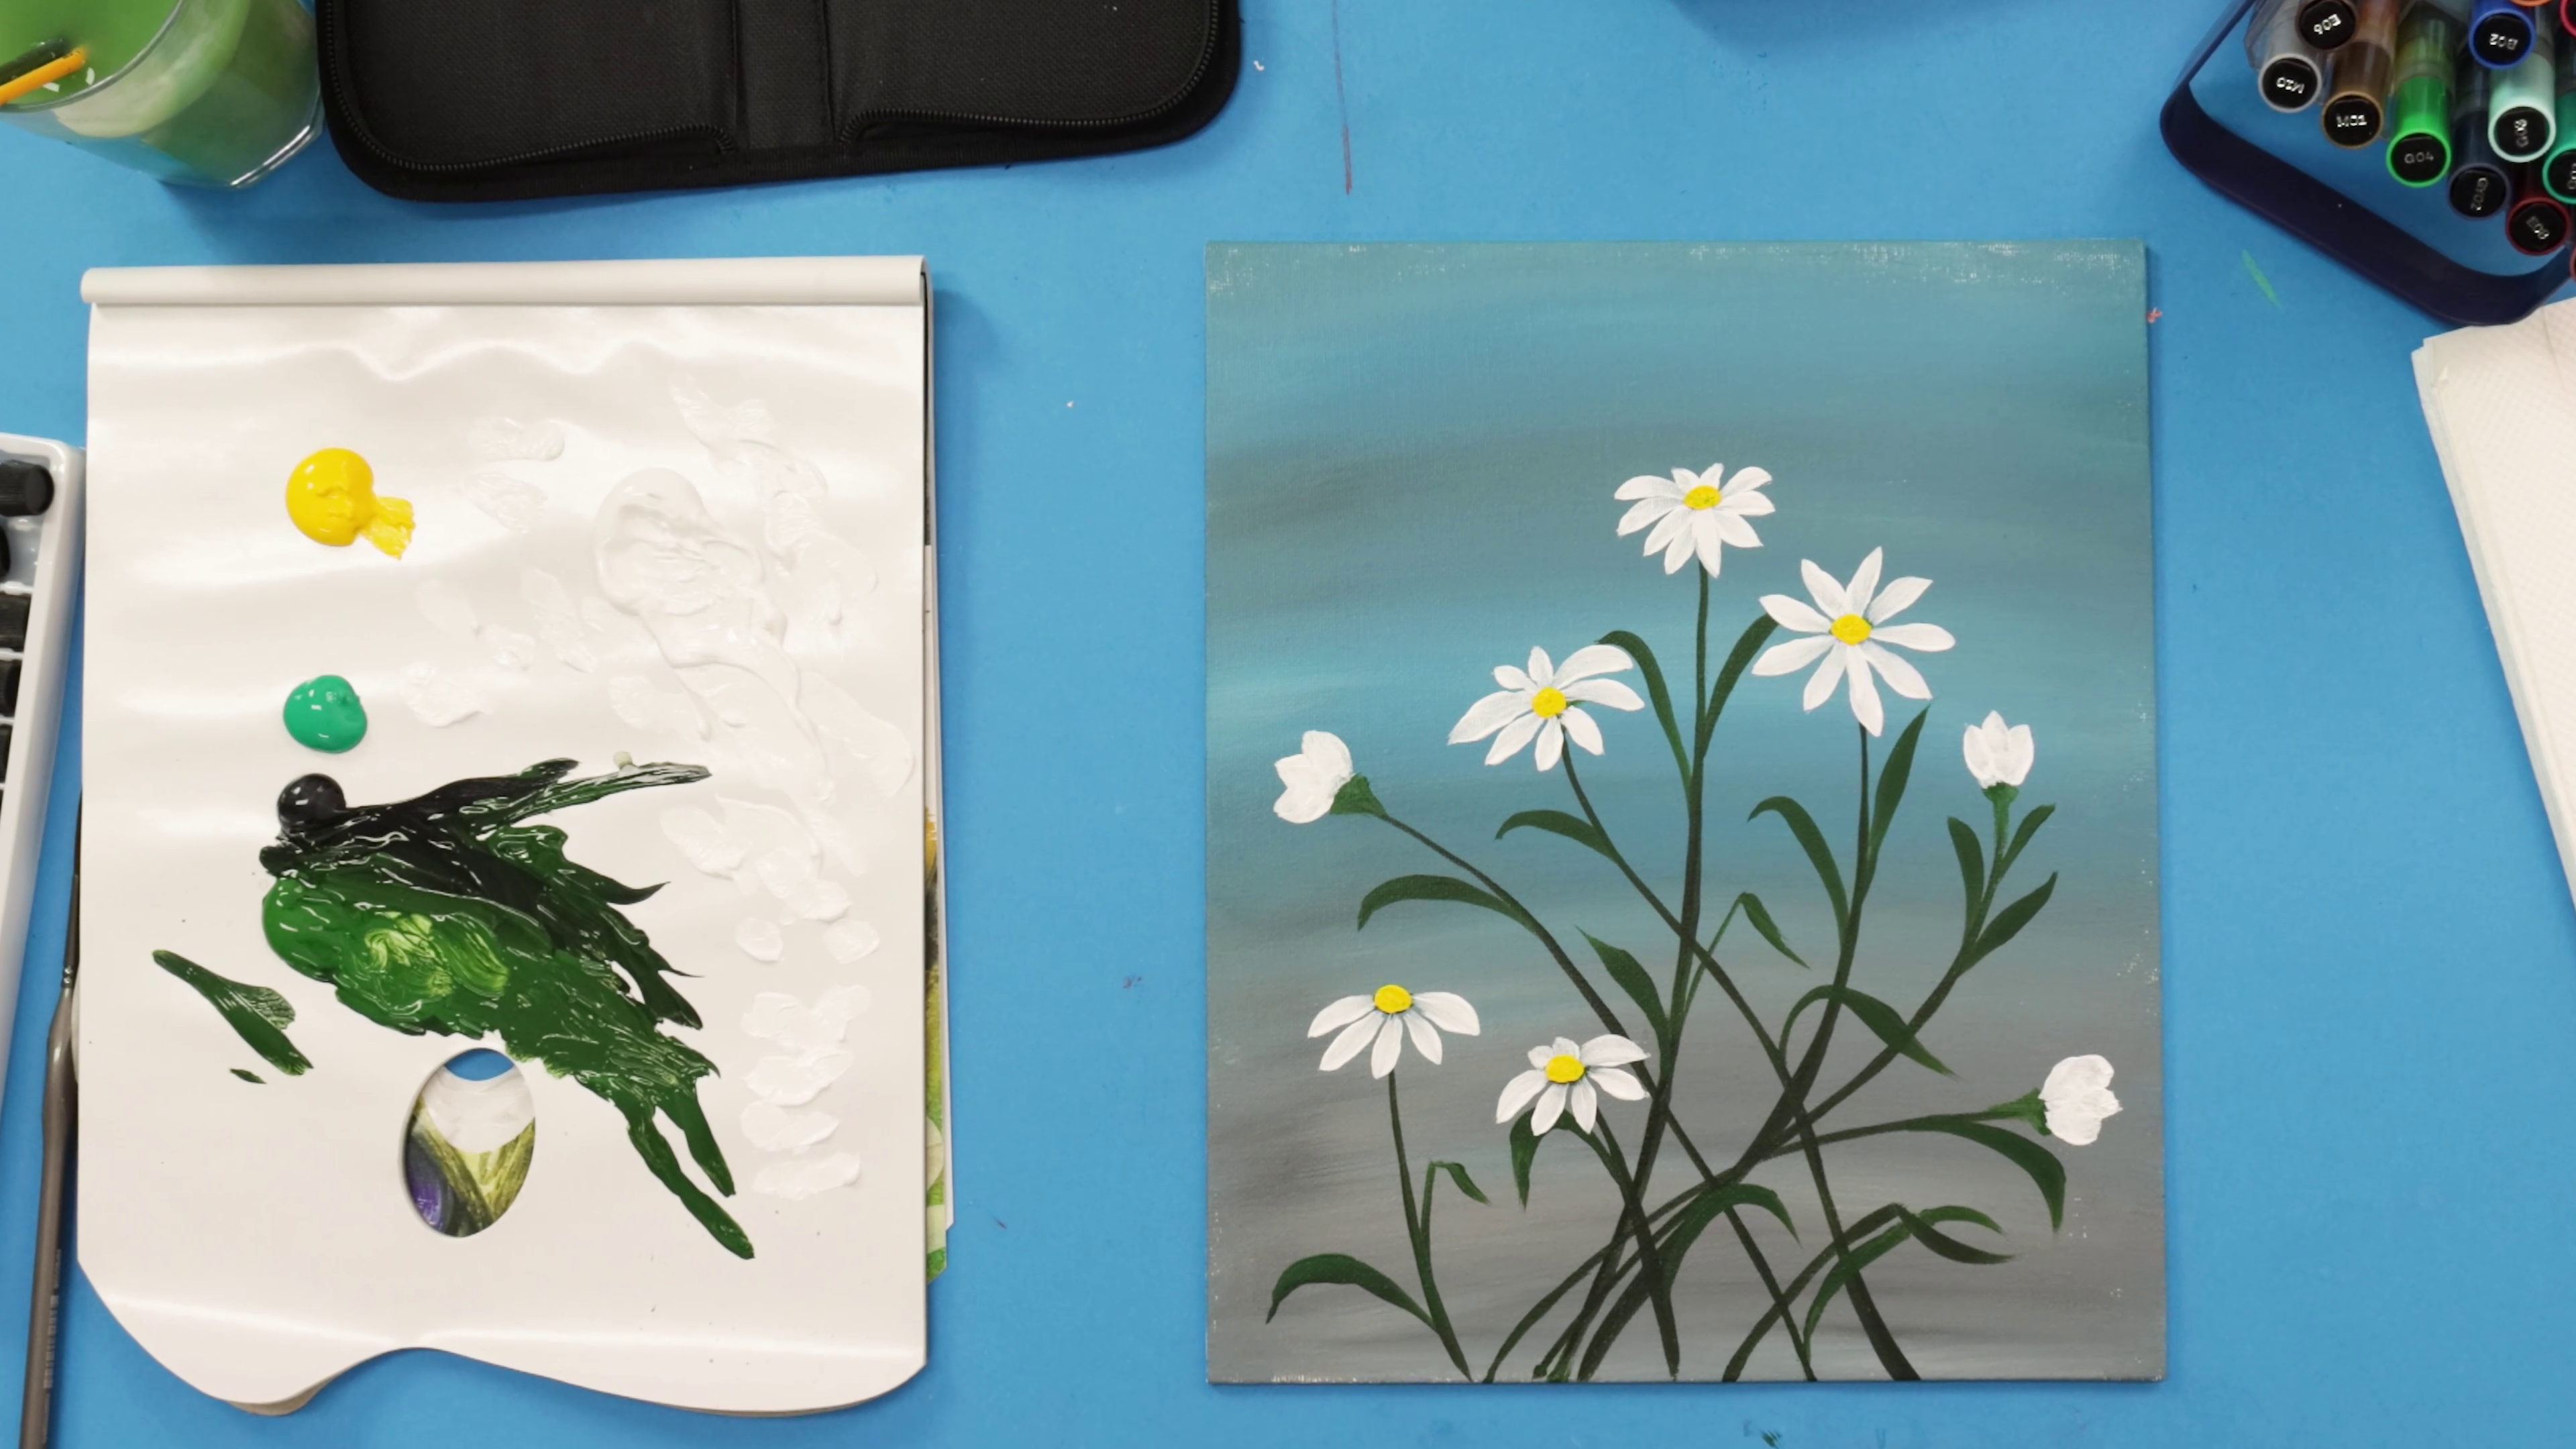
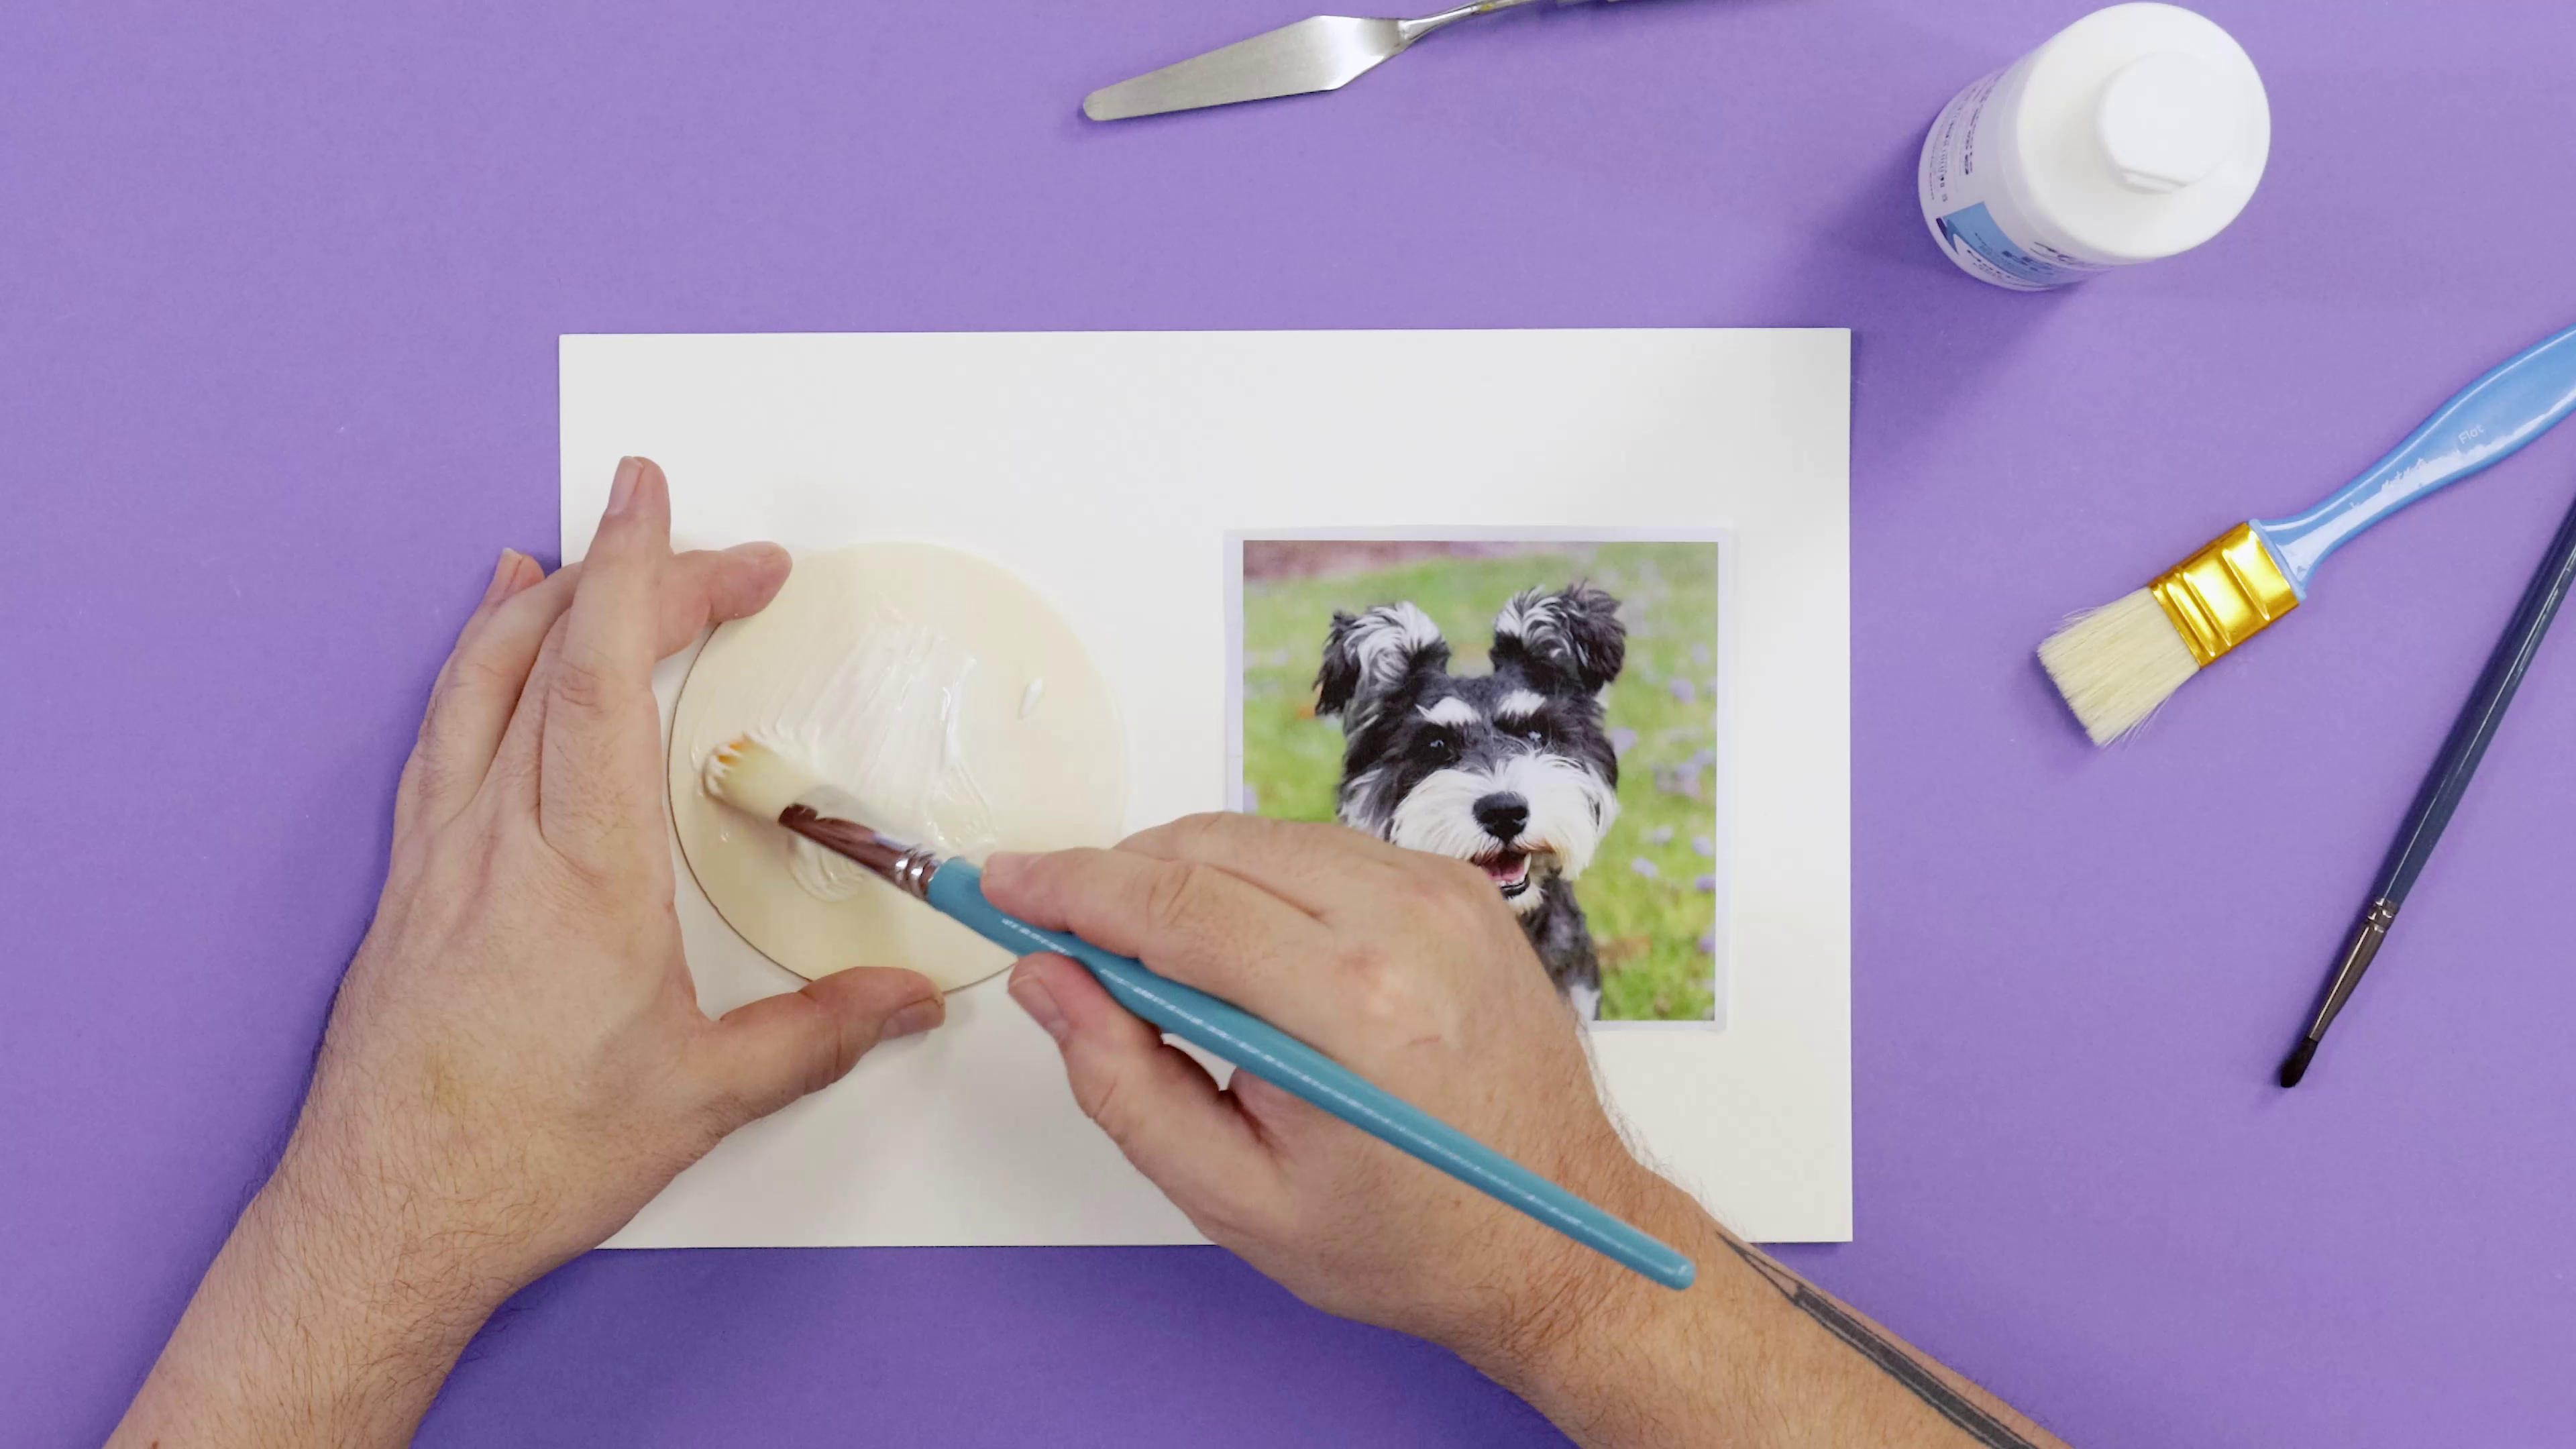
How to paint acrylic flowers for beginners

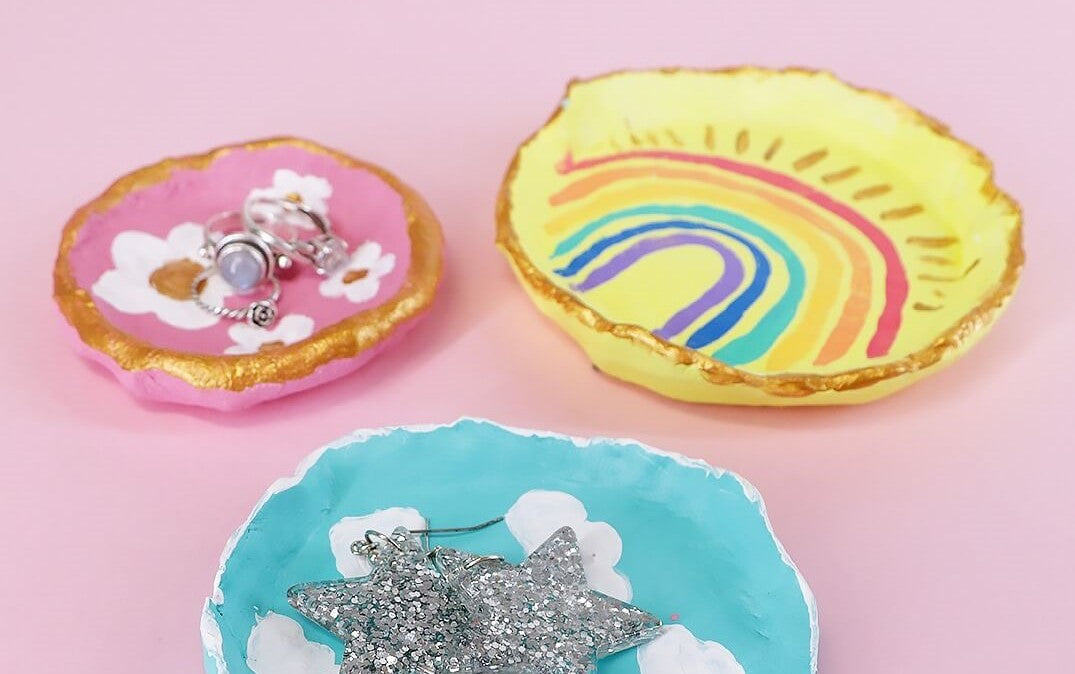
Cactus ring holder DIY


