


Cactus ring holder DIY
Step 1: Conditioning polymer clay
- Use a clay press or your hands to warm and soften the clay
- Don’t worry if it crumbles at first – just keep kneading until smooth
- Set your oven to 120–130°C (248–266°F) so it’s ready when you are
Step 2: Make the dish base
- Grab about 1/3 of the clay
- Use a circular object (like a tape roll) to cut a small circle
- Set it aside – this will be the base of underneath you ring dish
Step 3: Shape the dish
- Take a little more than 1/3 of your clay
- Use the outside of the same circular object to cut a larger circle
- Use your fingers and a little water to press out the centre
- Shape it like a shallow saucer or pinch pot
- Refine the edges by pinching and turning the clay
- Use a palette knife or hobby knife to trim any uneven edges
Step 4: Attach the dish base
- Flip the dish over
- Place the small circle underneath as the base
- Flip it back and gently press in the centre to secure
💡 Clay tip: If the shape starts getting soft or wobbly, pop it in the fridge for a few minutes to firm it up!
Step 5: Clay cactus
- Roll leftover clay into a 100mm-long log
- Keep the top thinner to hold rings and the bottom thicker for stability
- Cut 3 small pieces to be the cactus arms
- Cut toothpicks in half and press them into the arms (blunt end in)
- Attach arms to the main cactus using the pointy ends of the toothpicks
Step 6: Smoothing polymer clay
- Use the back of a small paintbrush to press and drag clay across the seams
- Roll the brush over the clay to blend the joins
- If any arms bend out of place, gently reposition them after smoothing
Step 7: Add cactus details
- Use a toothpick to carve in classic cactus lines
- Go over the grooves a couple of times for deeper texture
- Insert a toothpick into the bottom of the cactus, leaving a little sticking out
- Press the cactus gently into the centre of the dish
Step 8: How to bake polymer clay
- Bake the piece for 1 hour at 120–130°C
- The dish is thinner and only needs about 30 mins, but the cactus base is thicker
- It’s better to slightly overbake than underbake
- If you built your dish on a plate, double check it’s oven-safe!
Step 9: Paint the dish and cactus
- Mix Titanium White + Yellow Ochre (4:1 ratio) to create a creamy colour
- Paint the dish with two coats, letting the first dry fully
- Paint the cactus fully in Sap Green and let dry
- Mix Sap Green + Cream mix to make a soft pastel green
- Use the dry brushing technique:
- Load brush with paint, wipe almost all off
- Gently brush over the cactus, avoiding the carved grooves
Step 10: Varnish on polymer clay
- Apply Gloss Clay Varnish using a soft brush
- Use thin, even strokes for a shiny, protective finish
💡 Clay tip: If you didn’t paint your clay, skip this step as unpainted polymer can get sticky when varnished.
You’ve just made a gorgeous little cactus ring holder 🌵💍 Whether it’s for your bedside table or a handmade gift, we hope you loved the making-part as much as the final piece.
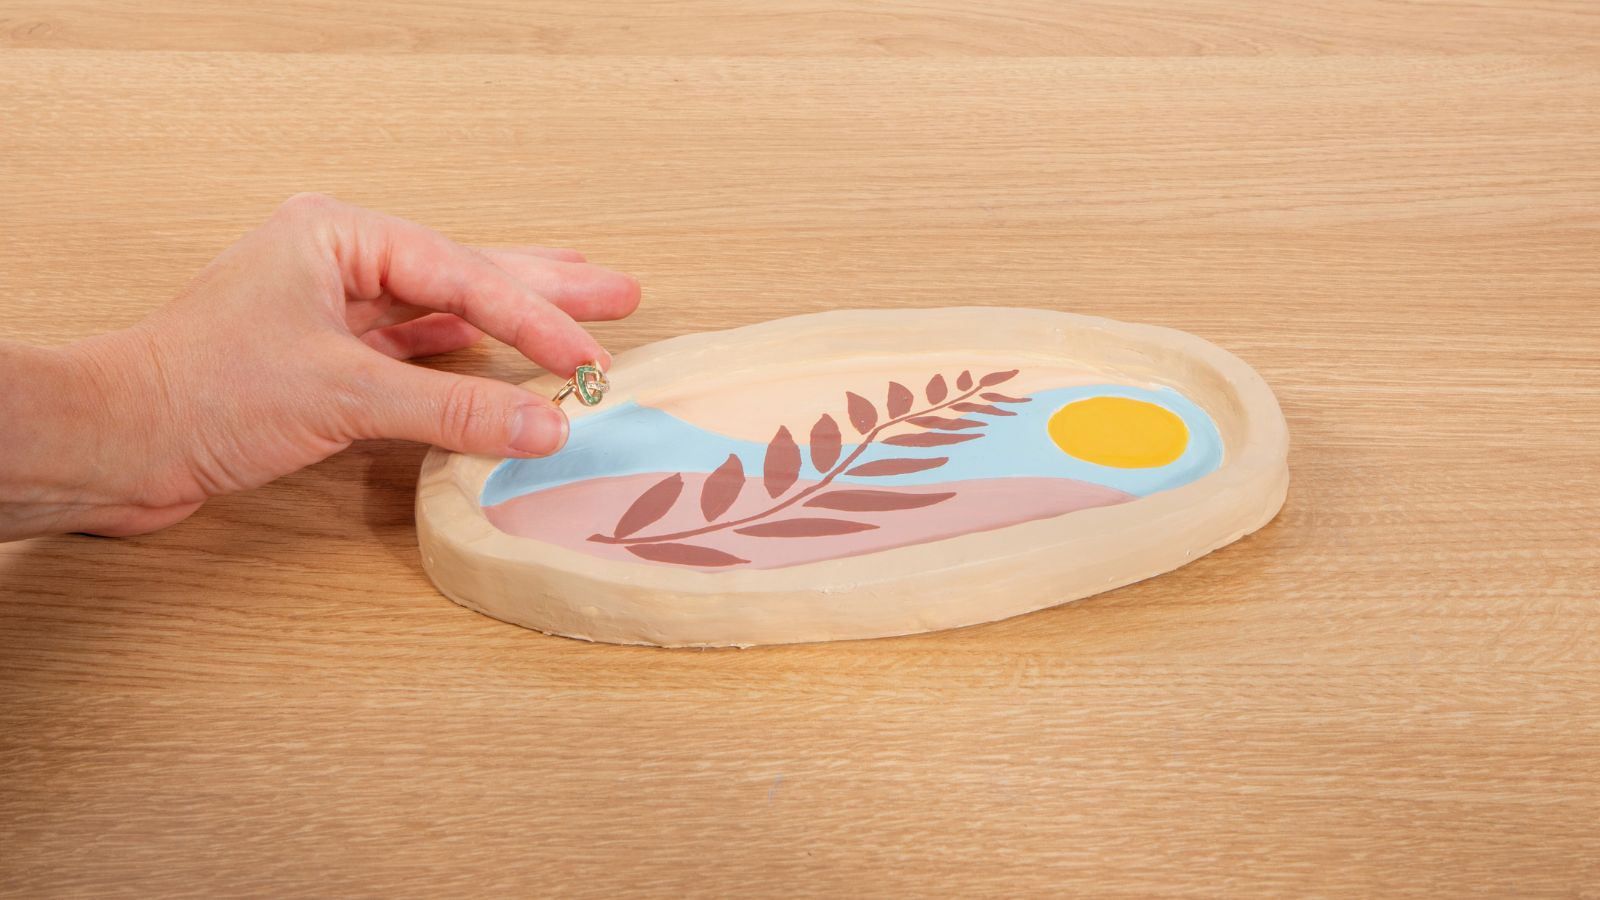
Why not try making a matching trinket tray next? 👀✨
- Make n Bake Polymer Clay Signature 400g (14.1oz) – Beige (or coloured clay if you don’t want to paint)
- Acrylic Paints: Titanium White, Yellow Ochre, Sap Green
- Palette knife or something flat for smoothing
- Soft taklon paintbrush
- Gloss Clay Varnish
- Tear-off paper palette
- Hobby knife (optional)
- Scissors (optional)
- Ruler (optional)
- Toothpicks
- Oven
You may also like

Cactus ring holder DIY

Acrylic watermelon slice painting with Jacklyn Foster
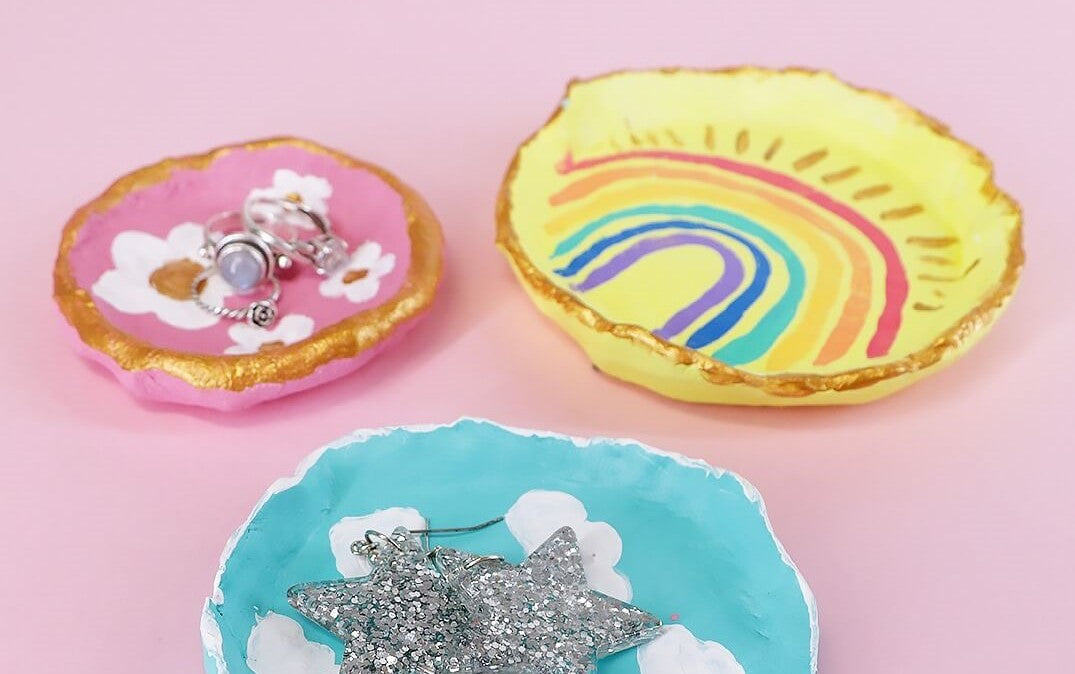
Air dry clay trinket dish DIY


