


How to draw an orchid with coloured pencils
Step 1: Sketch the Design
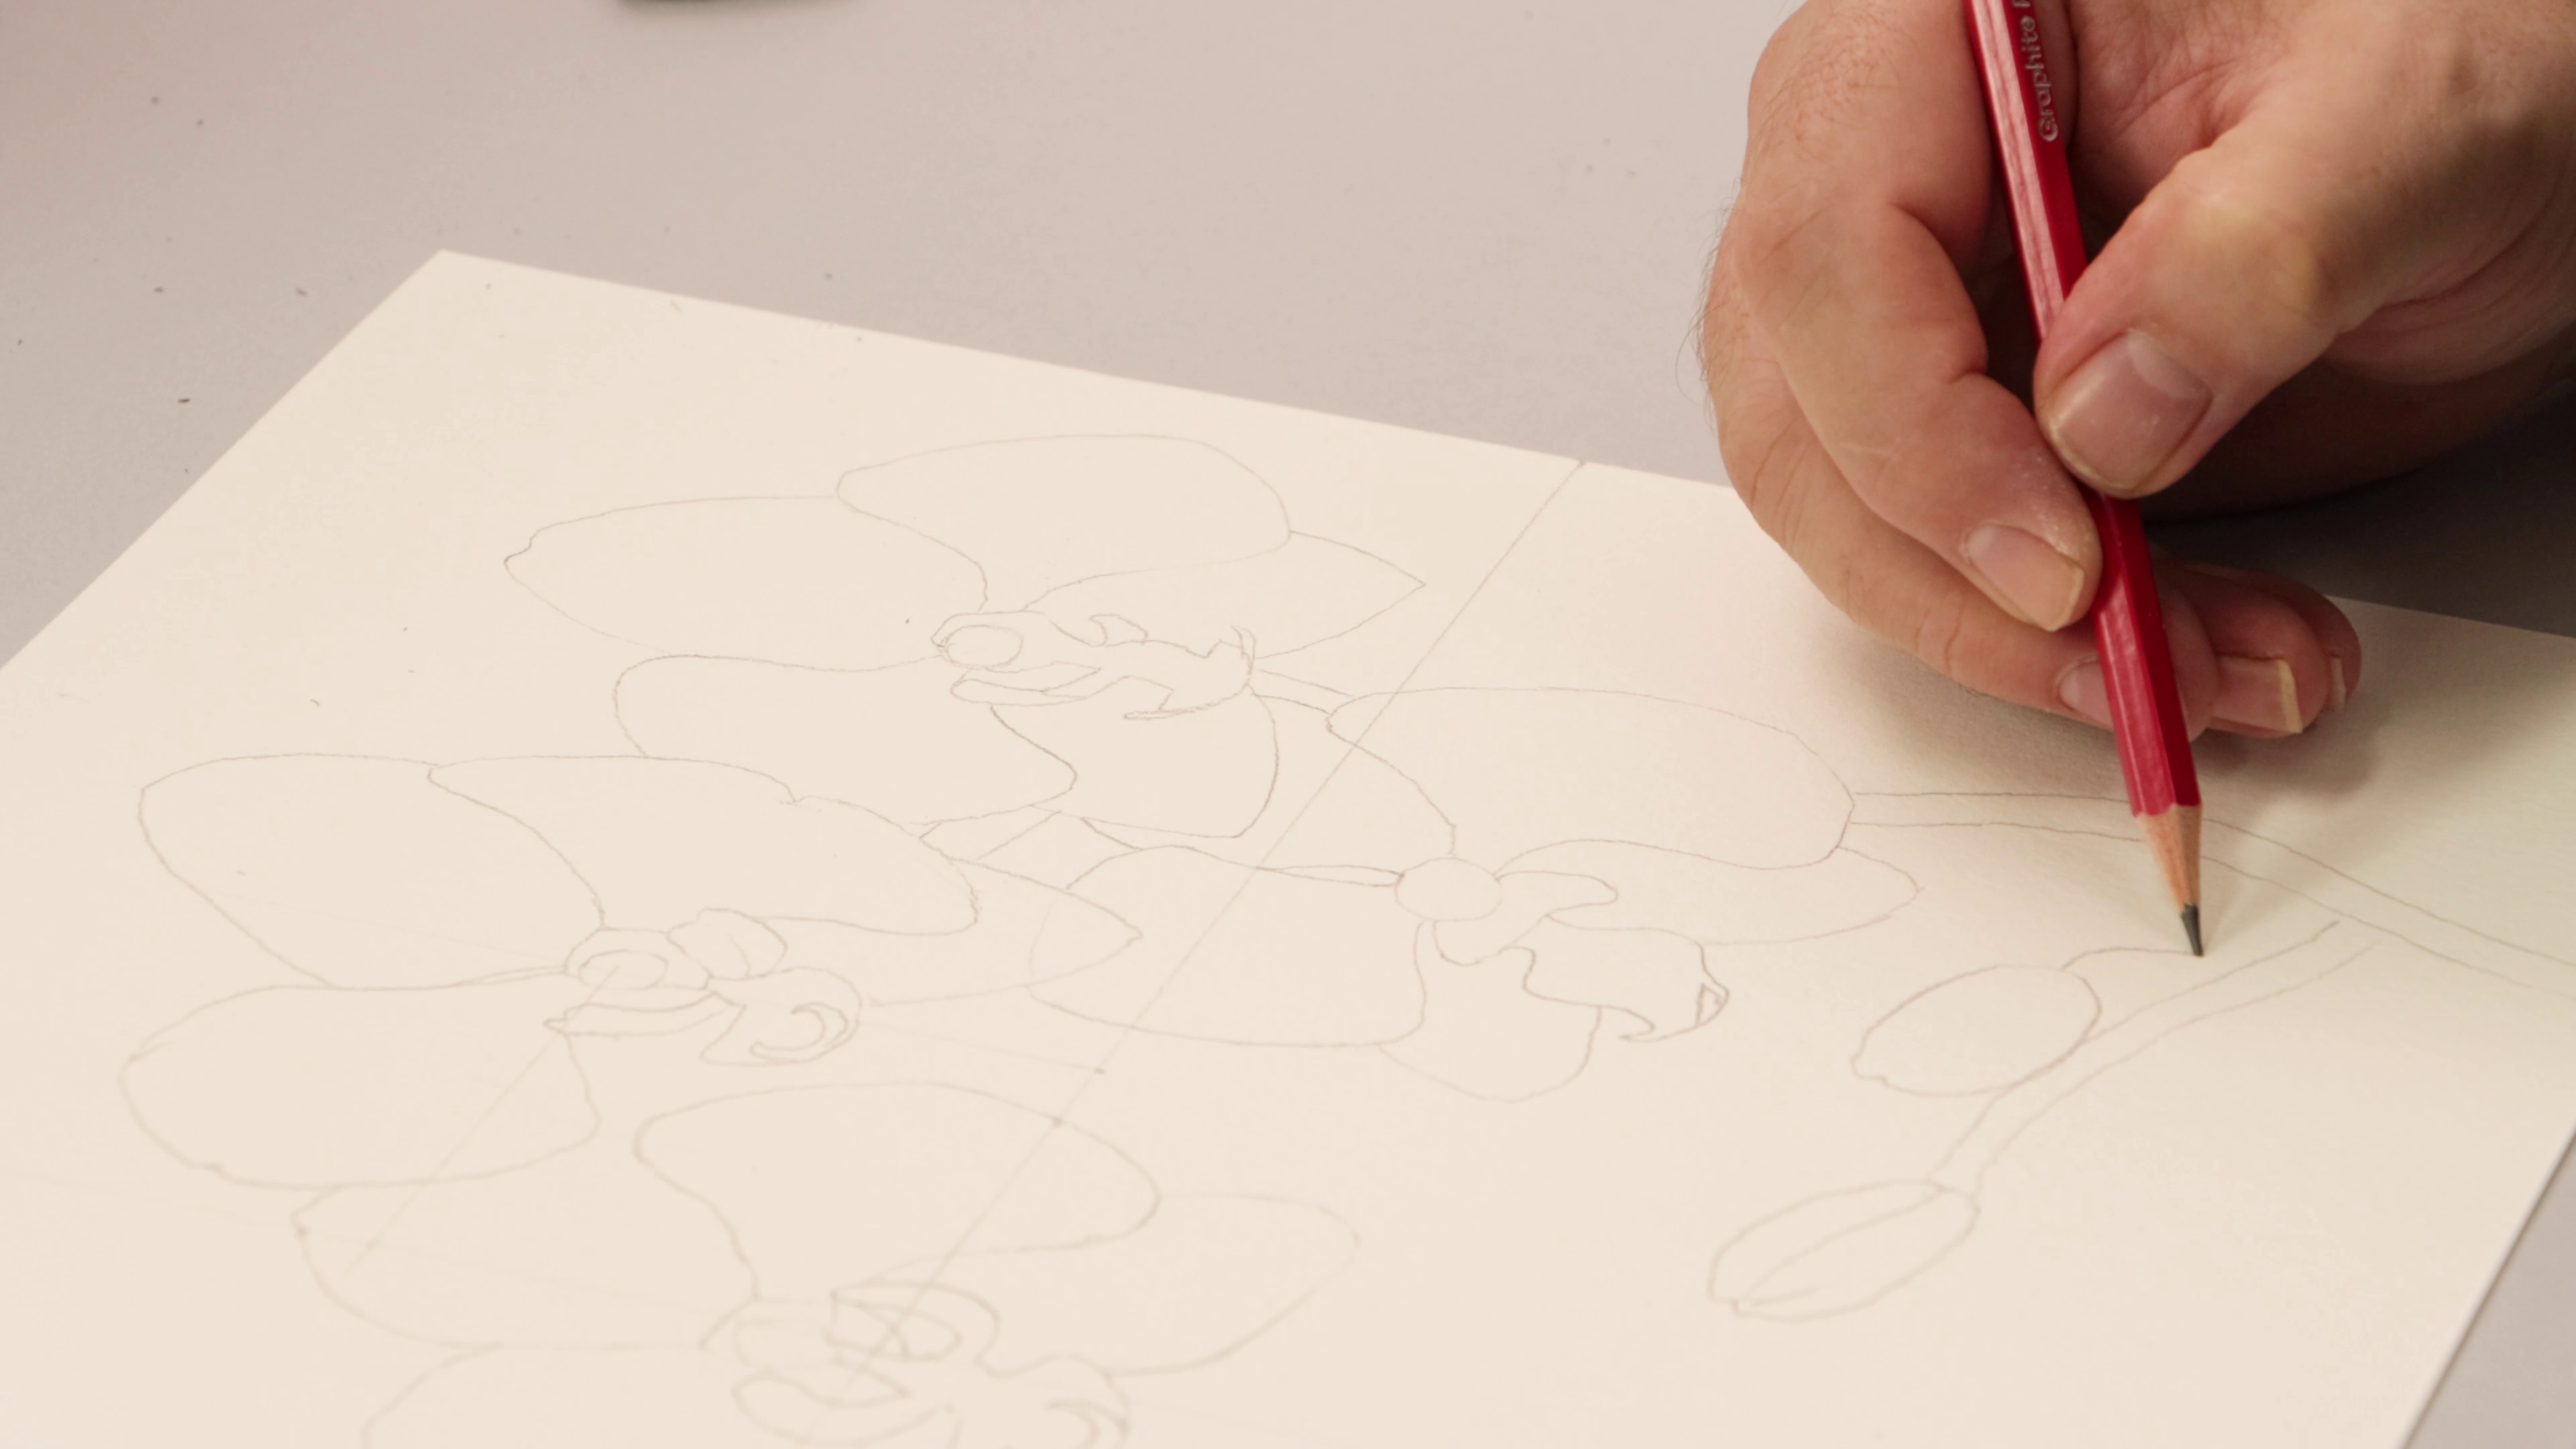
- Use the smooth side of your watercolour paper for best results
- Divide your paper into four even sections
- Lightly sketch the orchid and butterfly using the reference image from our website
- For accurate placement, measure the distances between flower elements
- If preferred, trace the design using a 6B pencil and the transfer method
- Colour the backside then trace the lines with the paper on top of your page
- Once the orchid outline is complete, gently erase any gridlines or drafting marks
Step 2: Add a Watercolour Background Wash
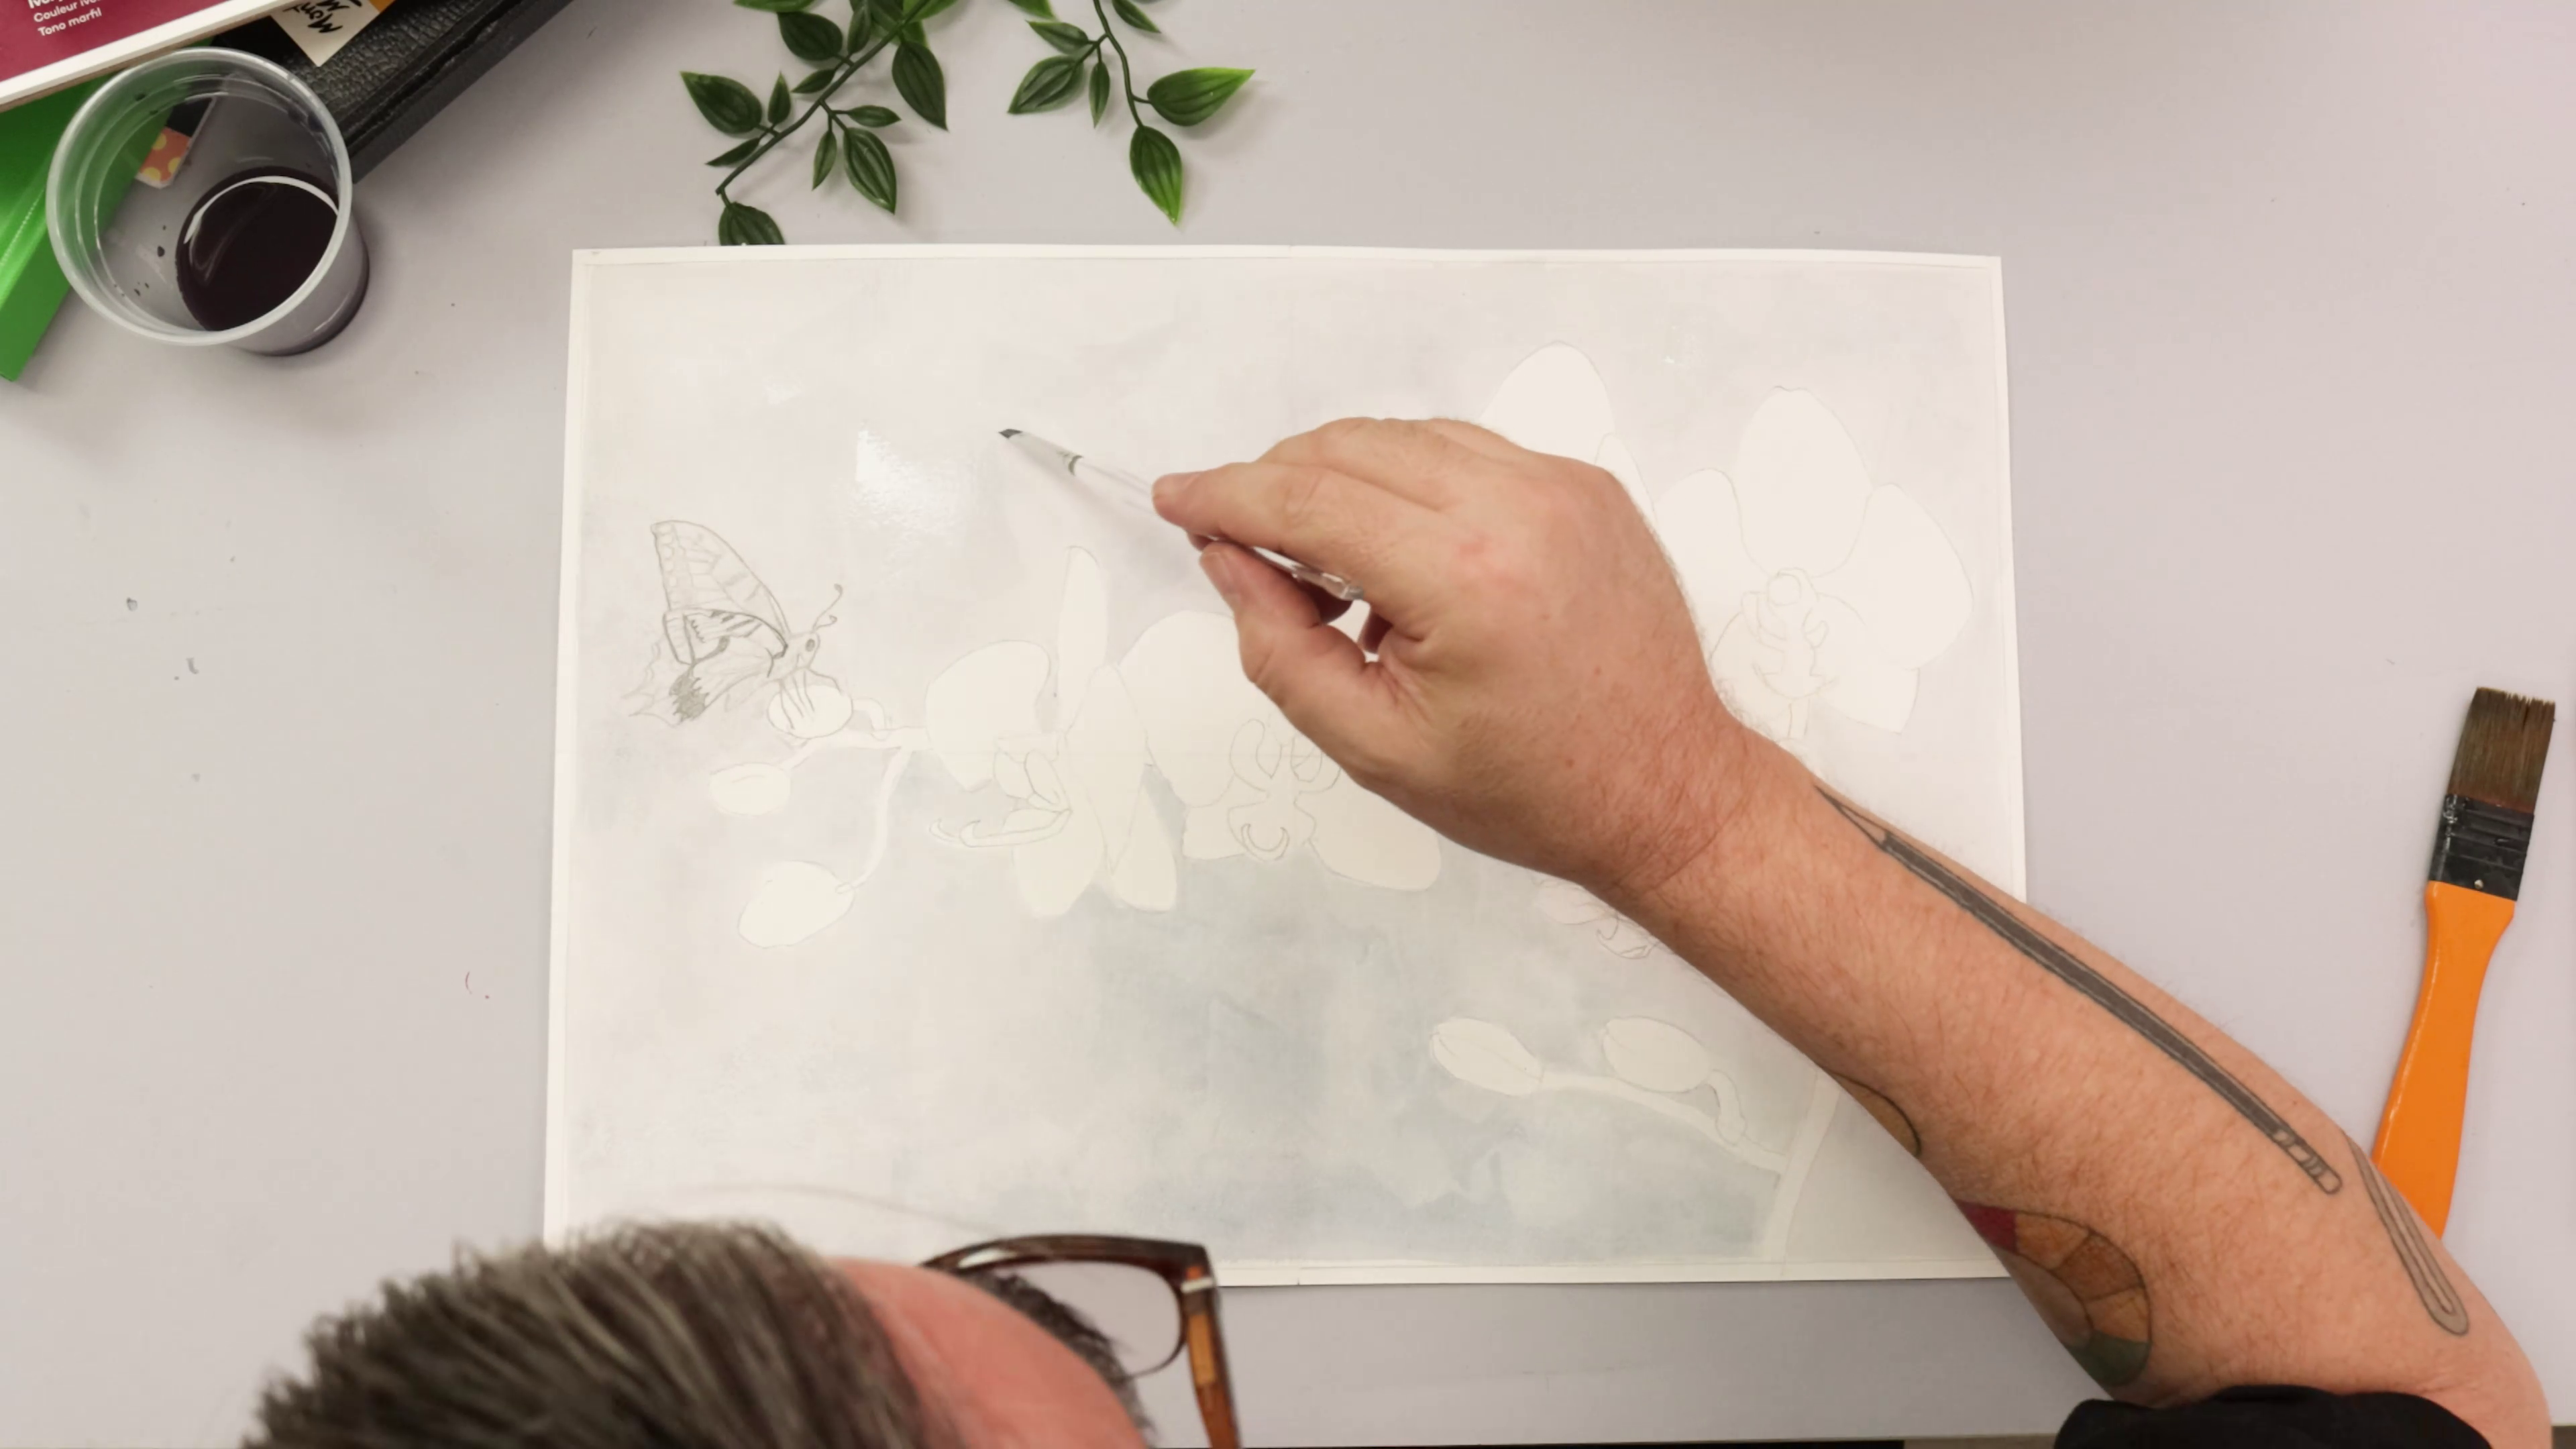
- Mix a cool grey tone using Lamp Black, Phthalo Blue, and Cadmium Red
- Test the mix on a scrap sheet to get the tone right
- Use a soft taklon brush to apply the wash around the orchid, avoiding the petals
- Drag a dry brush across the surface to add texture and blend out hard edges
- Let the background dry completely
Step 3: Colour the Butterfly
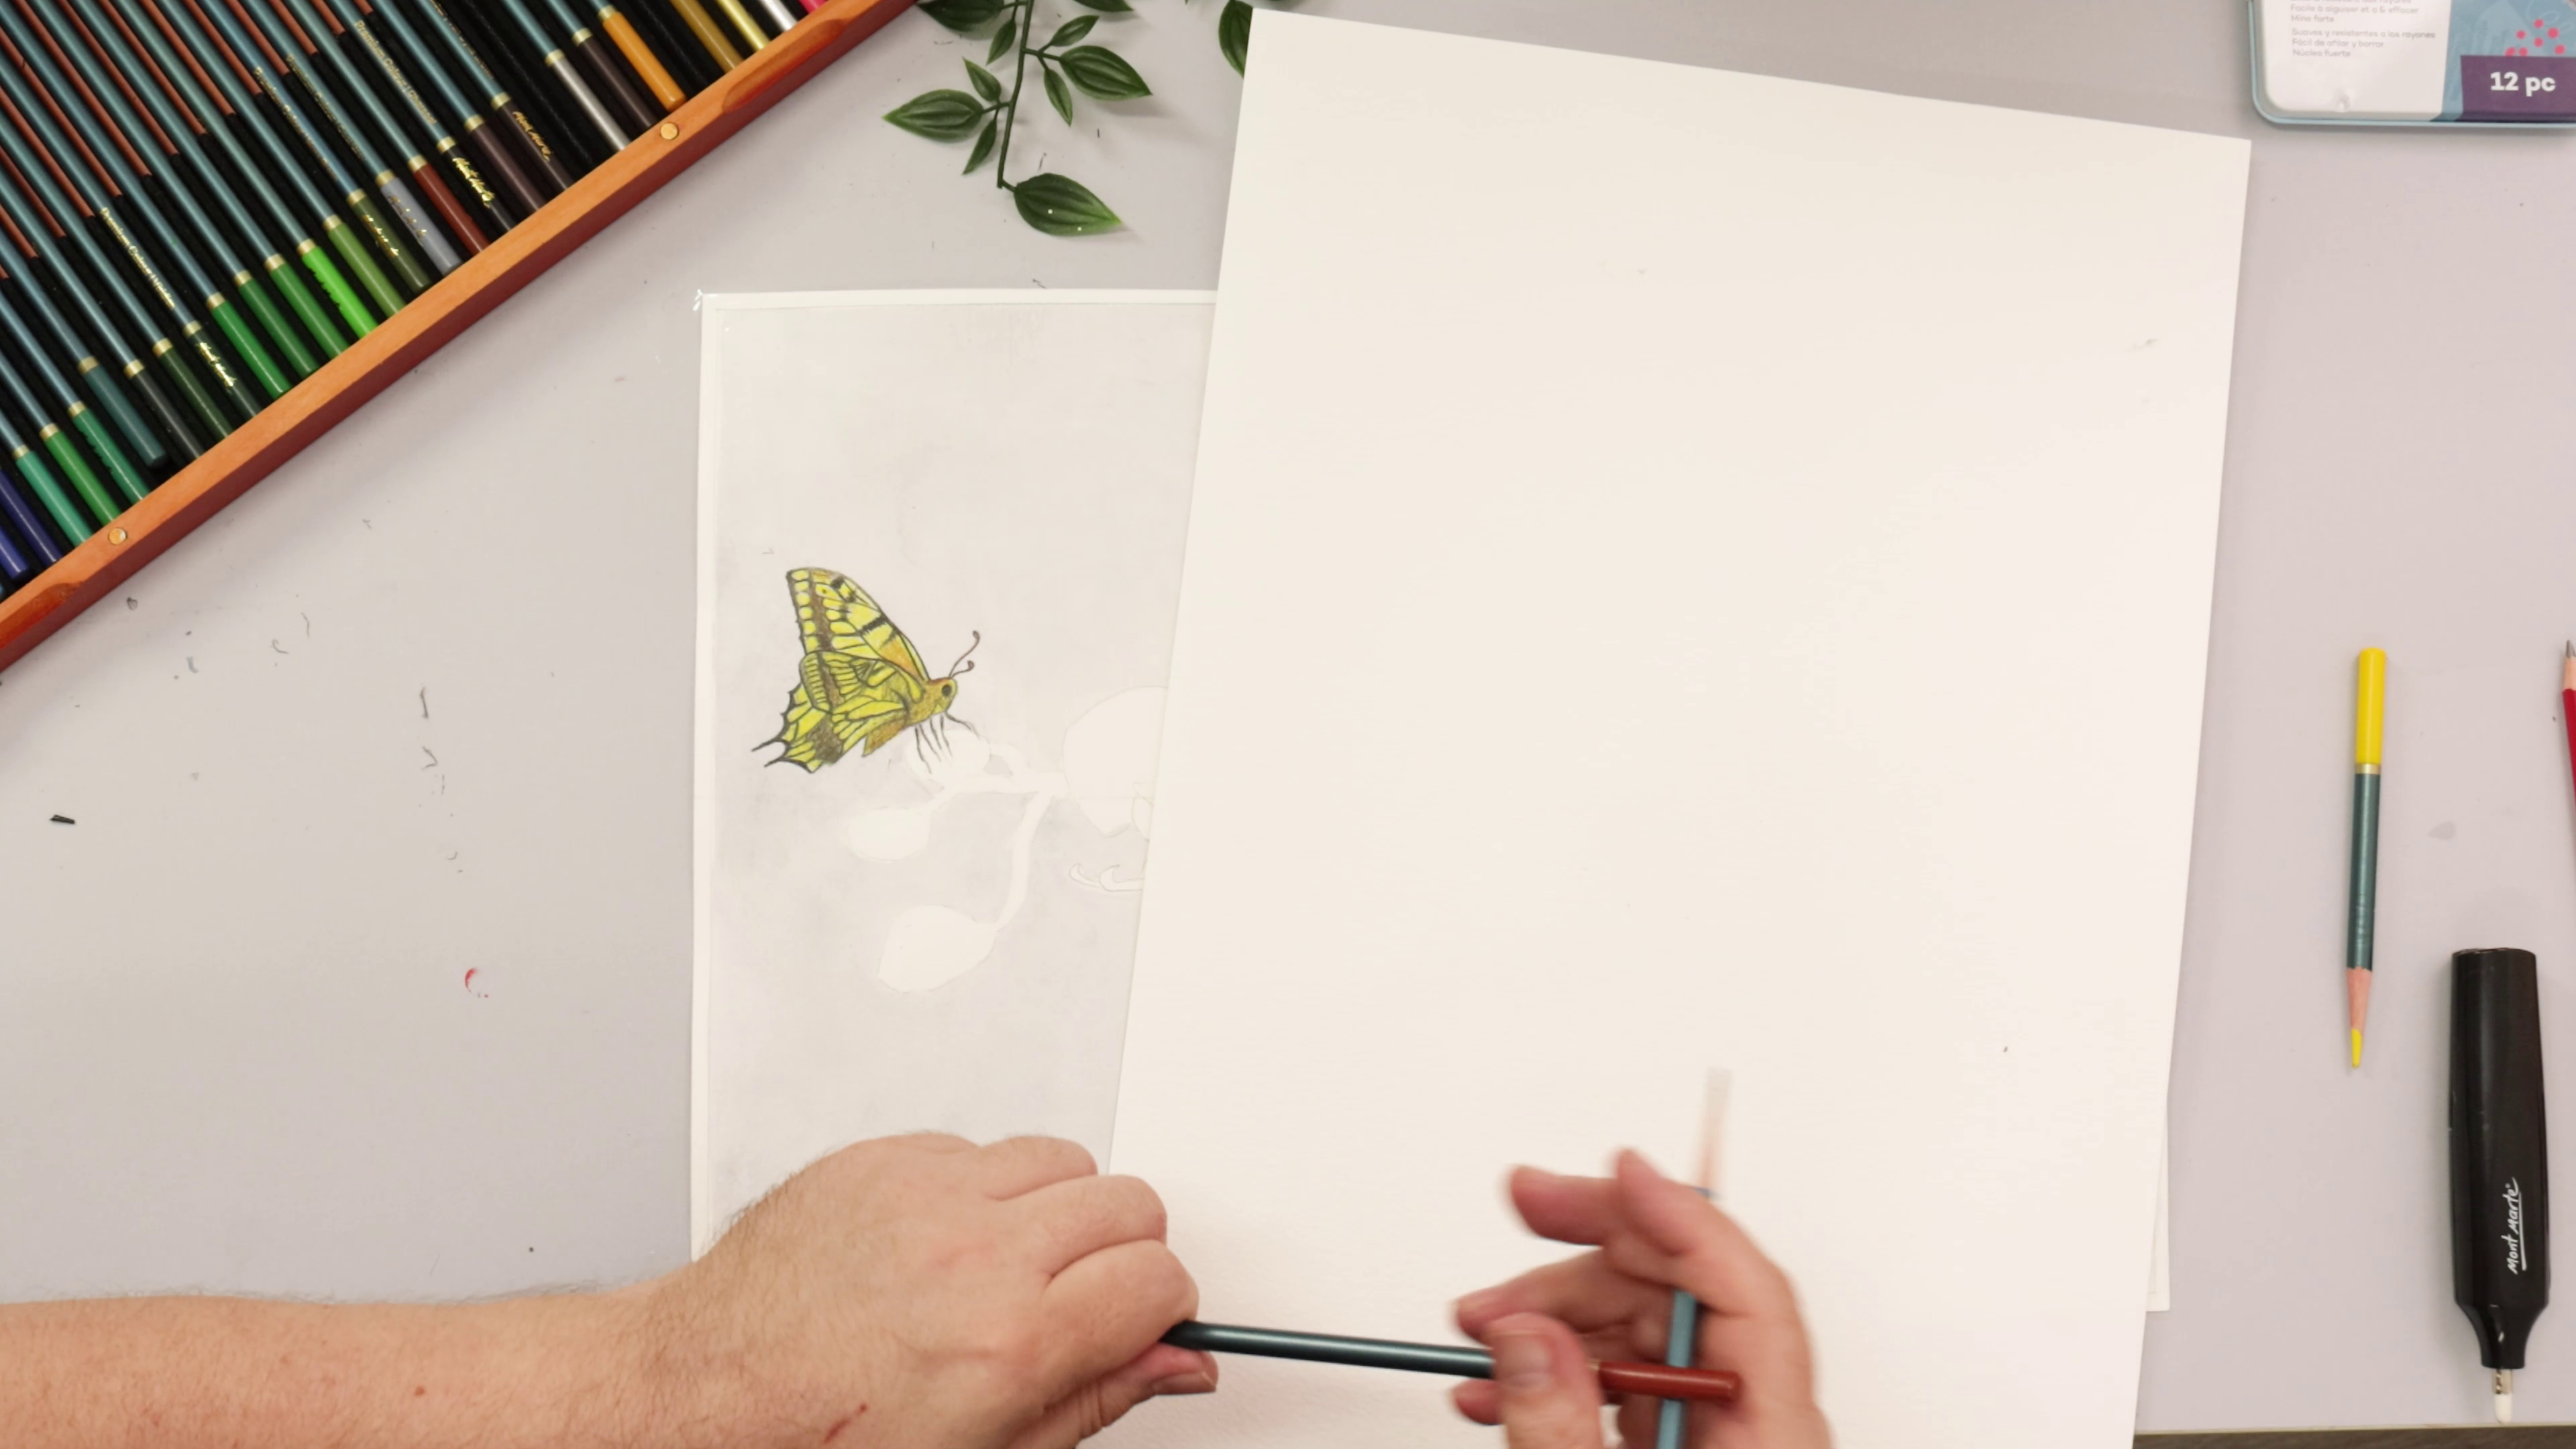
- Grab your pencils and start with Lemon Yellow for the base of the butterfly wings
- Add Terracotta for warmth and depth
- Use Black to darken the body and wing tips
- Add Terracotta to the antennas
- Use a scrap sheet to prevent smudging while working
Step 4: Colour the flowers
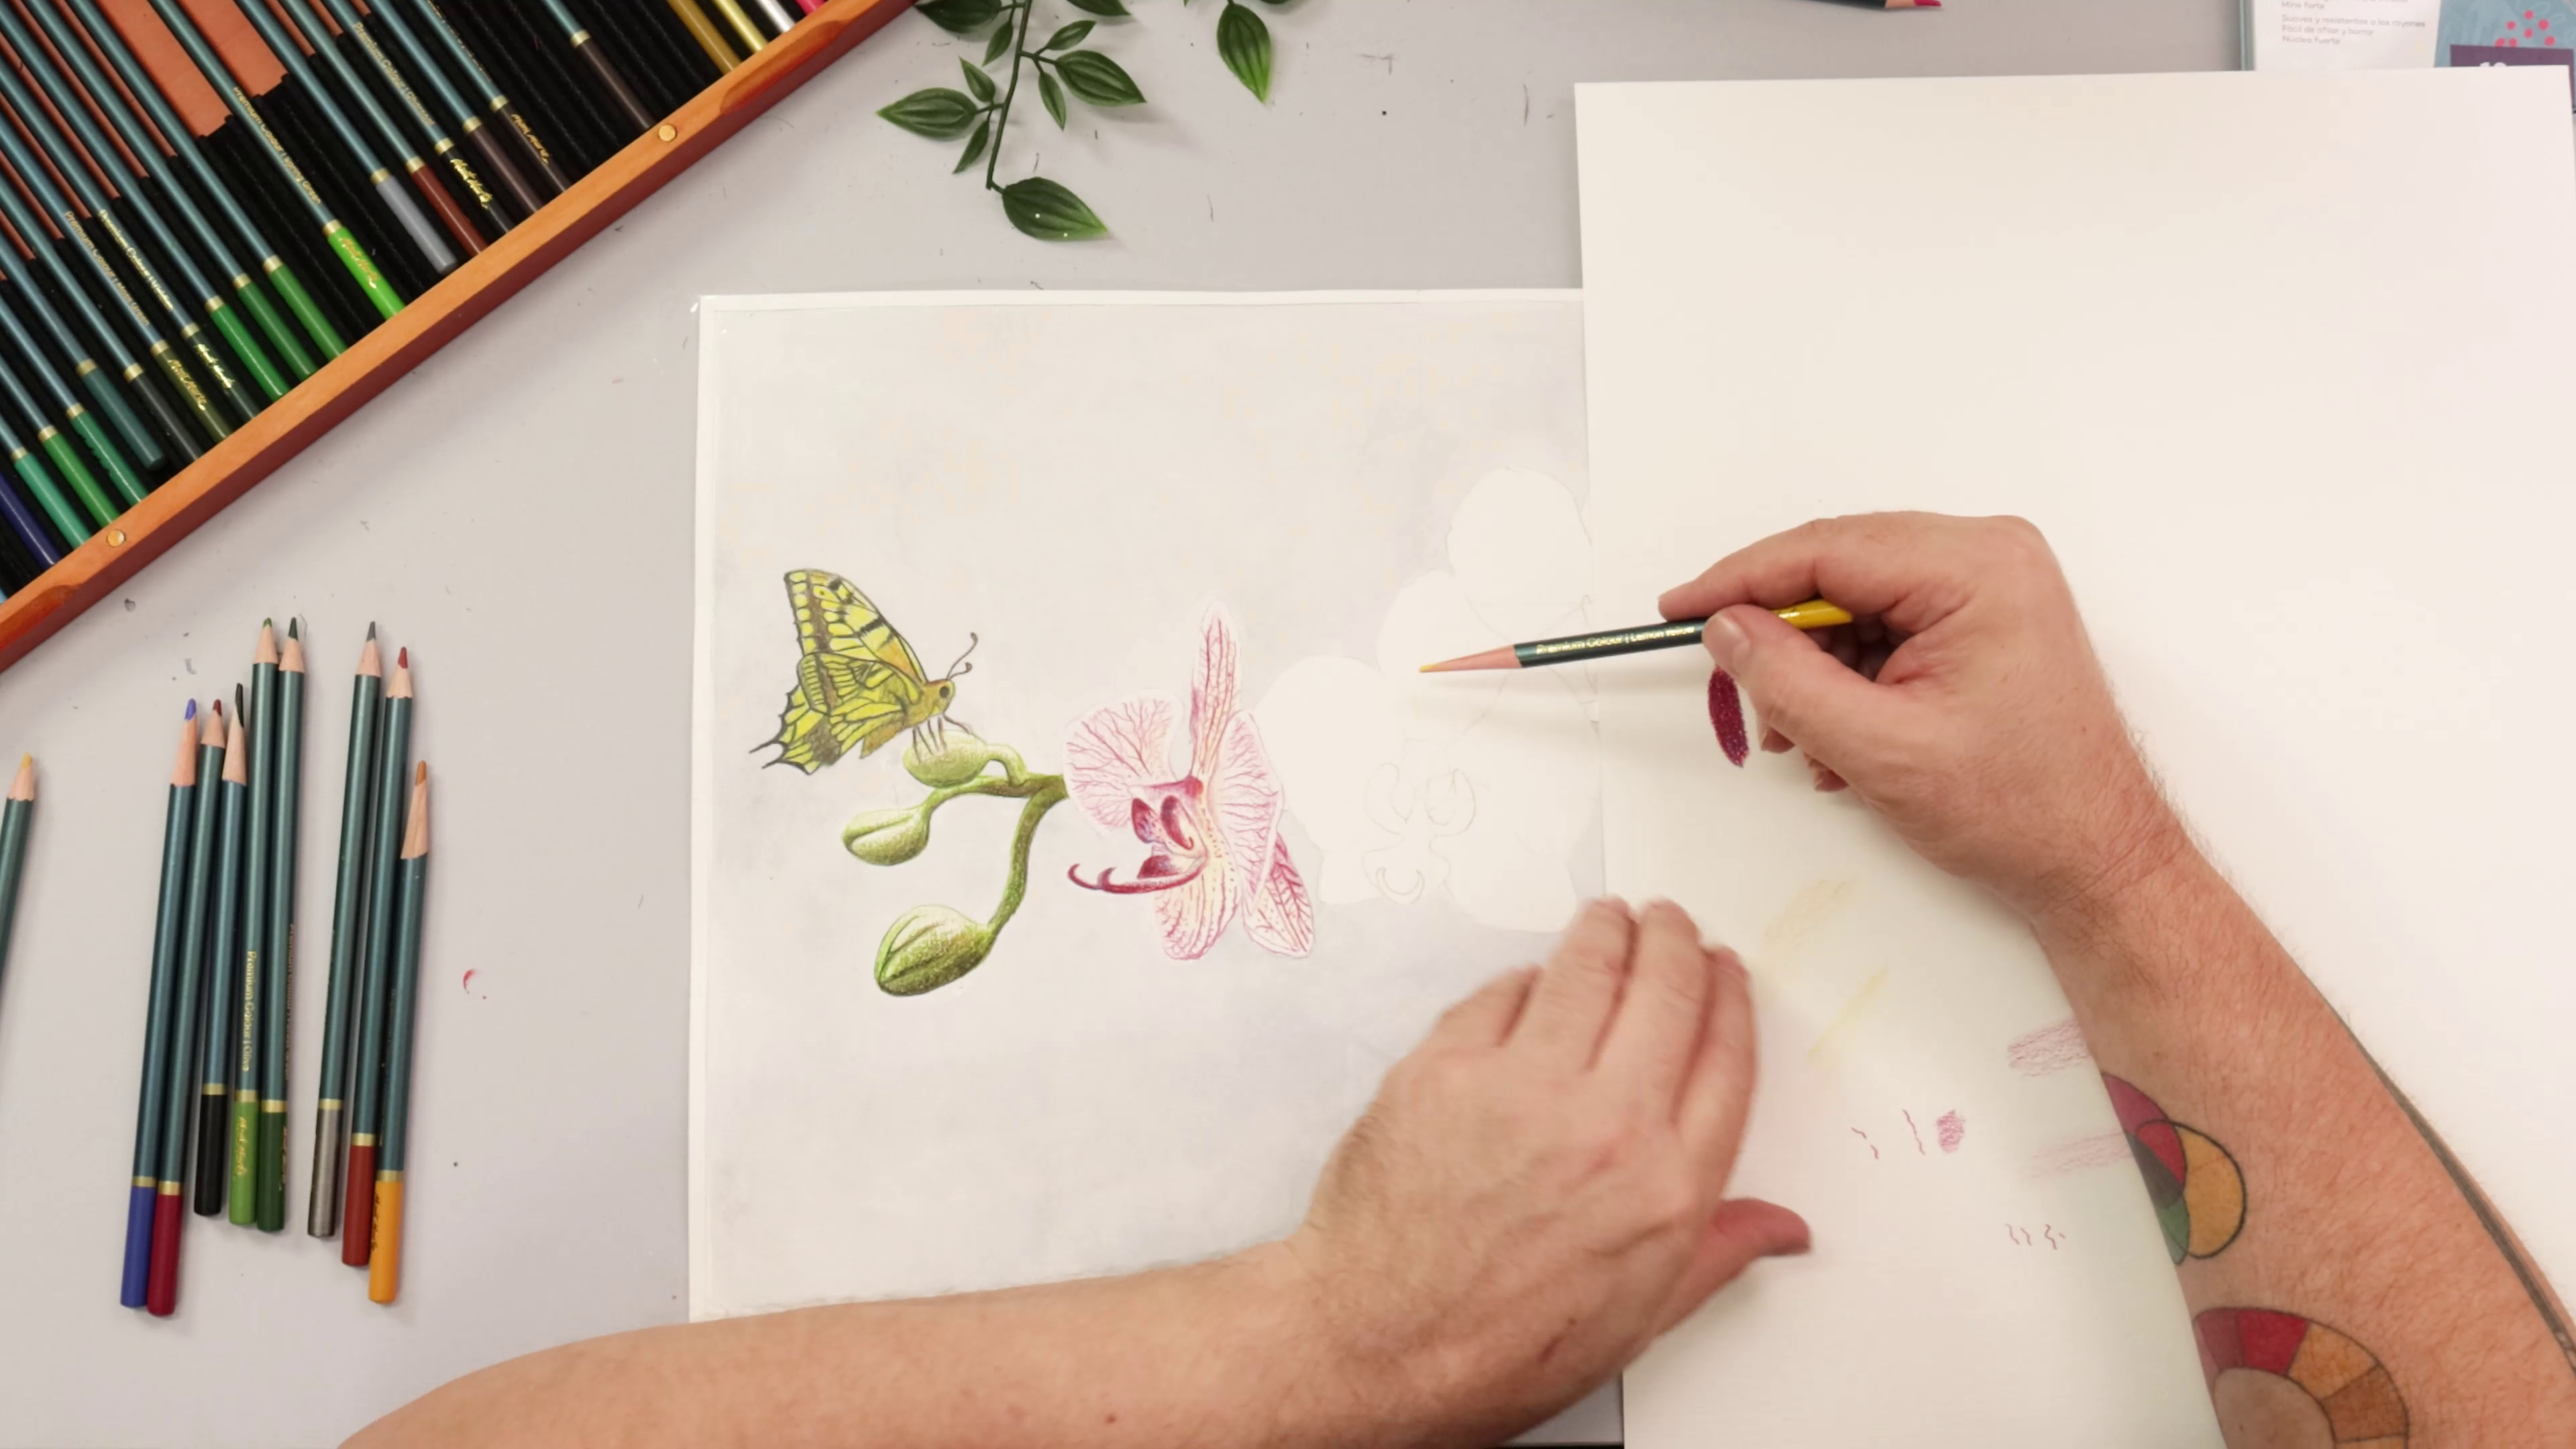
- Begin with Olive as a base for the leaves and buds
- Add Terracotta and Neutral Grey for shading
- Use Black for the darkest shadows, especially under the buds
- For purple petals, layer Carmine and Cornflower Blue
- Use Pale Yellow for subtle undertones
- Dusty Rose adds depth and Pink brings softness
- Use Dusty Rose for fine petal veins, keeping your lines thin and subtle
Tip: Keep your pencil sharp for fine lines!
Step 5: Repeat for all the petals
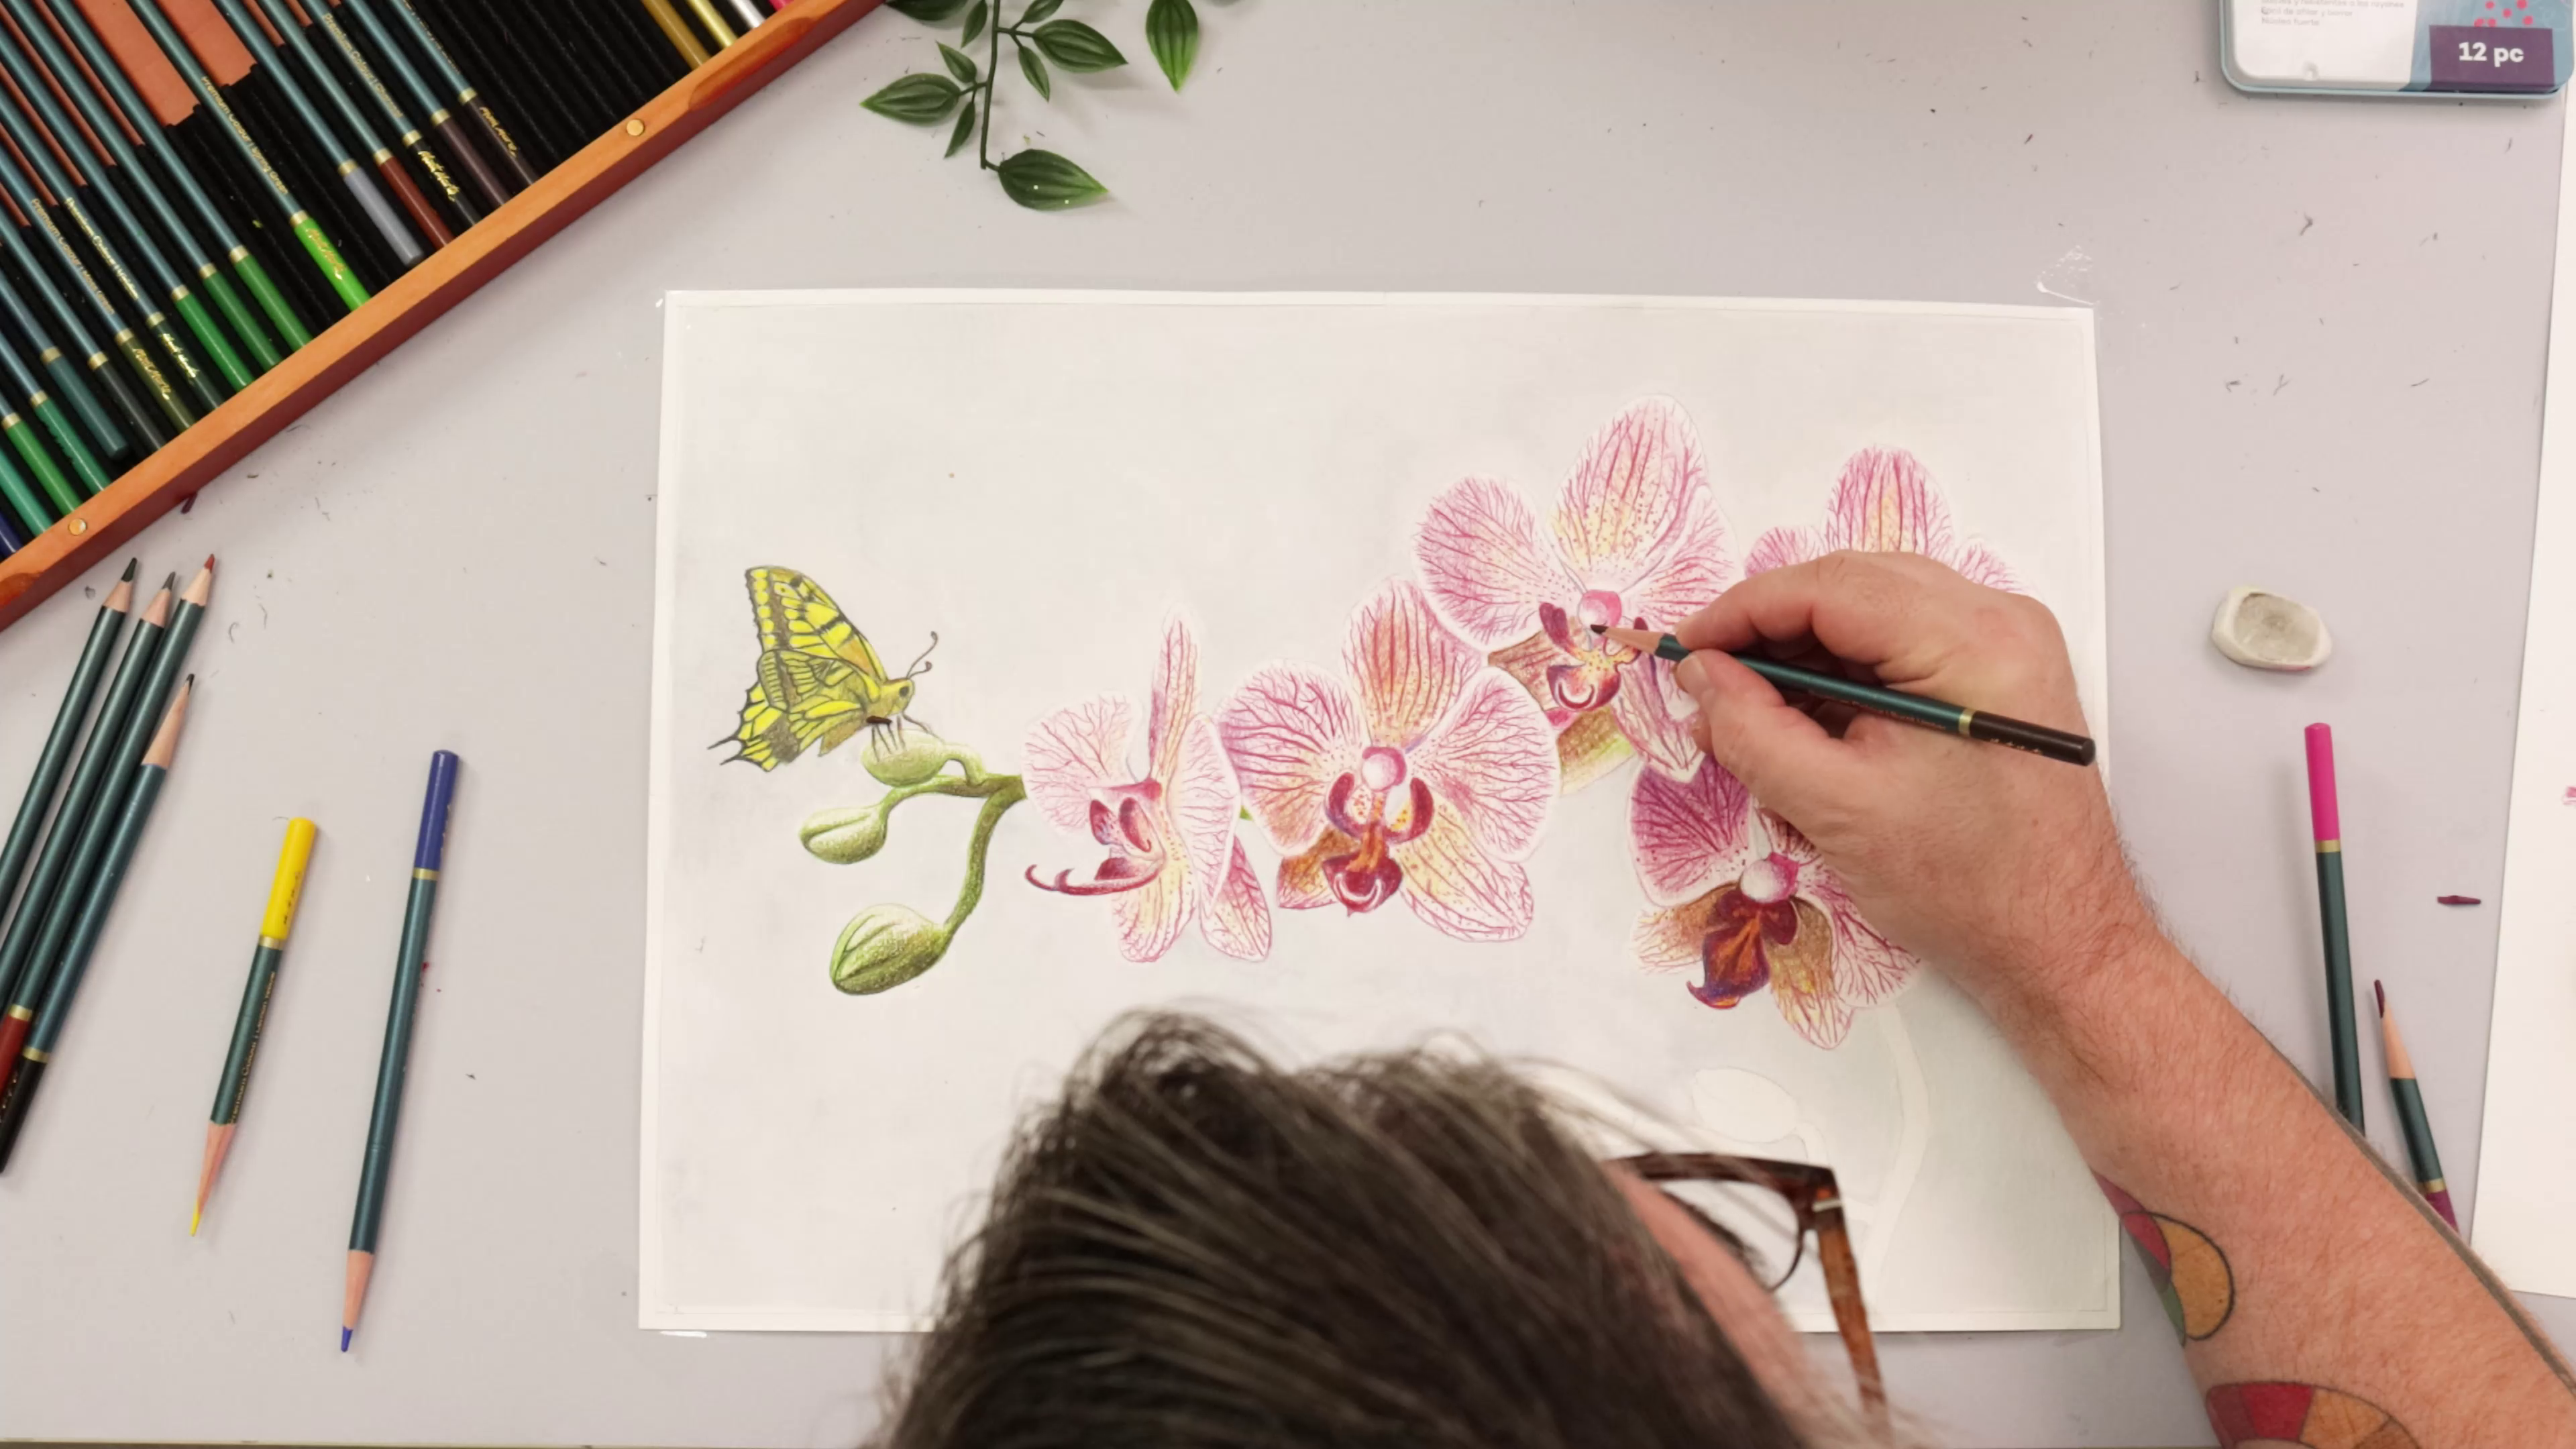
- Repeat the same layering method for remaining orchids
- Start with Pale Yellow and Pink, then layer Lemon Yellow for highlights
- Use Dusty Rose, Crimson, and Cornflower Blue for deeper purples
- Add fine detailing with Dusty Rose and a sharp pencil tip
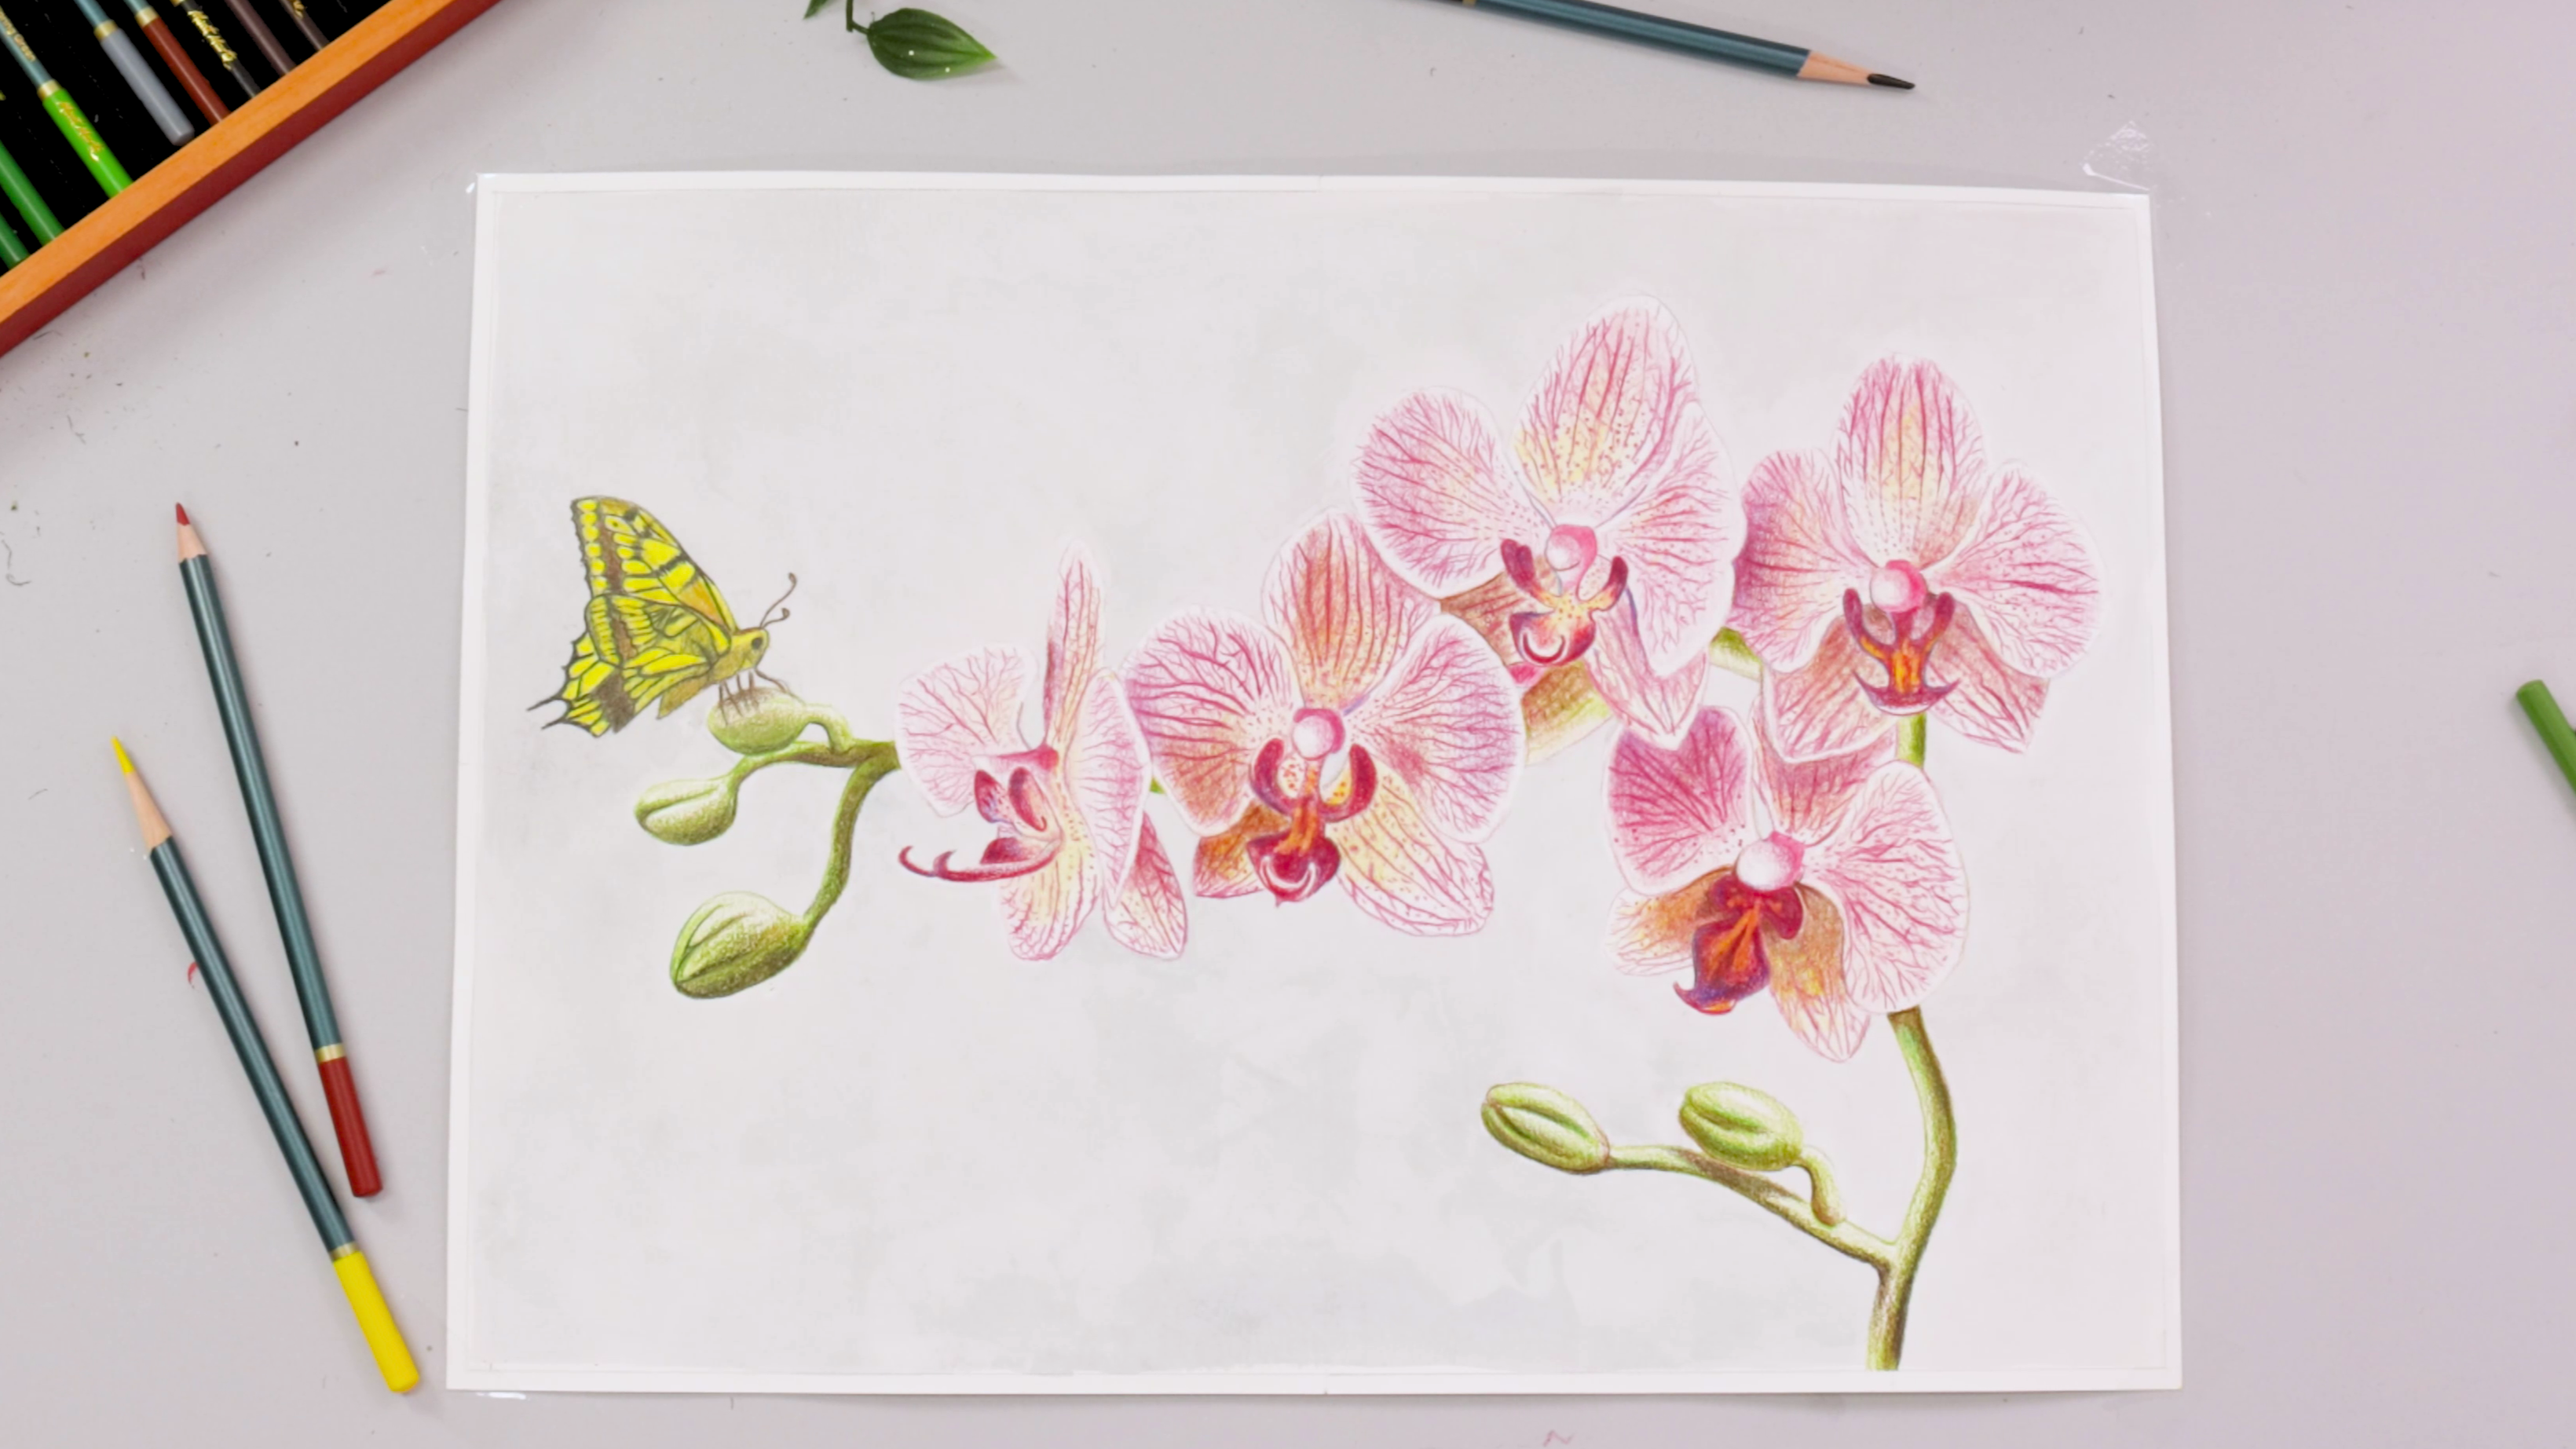
Step 6: Add Final Touches

- Check for missing tones—Olive is great for realistic green accents
- For the stem, layer Olive with Burnt Umber on the underside
- Use Forest Green to deepen the overall tone
- Step away from the artwork to refresh your eyes
- Return and make final adjustments
- Darken shadows, refine edges, or add highlights with an electric eraser if needed
And just like that, you're done! Whether you're gifting this piece or adding it to your own collection, it's a beautiful example of soft, layered colour work. Take your time and let the mindful colouring experience bring you joyful calm.
- Colour Pencils Box Set Premium 72pc
- Watercolour Paper 300gsm A3
- A3 Drawing Board (optional but helpful)
- Graphite Pencil 6B, F
- Watercolours (Lamp Black, Phthalo Blue, Cadmium Red)
- Brushes (for watercolour wash)
- Tear Off Paper Palette Signature
- Eraser (Electric Eraser optional)
- Pencil Sharpener
You may also like
How to draw an orchid with coloured pencils
Turtle pinch pot with air dry clay
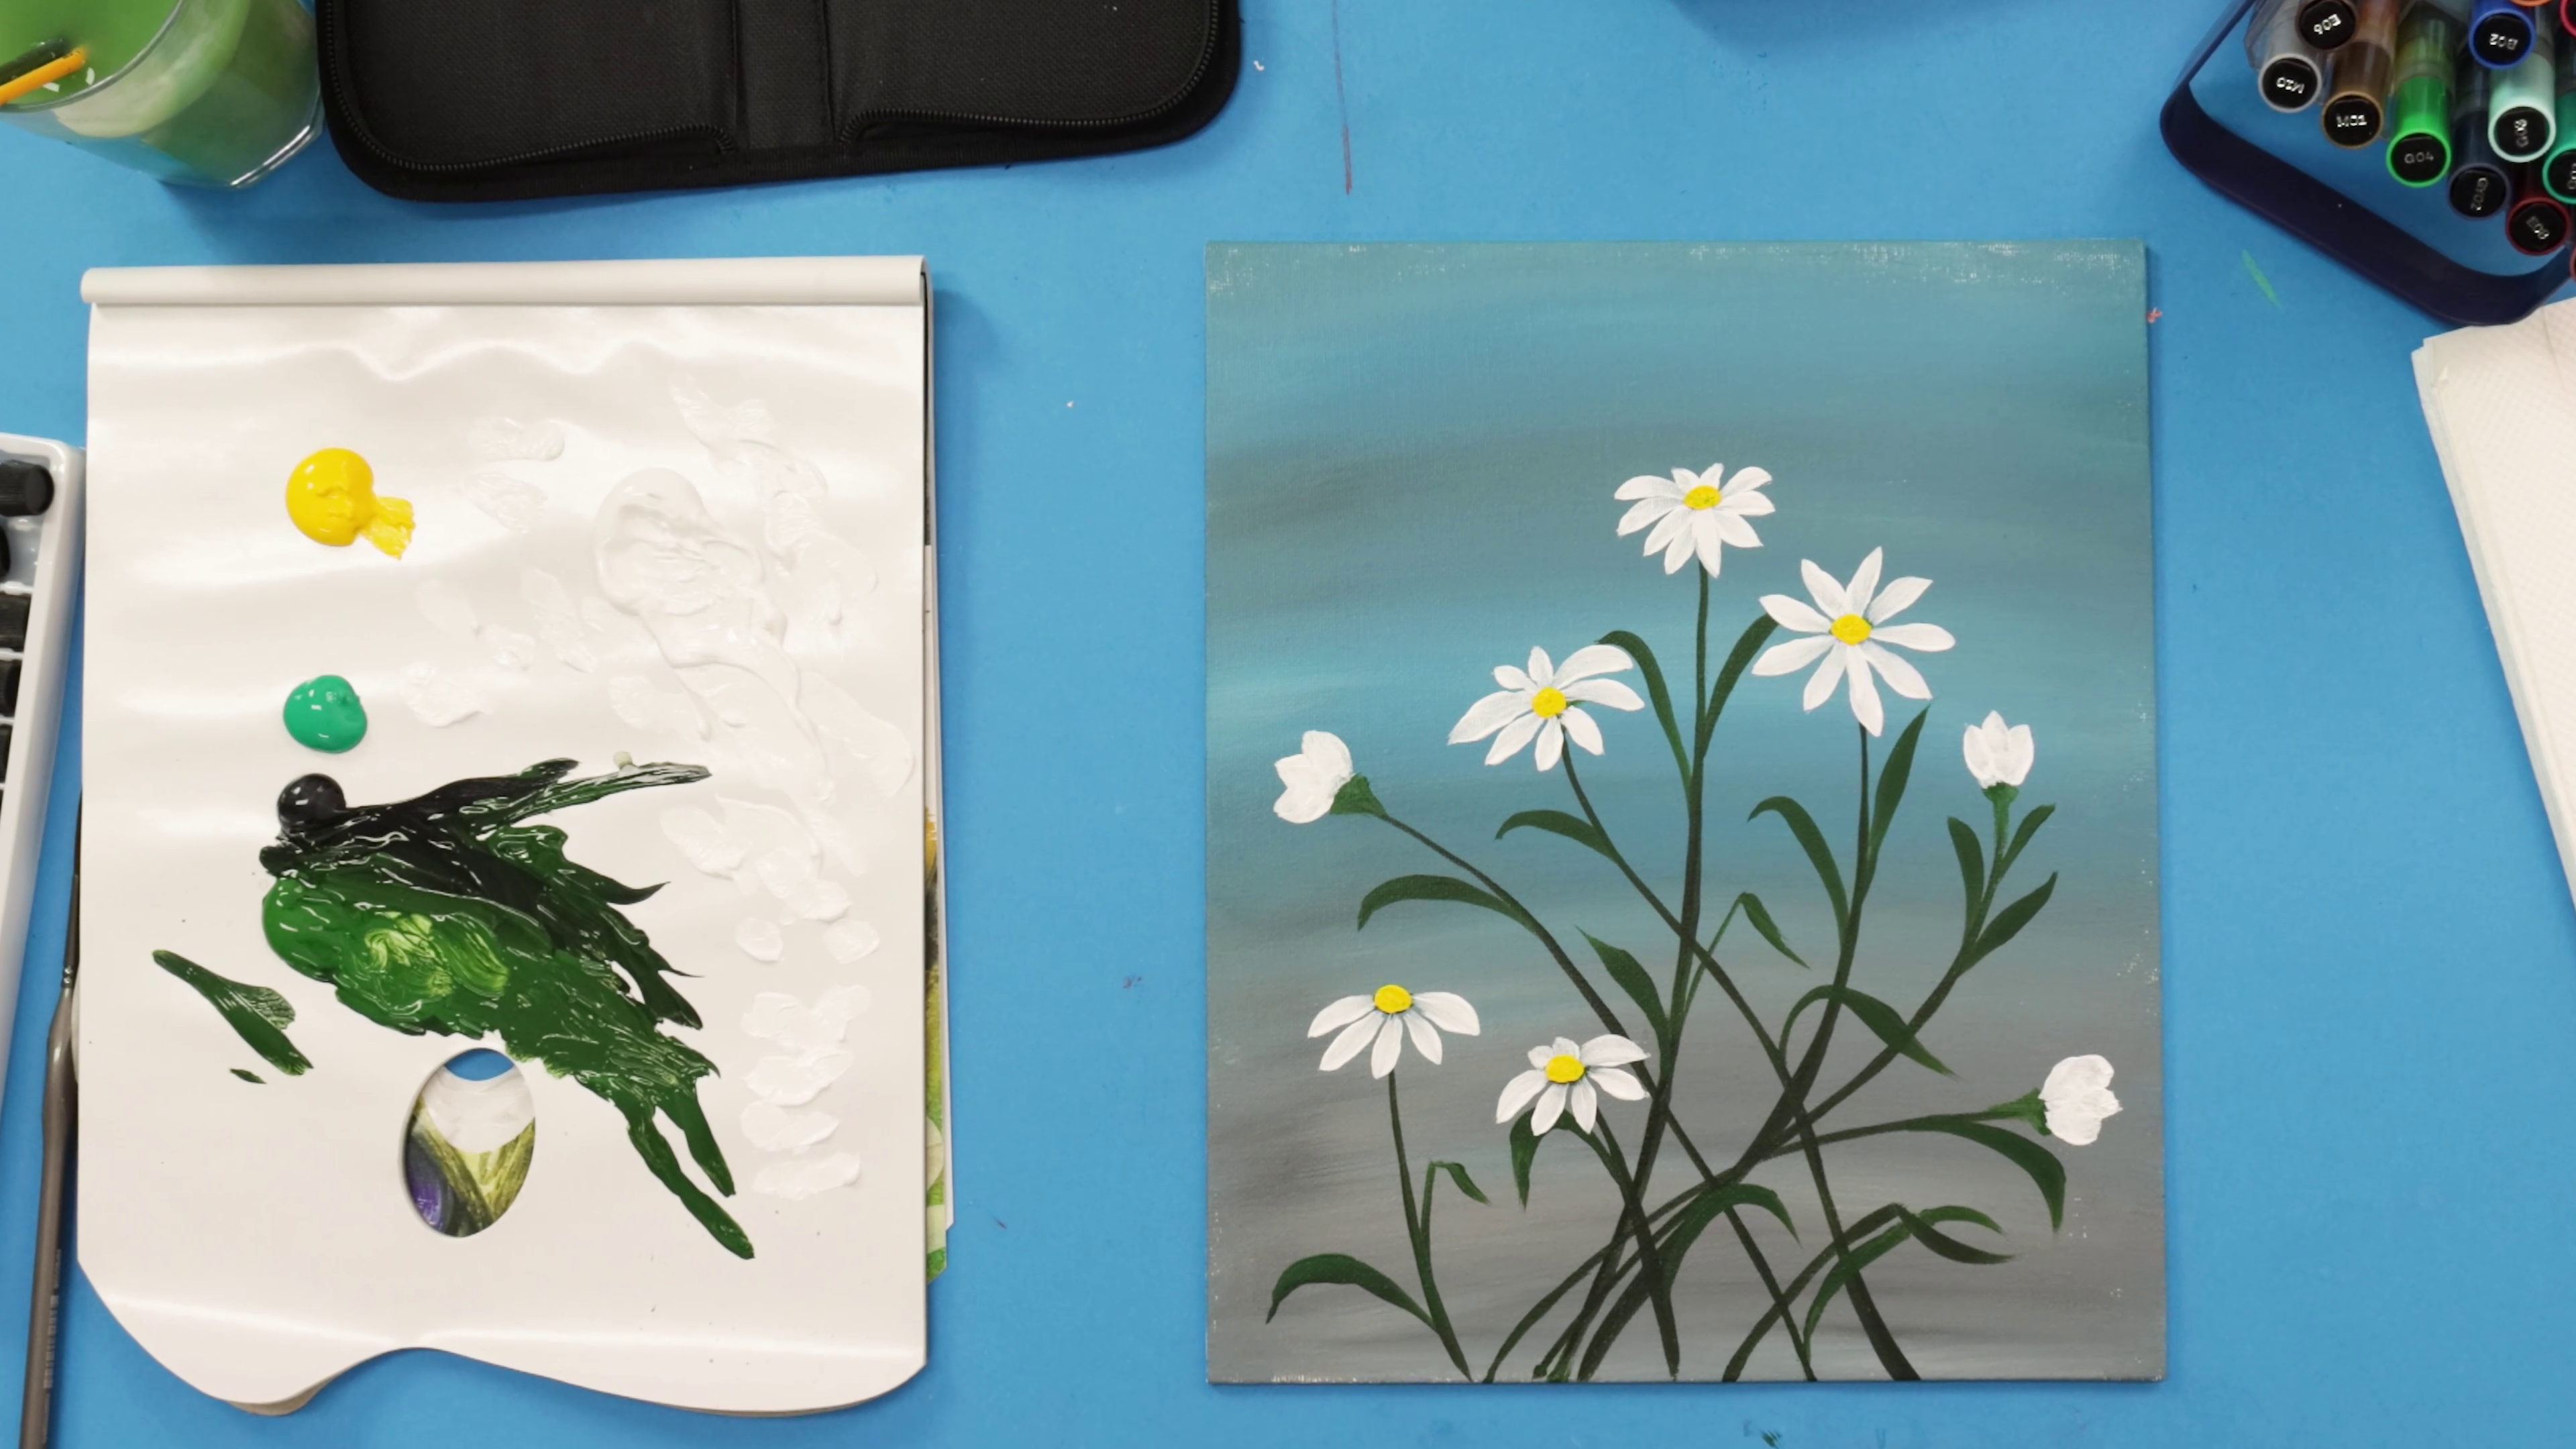
How to paint acrylic flowers for beginners


