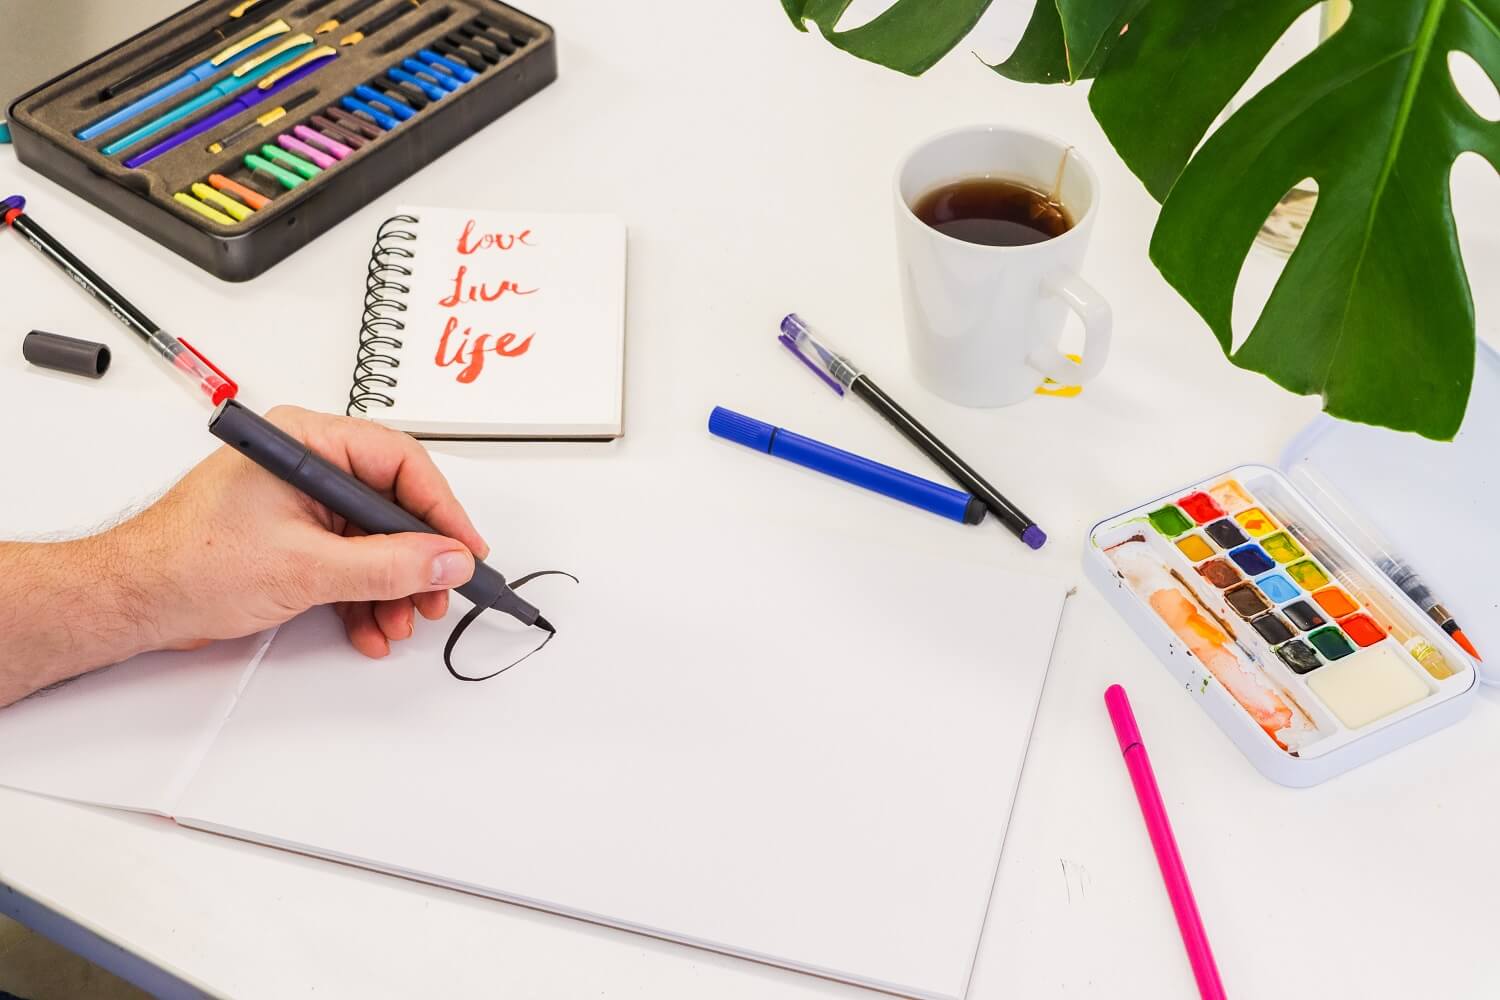
Let’s start by shouting “don’t let your way of writing stop you from pursuing creative passions” from the roof tops. Now that’s out of the way, as a lefty, you get to decide what style and angle works best for you, meaning you will most likely develop your own style much quicker than a righty, who otherwise might have to learn by copying. Sure, left handed calligraphy can be tricky to start with, but don’t let your hand stop you from dipping your pen in.
To get you started, we’ve rounded up 7 tips for left handed calligraphy so you can try your own hand at calligraphy and hand lettering.
1. Underlining

To avoid any smudging from your palm when lettering left handed, try the underlining technique. Start by positioning your hand underneath the base line instead of next to it and place the paper slightly on an angle, (around 45 degrees from your body), letting your arm stay relaxed and loose. Underlining is one of the most popular left-handed calligraphy techniques, and because your hand will be writing from under the line rather than across it, it will also help stop smudging.
2. Overwriting

If underlining doesn’t work for you, try overwriting. This is where you write over the base line instead of under or across. This technique is great for brush lettering left handed because you’ll be angling your hand like a hook above the line you’ll be writing on. For this technique, it’s best to angle your paper anywhere from 20 to 45 degrees and hold the pen perpendicular to the paper. If you need more room, you can push your arm out and curve it over more like a hook, but see what works for you and what’s most comfortable.
3. Try different nibs

If you’re using a left oblique nib, you might find that it’s cut from the top right to the lower left, which is great for right handers but not so much for lefties. The good news is, you can still use these as a leftie. When it comes to calligraphy for lefties, there are a few oblique nib holders on the market that have been altered for left hand creators. But if that’s not an option for you, or you haven’t had much luck with those, try angling the paper clockwise at 45 degrees again, with the paper close to your left. Keep your left arm free and loose, then try writing vertically at 90 degrees. Writing vertically is a bit tricky and you might want to play around with the angle to find what’s comfortable for you.
4. Pen to paper

Whether it’s left handed calligraphy or lefty hand lettering, you’ll most likely need to keep your paper to a 45-degree angle and hold the pen perpendicular to the paper to avoid any smudging mishaps. Experiment with which angle works for you and your style. You might find you only need more of an angle to the paper for overwriting but a slight angle for underlining or vice versa.
5. No correct way

Although there are general font ‘types,’ there’s no right or wrong way when it comes to calligraphy and hand lettering. If you find your left-handed calligraphy style has less loops and more dips or curves to it, then that’s fine. Just like everyone’s handwriting is as unique as people themself there’s no right or wrong way. Experiment and discover your style by finding what type of angles, posture and movements are the most comfortable for you.
6. Try right to left

Paper towel under your hand and letting the ink dry can be sure fire ways to stop smudging but what about lettering in reverse? If you’re hand lettering with paints or watercolours, try writing in pencil first to get your letters down pat, then work backwards starting with the last letter first. This way you’ll be working from right to left. Working backwards can be super helpful for brushing or hand lettering left handed and it’ll stop any paints or colours from smudging. If this isn’t for you, you can also try hovering your hand over the letters to stop smudging.
7. Be kind to yourself

Starting calligraphy can be tricky to get the hang of for both lefties and righties so go easy on yourself when starting out. It’s wonderful that you’re trying this art so don’t feel disheartened if your hand smudges a little or if it doesn’t write with a slant straight away. Have plenty of spare paper or a notebook for practicing and don’t worry about “compound curves” and “ascending loops”, you don’t need to know all of the fancy names, just start getting the hang of the strokes. If you’re finding left handed calligraphy a real challenge, there are printable sheets and downloadable exercises available online so you can get the hang of angles and slants.
Be sure to practice, take plenty of breaks, be patient with yourself and enjoy your creative journey.
If you’re ready to tackle calligraphy head on, why not check out our calligraphy and hand lettering range. Or if you’re looking for some inspo, check out these 15 hand lettering examples.


