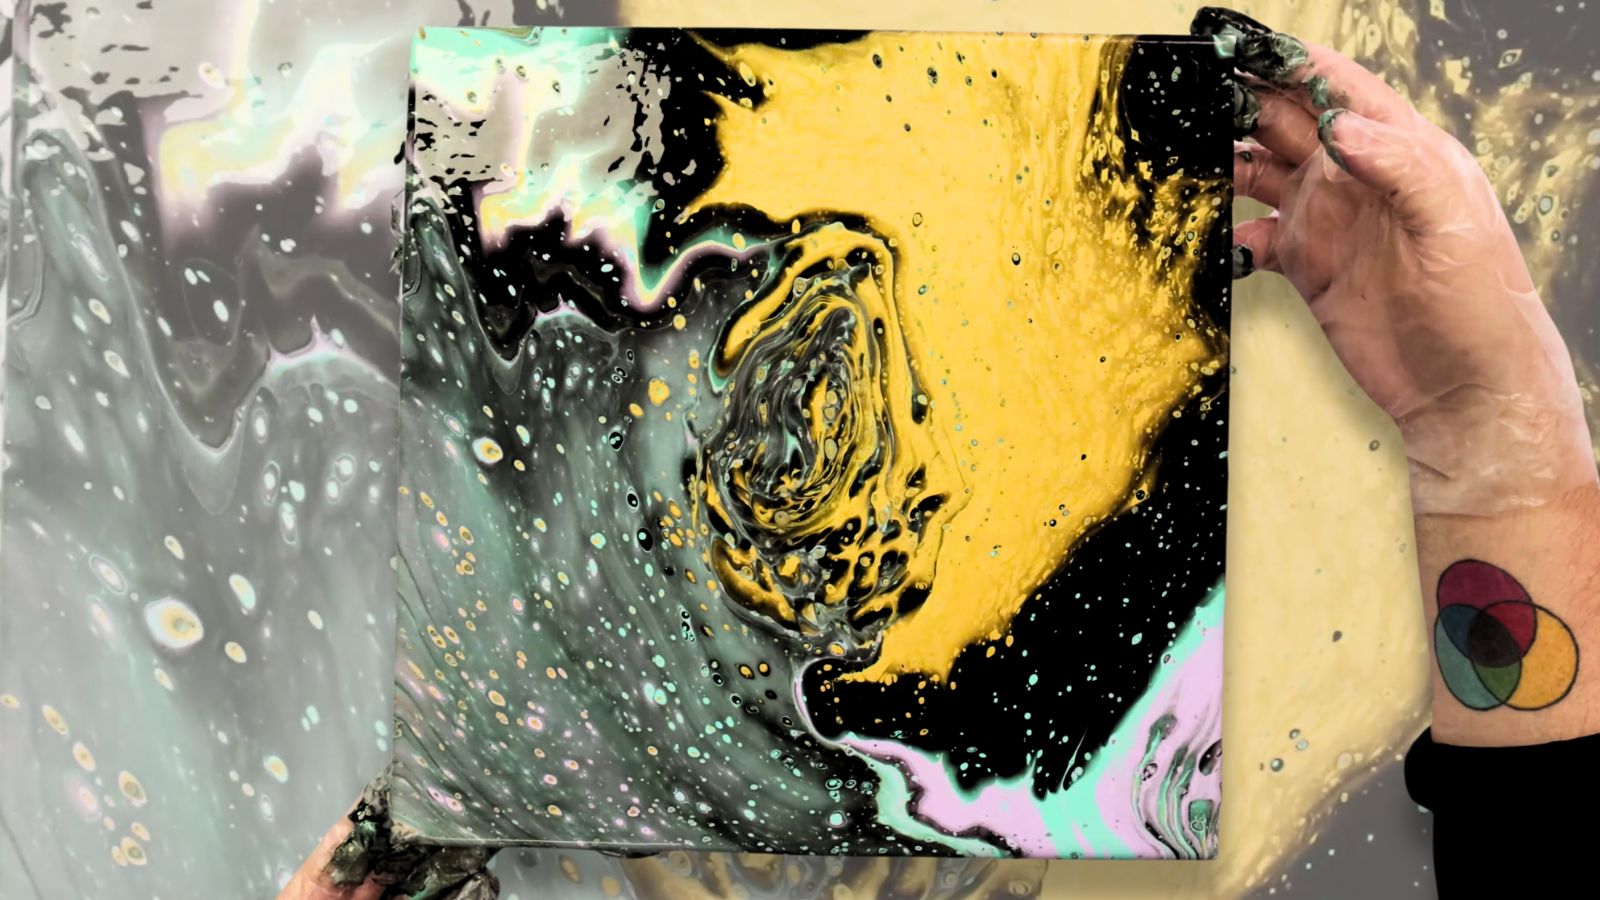
If you just picked up some SuperCell paints and don't know where to start, we're here with 4 paint pouring techniques for beginners to help you out! SuperCell makes pouring extra-easy, as its unique formula creates cells without needing extra additives. Just shake the bottles and away you go.
Which technique will be your fave?
1. Free Pour Painting
This is the simplest acrylic pouring technique – you just pour and let the paint flow!
How to do it:
- Shake your SuperCell Paint bottles so each colour is ready to pour
- Pop a plastic sheet down to protect your workspace
- Layer your chosen colours in a cup, including black or white as your base
- Pour freehand directly onto the canvas
- Tilt the canvas slowly to spread the paint to the corners
- Cells will appear naturally where the colours meet and mingle
- Let it dry flat so the design stays in place
Great for beginners, this technique is awesome for making organic, flowing artwork with unique colour blends every time. Plus, you just get to let loose and let the colours guide you.
2. Flip Cup Pour
A flip cup pour gives you bold, high-contrast cells that catch the eye.
How to do it:
- Layer different SuperCell Pouring Paints into a single cup without stirring
- Tip: we recommend using black or white as your base colour in the cup
- Place the canvas over your cup then lift and flip without removing the cup
- Raise the cup and watch the colours spill over your canvas
- Tilt gently to let the paint spread and reveal stunning cells where colours combine
This method is great for creating depth and movement in your pour paintings. If you like experimenting with colour combos, this is the technique for you!
3. Dutch Pouring Technique
Dutch pouring creates soft, blended effects with airy, flowing movement.
How to do it:
- Pour a base layer of SuperCell onto the canvas – white or black are great for contrast
- Add bright colours on top in a central area or along one edge
- Add a ring of your base colour around the colours
- Use a hairdryer or straw to gently blow the paint outward, spreading the colours
- This will create organic, feathery shapes on the surface
This technique is ideal for making floral, wave-like, or smoky effects in fluid art. You get a little more control over the paint as you choose the direction is spreads in with your air source.
4. Split Cup for Acrylic Pouring
Using a split cup allows you to pour multiple colours at once for unique, flowing ribbons of paint.
How to do it:
- Fill each section of a split cup with a different SuperCell colour
- Pour the paint onto the canvas in a steady motion, allowing the colours to mix naturally
- Tilt the canvas to guide the flow and create layered effects
Split cup pours are great for controlled marbling, wave patterns, and gradient colour blends. It stops the colours combining before they touch the canvas for ultra-clean results.
Now you know how, it’s time to start pouring! Remember, acrylic pouring is all about experimentation and letting the paint move naturally – gravity is your friend here. Whether you go for bold flip cup pours, smooth Dutch pours, or layered split cup effects, SuperCell Pouring Paint is here to help with effortless cells.
If you create and play at home, #montmarteart or tag us @montmarteart on Instagram or Facebook. We’d love to see what you come up with!
Check out our tips and techniques page for loads more ideas and inspo. To stay up to date with our latest products, art lessons, how-tos, hacks, and more, subscribe to Creative Connection by entering your email down below.


