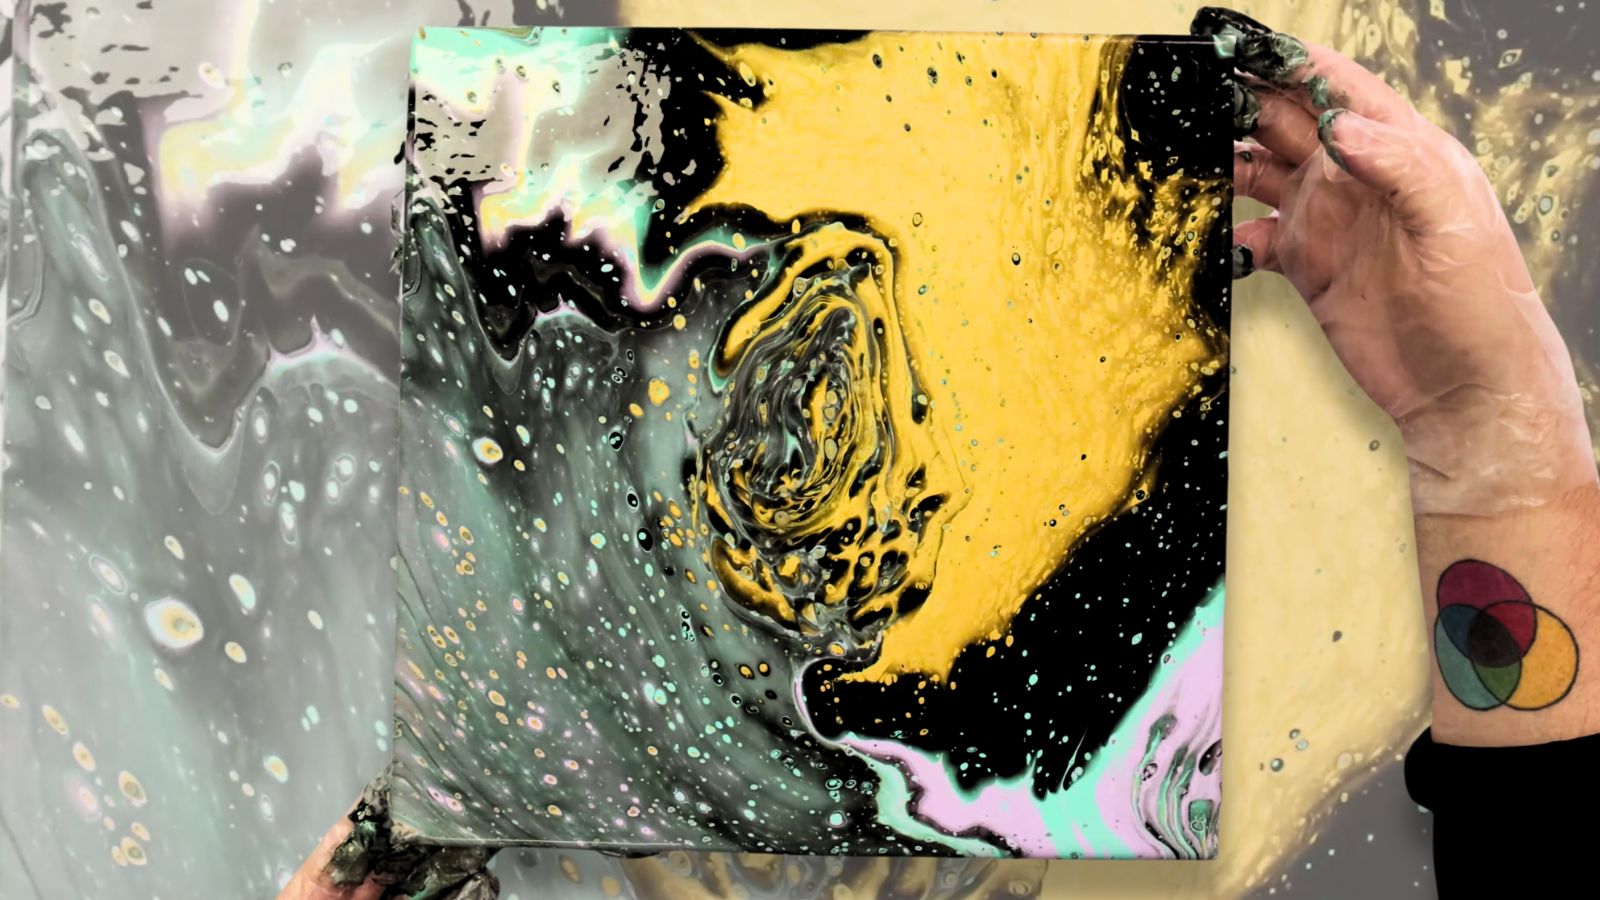
Are you interested in acrylic pouring? In this guide, we’re breaking down the steps to these pour painting techniques! Have a read and find one you’d love to try the most.
1. Flip cup
Anyone can do this flip cup technique! All you need is a plastic cup, pouring paints and a surface to work on. Fill the cup with your favourite colours, starting with white or black, so that it mixes into the colours nicely. Layer the colours until the cup is full, and then grab a piece of cardboard to cover the top of the cup. Flip the cup upside down onto the surface and let the cup sit for a minute. If you like, you could now put a base colour around the cup lip to make it flow easier. Then, pick the cup up and watch your paint fall onto your surface. To spread the paint, pick up the canvas and tilt it around until it fills the entire canvas.
2. Spin pouring
If you’re not afraid to splash some paint about, use a spin-top table or a Lazy Susan and place your canvas on it. Pour your paints using whatever technique you like, but instead of spreading the paint around, all you have to do is give it a good spin! This will quickly cover your canvas, and the spin will draw out a great design.
Tip: This is a messy one, so prep your area with a protective cover to catch all the excess paint.
3. Strainer pour
For a fun painting effect, think outside the box and use a strainer! Paint your surface background and then set the strainer onto the canvas. Pour your mixed paint through your strainer, and it’ll leave you with a really interesting pattern.
4. Bottle pour
To do this technique, grab some scissors and cut off the bottom of a soft drink bottle. Keep the bottom and place it upside down on your surface. Add one colour at a time and pour it right over the plastic so that it falls through the grooves. The more you layer, the further the paint will spread, creating a lovely flower design.
5. Wave pour
If you’re an ocean lover, this is the right technique for you. Grab a muted paint colour to fill three-quarters of your canvas, and set aside a few different shades of blue. Take one of your shades and pour it along the canvas in the shape of a wave. Repeat several times with different colours until you’ve made a general wave shape and you’ve filled the empty space. Use a hairdryer to blow out the colours and create a splashed-out effect to really bring out your wave. Keep drying until your pattern is complete.
6. Negative space pour
Like the wave, the negative space is the area that borders where you want to pour. Use a muted tone as your base, and then fill out the rest of your surface with a colour of your choice, either pouring by hand or using a flip cup method. Spread your paint across your canvas, making sure not to spill too far into your border, and voila!
7. Split cup pour
To do a split cup pour, your mixing cup needs to have some dividers through it - you can either DIY this or find the cups online. Fill your divided sections with different colours, and tilt the cup to pour onto the canvas. Just by pouring, the dividers will create some awesome effects! To finish off, tilt your canvas around until it’s fully covered and your art piece is complete.
8. Swipe pour painting
This technique is a great way to get cells in your fluid art. Swipe pouring, or ghost pouring, is where you use different colours to make streaks along your canvas before swiping them outwards with a palette knife. From that, tiny bubble cells will soon appear, and you’ll have a swipe pour painting of your own!
9. Embellishing acrylic pours
Your pour didn’t turn out quite like you wanted? Or maybe you want to add extra details to make it pop? Either way, embellishing your fluid art can change your work for the better. When the pour painting is dry, why not trace over its flow lines or add dots with another coloured paint? You could even add some gold leaf!
10. Puddle pour
For one of the easiest pouring techniques that creates fantastic results, check out puddle pouring. In this simple method, instead of putting colours in a cup, pour them on top of each other one-by-one. This makes the colours spread underneath. When you’ve used and layered all of the colours, it should look like a big puddle. Then, break the puddle up with your finger or a palette knife, and tilt your canvas until it’s covered with paint. It’s as simple as that!
11. Dirty pour
A dirty pour technique focuses only on your mixing cup. Instead of neatly adding your paints without blending them, this pour is where your mix your colours before putting them onto your surface. Do this by cutting through the colours or swish the cup around as you add each colour.
12. Dutch pour
This is a super simple type of fluid art that doesn’t require a lot of practice. Coat your surface with a base colour and then set aside the rest of your colours in cups. Take one cup and pour it in a line across your canvas, repeating the same step with your other colours. Like the above techniques, you can layer this to make an impact. The next step is to get a hairdryer and blow your colour outwards, making them mix in the process. Keep doing this step until you like the look of your painting and you’ve made a Dutch Pour!
13. String pull pour painting
You can do this fun technique with a canvas or panel, pouring paint and string. Add a base coat on your surface with a colour of your choice, and then have cups of paint handy. Cut some pieces of string and dip them in your cups one at a time. Place the strings on the canvas, letting the end hang off the side. Hint: curl the string when you place it down so that it helps make a swirl effect. When you’ve placed them down, pull the hanging ends off by one until they come off completely – and there you have it!
14. Multi-canvas pour
Want a statement piece for your wall? Try a multi-canvas pour. Choose the number of canvases you want to use, and place them next to each other. Then, do one of the above pouring techniques, this time spreading it across all of your canvases. A consistent flow looks best with this technique, so protect your floor and don’t worry when paint falls through the gaps.
15. Ring pour
All you need for a ring pour is a steady hand, pouring paint and a canvas or board. Get a cup and layer it with colours before pouring it onto the canvas. Instead of still pouring, you then swirl your hand in the same motion to create a ring effect. Keep going until your cup is empty, doing gradually smaller swirls as you go on. Tilt your canvas in a swirling motion to spread paint all the way across, and you’ve done it. Great job!


