


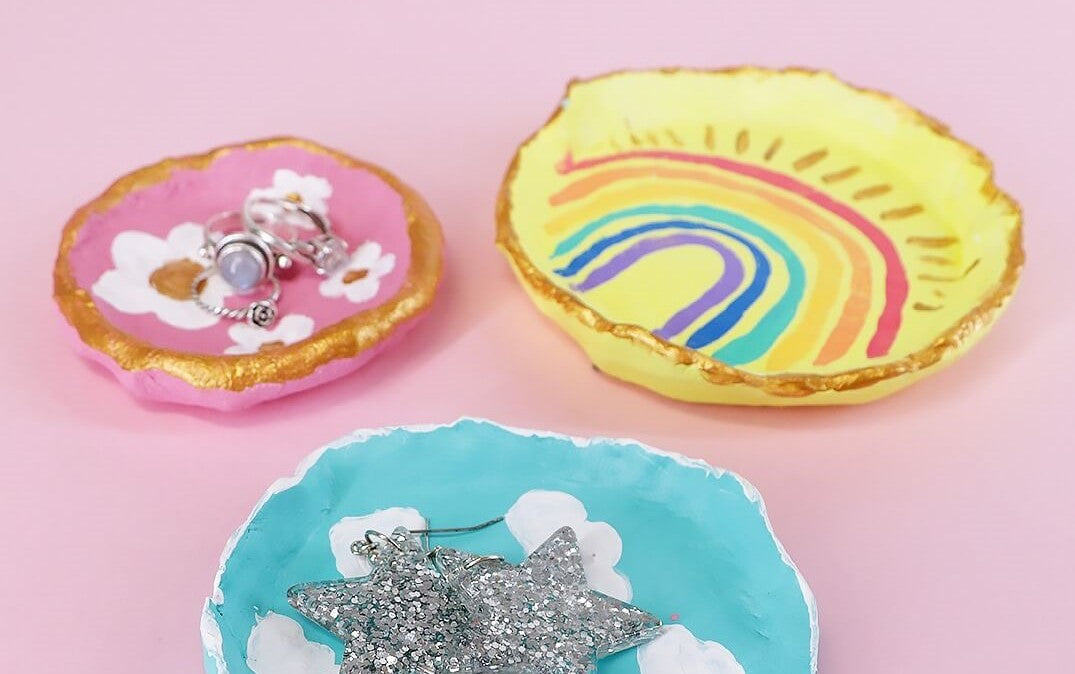


If you’re looking to take your painting skills to the next level, why not learn how to pipe paint? Create intricate designs and add unique details to your artwork with thick, satisfying paint that you can pipe like icing! Whether you're still learning the ropes or an experienced artist looking to try something new, these piping techniques are here to inspire you.
How to thicken acrylic paint
To pipe paint successfully, it needs to be able to hold its shape. To do this, we recommend thickening acrylic paint with medium or using a thicker formula so your colours stay 3D when dry. Here's a couple of ways to thicken your acrylic paint:
Use Heavy Body Acrylics: Save time by using a heavy body acrylic paint like our Dimension Acrylics which have a rich, thick consistency. These paints are ideal for piping because they hold their shape well and are less likely to drip or sink while drying.
Add Thickening Medium: If you're working with standard acrylics, you can increase their body by adding a thickening medium like Impasto or Modelling Paste. Mix the medium into your paint until they can be dolloped like buttercream. Impasto is transparent and won’t change your paint colours while Modelling Paste is great for large-scale, sculptural texture work as it has a very thick consistency. However, keep in mind that Modelling Paste is opaque so it will change the colour of your paints, usually making them more pastel.
Piping paint flowers
Piping flowers with paint is a fun and easy way to add a pop of 3D colour to your artwork. Here's how to pipe paint flowers:
Choose Your Flower Design: Start by sketching out your flower shape on your canvas or paper. Start simple and focus on basic petal shapes like circles, teardrops, and ovals before tackling more complex, detailed flowers.
Load Your Piping Bag: Pick out a piping tip that suits your chosen flower – some handy ones to try out are the petal tip, ruffle tip, round tip, and star tip. Cut a small hole at the base of a piping bag and thread your tip through the opening. Fill the bag with your chosen thickened acrylic paint colour. You may want to combine two colours in the bag for an ombre effect. (hint: pink and white are a classic combo). Twist the top of the bag to secure the paint inside so it’s pushed down to the tip and you’re ready to go!
Pipe Your Flowers: Hold the piping bag at a slight angle to the surface and gently squeeze to release the paint. Keep the outer edge of your petal wide and taper the paint as you move toward the centre. You can change to a narrower piping tip to add small dots, anthers, or linework for the details. Experiment with varying pressure to create petals of different shapes and sizes.
Add Details: Once you've finished piping, you can use a fine paintbrush, modelling tool, or toothpick to add details like stamens and veins. Keep in mind, the paint is soft and delicate so use a light hand when detailing!
Painting words
Piping can also be used to add words and lettering to your artwork and convey a message. It’ll give your letters a 3D effect, so they really pop! Here's how to pipe painted words:
Choose Your Font: Start by choosing a font or lettering style for your words. Keep it simple and easy to read, especially if you're new to piping techniques.
Practice Your Lettering: Before piping onto your final artwork, practice your lettering on a piece of paper or scrap canvas. Pay attention to spacing, sizing, and consistency. Work out what colours work the best together and if you want to add shadows or highlights.
Load Your Piping Bag: Fill a piping bag with your thickened acrylic paint, using a fine round piping tip for precise lettering. If you’re after a bolder style, opt for a wider round tip. Typically, round tips will give you clean, simple lines that are easier to read, unlike the more complicated star or swirl tips. Twist the top of the bag to secure the paint inside.
Pipe Your Words: Hold the piping bag at a slight angle to the surface and gently squeeze to release the paint. Pipe each letter individually, using a steady hand and consistent pressure. It may help to pencil your words in on the canvas first, so you have a guide for placement and direction. Be careful not to lean your hand in the paint as you pipe – particularly if you’re a lefty!
Add Embellishments: Once you've piped your words, you can add embellishments like flourishes, dots, highlights, or shadows to jazz up your design. Experiment with different styles and techniques to make your lettering stand out!
Painting a border
Adding a painted border is a simple yet effective way to frame your artwork and give it a finished look. Check out how to pipe a border below:
Sketch Your Border: Start by lightly drawing your border design on canvas or paper. If you’re still learning, keep it simple and symmetrical, with clean lines and smooth curves. If you’re feeling confident, get creative and weave it into the rest of your artwork!
Load Your Piping Bag: Fill a piping bag with thickened acrylic paint, using a round or star-shaped piping tip for classic border linework. Feel free to have fun and experiment with other tips to see how they work with your design! Twist the top of the bag to secure the paint inside so it’s ready to be piped.
Pipe Your Border: Hold the piping bag at a slight angle to the surface and gently squeeze it to release the paint. Pipe along the edges of your artwork, following the outline of your border design, working slowly as you go.
Add Details: Once you've piped your border, you can add embellishments like dots, lines, or patterns to ramp up the details. Experiment with detailing while the first layer is wet, versus when it’s dry, to see which you prefer!
Piping patterns
Piping patterns is another exciting way to add depth and interest to your artwork. Pattern piping can be an artwork all by itself – hello modern abstract art! Let’s get into it.
Choose Your Pattern: Start by selecting a pattern or design for your artwork. From tartan to paisley prints, there’s loads of designs you can research and recreate with 3D paint effects. You can also invent your own patterns using geometric shapes, swirls, or forms inspired by nature. Just be sure to create a rule of sorts so the pattern repeats across your canvas.
Load Your Piping Bag: Fill a piping bag with thickened acrylic paint, using a fine piping tip suitable for intricate designs. You can choose a wider tip according to the linework in your pattern, but starting small and building up is easier than the reverse. Twist the top of the bag to secure the paint inside before piping.
Pipe Your Pattern: Start by lightly sketching your chosen pattern onto your canvas or paper. Hold the piping bag at a slight angle to the surface and gently squeeze to get the paint going. Follow your pattern guidelines, moving the bag smoothly and slowly to create clean lines and shapes.
Experiment with Colour: Try using different colours to add visual interest to your patterns. You can layer colours or blend them together in the bag to create unique effects.
Practice and Refine: Don't be afraid to experiment and practice piping different patterns before committing to your final design. The more you practice, the more confident you'll become in creating intricate designs with paint.
Now you know these 5 paint piping techniques, you’re ready to have a go at home or in the studio! Just pick up some Dimension Acrylics, Impasto or Modelling Paste to kick off your project.
If you do make something, #montmarteart or tag us @montmarteart on Instagram or Facebook. We’d love to see what you come up with!
Check out our tips and techniques page for loads more ideas and inspo. To stay up to date with our latest products, art lessons, how-tos, hacks, and more, subscribe to Creative Connection by entering your email down below.


