


Easy origami
Origami swan:

- Pick the colour paper you want your swan to be and cut it into a square
- Fold the paper in half to make a triangle and unfold to leave a crease
- Repeat in the other direction to make an X impression
- Fold the sides in to create a kite shape, then flip over and repeat

- Fold the tip up to the top point and press. Fold the tip back over itself to create the swan head
- Fold the bird in half and pull down the tail. Adjust the swan neck to about a 60° angle and press the fold

- Open the head fold and pinch the front section, pushing it back to create a beak. Fluff out the back of the bird while holding the front tight and your swan is done!

Origami dolphin:
- Choose your paper colour and cut it into a square
- Fold the paper in half, unfold, and fold the outer corners to meet the middle
- Press and unfold to create crisp creases
- Repeat the process upside down: fold into a triangle and unfold again
- Pinch the right corner and push the base towards the table. Press the triangle flat and repeat on the other side to form a diamond shape

- Pick up the point in the middle and fold the diamond in half to make a kite shape
- Flip over and unfold back into the diamond
- Lift the bottom point to meet the middle, fold back over to create a small pleat near the base, and fold the tip back on itself. Unfold the pleat
- Grab the corners of the folded base and press them in to meet the pleat crease to form the nose

- Refold the pleat and fold the overall design in half. Your dolphin is taking shape!
- Curl the flat triangle on itself to create the fin, pressing down once the shape looks right
- Flip over and create the dorsal fin by opening the flat triangle and pushing the inner edges out to form a larger triangle. Press flat

- Fold the pointed tail upwards, unfold, and open the dolphin to reveal the crease. Cut a few centimetres along the crease to the top of the kite-shaped lines
- Refold the tip upwards, tuck the back of the tail behind the front, and point it downwards
- Add a cute face and your dolphin is ready to swim!

Origami dragon:
- Fold the paper in half into a triangle, unfold, and repeat in the opposite direction
- Flip over and fold into a rectangle, unfold, and repeat the opposite way
- Flip over again, pinch the middle to create a ridge, and push toward the centre to form a cross shape. Flatten into a square

- Fold the sides in to make a kite shape. Repeat on the other side and fold the top over
- Unfold the sides and open up to reveal the inside. Pull the points away from each other and push the sides down to meet in the middle, forming a narrow diamond. Repeat on the other side

- At the end where the diamond separates, fold the sides into the middle. Flip over and repeat to form a skinny kite shape
- Open up the side and lift the point upwards, pushing it into the upper section and folding it in on itself to create the head of the dragon
- Repeat on the other side to form the tail

- Fold the wider flaps down to create the wings
- Pull the wings away from each other to help expand the pointy triangle in the middle
- Keep pulling the triangle open until it forms a flat cube in the centre of the wings
- Pinch the centre of the cube to create a ridge on the dragon’s back

- Fold one wing up so it’s in line with the edge of the body, then repeat on the other side
- Unfold the wings to reveal the crease
- Fold the section closest to the wing in half to add another crease. Do the same for the section on the other side of your original crease to create the bone structure of the wings
- Repeat on the other wing and press the folds tightly

- For the head, open the paper and push it in on itself 1/3 of the way along from the tip to create a pleat, angling the head downwards
- Do the same fold 1cm closer to the tip but in the opposite direction to create a spike on the dragon’s head and make the snout rectangular
- For the tail, open up the paper and push it towards the body
- Lift the rest of the tail up and press the sides back together, making the tail vertical. Repeat this pleat-style fold further along the tail twice more to create more ridges for a spiked look

- Fold out the points under the body to create little dragon feet.
- Pinch the top corners of the wings together and pull the sides out to create a curved effect.
- Lightly curl the tips up to give the appearance of flight and your dragon is complete!

Congratulations! You've mastered the art of easy origami with these fun projects. We hope you enjoyed creating your Swan, Dolphin, and Dragon. Happy folding 😊
- Coloured Paper Pad
- Scissors
- Pens (for adding faces and expressions!)
You may also like

Cactus ring holder DIY

Acrylic watermelon slice painting with Jacklyn Foster
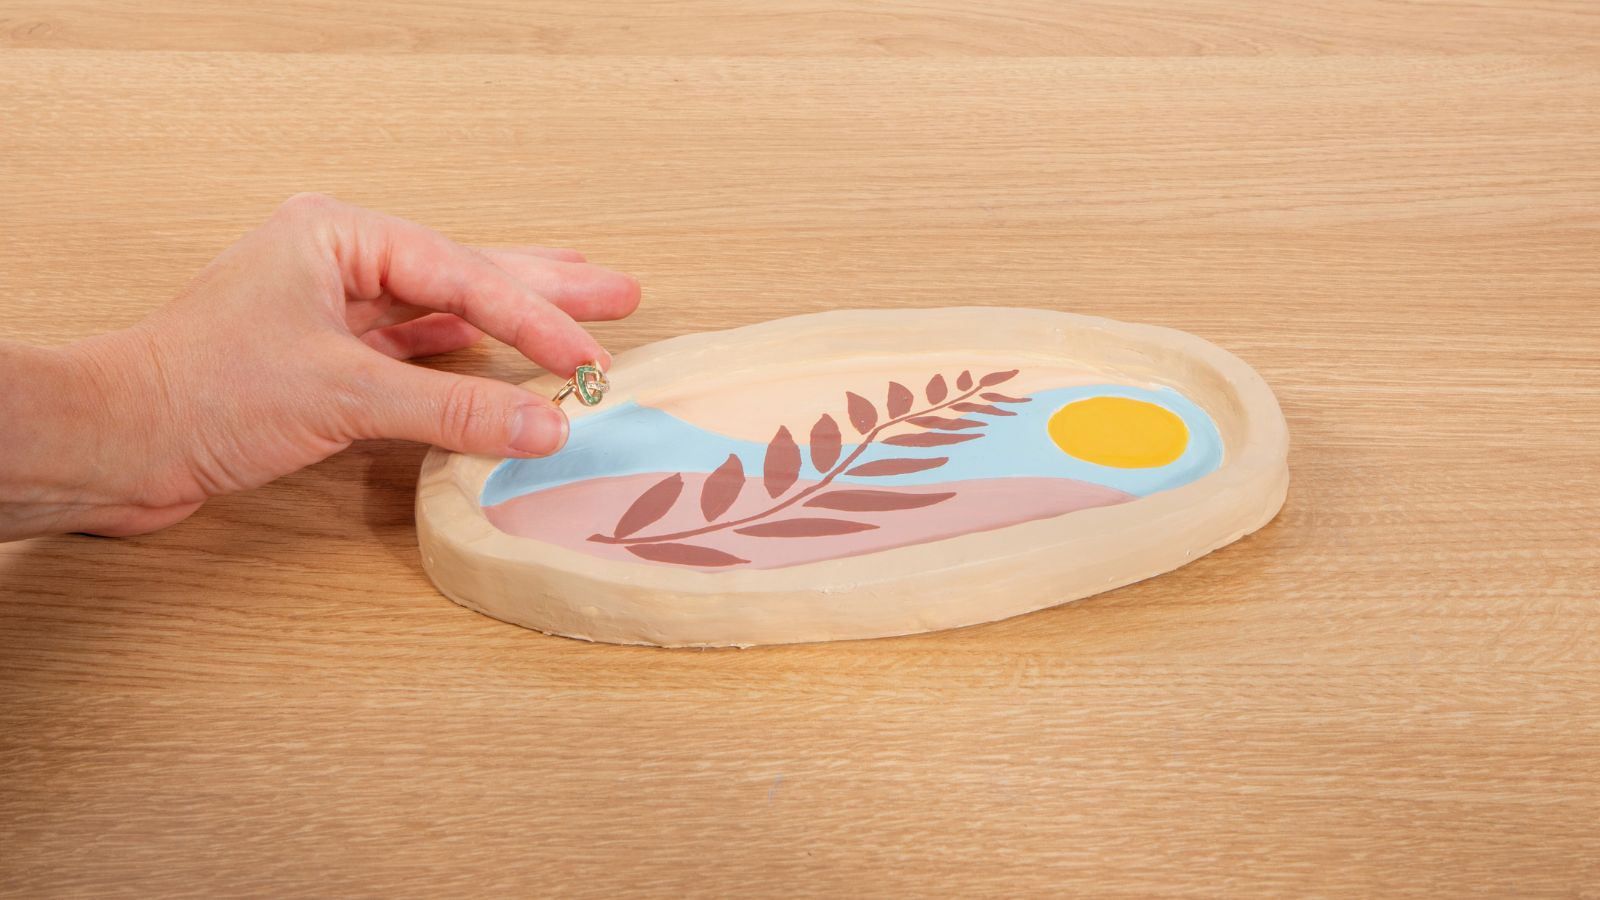
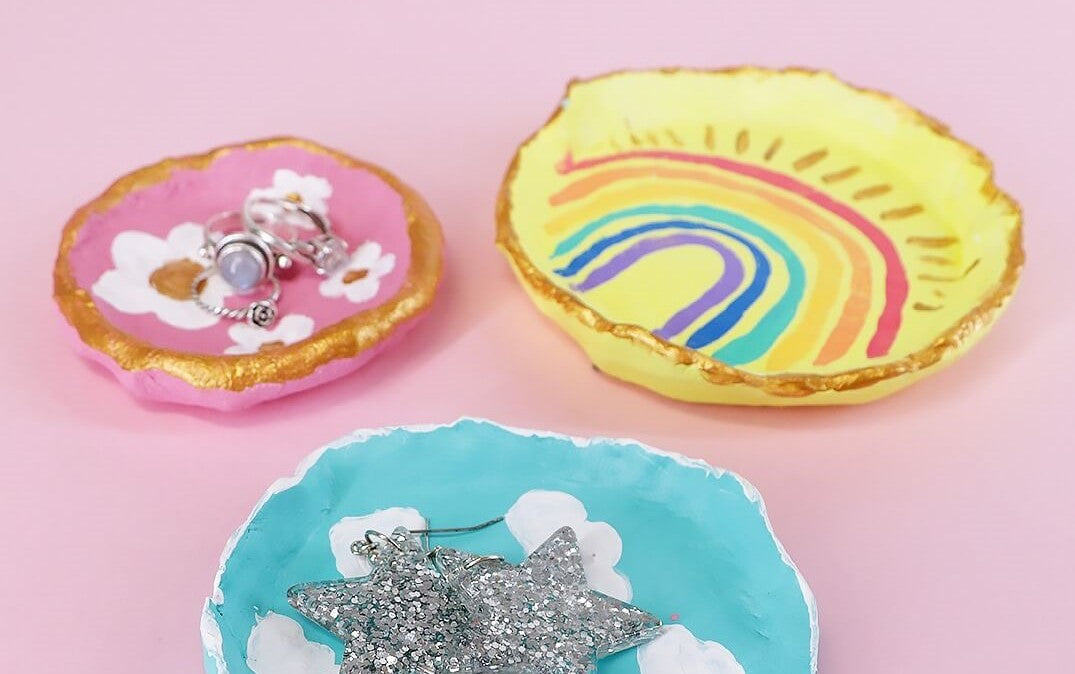
Air dry clay trinket dish DIY


