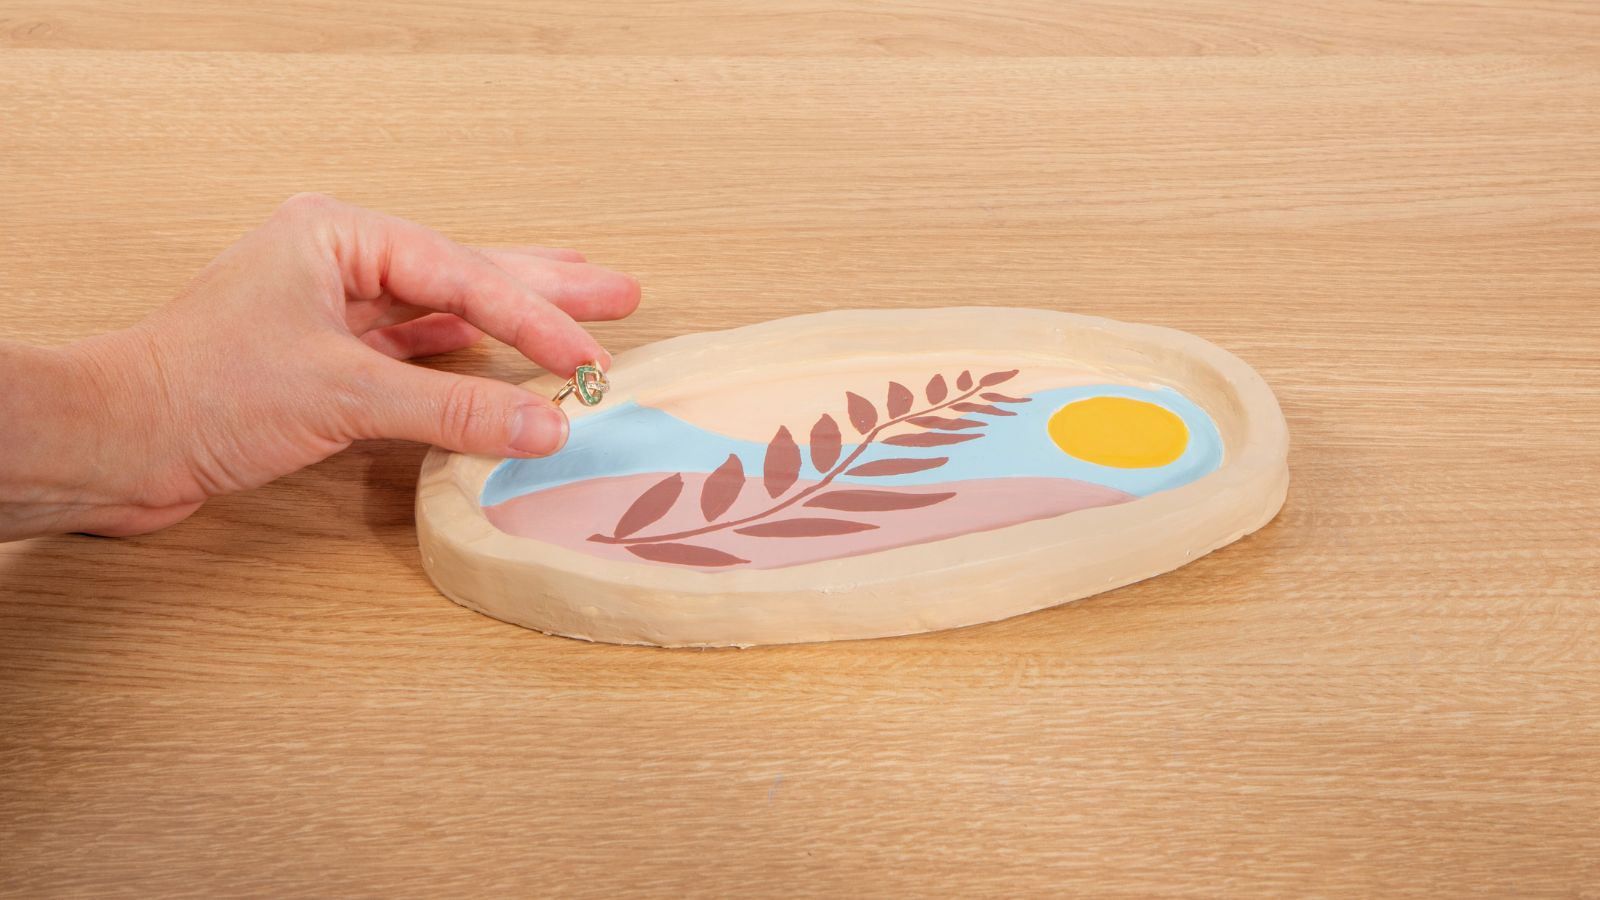
Magic realism art
Step 1: Transfer image to sketch
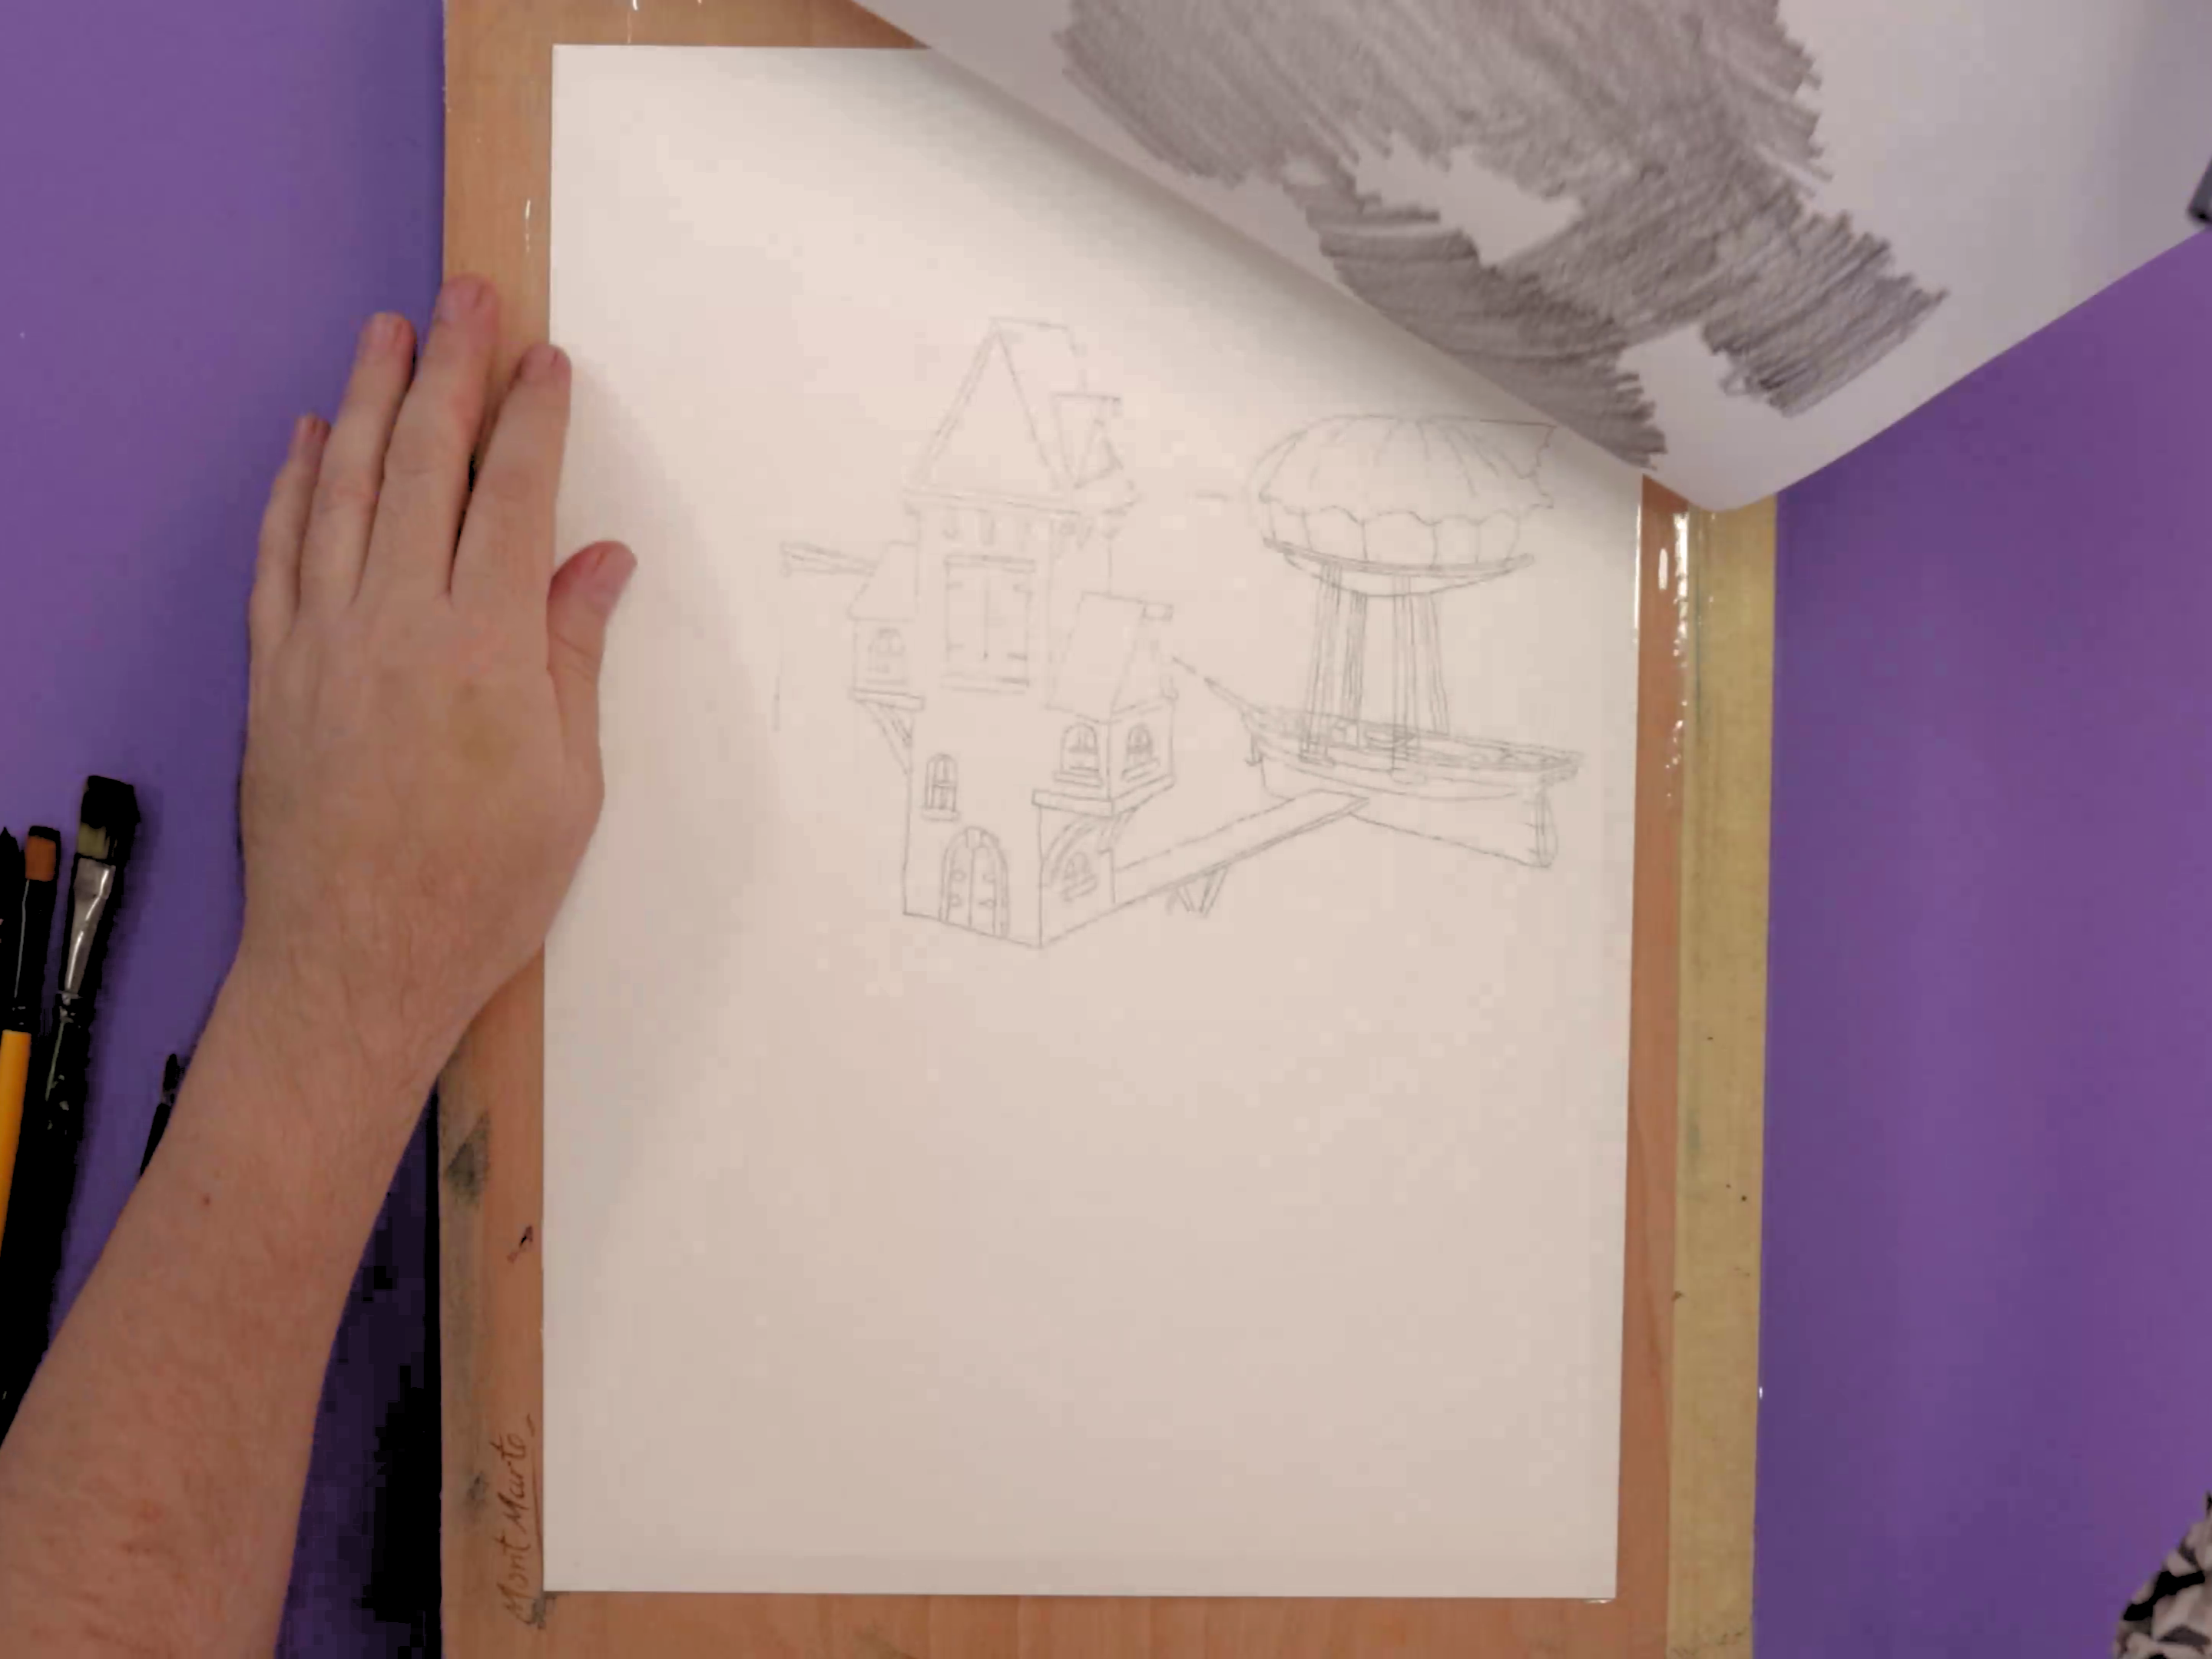
- Tape the mixed media paper to a drawing or painting board
- Print out the A3 guide from our project page
- Shade the backside of the printout with your pencil, flip it over, and place on your art surface
- Retrace the linework with a sharp pencil to transfer the image
Step 2: Drawing clouds
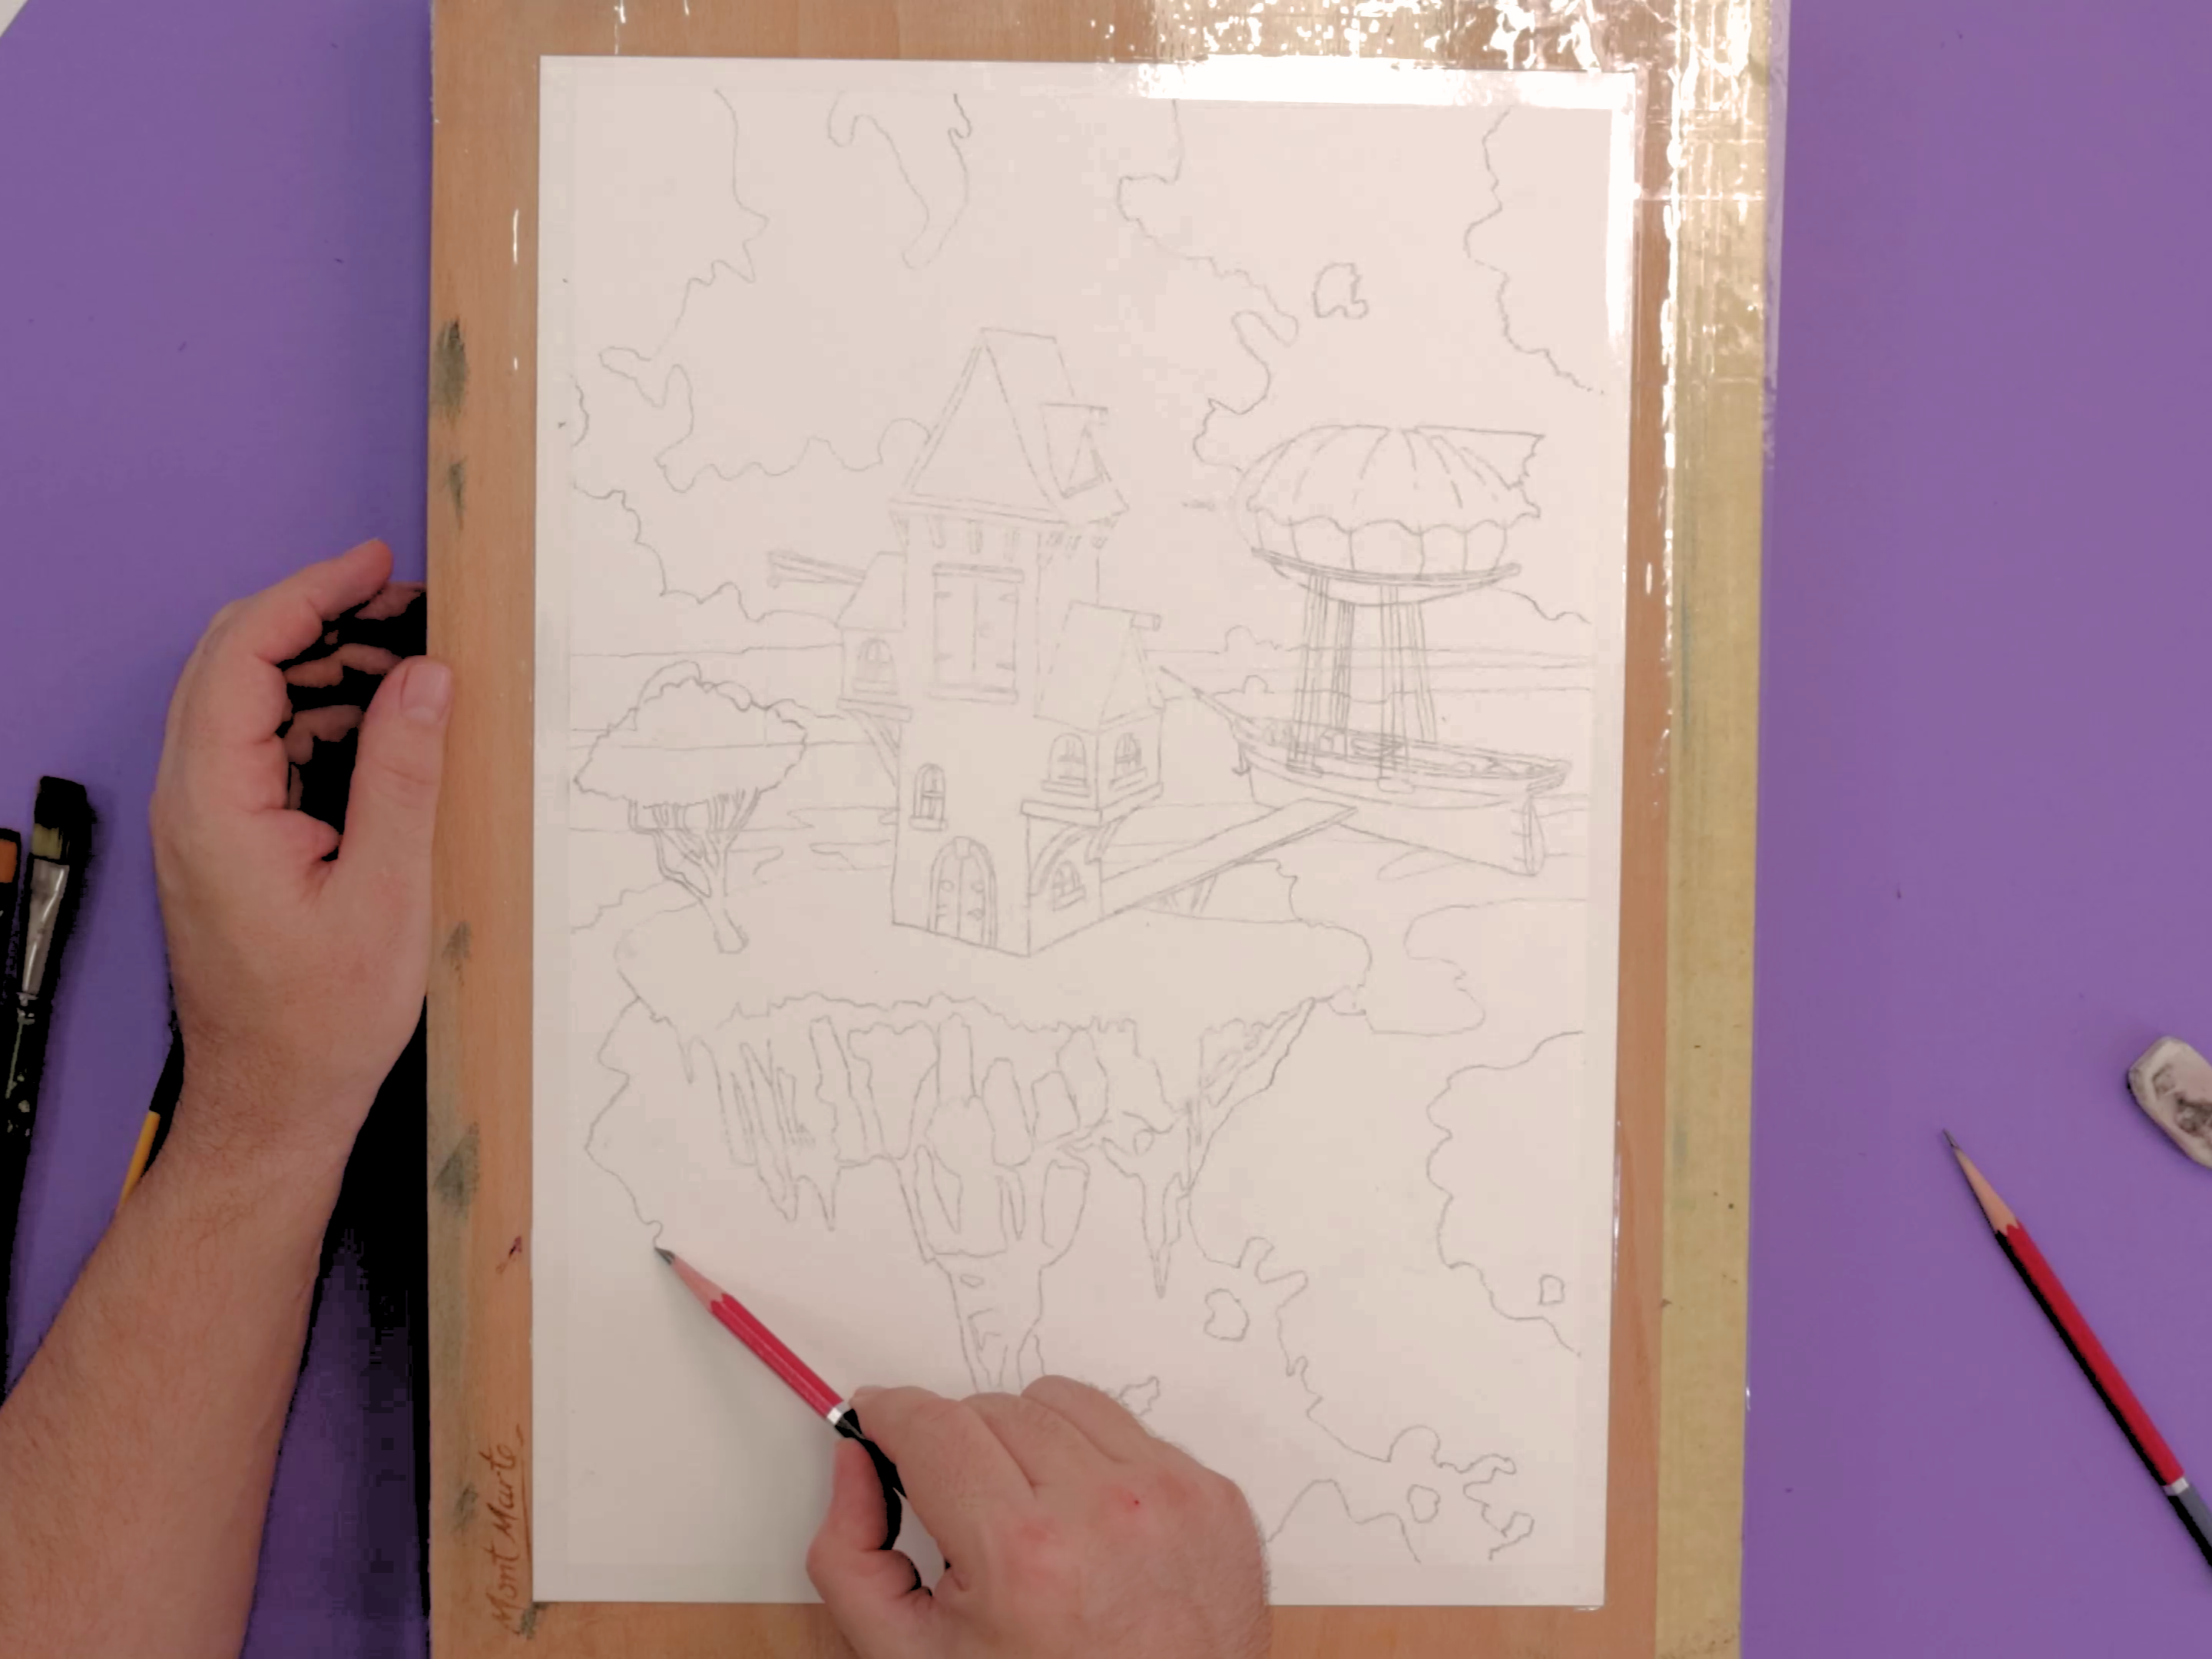
- After transferring the image, lightly sketch in some clouds around the sky area
- Use the completed painting as a reference (also available for printout)
Step 3: Painting the sky
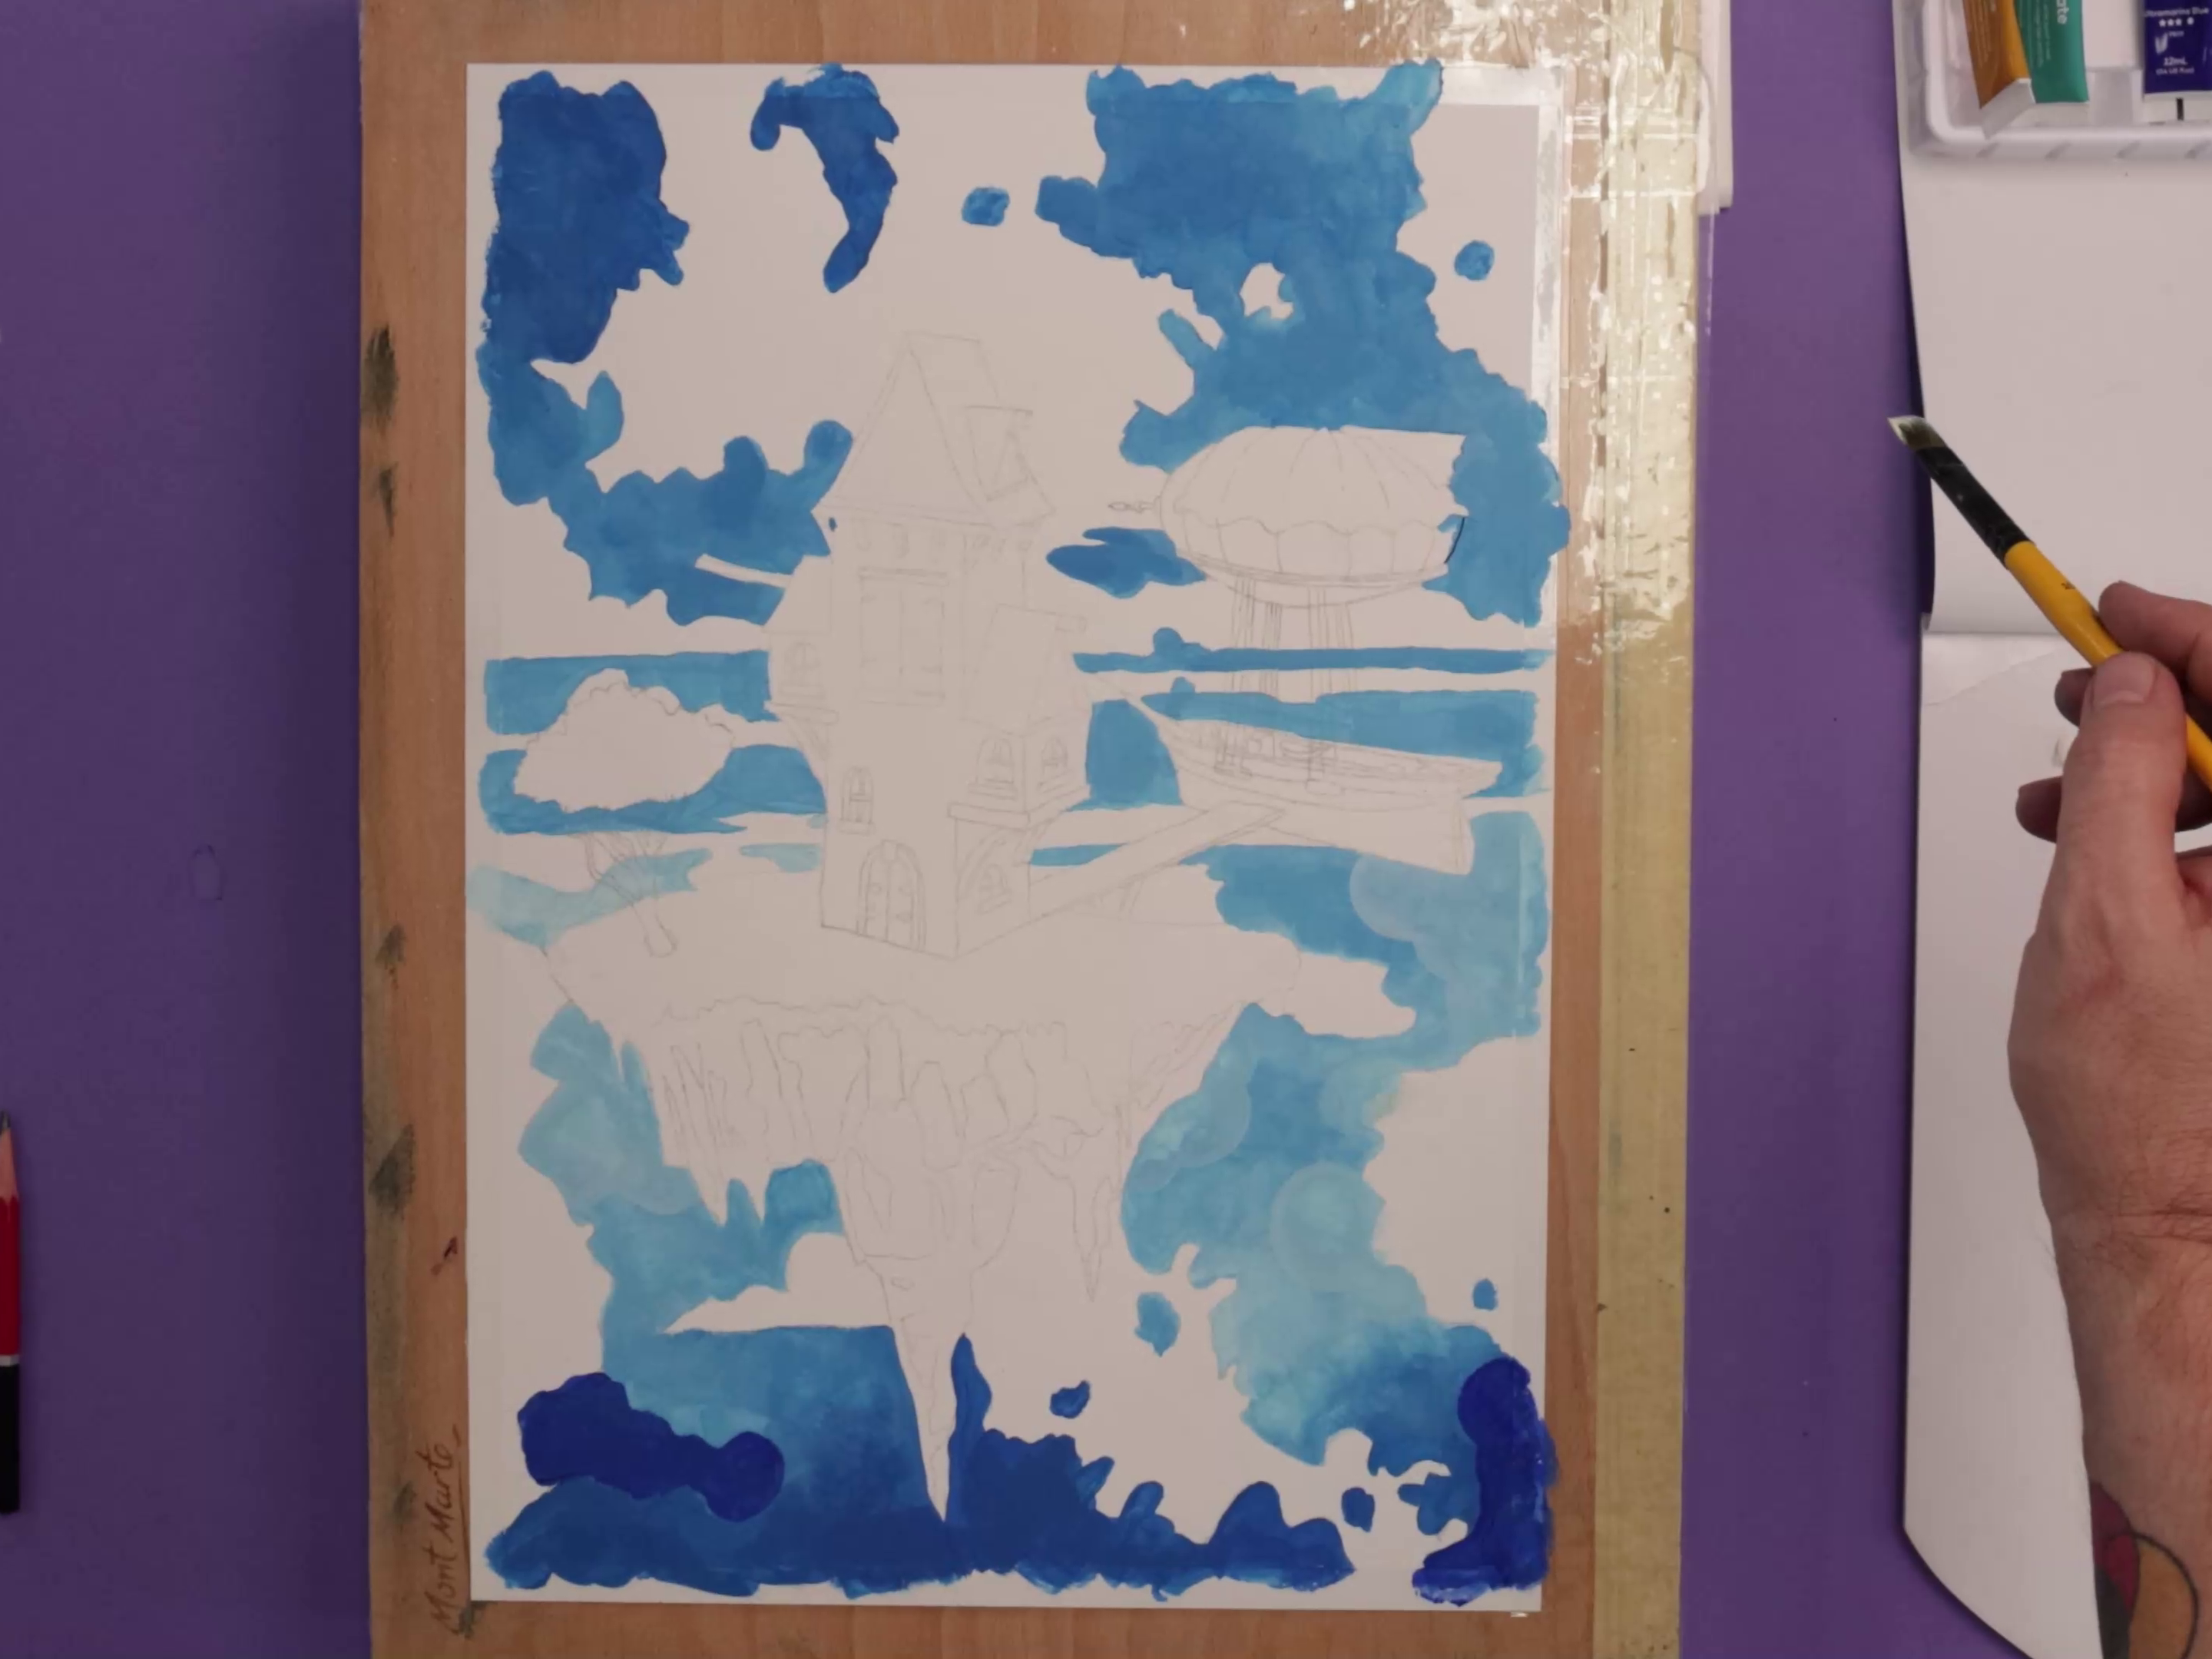
- Squeeze out Titanium White, Ultramarine Blue, and Cerulean Blue onto your palette
- Apply these colours into the sky in layers, starting with the darker blues at the top
- Gradually lighten with white as you move downward
- Focus on creating smooth transitions for added interest
- Remember to test your colours on a spare sheet before applying them to the painting
Step 4: Painting the clouds
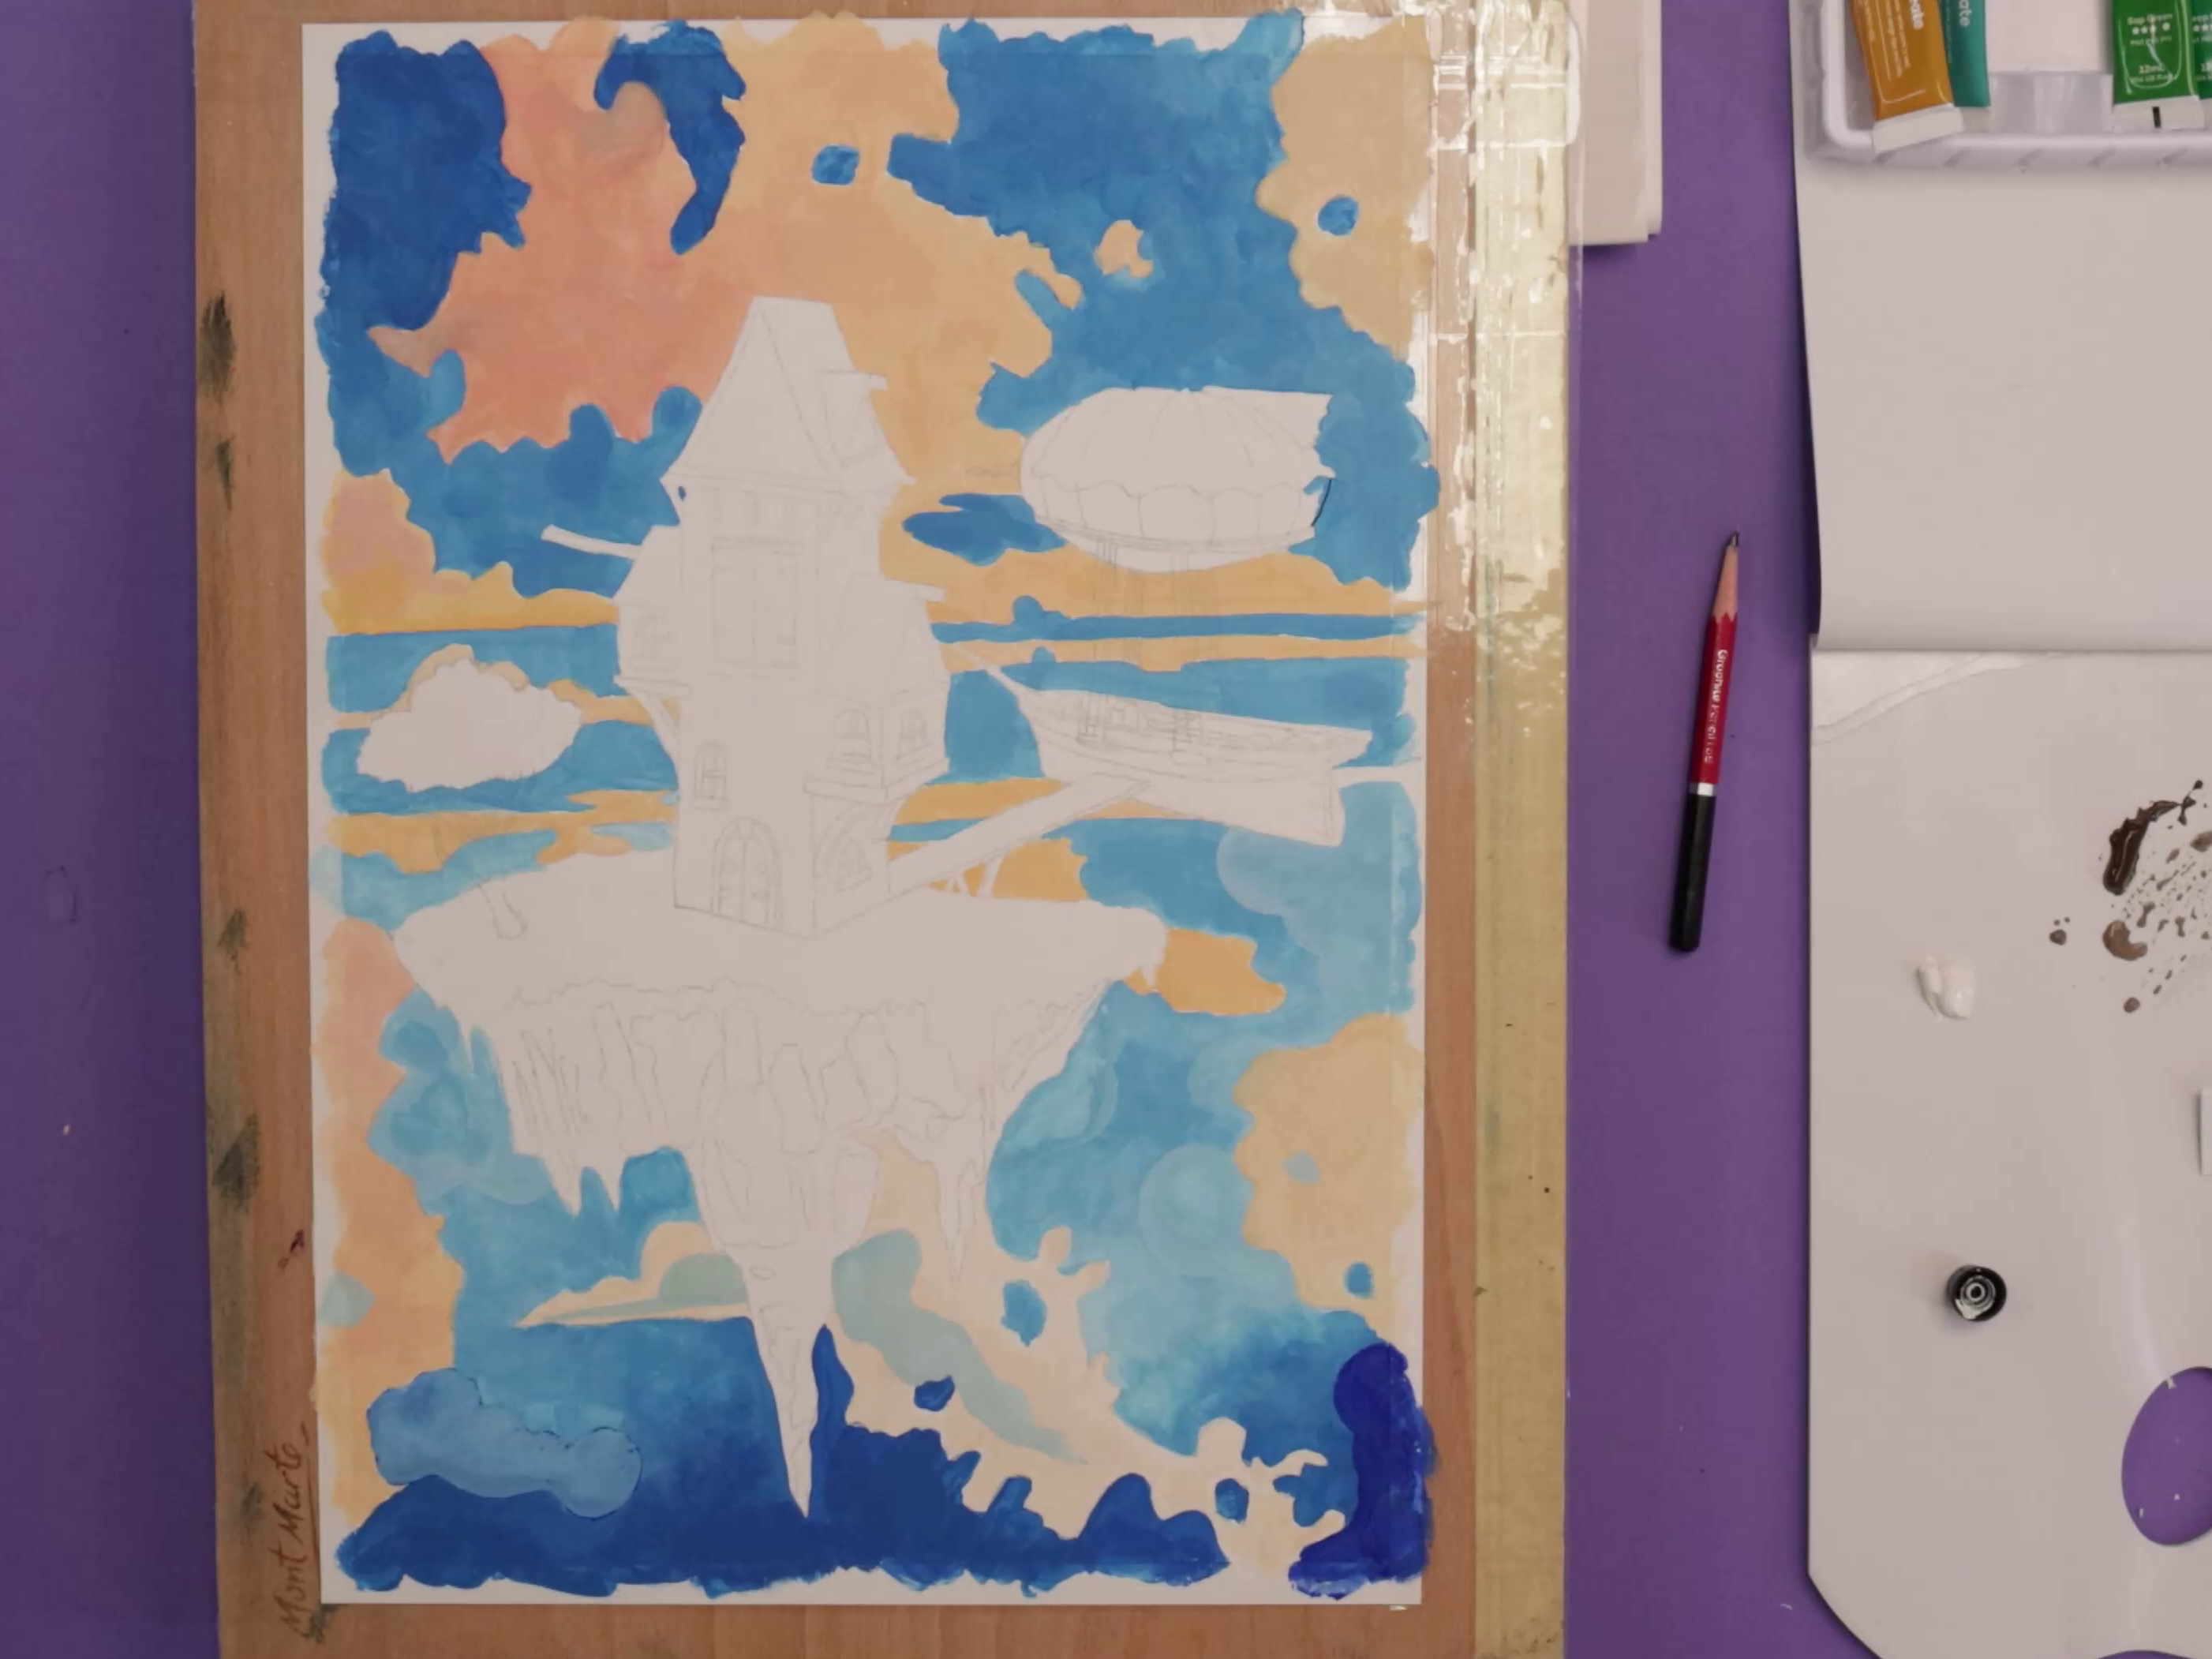
- Mix Titanium White with a touch of Orange and Scarlet to create warm tones for the clouds
- Lay the clouds in with varied shades, starting with a light orange and adjusting as you move across the page
- Lighten the orange with more White to create an apricot colour for the softer cloud highlights
Step 5: Painting the house
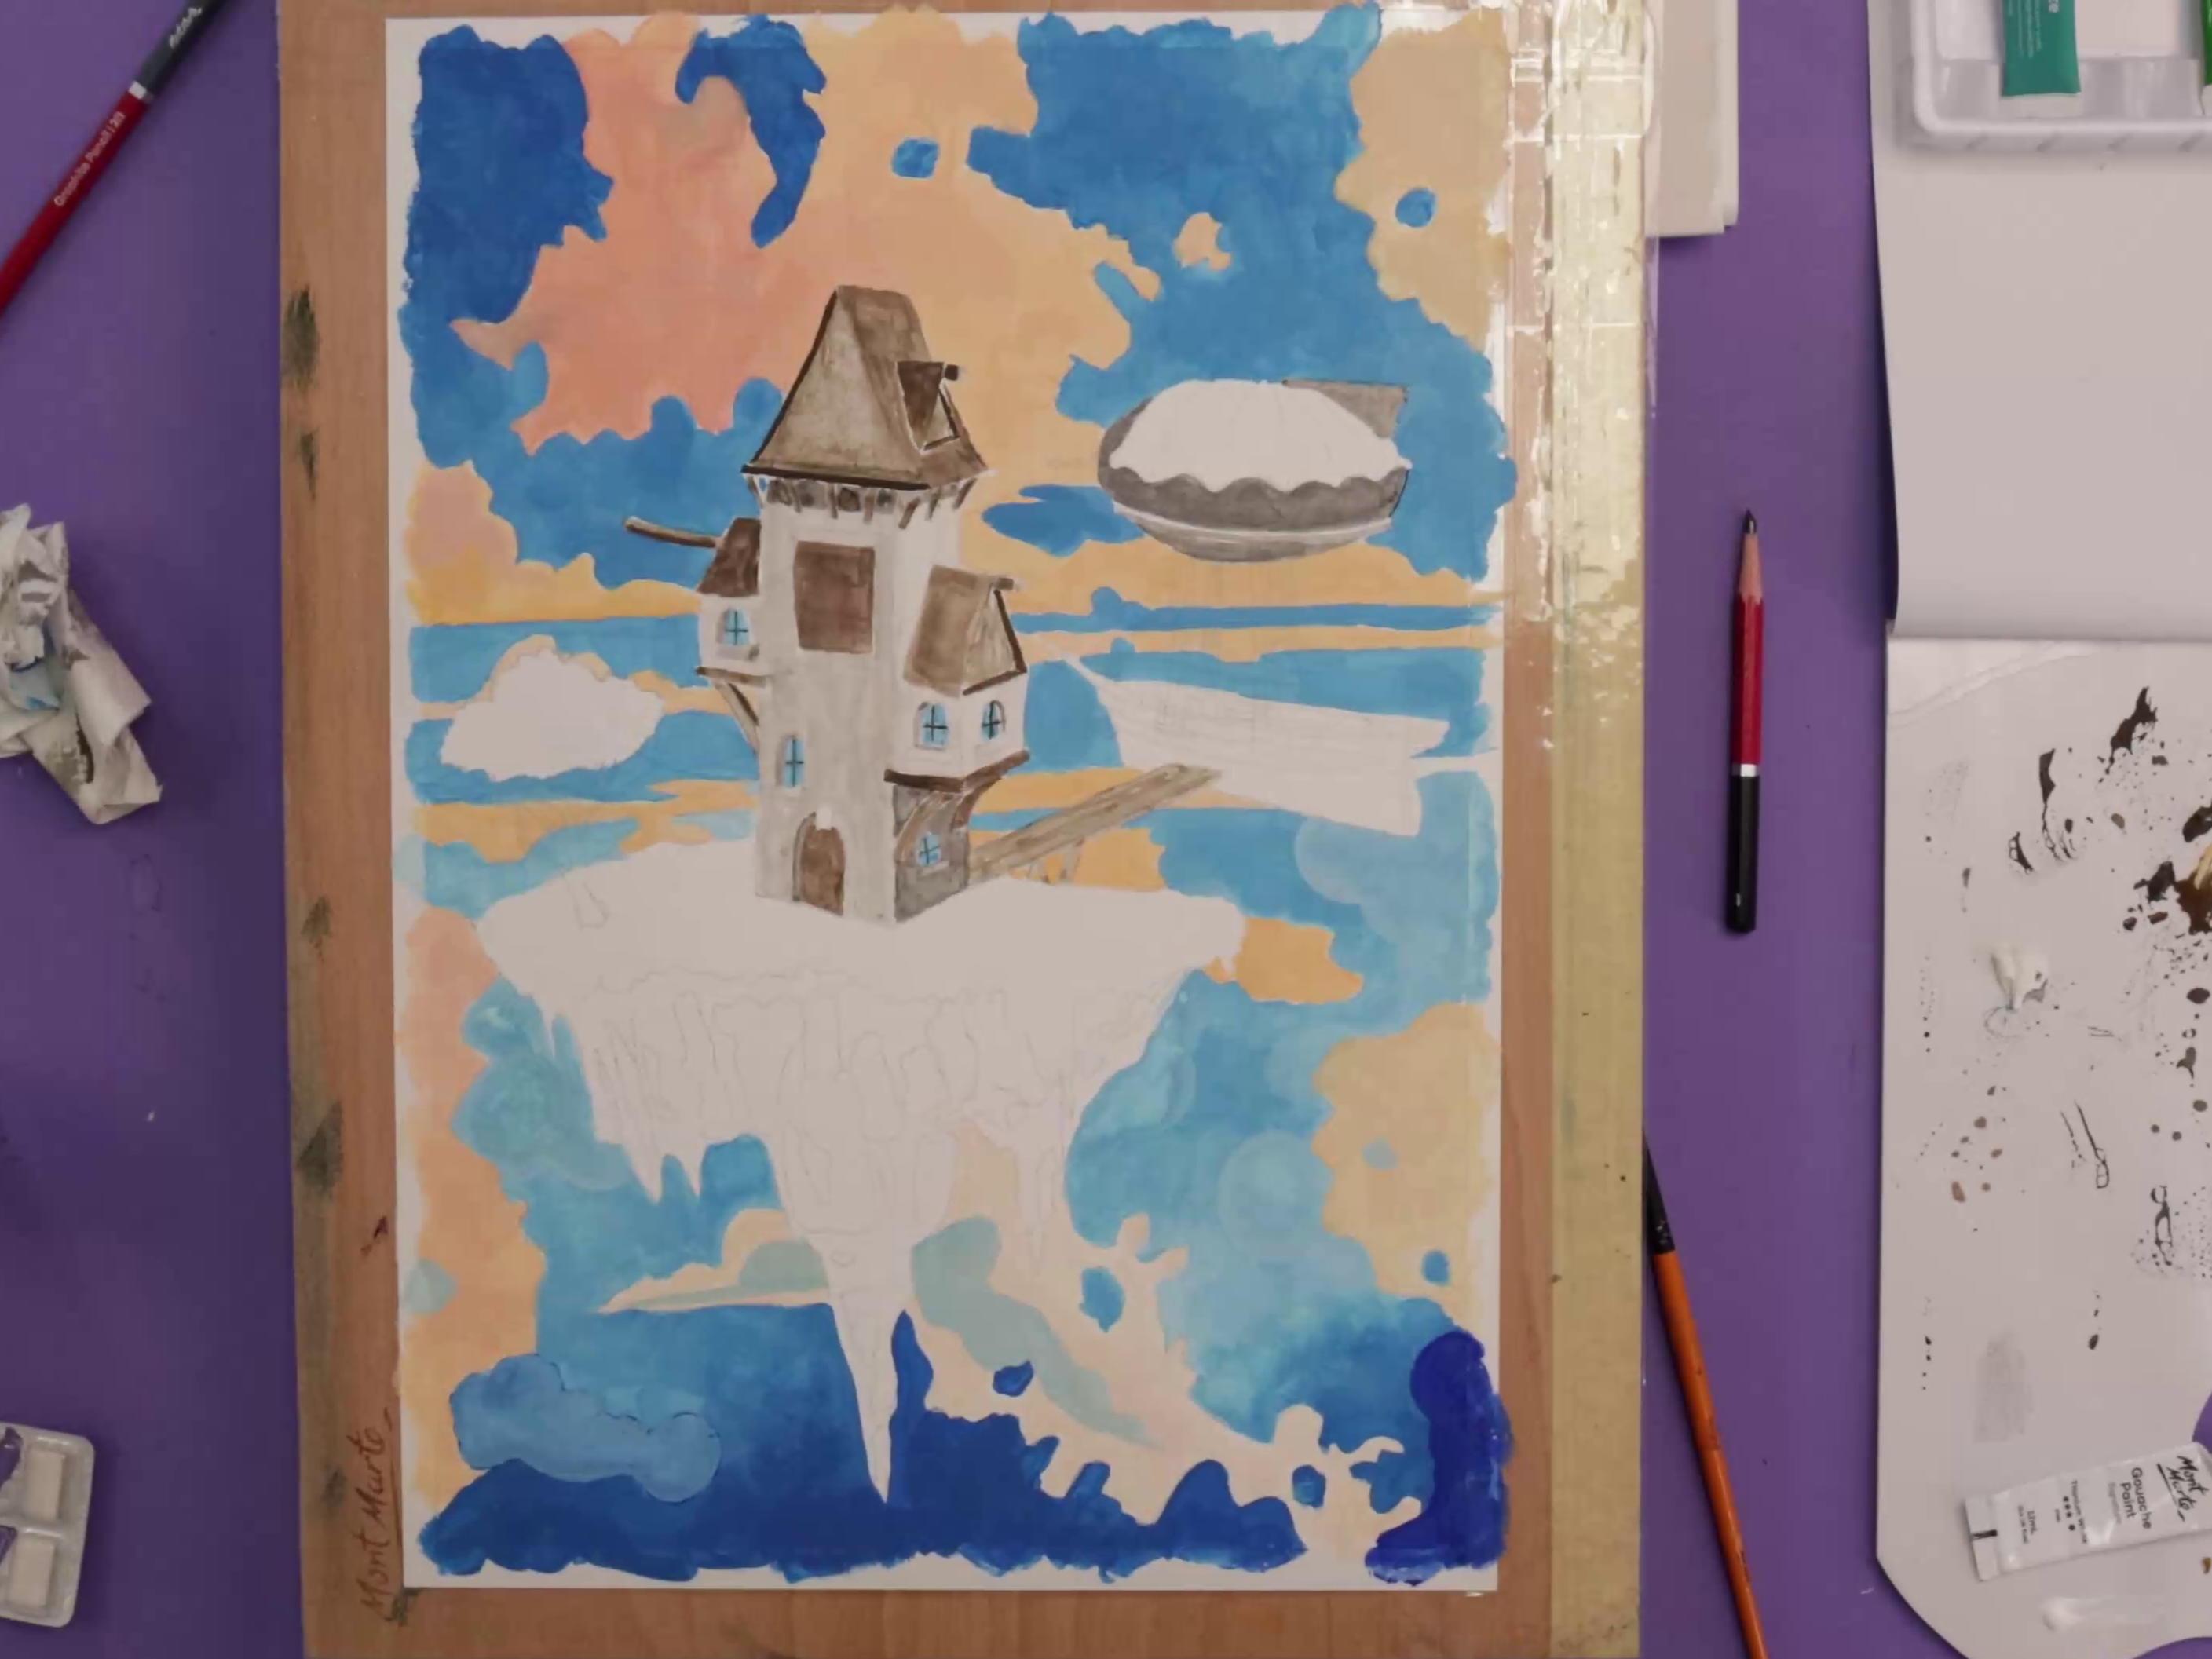
- Use a light Burnt Umber wash to paint the roof and wooden parts of the house
- Keep the coats light by adding water to your brush before applying the paint
- Apply a light grey wash over the rest of the building and allow it to dry
- Use a 0.7 Technical Drawing Pen to outline and detail the building
Step 6: Airship painting
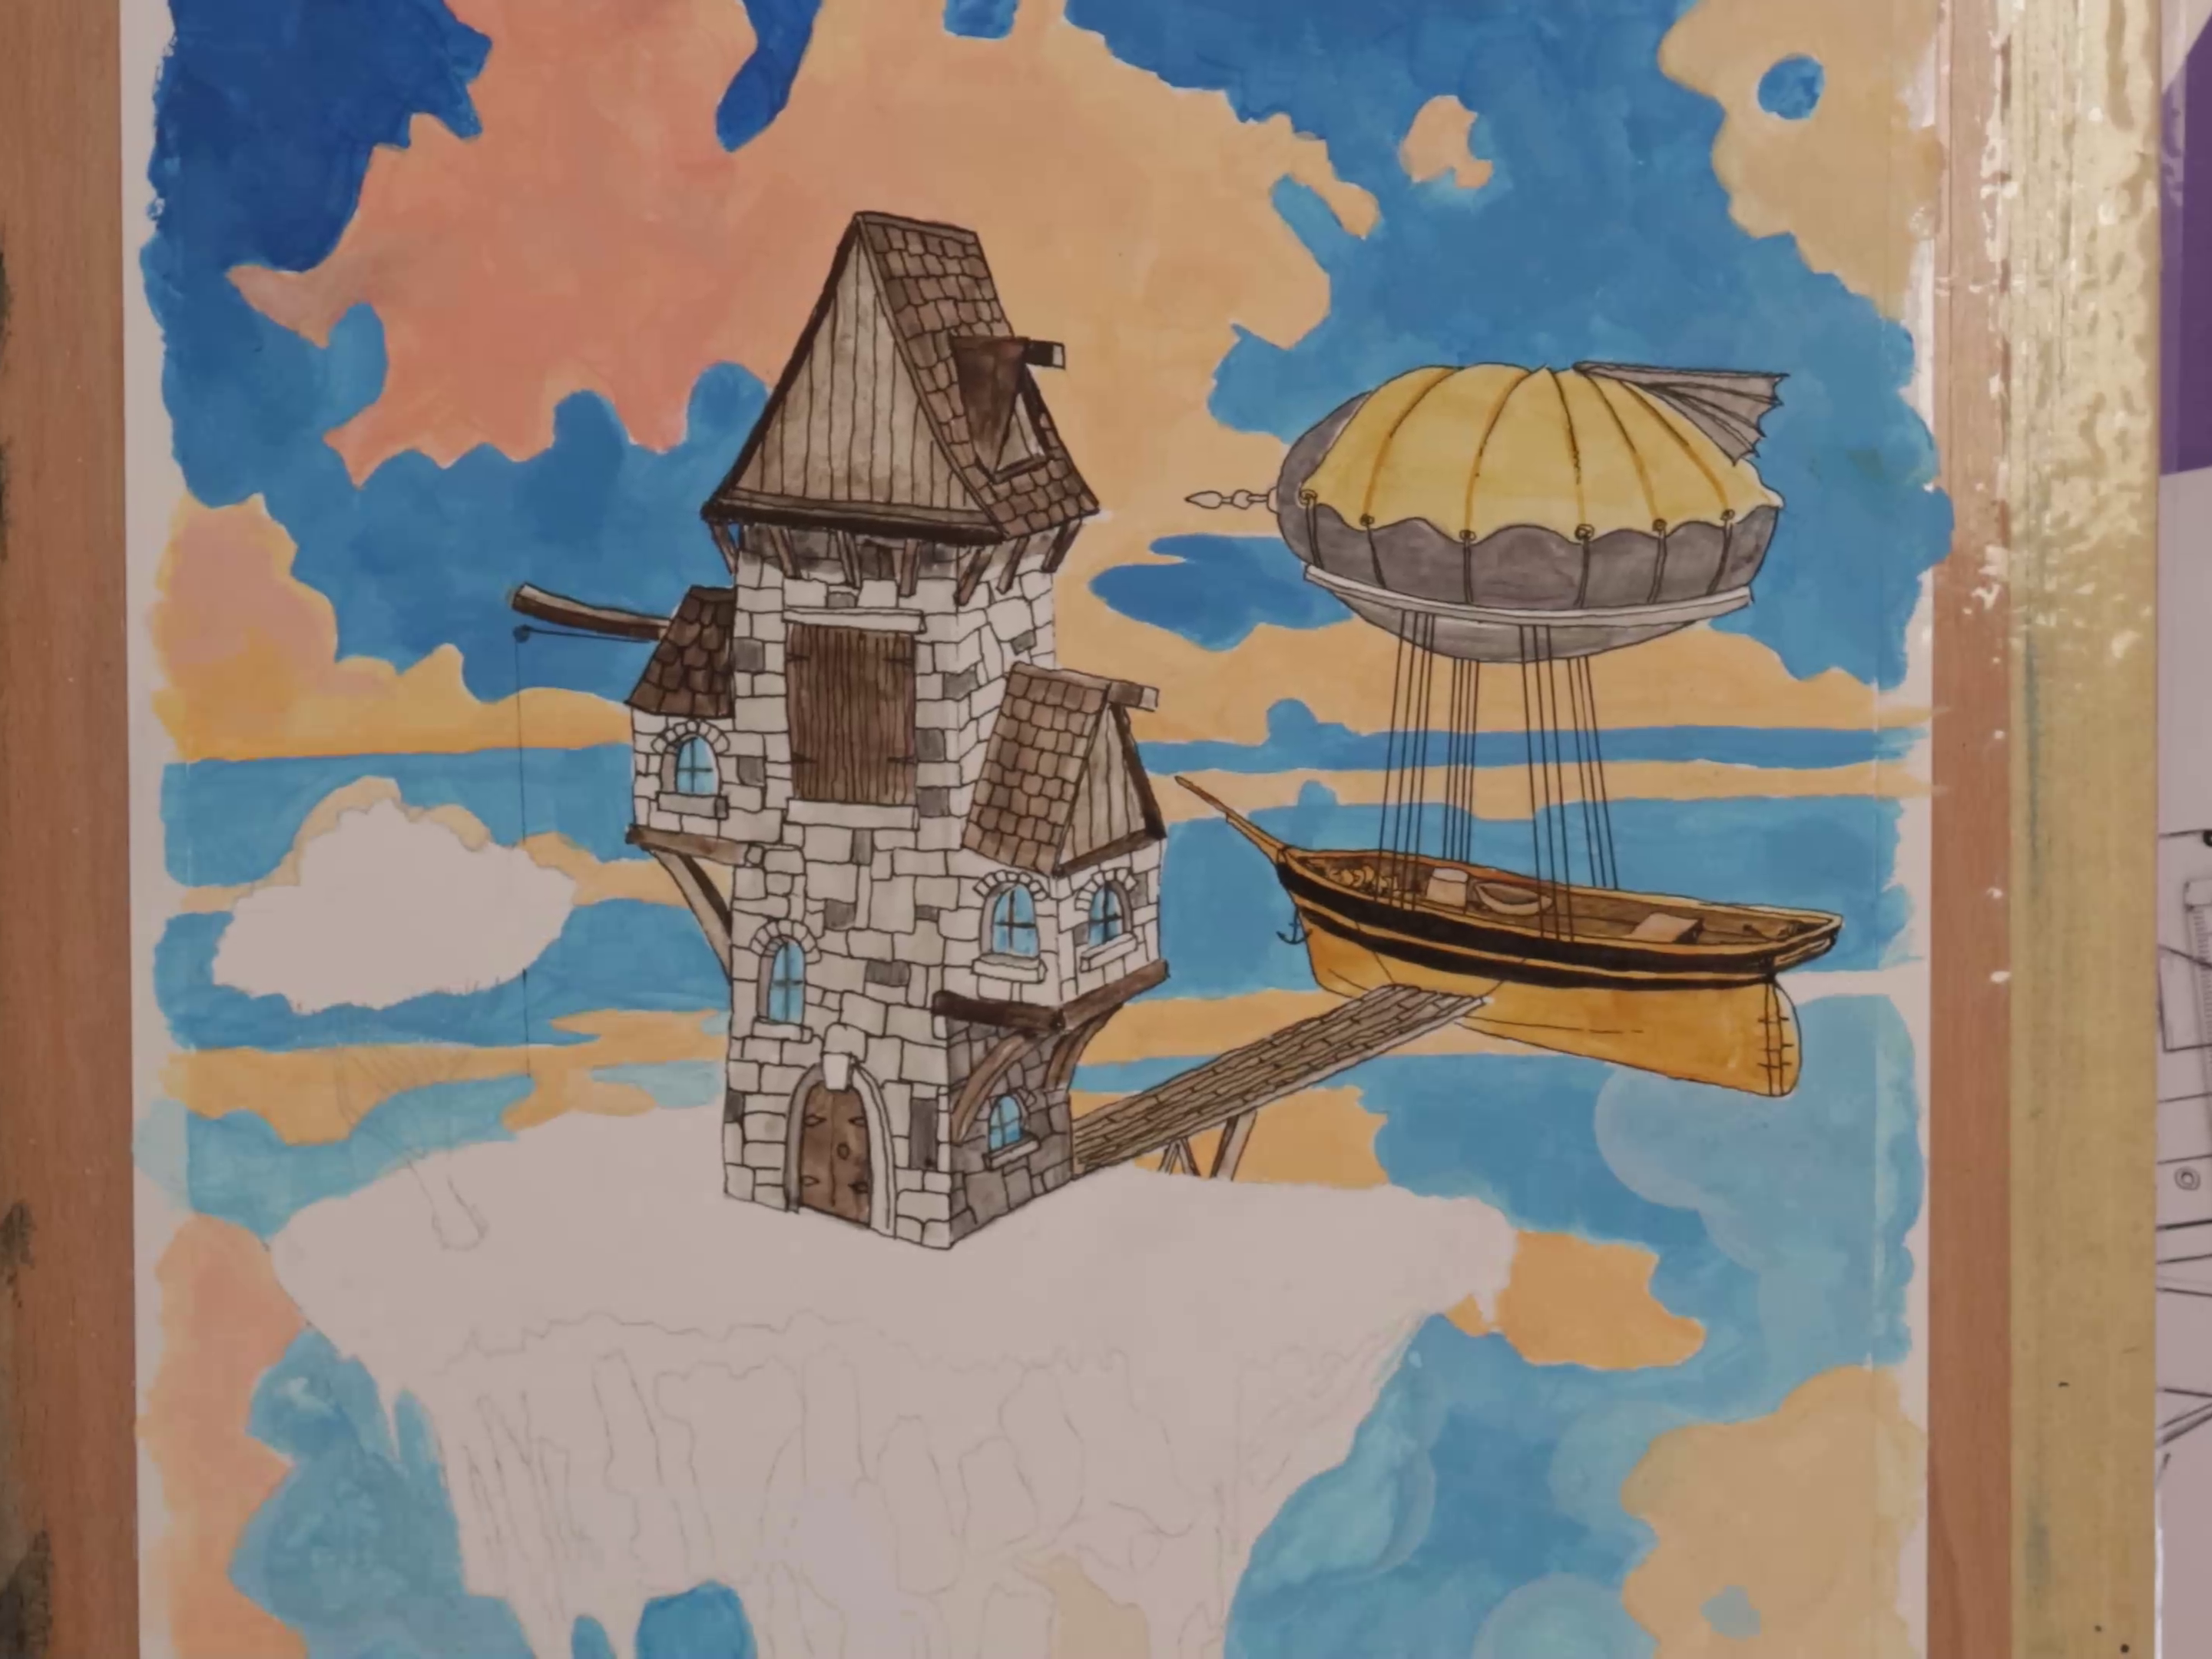
- Paint the ship’s body with a wash of Yellow Ochre and Burnt Sienna
- Use Black for the sides of the ship and paint the sheet holding the balloon with a light Yellow Ochre
- Paint the balloon with a light grey wash and use the technical pen to outline the ship and balloon
Step 7: Floating island painting
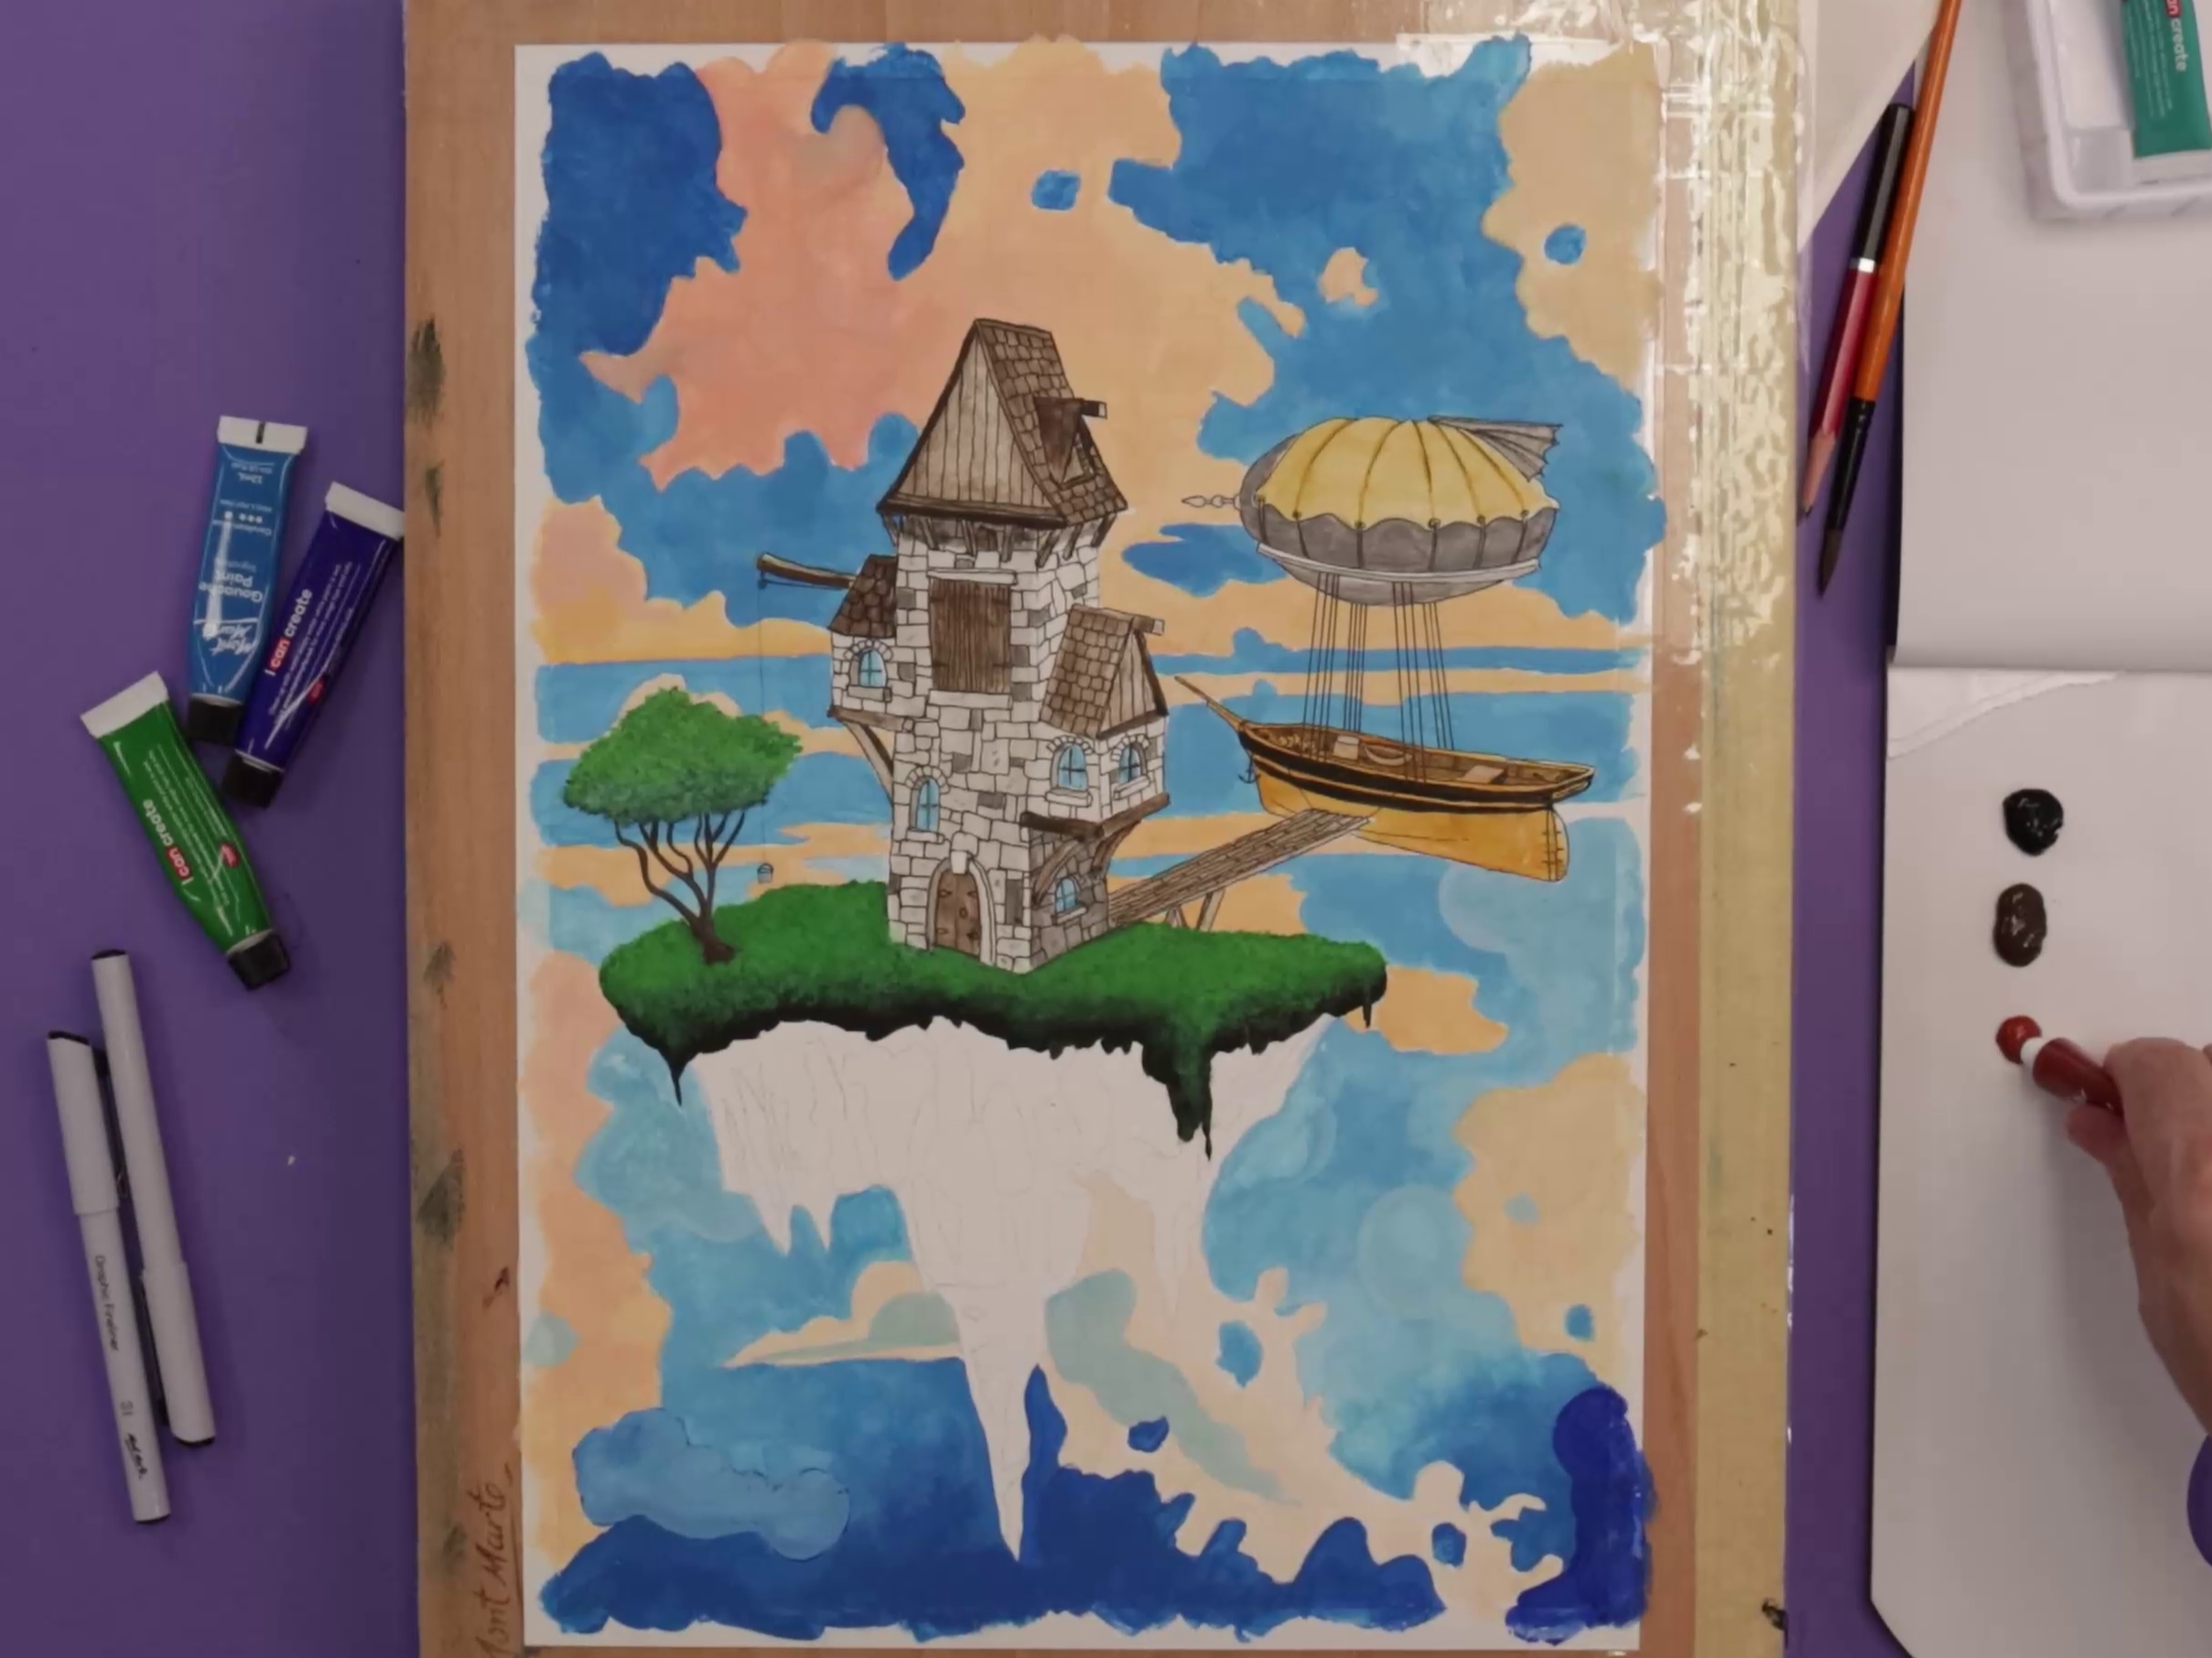
- Start by applying a thin coat of Black over the top of the island and the vegetation on the tree
- Squeeze out Pale Green and use a dabbing technique to apply it over the Black areas
- Apply Yellow over the green with the same dabbing technique to add more dimension
Step 8: Detail the island
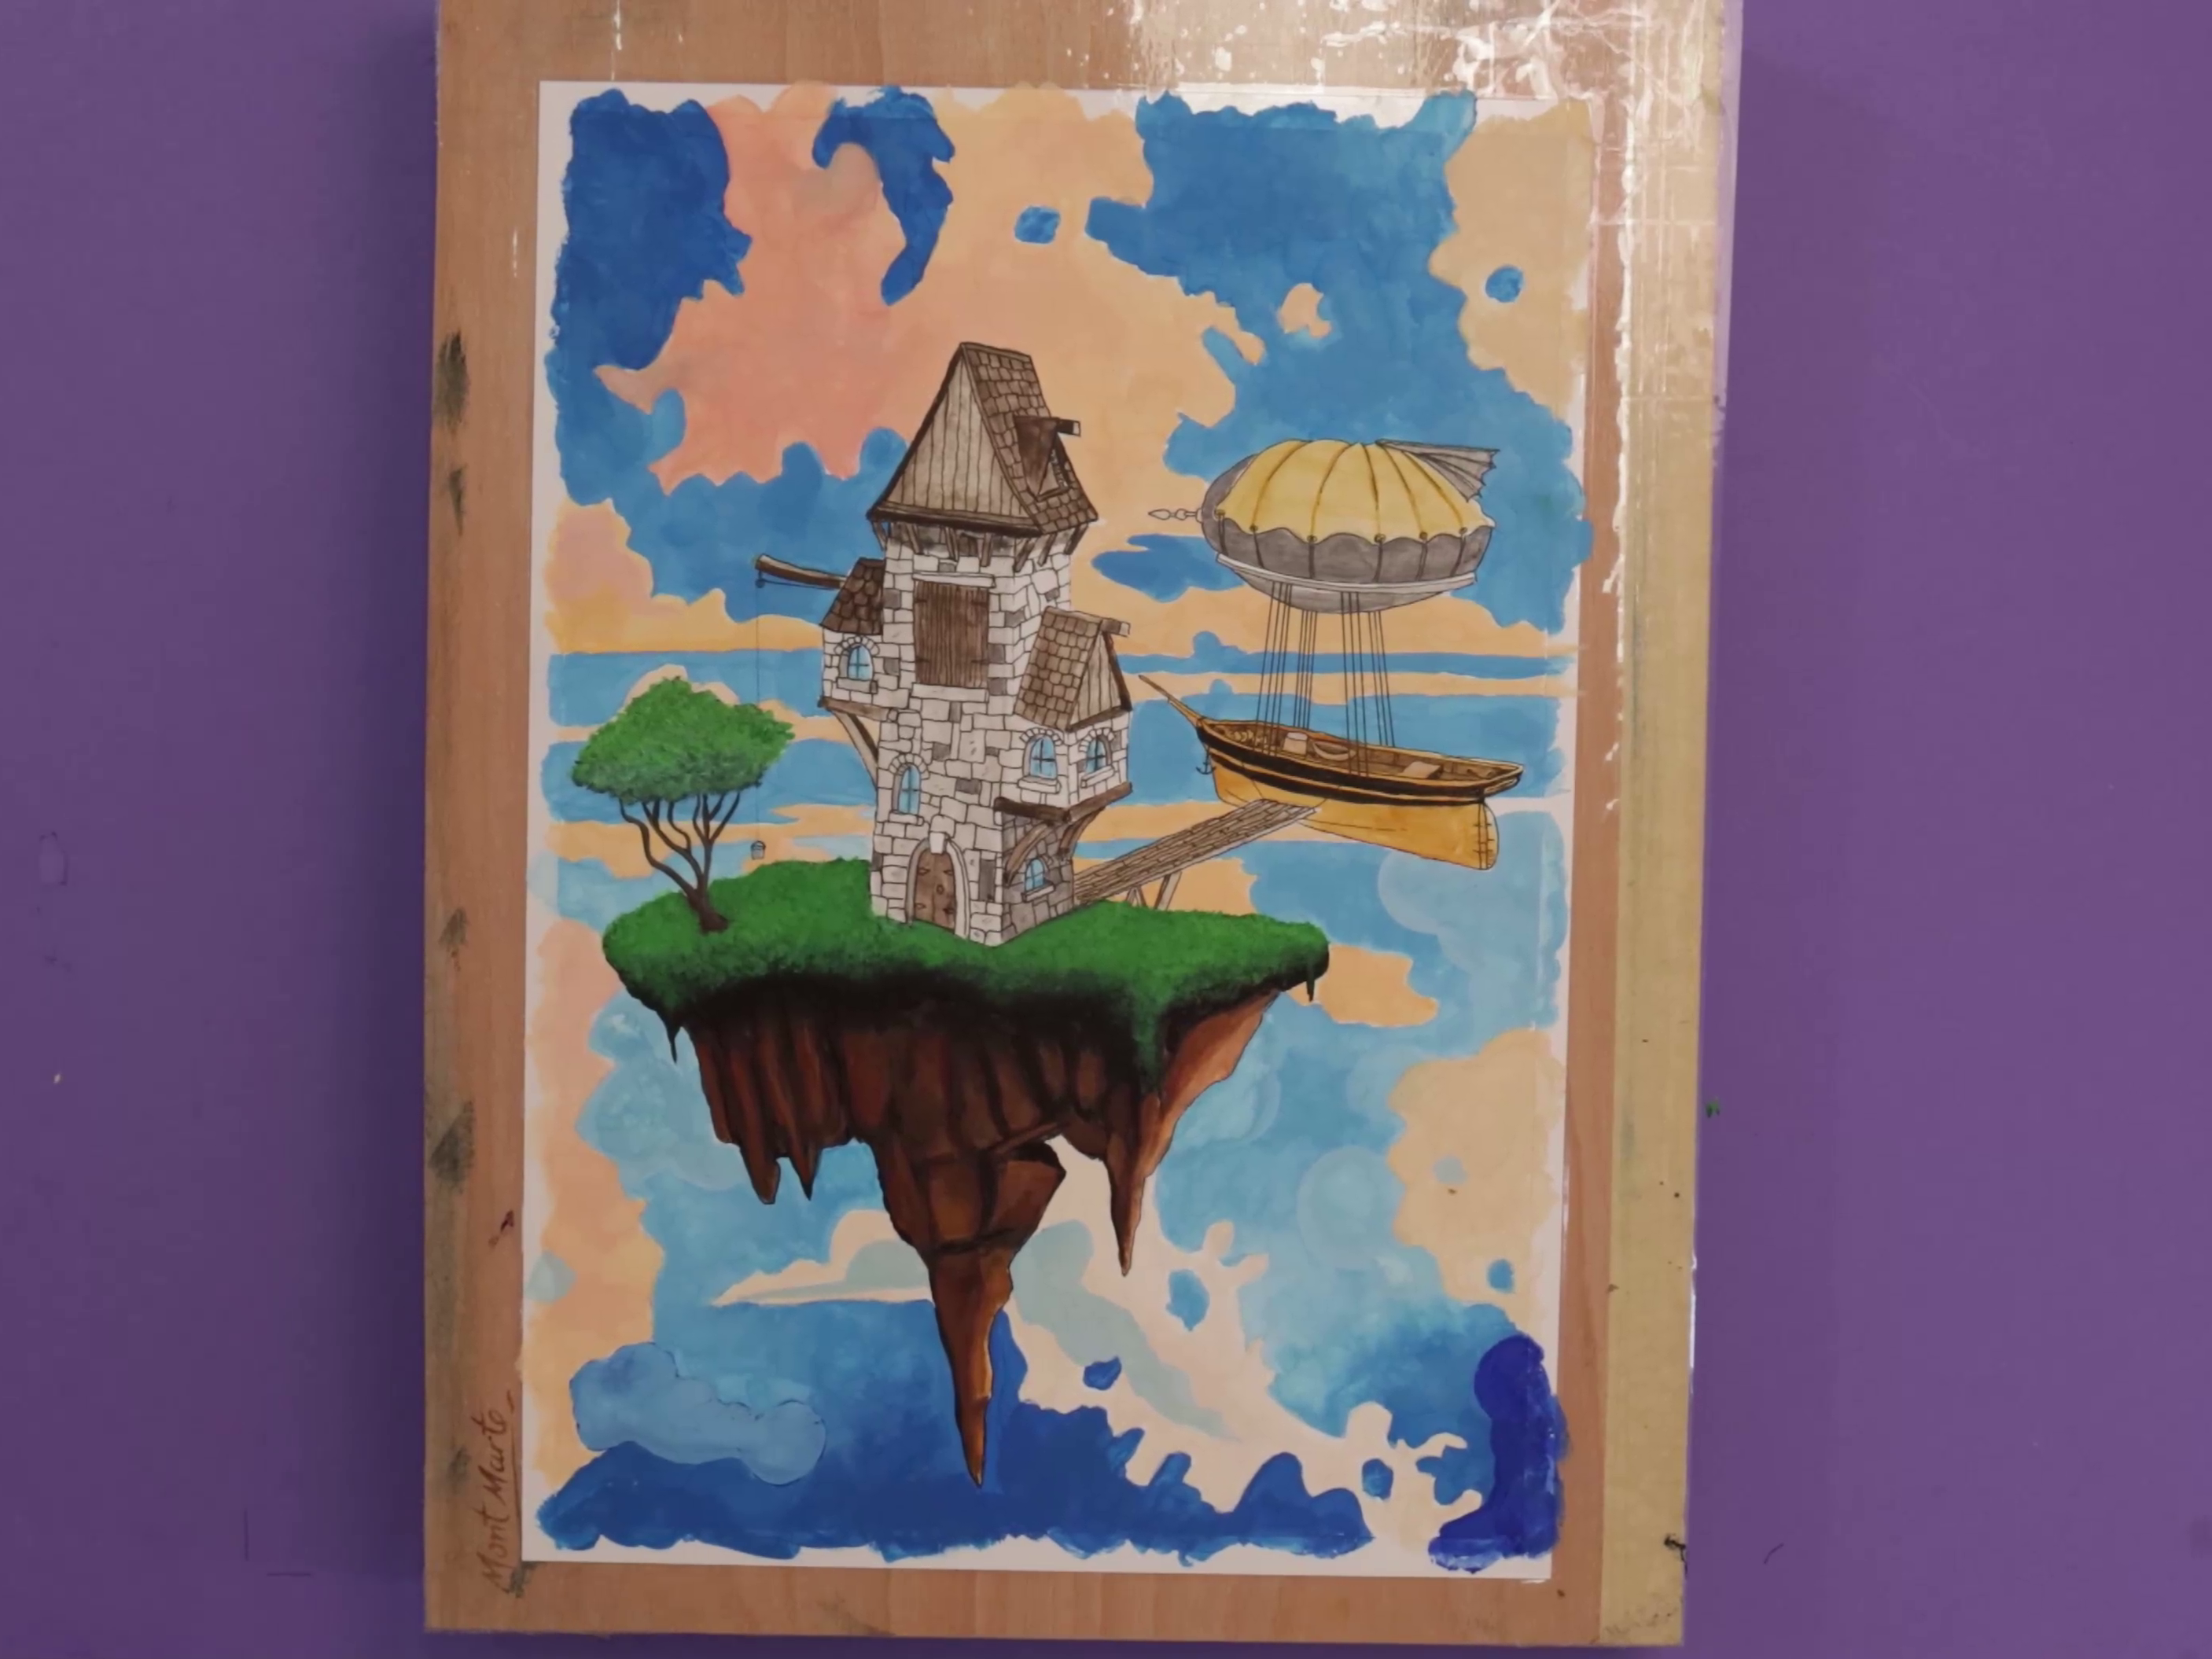
- Paint the base of the island with Burnt Umber and Burnt Sienna, and add shadows with Black
- Highlight areas of the island by adding a lighter tone over the top
- Use a fine liner to profile the bottom of the island, adding definition and contrast
And that’s it! You’ve created a magic realism-style artwork commonly found in anime backgrounds. We hope you enjoyed this project and learned some new techniques to incorporate into your art journey. Happy creating!
- Gouache: Titanium White, Ultramarine Blue, Cerulean Blue, Orange, Scarlet, Burnt Umber, Yellow Ochre, Burnt Sienna, Black, Pale Green
- Mixed Media Pad A3
- Tear-off Paper Palette
- Brushes
- Technical Drawing Pen (0.7) for fine details
- Pencil for planning
- Masking tape
- A3 printout (available on our website)


