Make your own easy polymer clay jewellery
If you want to have fun making polymer clay jewelry then this is the lesson for you.
Marbled Beads
Step 1. Creating the beads.
1) From the 10 piece pack, select the 3 colours. In this first case, Light Blue, Orange and Light Green. Roll each cube into 3 equally sized tubes. Place them next to one another. 2) Twist them together length ways. 3) Roll the twisted clay into a tube again and repeat steps 2 and 3 again. 4) Roll the clay into a spiral and then roll it into a tube again. 5) Cut into 5 equal parts, and roll into smooth even balls.
Step 2. Creating the holes and supporting them.
1) Cut an apple in half and place it on a ovenproof plate 2) Create a hole through each bead with a toothpick and press the end of the toothpick into the apple half. This will support the clay as it cures in the oven. 3) Repeat this step with all of the other beads.
Step 3. Baking and finishing.
1) Preheat the oven to 125 degrees C ( 255 F) for 10 mins. 2) Place the clay in the oven and bake for 30 mins. 3) Take out the clay and let it cool. The last step is to thread the beads with wax cord or wire.
Rainbow Bangle
Step 1. Preparing the colours
1) Cut the top part out of an empty can. Ensure the shoulder is removed as well. Measure the circumference around the rim. 2) Roll out a portion of Purple to the length of the circumference of the can. Do the same with the Blue, Green, Yellow, Orange and Red. 3) Lay them together and roll them with a rolling pin or bottle so the edges are consolidated and even.
Step 2. Shaping the Bangle.
1) Lay the clay around the edge of the can until it meets with the other end. 2) Trim the ends so they meet flush. Smooth them in so the join is not apparent
Step 3. Baking and finishing. 1) Preheat the oven to 130 Degrees C ( 255 F) for 10 minutes. 2) Place the can wrapped clay in the oven and bake for 30 minutes. Remove and let it cool. 3) Remove the bangle from the can. Use a small can if you want a smaller Bangle. If the bangle is hard to remove from the can a butter knife can be used to pry it free.
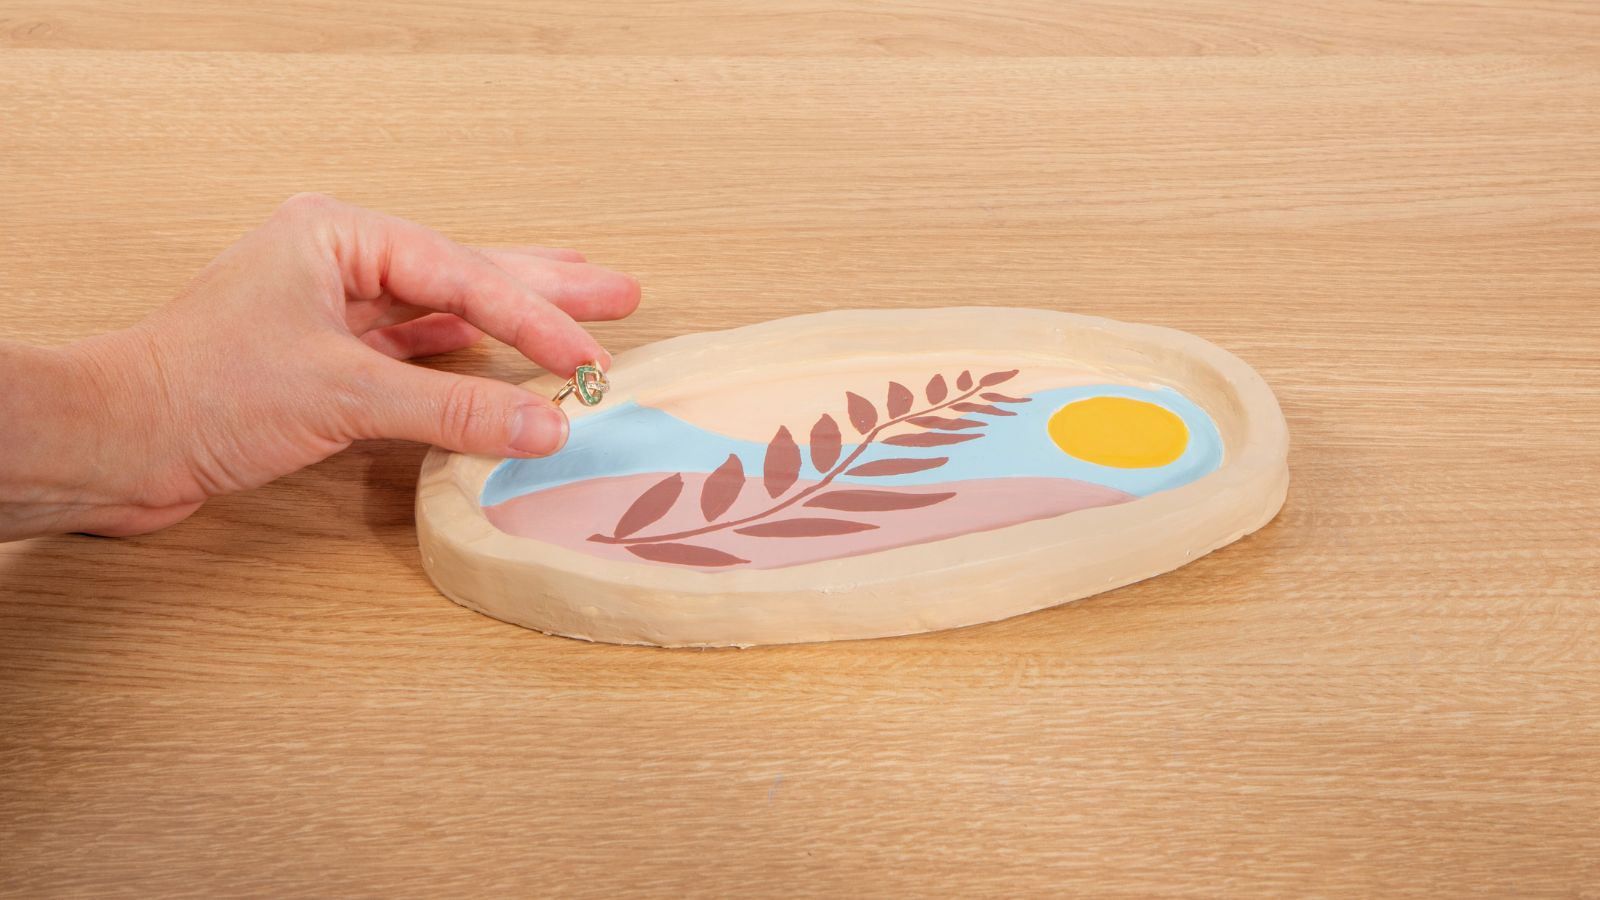
Jewellery Dish
Step 1. Preparing the clay.
1) Using the 60 g packets in White, Lemon Yellow, Tangerine, Vermilion and Scarlet. Break each block in half. Put 1 half of the colour away to use in future projects, then roll the halves into rolls 30 cm long lengths. Place them next to one another. 2) Twist them together length ways. 3) Roll the twisted clay into a tube again and repeat steps 1 and 2 again. 4) Roll the clay into a spiral and then roll it into a tube again. 5) Roll it into a ball. The amount of clay suggested for the dish is enough for 2 to be made.
Step 2. Shaping. 1) With a rolling pin or empty bottle roll the ball of clay into a pancake about 8 mm thick. 2) Place a small owl rim down onto the pancake and use that as a template to cut a neat circle.
Step 3. Baking.
1) Place the pancake into a cereal bowl (ensure this is larger than the bowl used to cut the template). 2) Preheat the oven to 130 degrees (255F) for 10 minutes. 3) Place the bowl and clay into the oven for 30 minutes. Remove and let cool thoroughly. 4) Remove the clay from the bowl.
Step 4. Finishing.
1) Paint the rim of the polymer clay dish with Titanium White. Let this dry. 2) Paint over the White with Gold paint.
Optional step. 3) Paint the dish with Gloss medium.
Material List
- Acrylic Medium Premium - Gloss 135ml (4.6oz)
- Make n Bake Polymer Clay Signature 100g (3.5oz) 10pc
- Make n Bake Polymer Clay Signature 60g (2.1oz) - Tangerine
- Make n Bake Polymer Clay Signature 60g (2.1oz) - Orange
- Make n Bake Polymer Clay Signature 60g (2.1oz) - Scarlet


