


Create realistic skin tones with pastels
Let’s look at creating realistic skin tones with Pastels.Step 1: Adding Umber and Burnt Sienna Lay down the dark areas first using Umber in the shadow areas and the edge of the face and softly blend it in to the centre. Lightly go over the darkest areas of Umber with Burnt Sienna. Step 2: Adding Light Pink Add the Pink Beige skin colour on to the light parts of the face and blend it in to the underpainting using your finger. Add some Sienna onto the lips, cheeks and around the eyes. Step 3: Adding White On the highpoints of the face lay in a light coat of White. Lay on spots of pure White into the whites of the eyes, lips and the tip of the nose. Step 4: Creating Eye Detail Paint in a coat of Black on to the eye, then on the bottom half in a cresent shape place in some Blue. Then place a White dot in the middle of the eye to suggest a highlight.
Step 5: Painting the Bike Hat Paint the hat in White and smooth it in with a finger, making sure areas in shadow have a thinner coat of White. Then lay a series of horizontal and vertical lines across the hat in Red. Step 6: Colouring the Shirt Paint the lighter half of the shirt in Violet and the other half in Red, blend the two colours together with a finger. Step 7: Adding the Background Lay Light Blue on one side and a Mid Blue on to the other, using the side of the pastel to cover large areas quickly. Apply less pressure with your Pastel on the edges of the image to fade them in to the paper. Until next time...
Material List
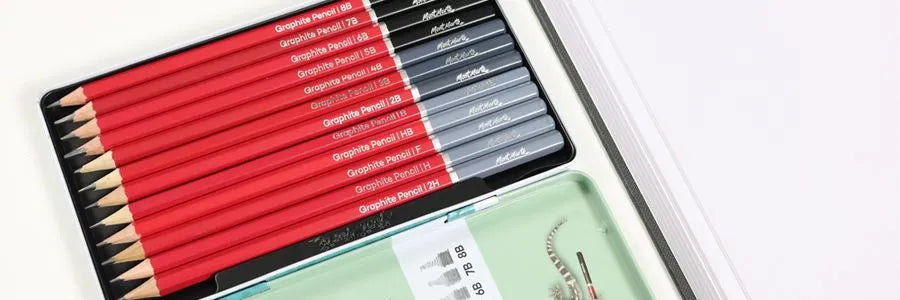
- MPN0102 Skin Tints Pastel Pencils Signature 12pc
- MMPT0031 Soft Pastels Signature 72pc
- MSB0065 Watercolour Pad German Paper Premium A3 300gsm 12 Sheet
- MAXX0005 Artist Erasers Signature 4pc
- MAXX0011 Pastel & Charcoal Blenders 7pce
Shop Materials List
You may also like
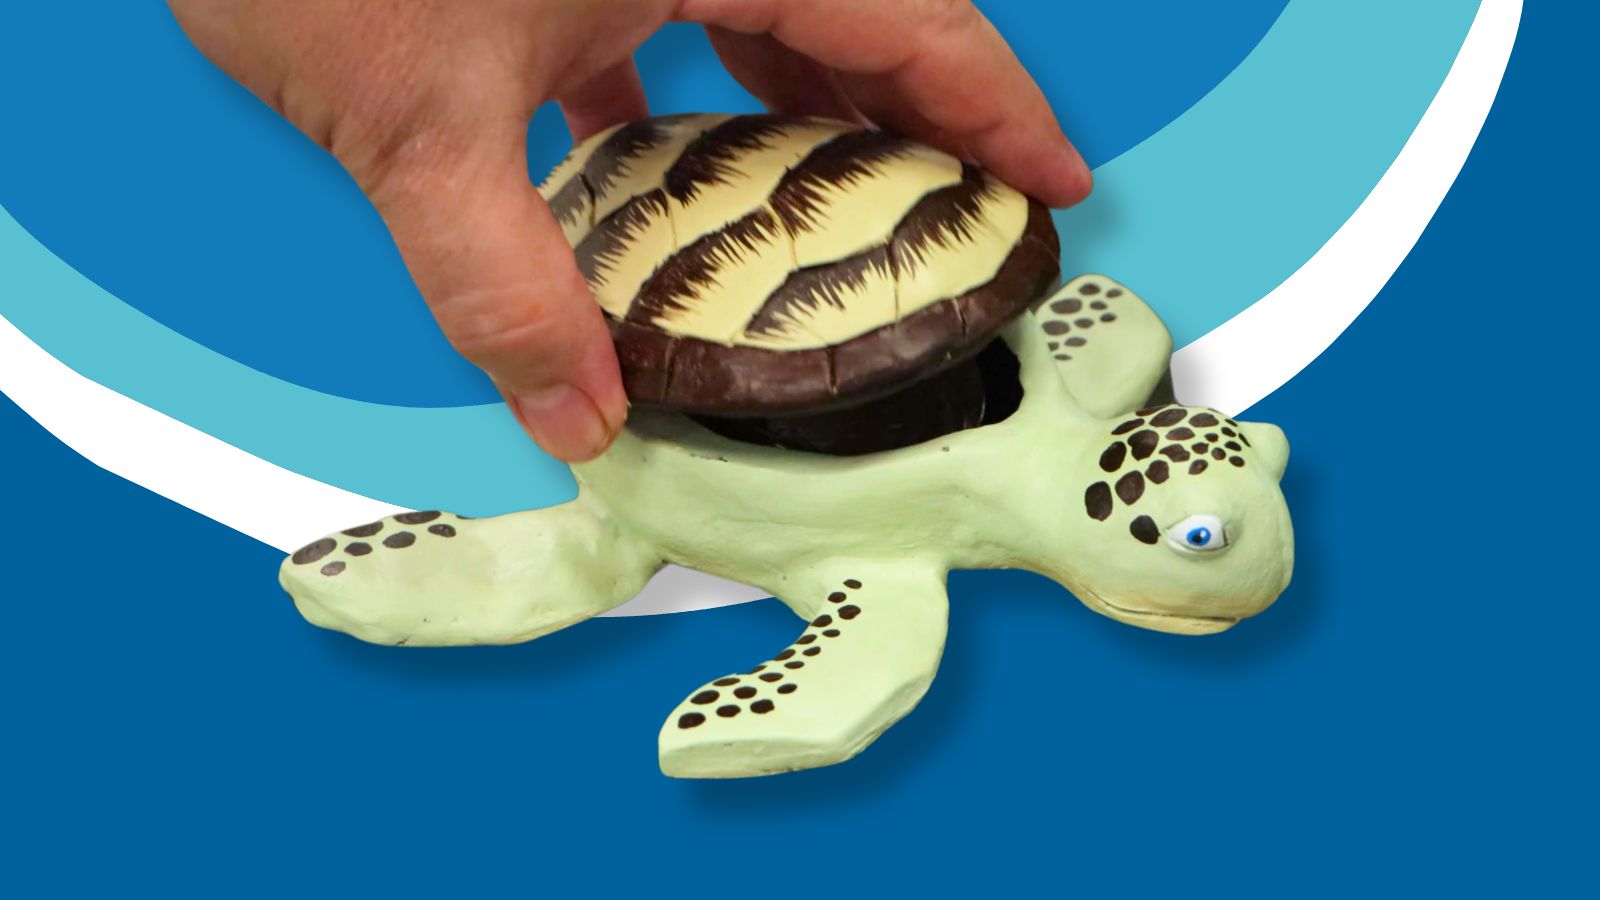
Turtle pinch pot with air dry clay
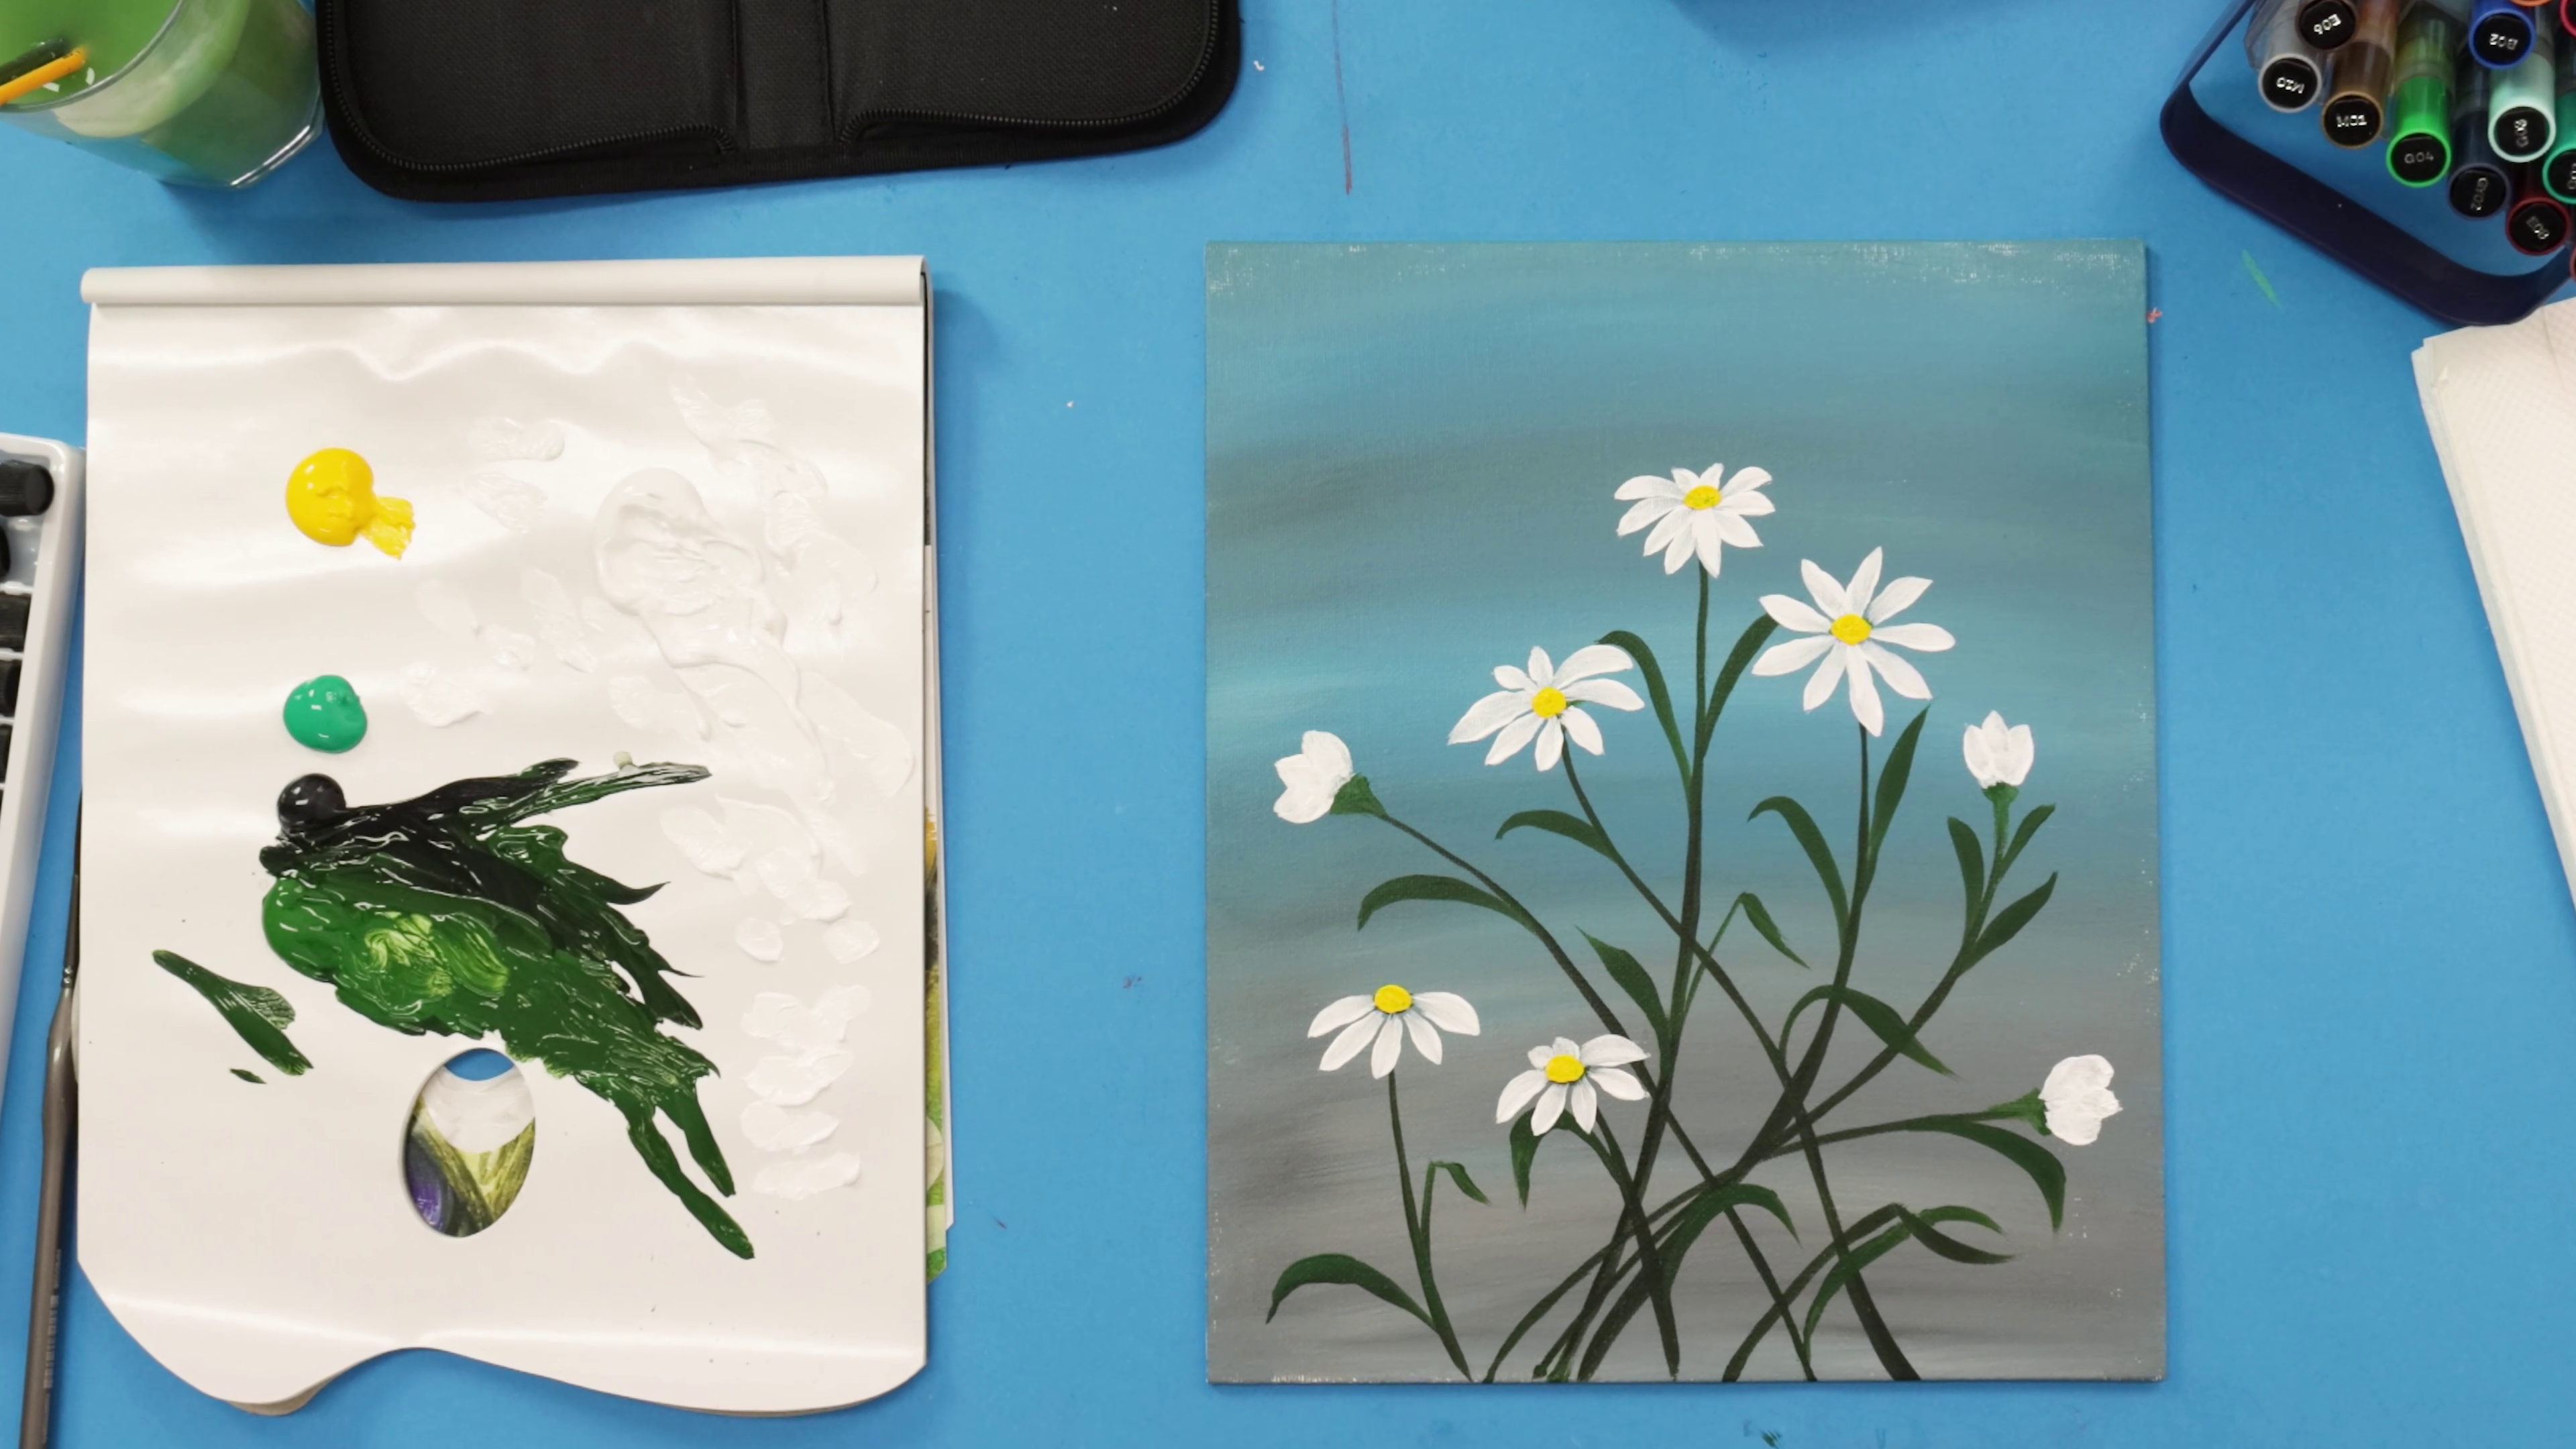
How to paint acrylic flowers for beginners

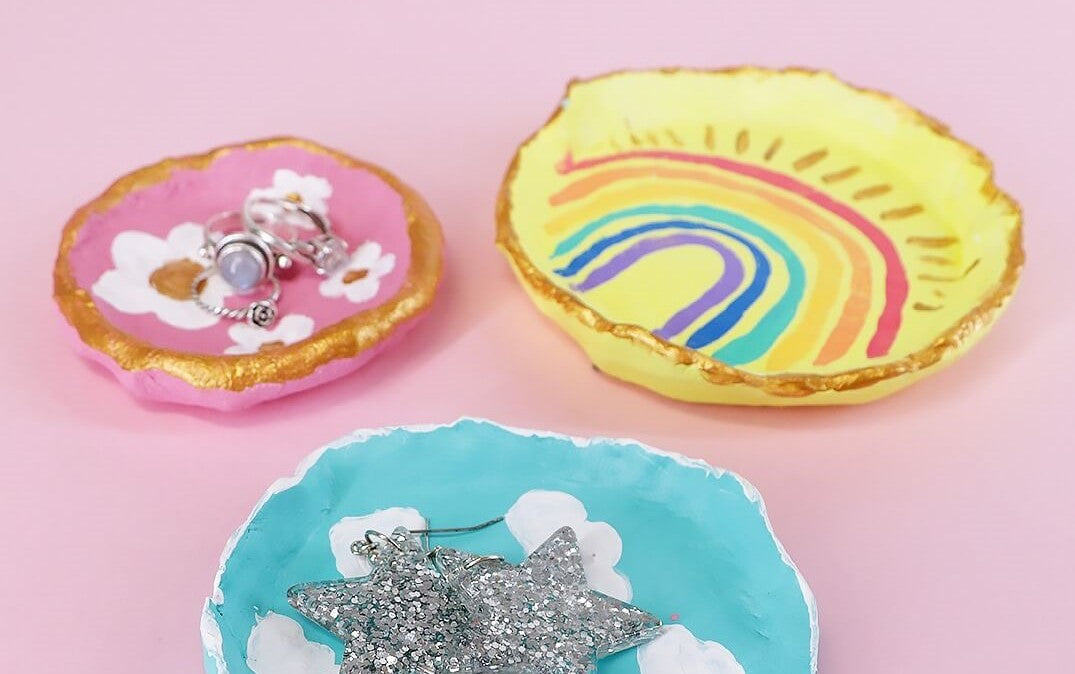
Cactus ring holder DIY


