How to create a galaxy drawing with oil pastels
Firstly, tape a sheet of Cotton Watercolour Paper down onto your working surface.
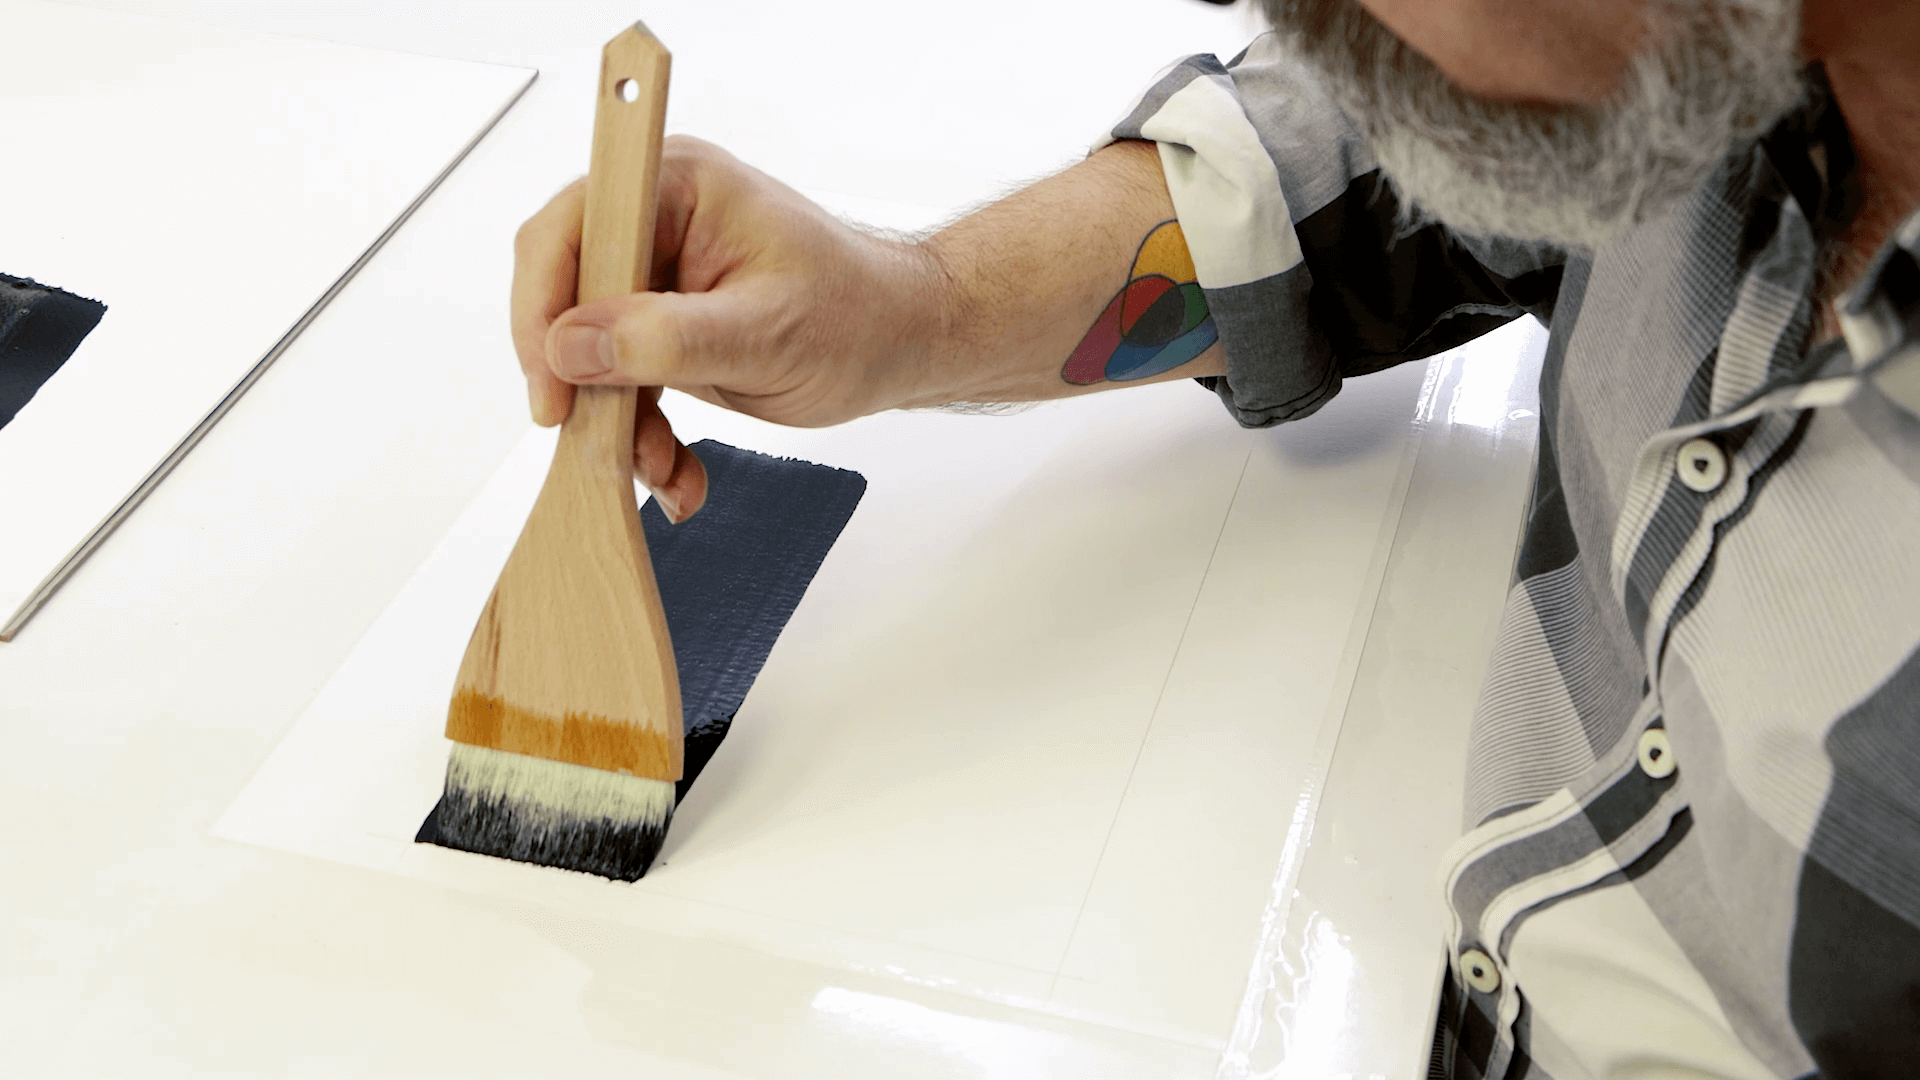
Mix some Black watercolour paint with water and use the Hake brush to paint the background. Allow this coat to dry.
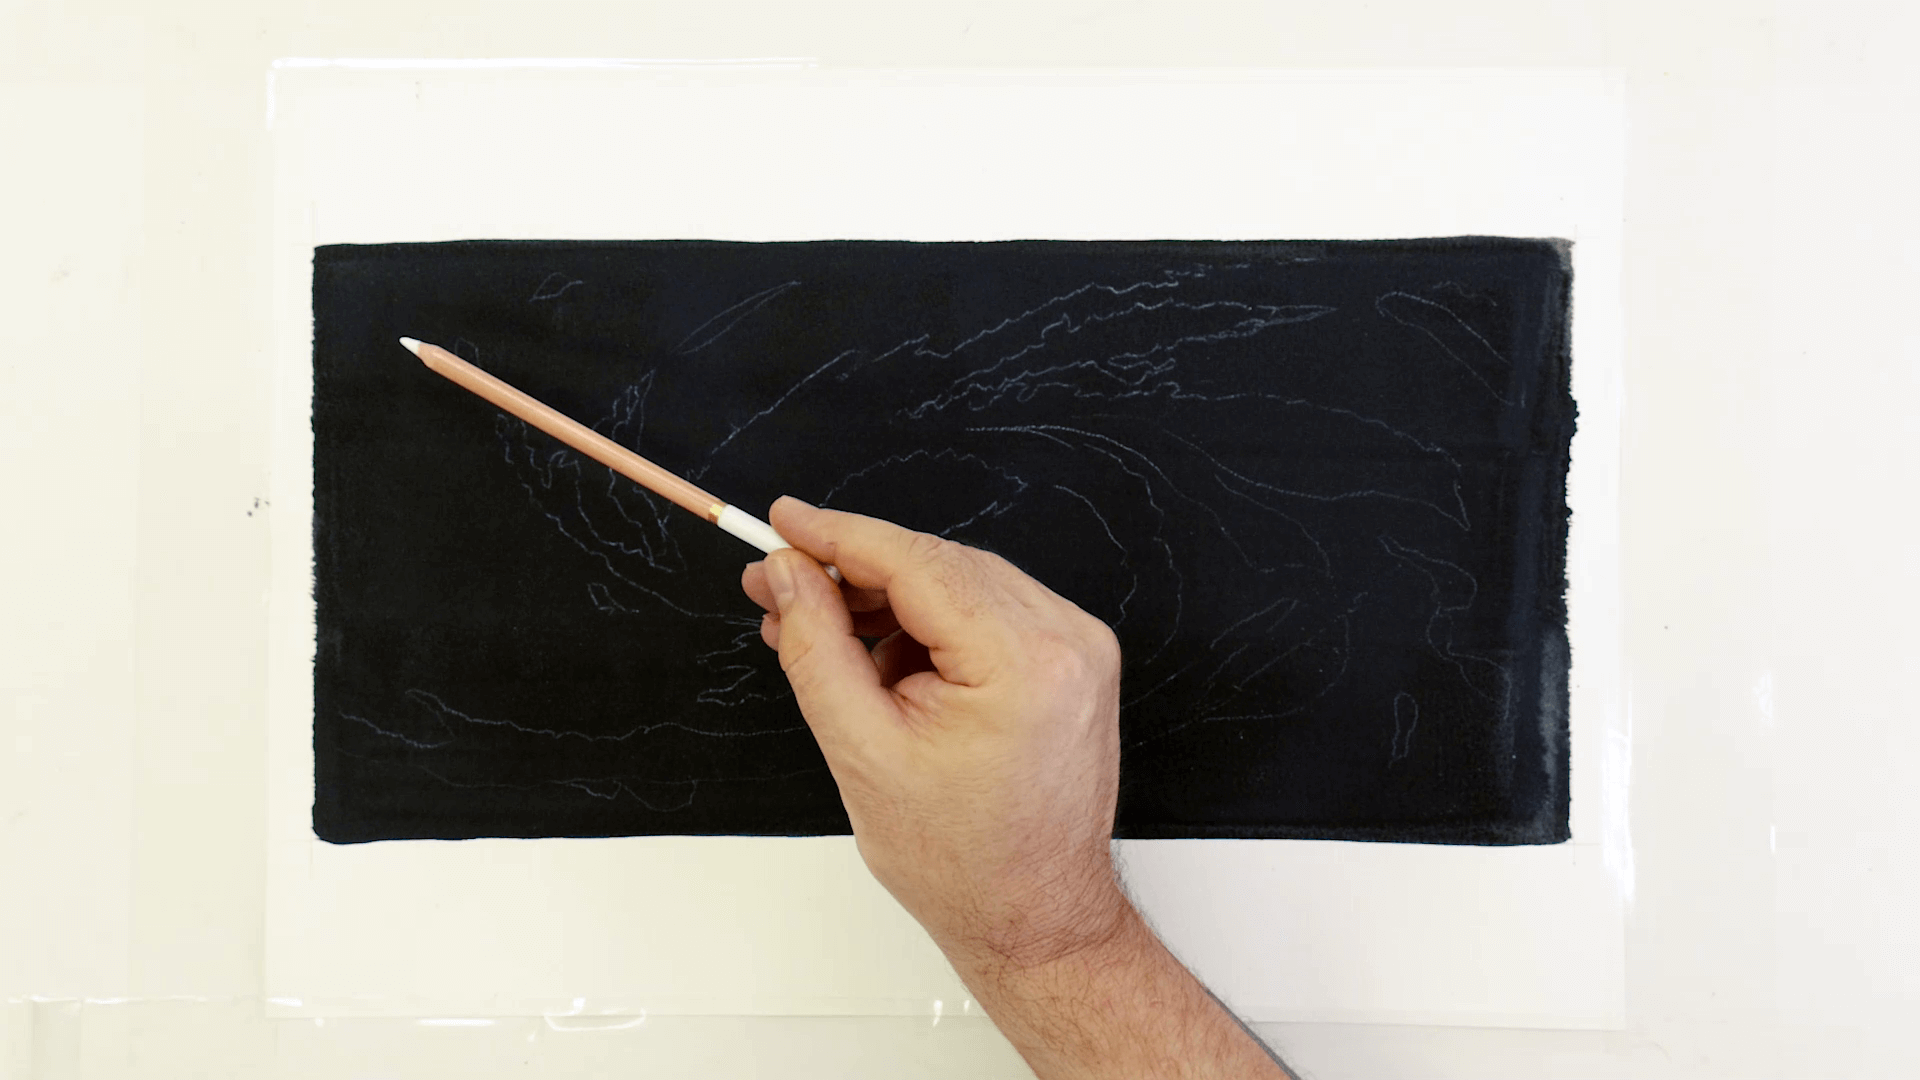
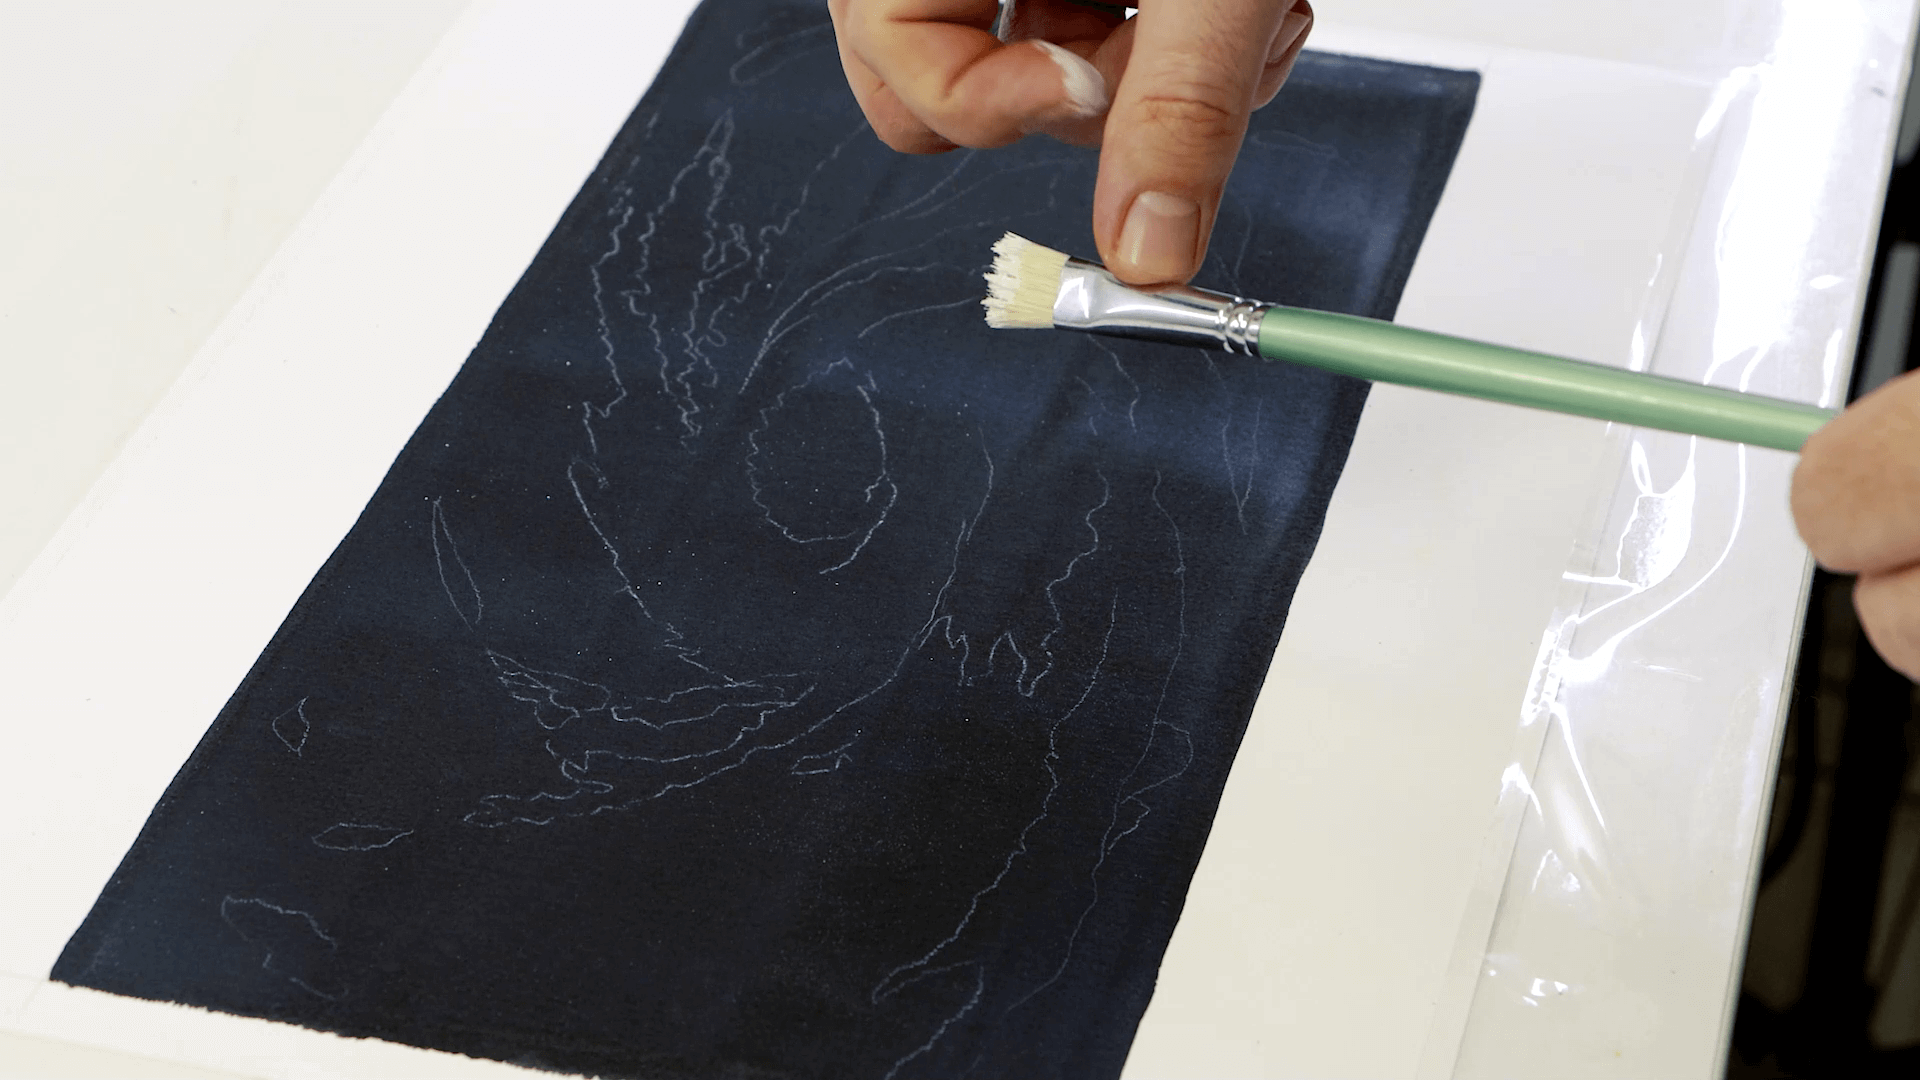
Once dry, take the White Charcoal Pencil to draw the outline. You can find a reference image under “Resources” on the project webpage for shape and colour guidance.
Taking some White watercolour paint and the medium bristle brush, create a flicking motion to suggest stars in the background. To get a good viscosity, dip the brush in water then into the paint directly from the tube before flicking it with your finger. Allow this to dry.
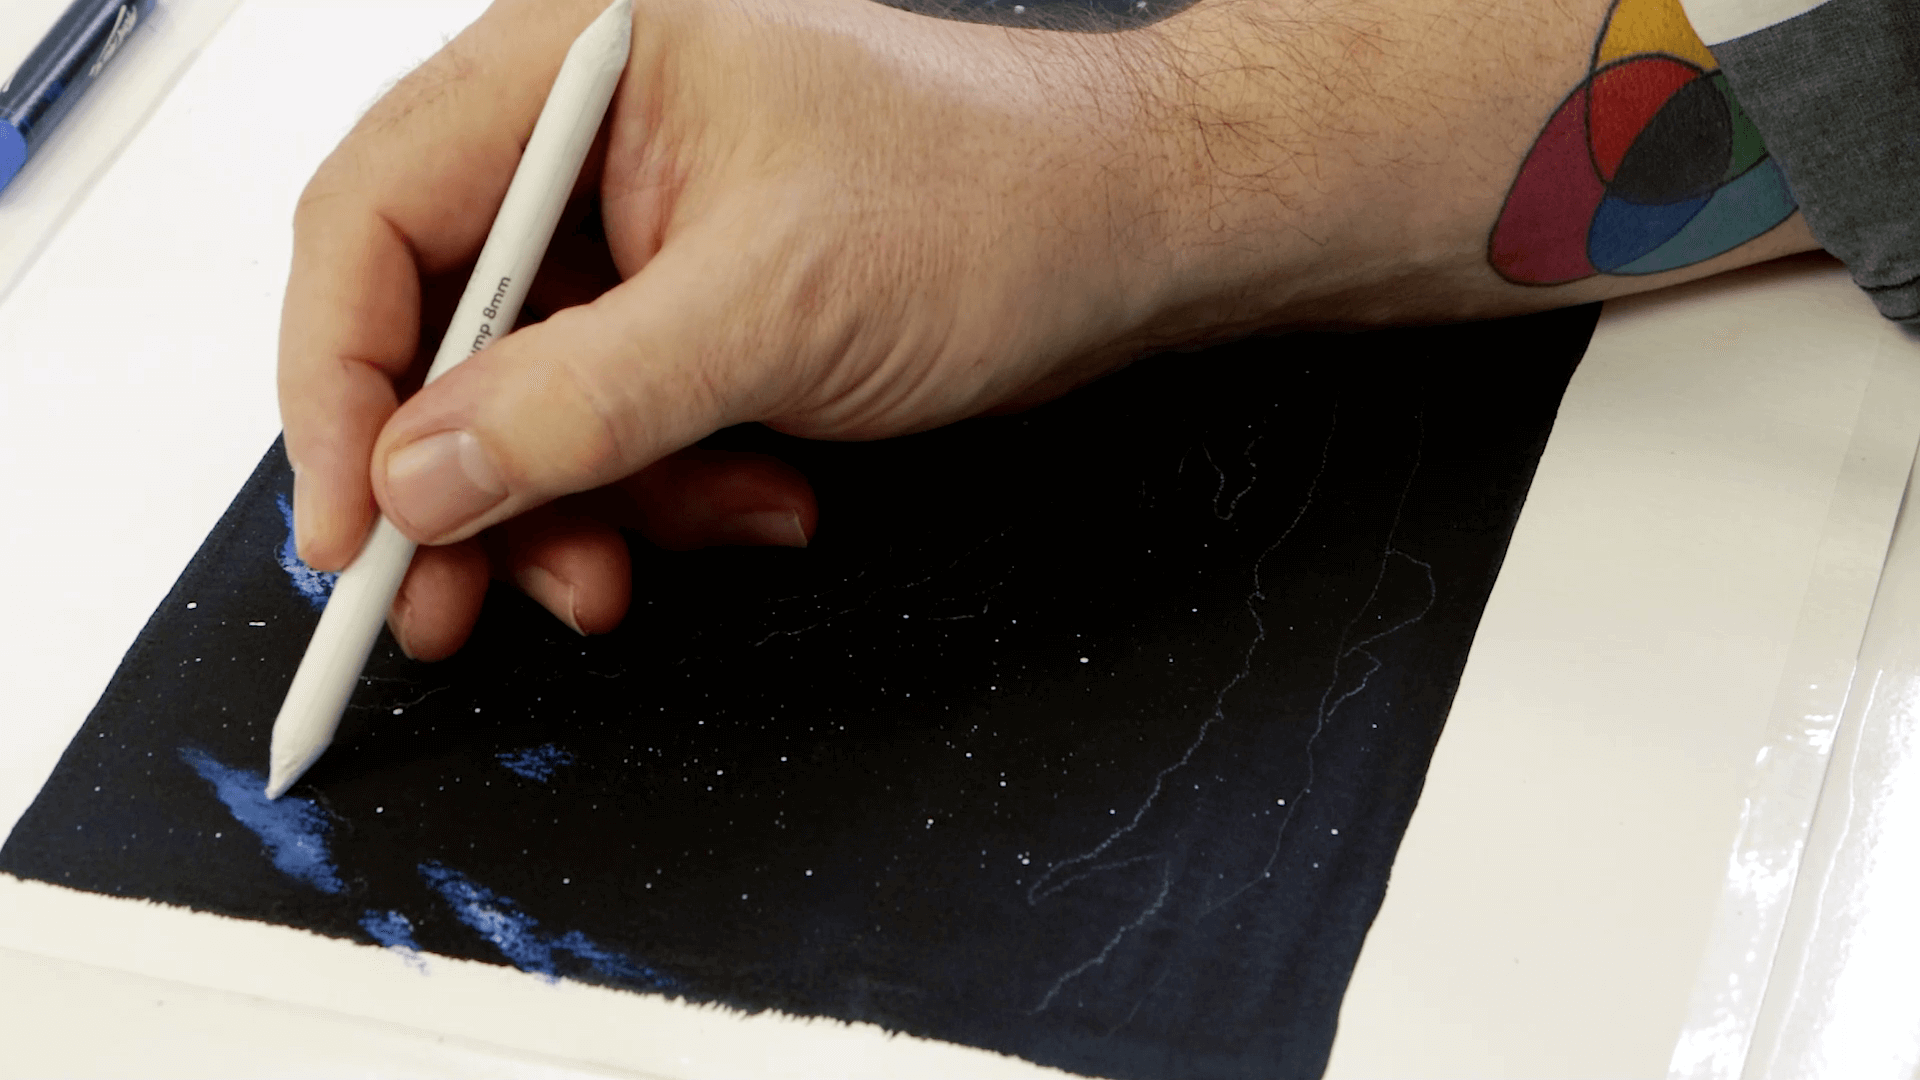
To create the blue cosmic clouds, lay down Ultramarine followed by Azure over the top. Use the blending stumps to blend and scrub out the edges. You can lighten areas by gently blending in some White.
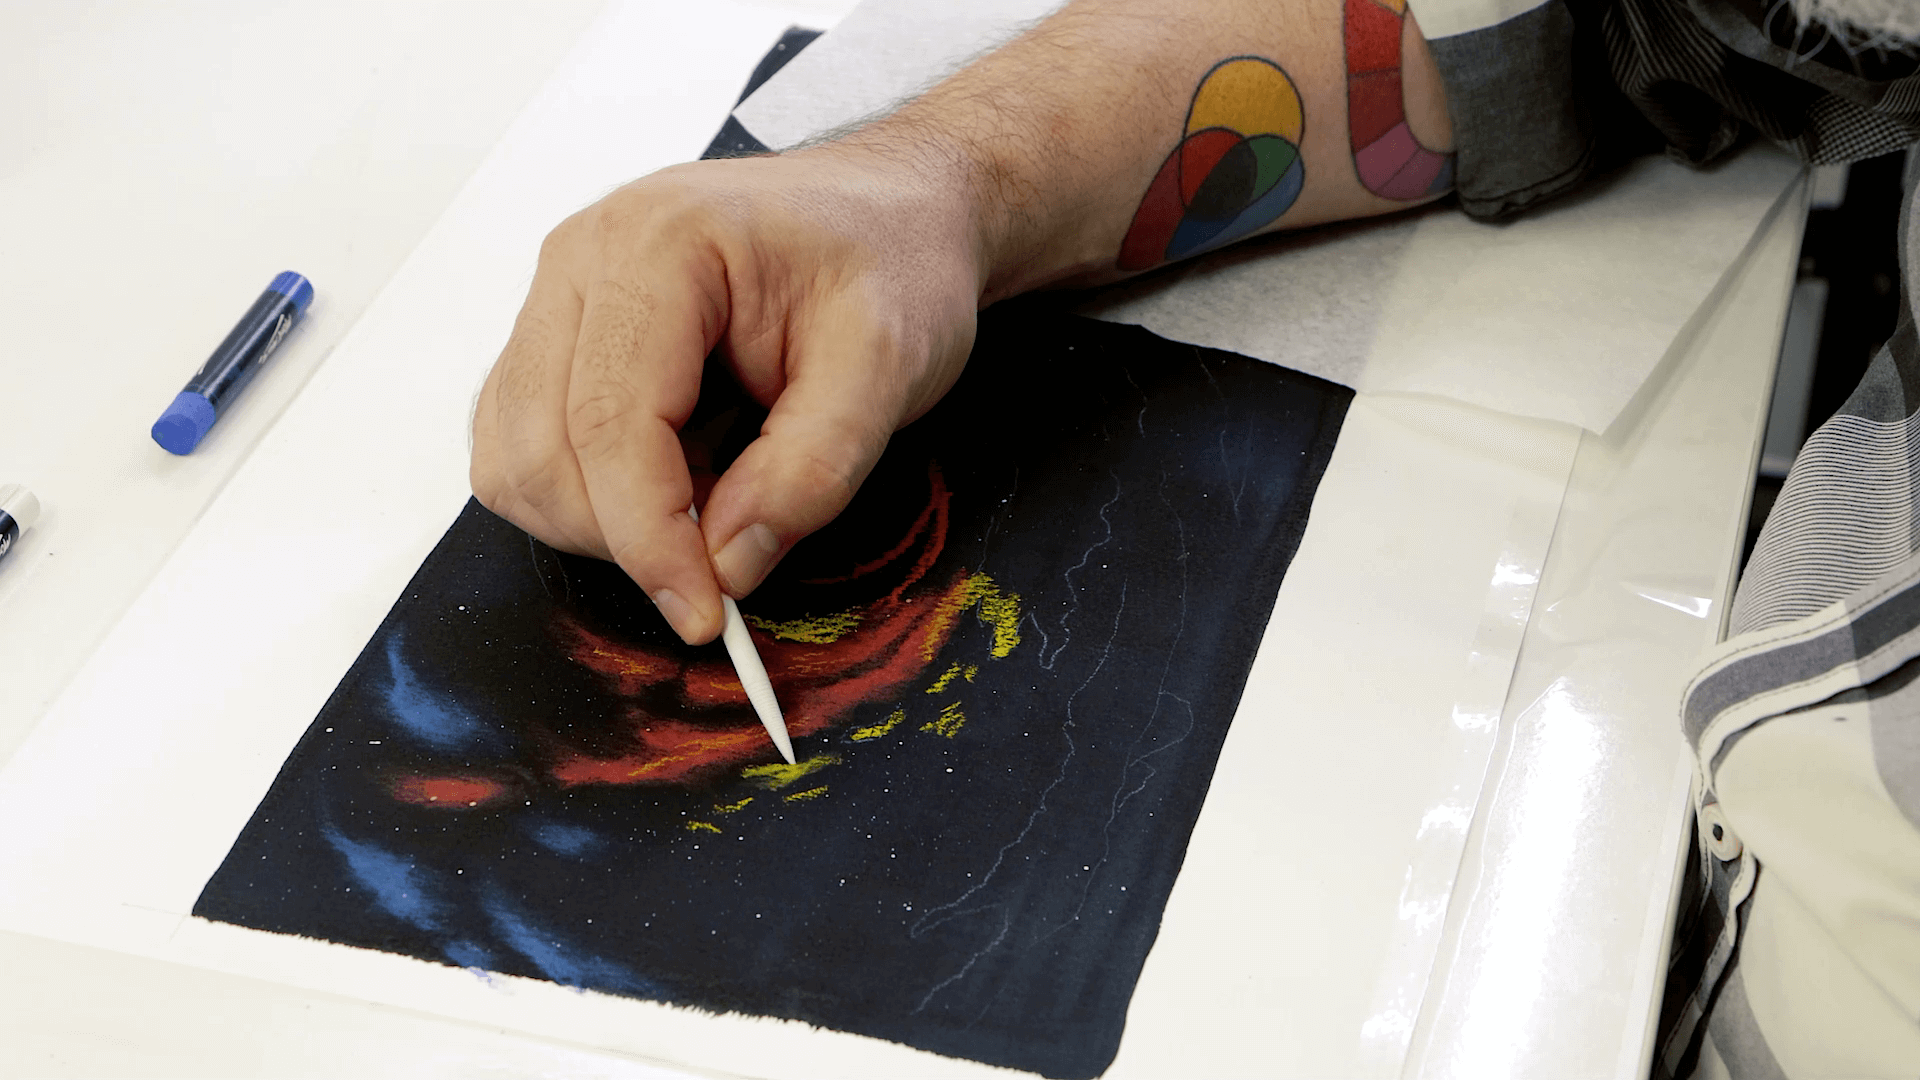
Apply some Scarlet followed by Vermillion and Yellow over the top. Scrub the edges out using the blending stumps.
You can lighten areas by gently blending in some White over the colours.
Continue adding red and orange tones, followed by Yellow and White to form the epicentre of the nebula.
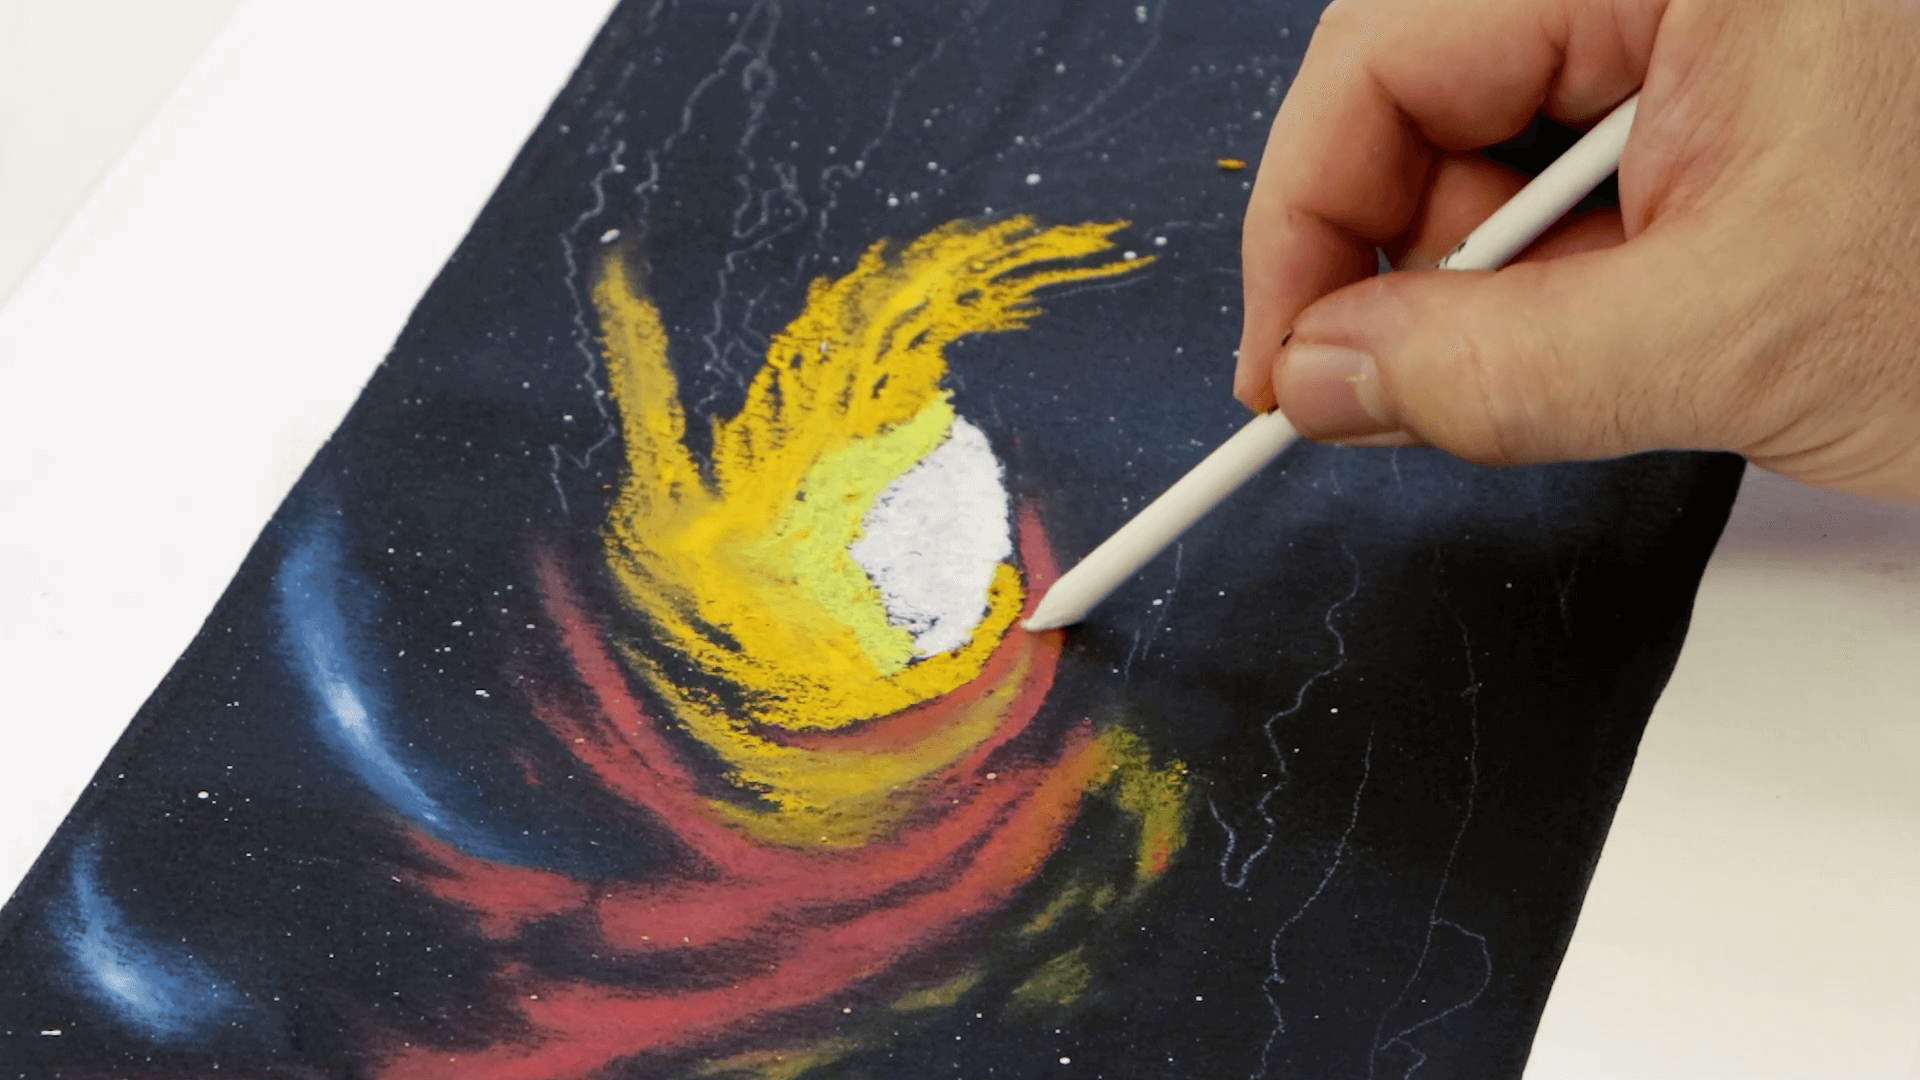
Remember to apply light tones over dark colours and use the blending stumps to soften the edges.
When two colours are to be blended into one another like the cloud at the bottom, lay the colours side by side and blend them together with small circular motions.
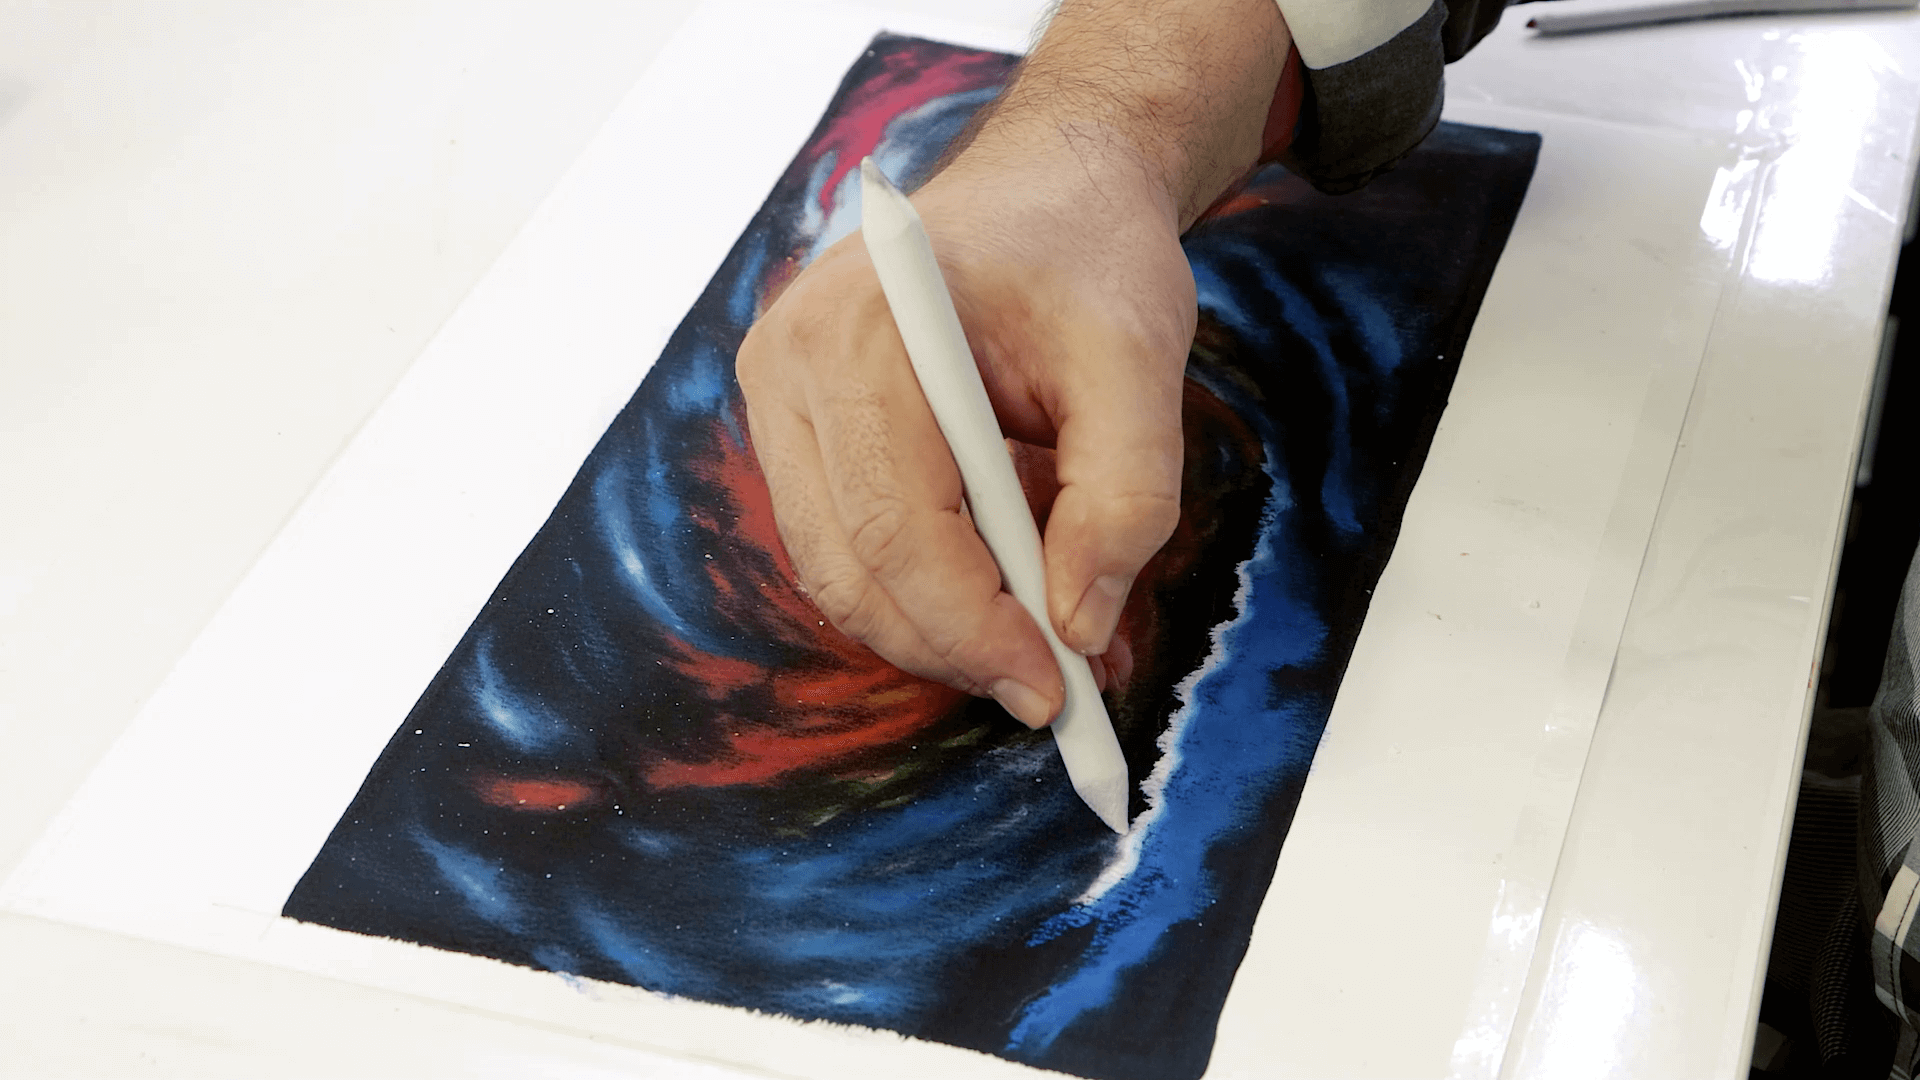
Once you’re happy with the colouring layer, take the medium bristle brush and White watercolour paint to flick more stars over the top.
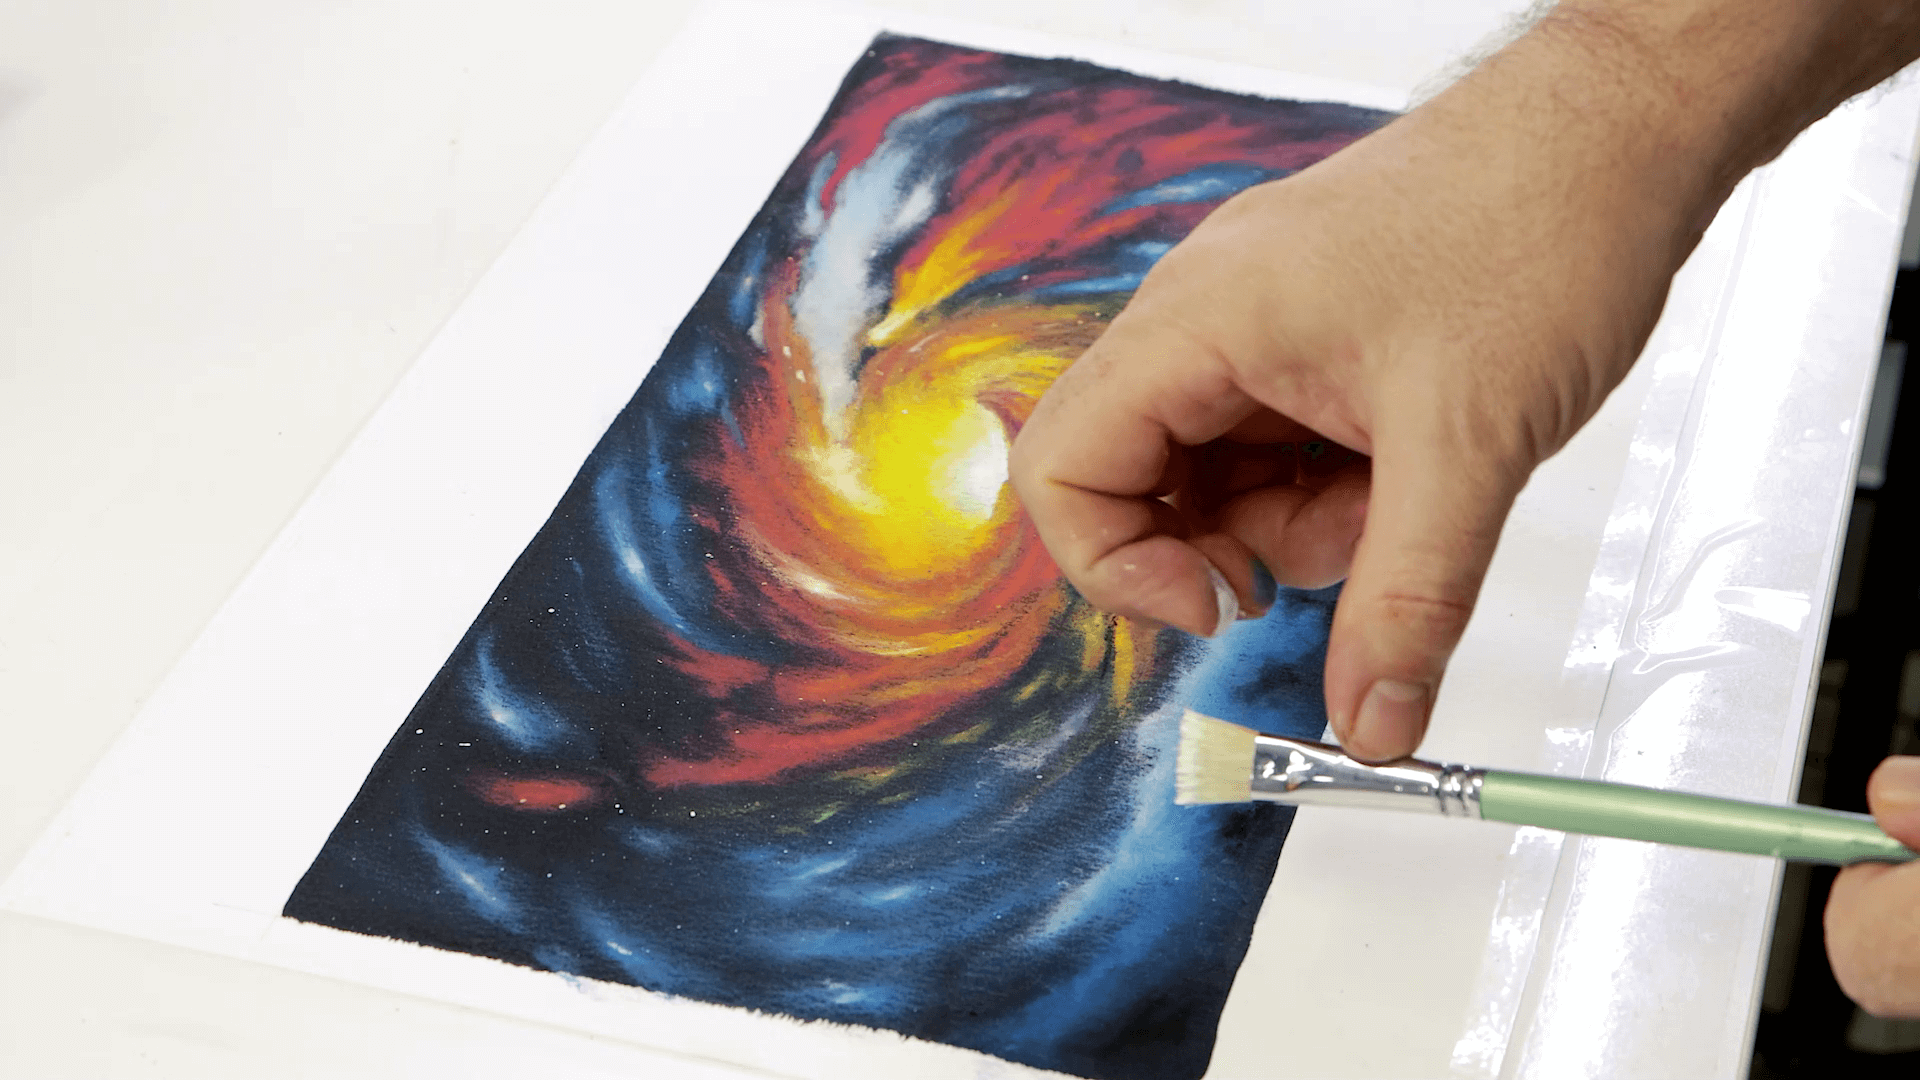
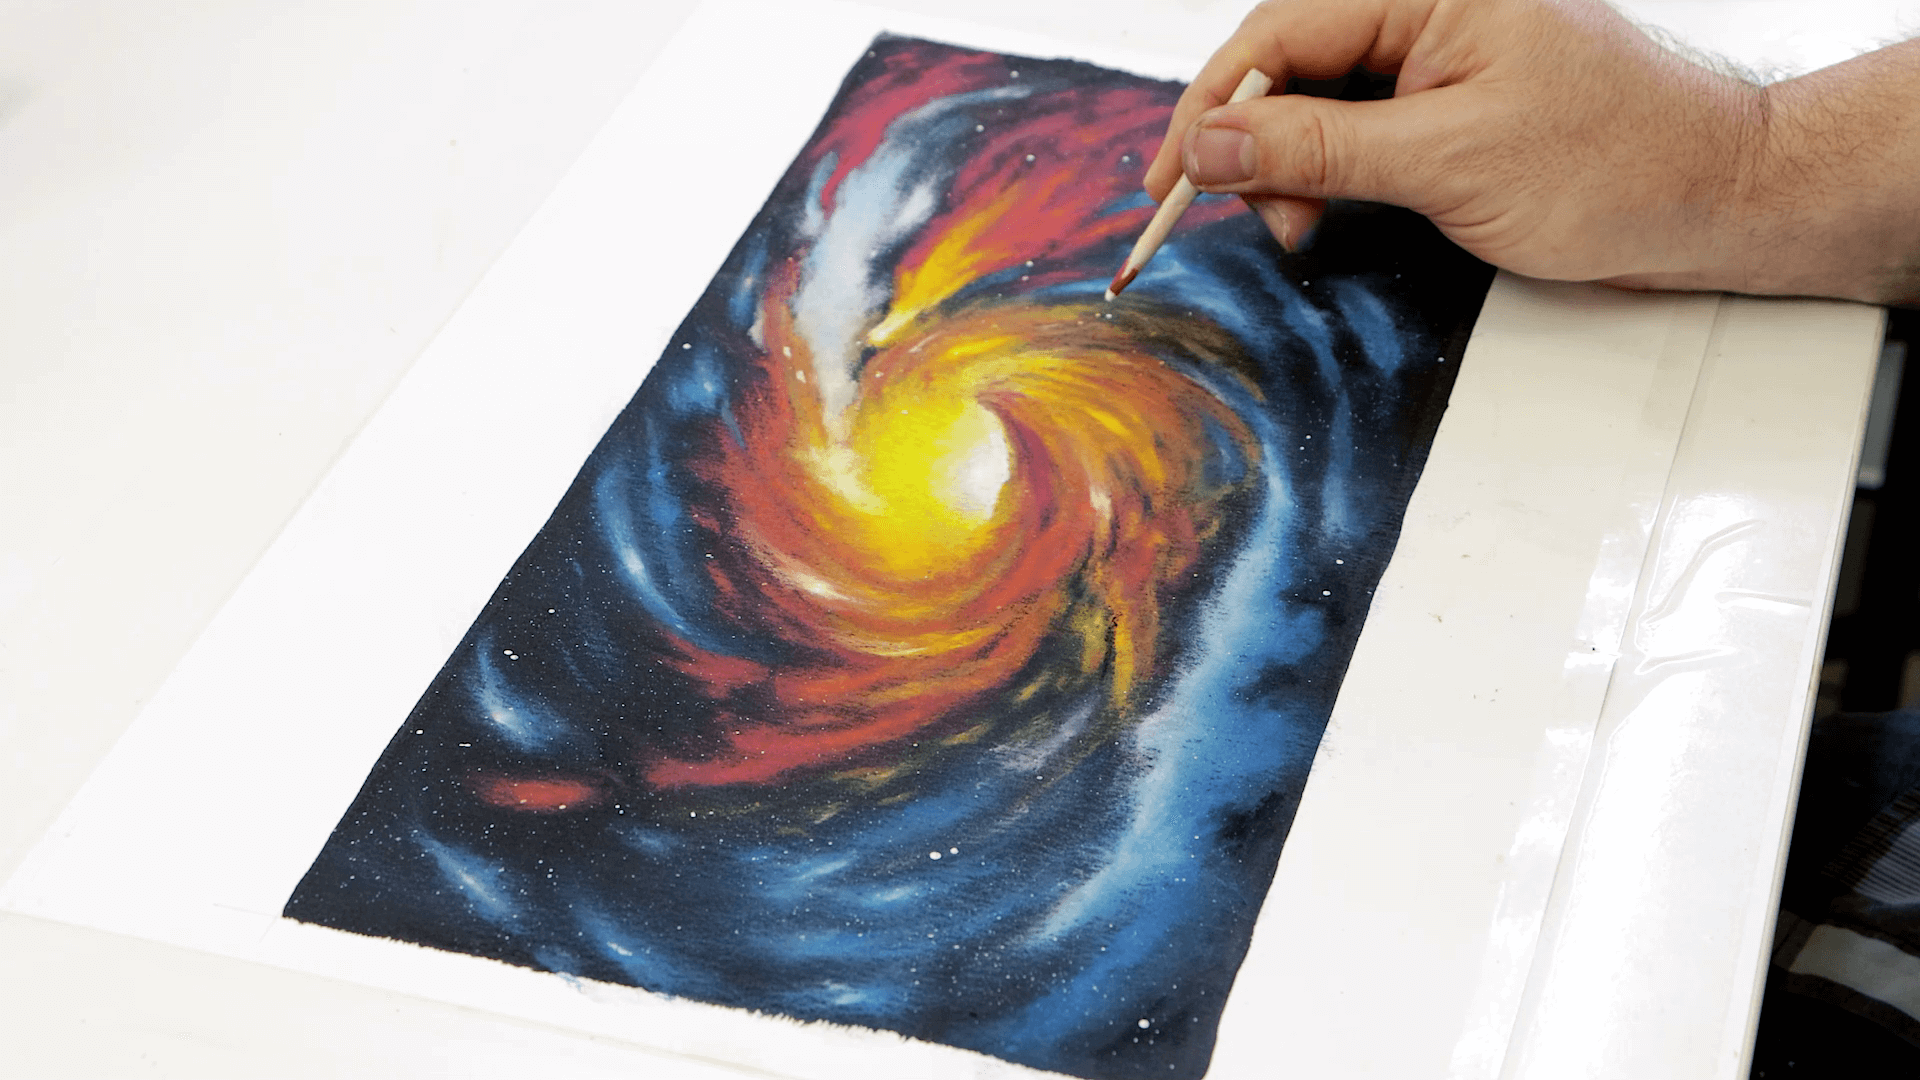
The final step is to dip the point of a small blending stump into some of the White paint and dot some larger stars over the piece.
And, you’re all done!
Material List
- Oil Pastels Signature 24pc
- Watercolour Paints Signature 12pc x 12ml
- Cotton Watercolour Paper Premium 300gsm A3
- Pastel & Charcoal Blenders 7pce
- White Charcoal Pencils Lge Hex Signature 2pc
- Goat Hair Brush 75mm
- Gallery Series Brush Set Oils 5pce
Extra Materials
- Clear tape


