


How to create Scandi Christmas gnomes with air dry clay
Firstly, pop over to the project webpage and print the outline. You can use these to shape the separate pieces of the gnomes.
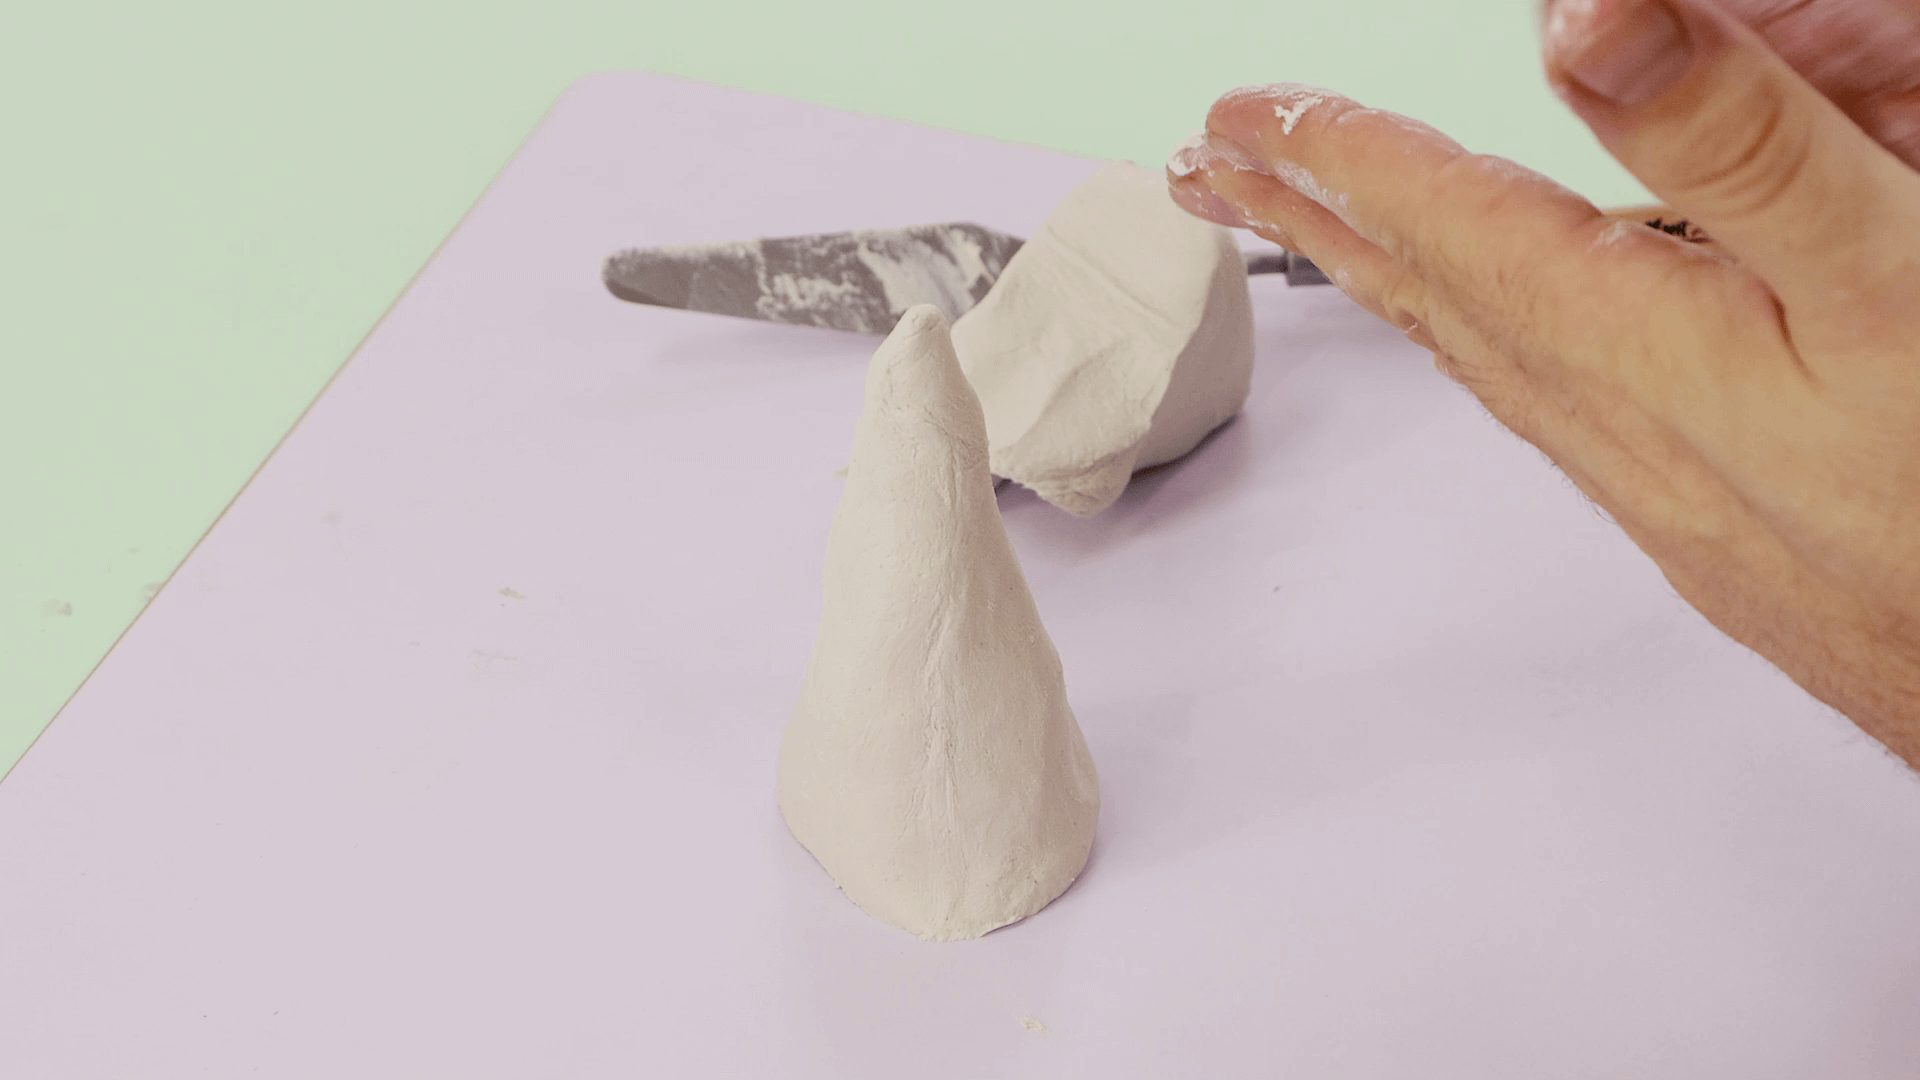
To create the first gnome, take one of the 250g clay clocks and unpack it. Create a cone shape by rolling it in your hands.
Once the cone shape has been made, cut approximately 4 cm off the bottom off the thick end of the cone shape and place the base on your workspace. Twist the top of the cone to a point.
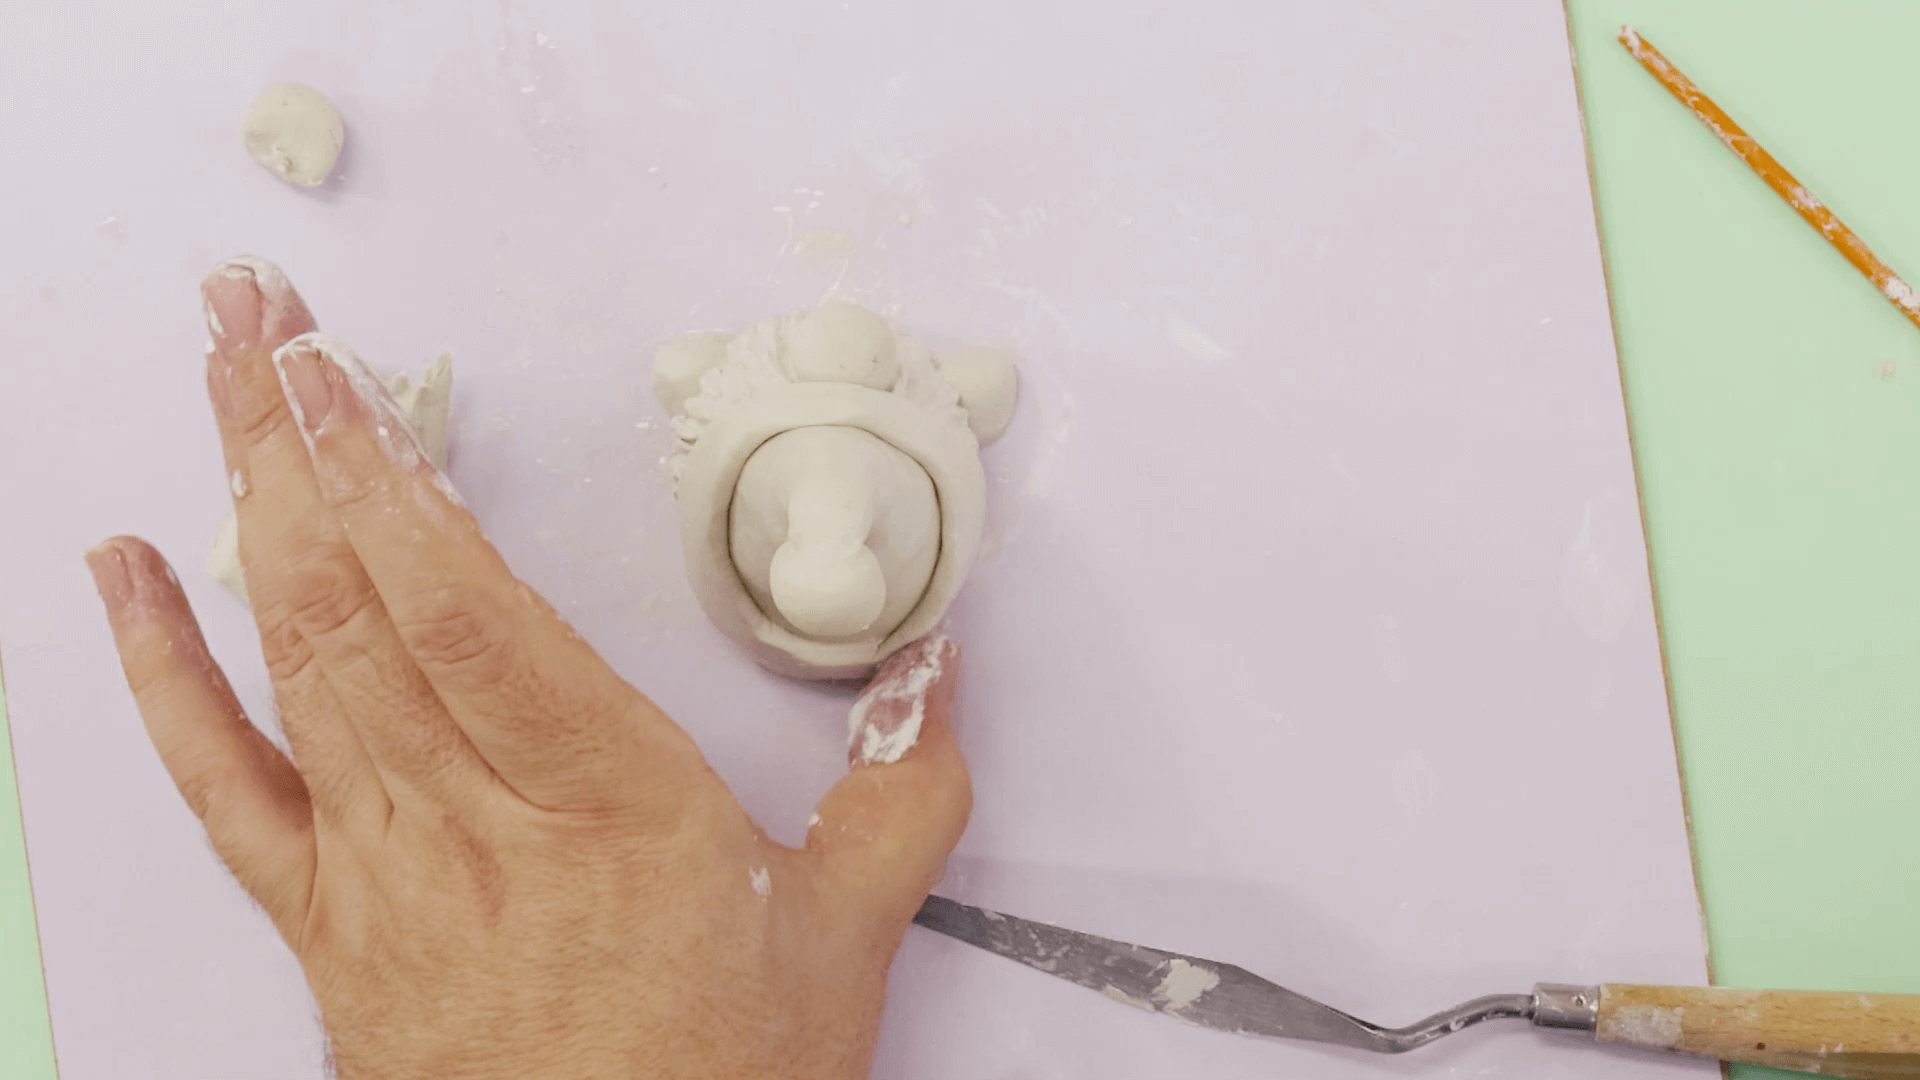
Roll a ball about 1.5cm in diameter, create a hollow in it and press it onto the top of the hat. Blend the ball onto the top of the cone.
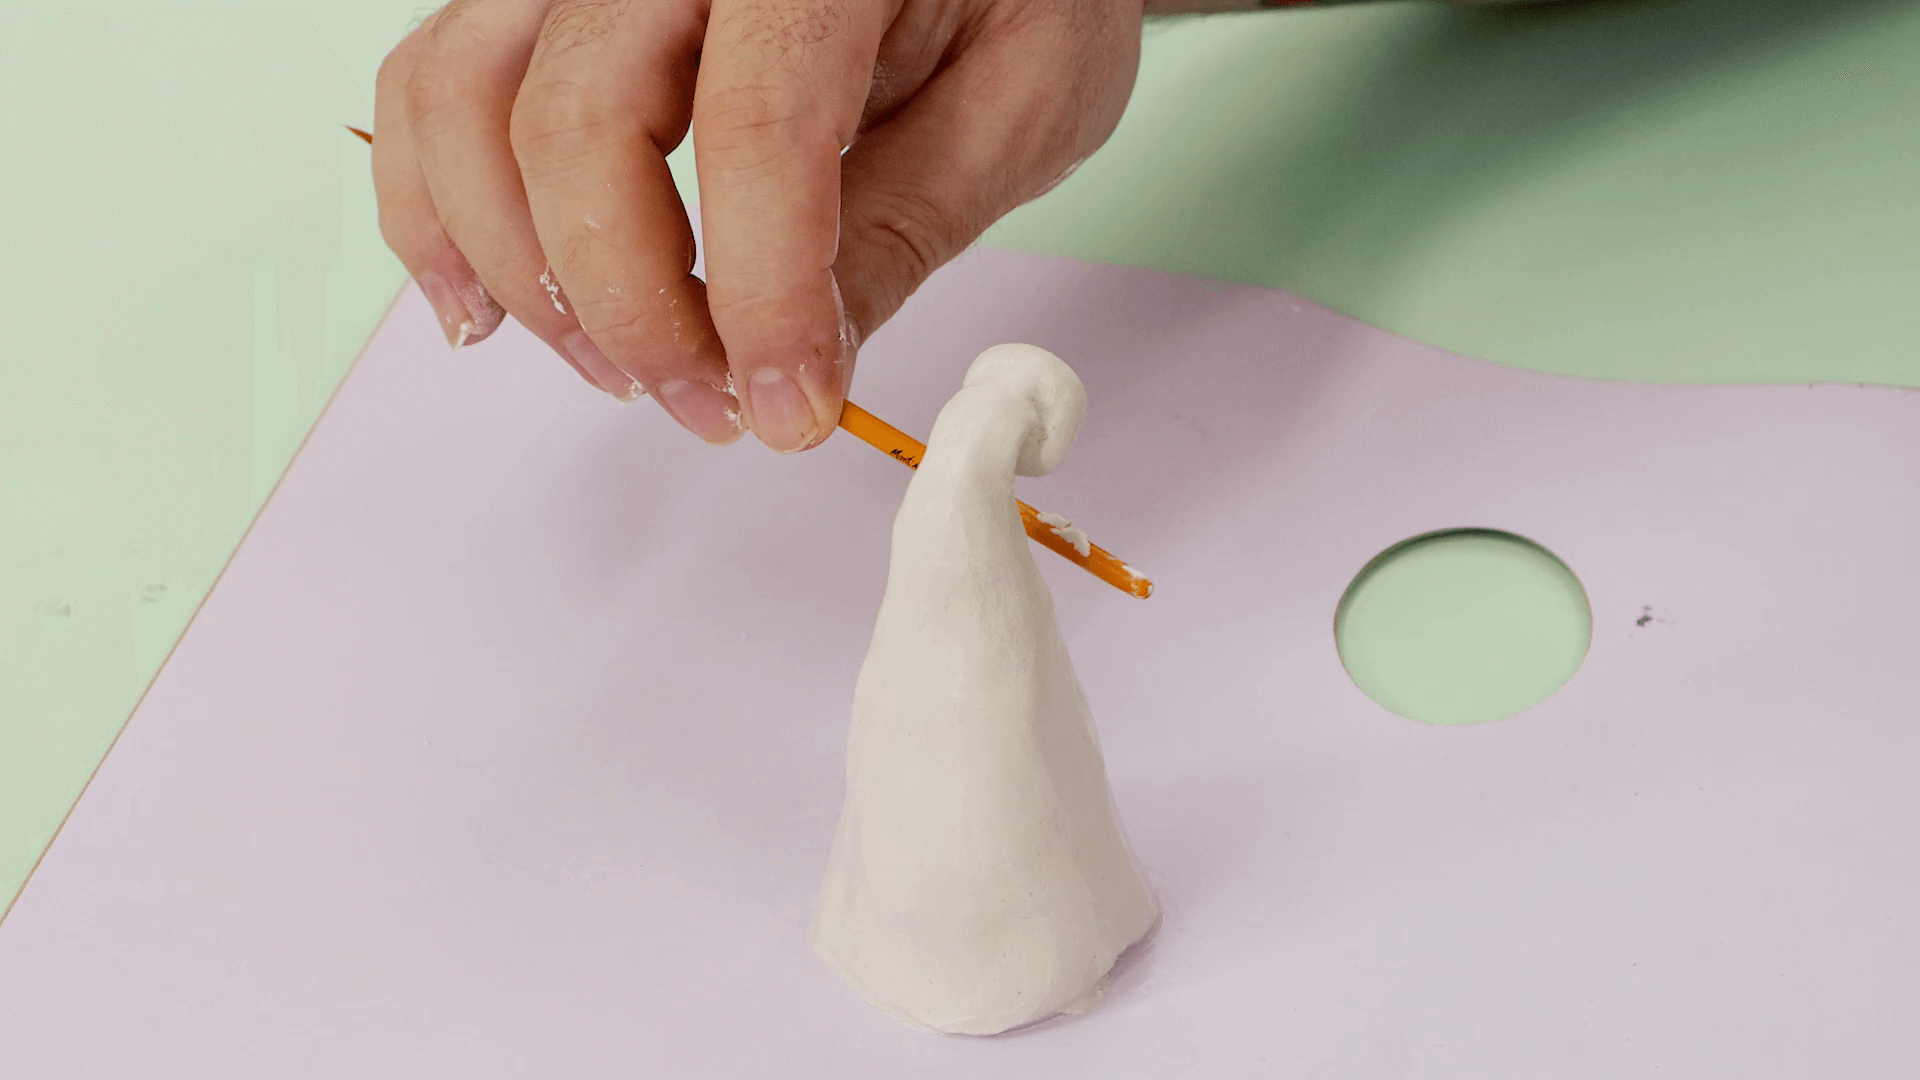
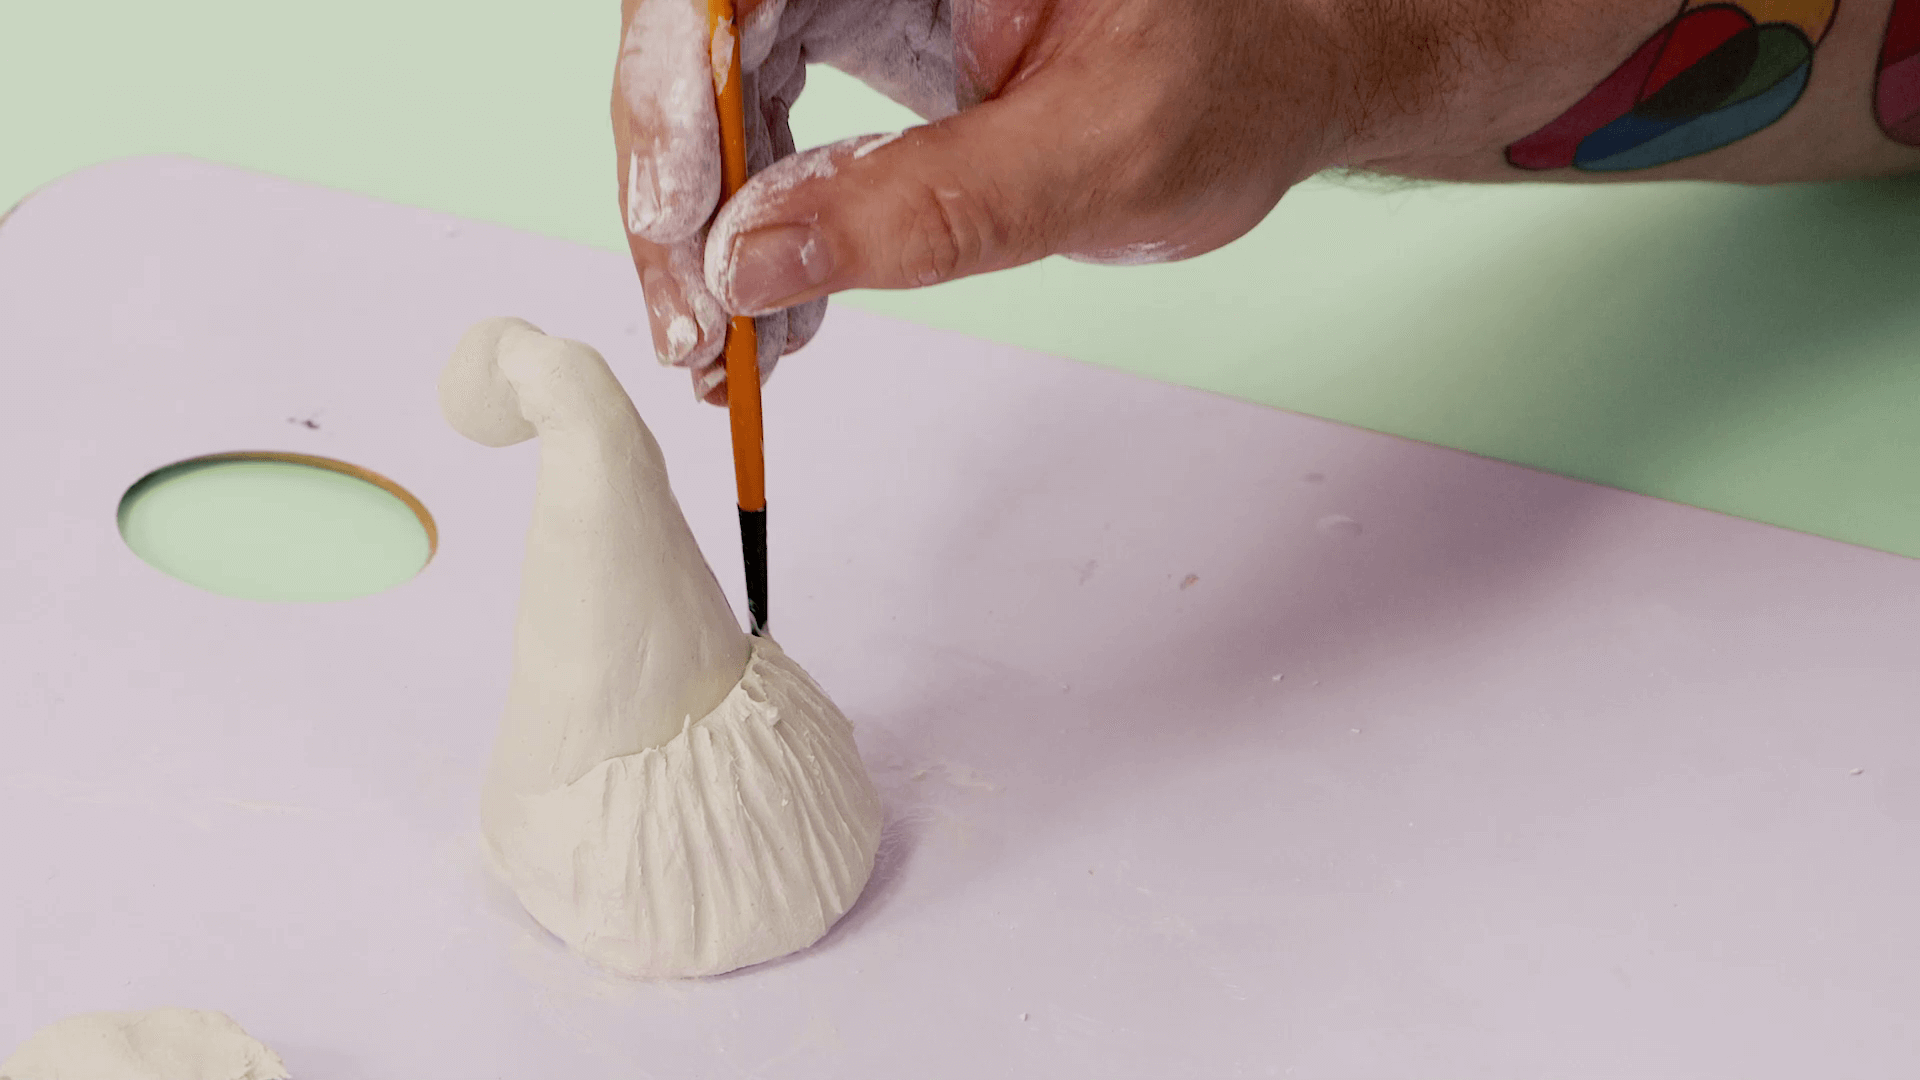
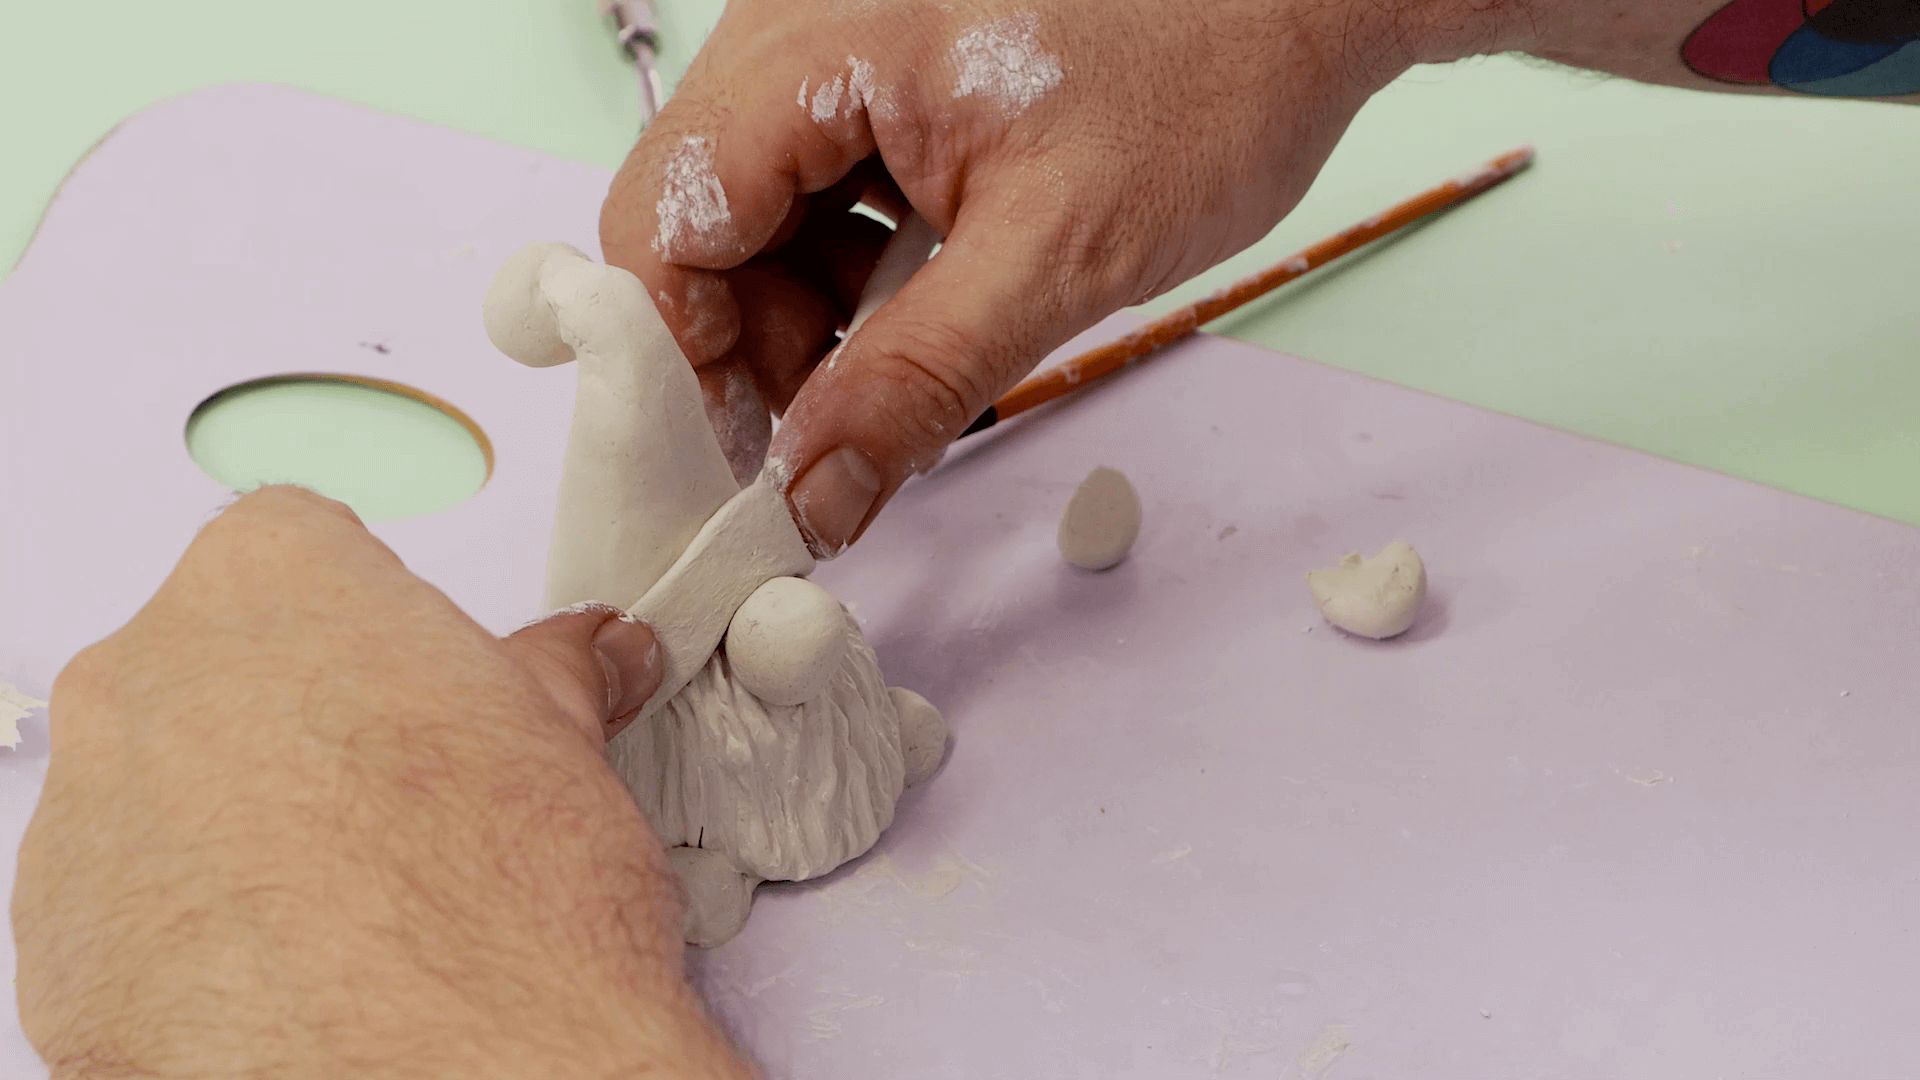
To create the beard, roll out an oval shape approximately 4 cm across and wide enough to wrap around the base of the cone. Blend the edges into the cone and create some texture in vertical lines down the beard with the end of a paint brush. You can soften the texture with water and create thin grooves with the tip of the palette knife.
To make the beard a little rounder, you can use the palette knife to cut a small wedge out of each side of the base.
To create the boots, roll 2 balls of clay and press them into the either side of the beard.
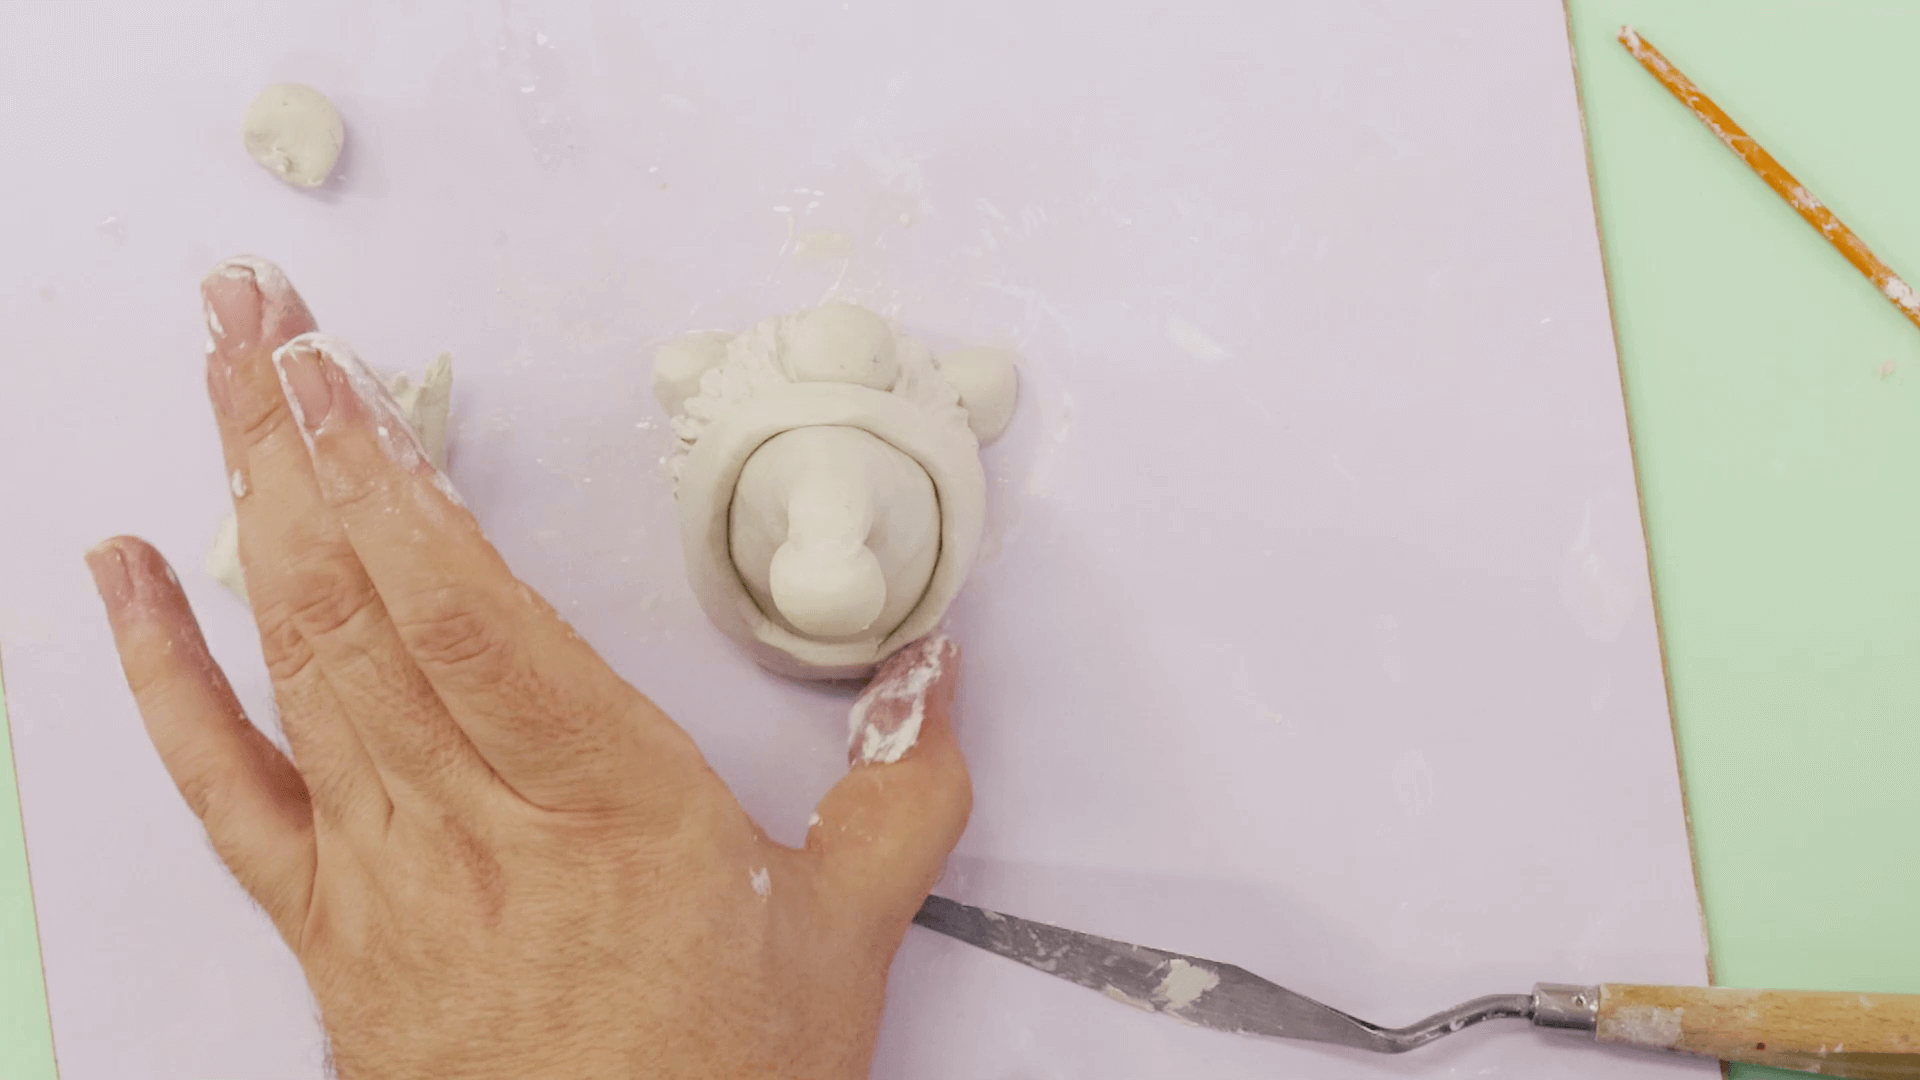
For the nose, roll another ball and press it onto the top of the beard.
Then, roll a long tube of clay and flatten it out. Wrap it around the cone, ensuring it fits above the nose. Smooth the joins at the back of the gnome.
Repeat the steps above to create two more Scandi gnomes.
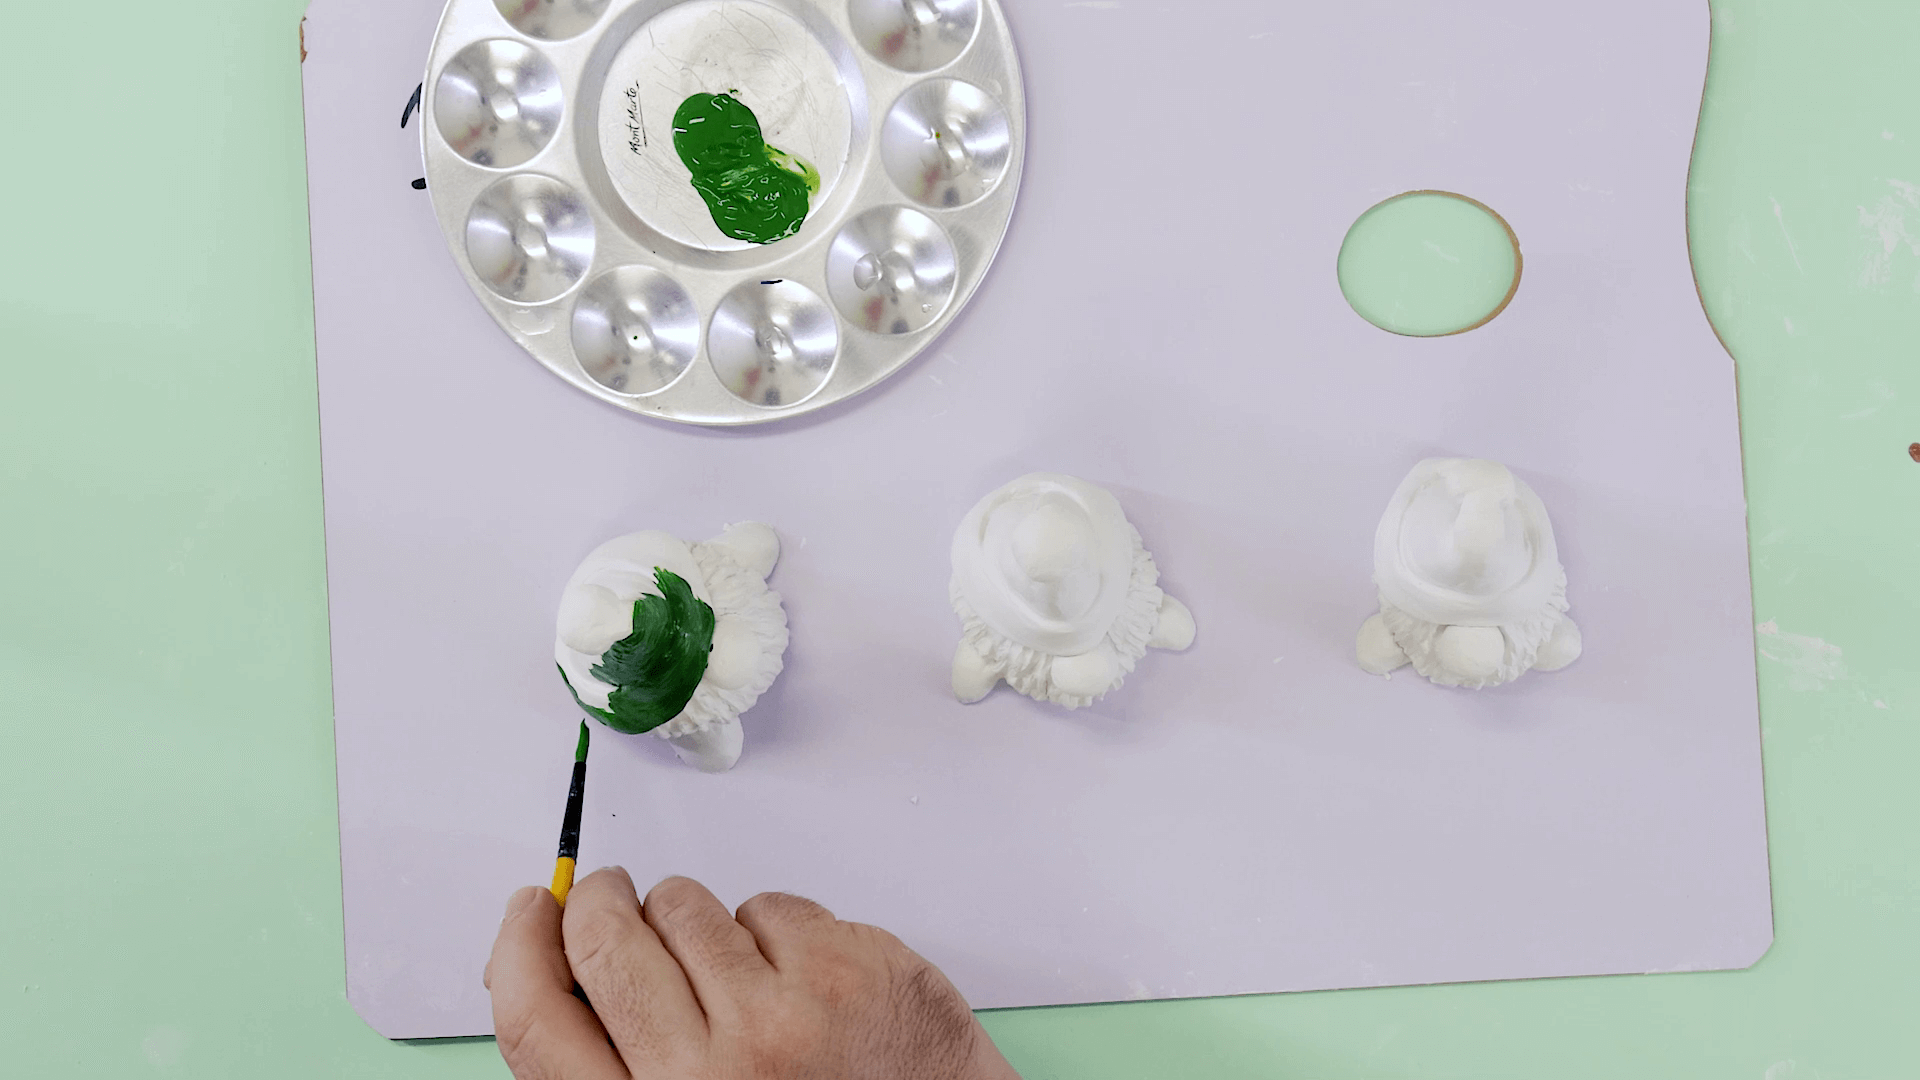
If you’re wanting to paint your gnomes, you’ll need to let them completely dry. This could take up to 3 days.
Once dry, paint the hat on one gnome with Sap Green.
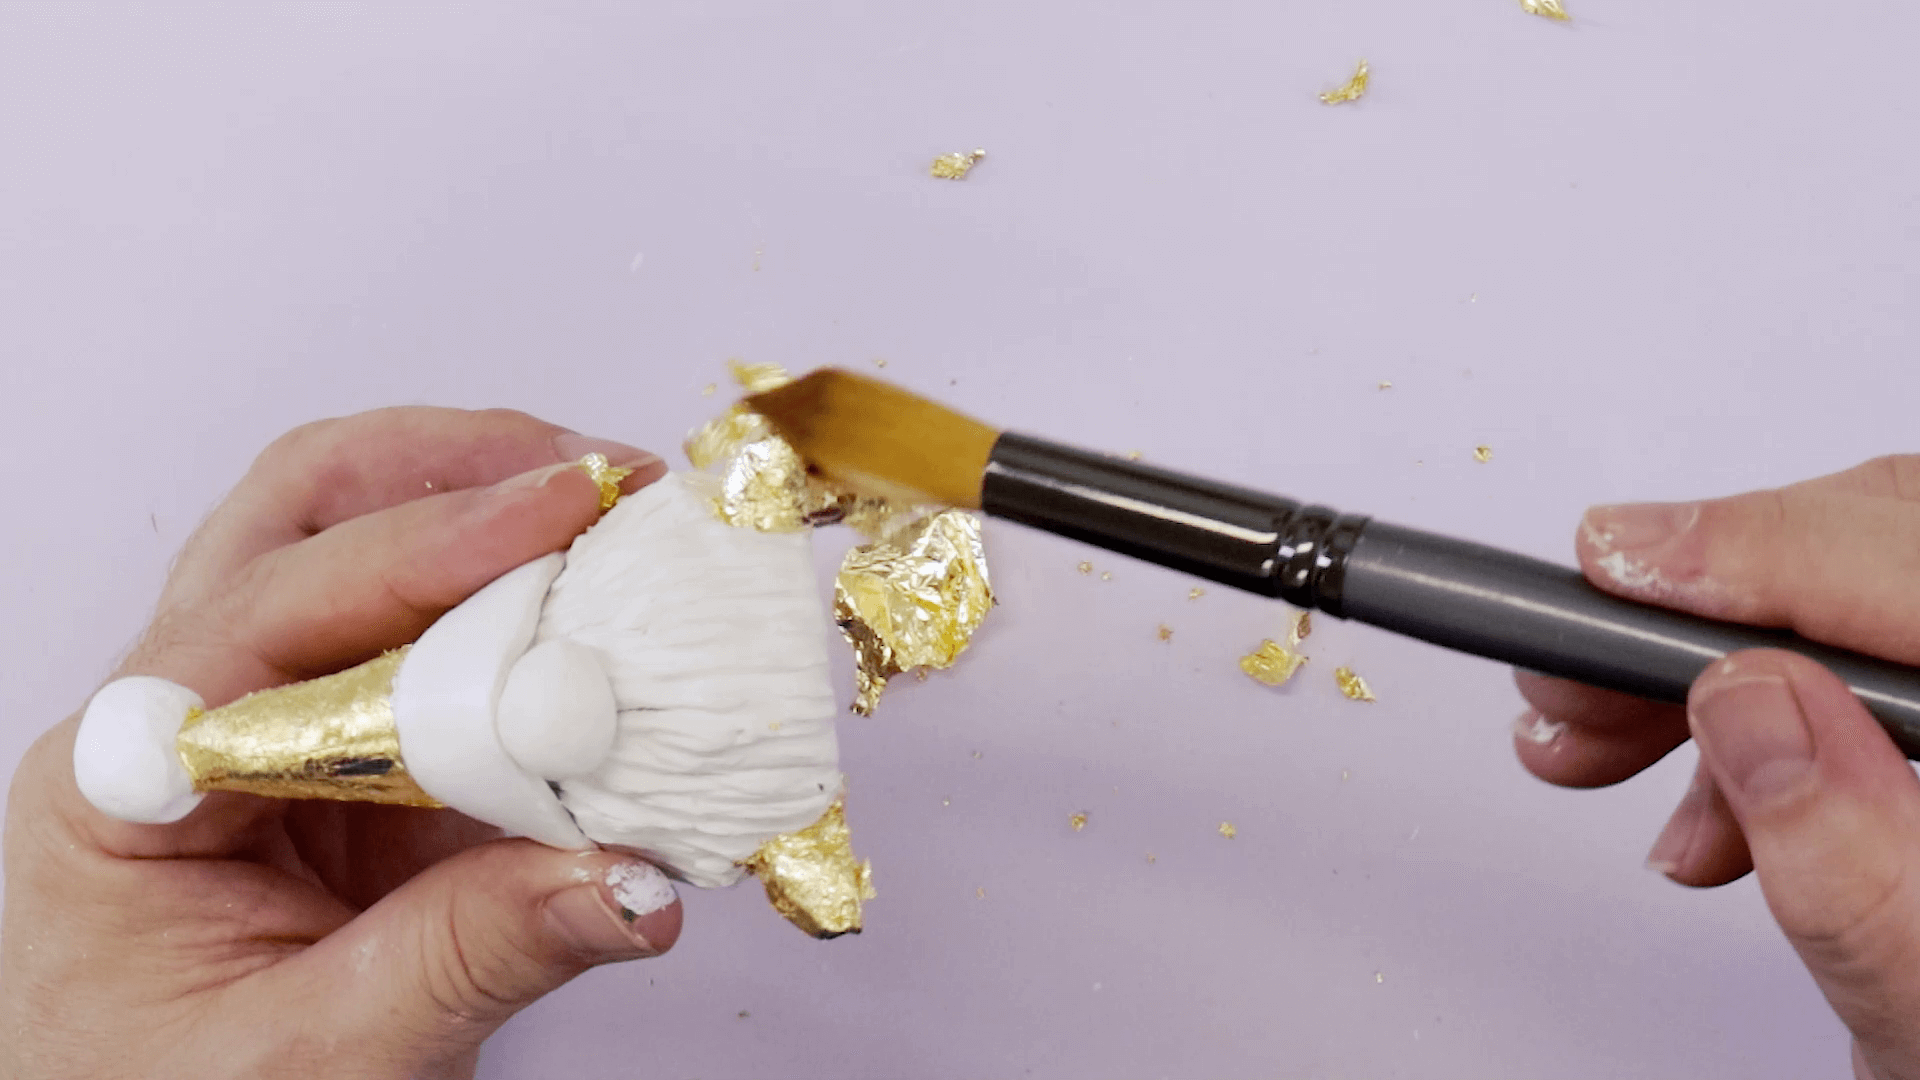
While that is drying, coat the hat of another gnome with leafing size. Allow it to dry before applying the gold leaf where the leafing size was placed. You can use a soft brush to remove the waste leaf.
Then, paint the hat of the final gnome with Titanium White. This will seal the clay before adding colour with the acrylic paint pens.
Use the Titanium White to paint the pom poms on each hat.
To paint the beards, mix a grey colour using Titanium White and a touch of Lamp Black. Paint this colour over the beards. Once the grey is dry, you can dry brush some Titanium White over the top. You can do this in horizontal strokes so that the paint doesn’t settle in the grooves.

Then, paint the boots on the green gnome using Lamp Black.
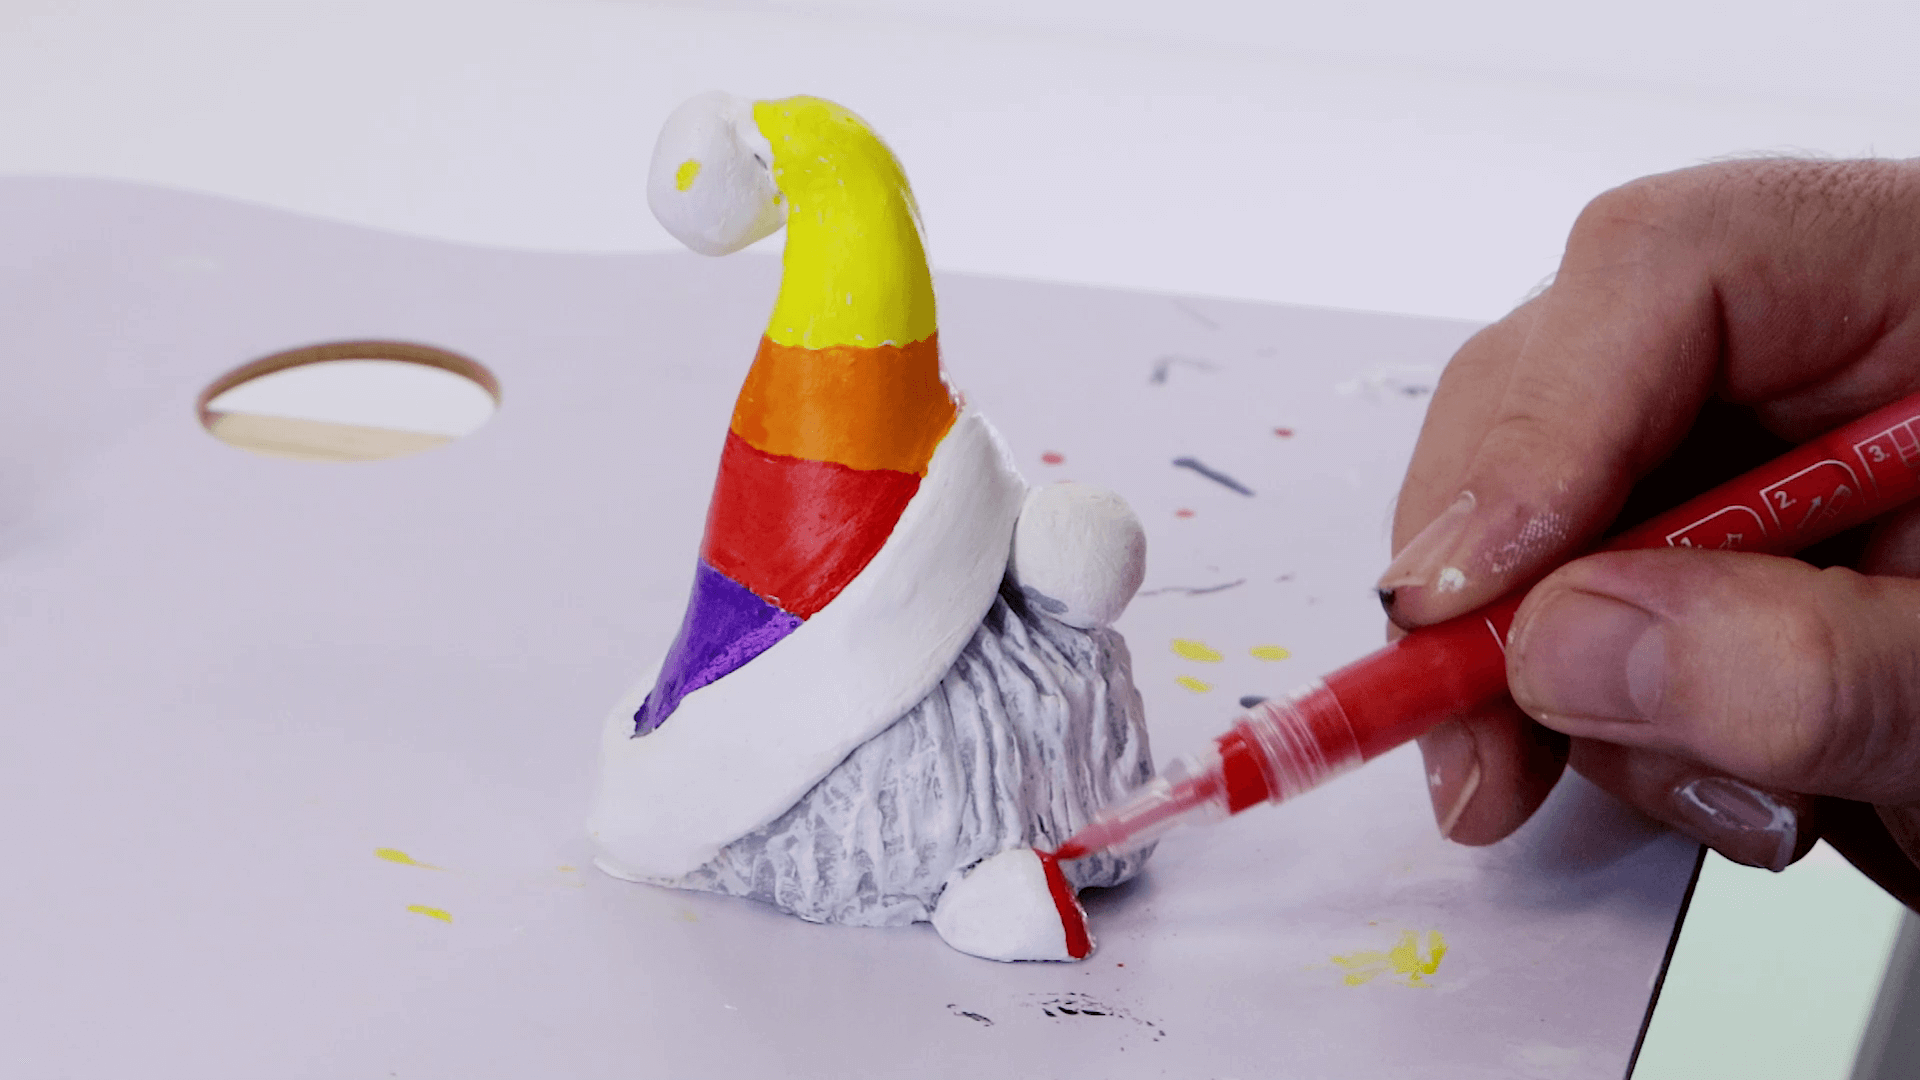
On the last gnome, take the Yellow acrylic paint pen and colour in a band at the top of the hat. Then add an Orange band under that, followed by a Red band and finally a Purple strip.
Use the Red paint pen to colour in the boots.
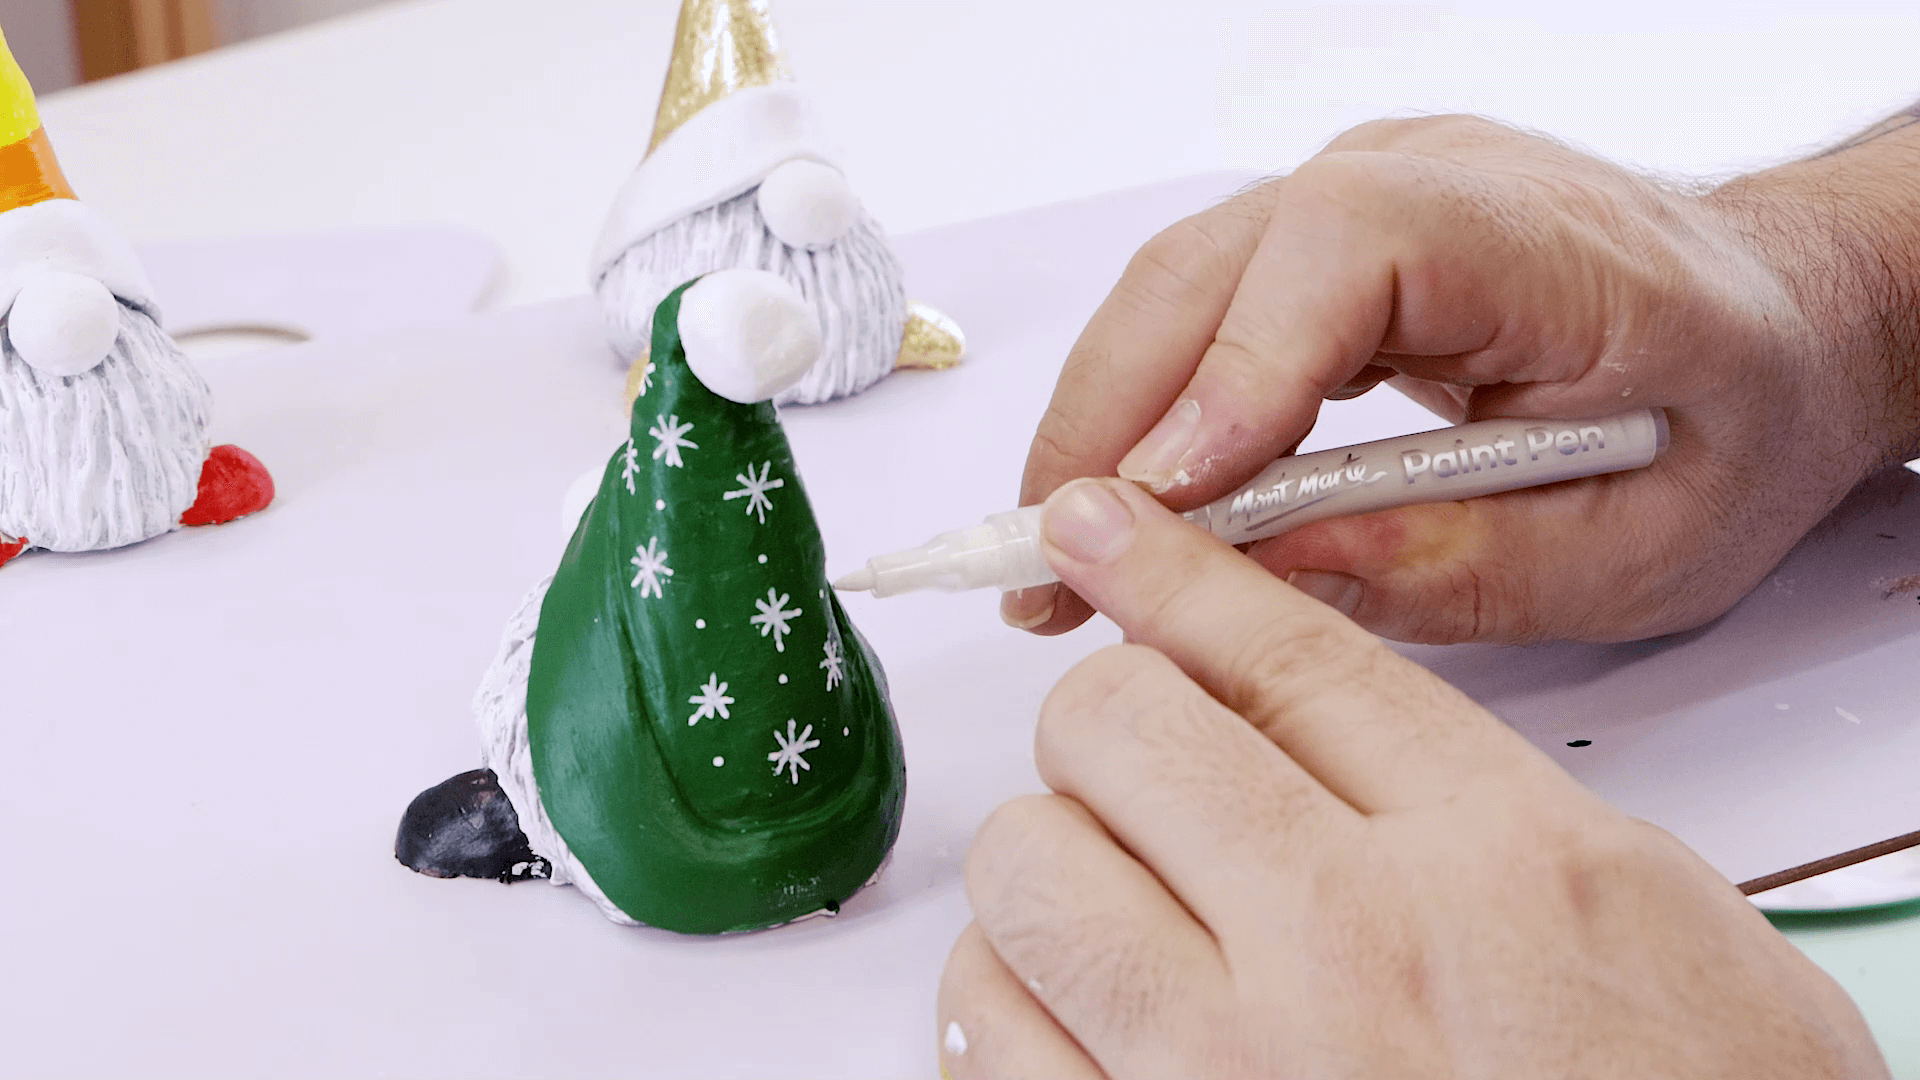
Take the White paint pen and draw some stars on the hat of the green gnome.
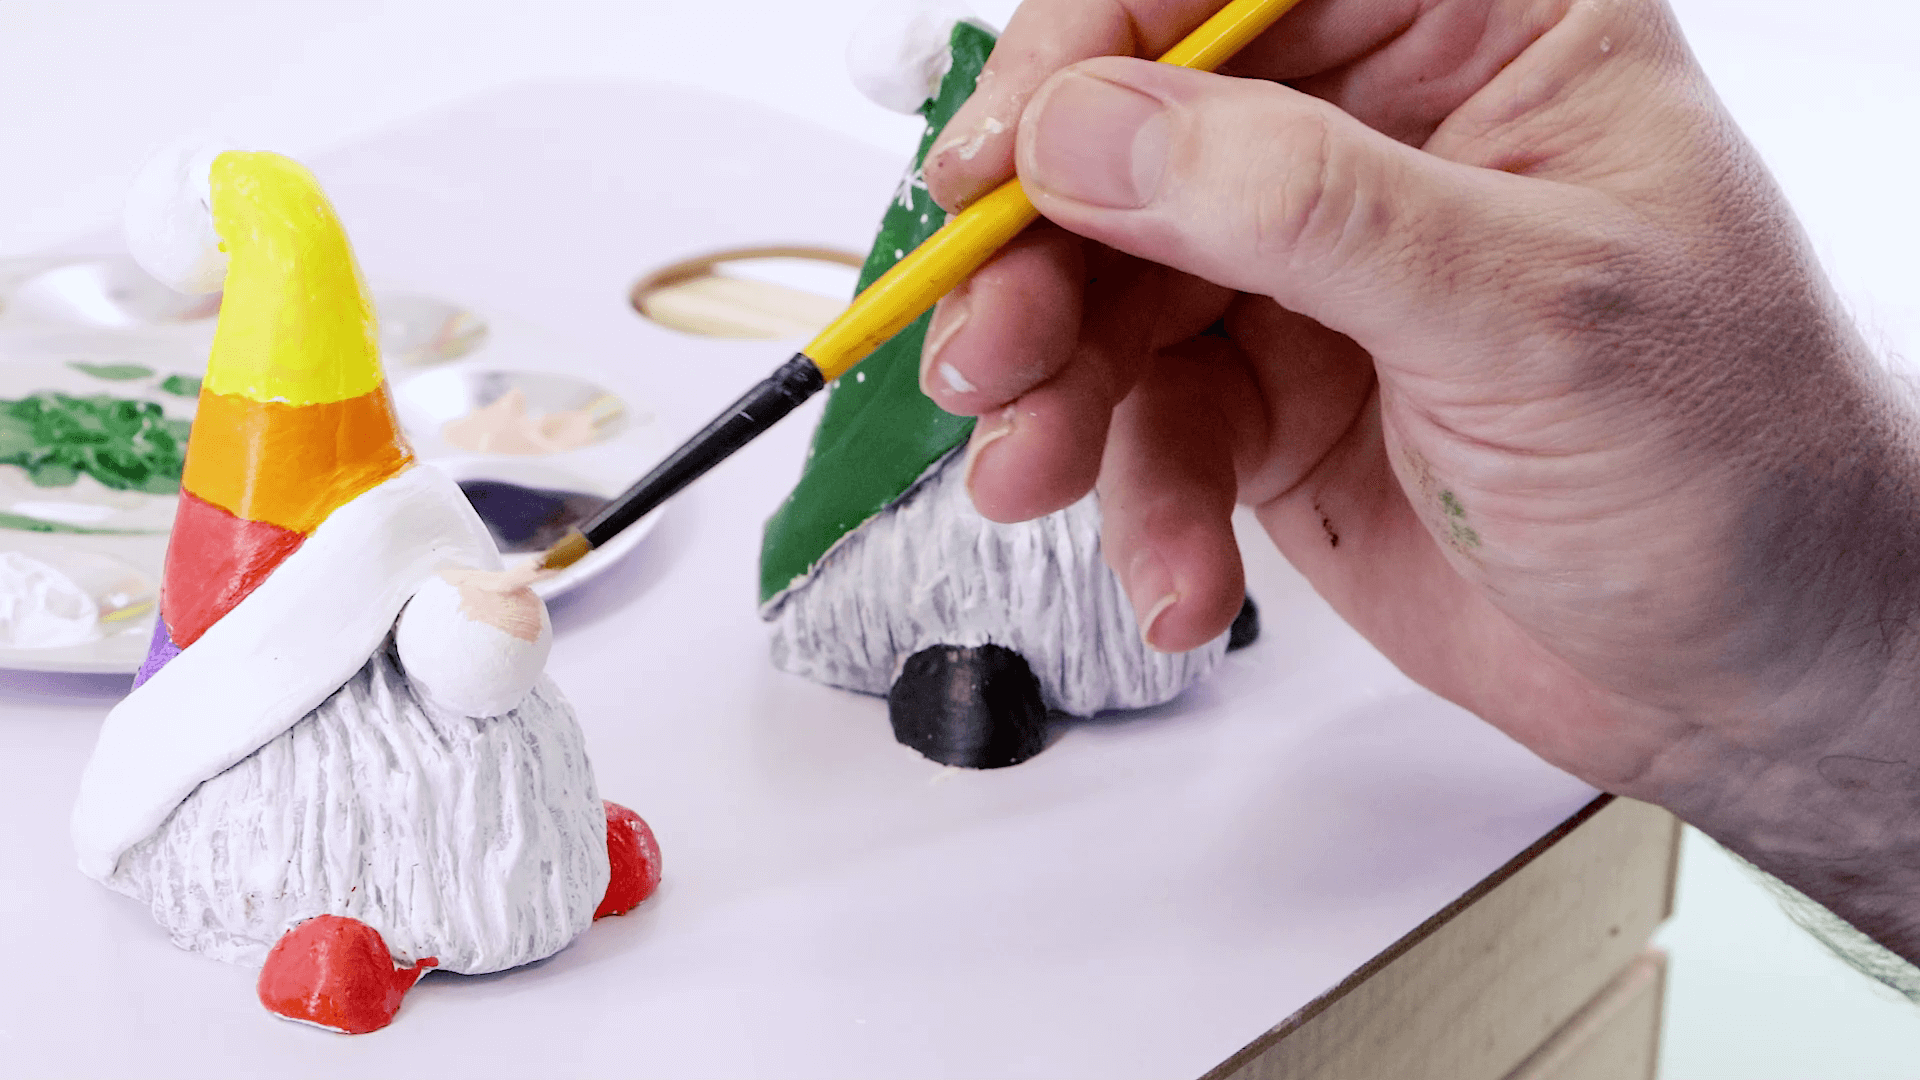
The last step is to paint each nose using the Yellow Pink paint.
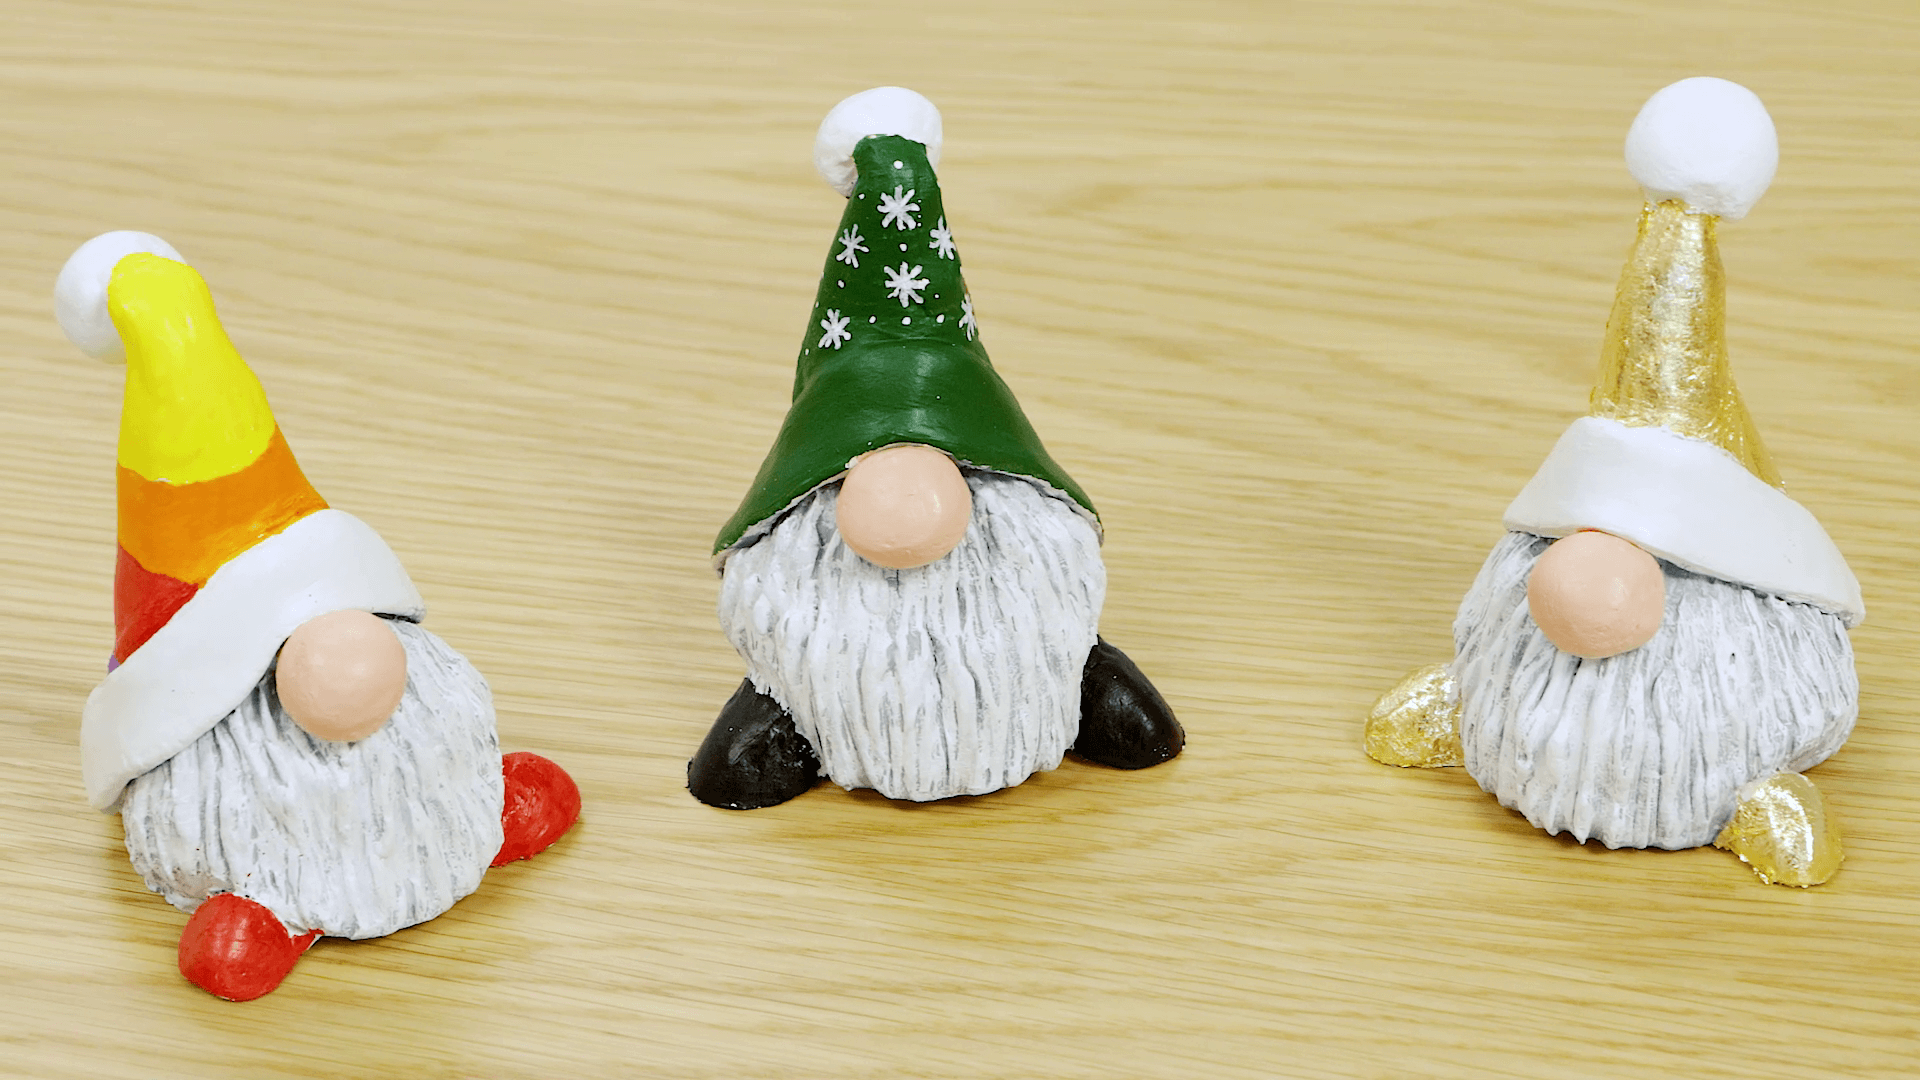
And, you’re all done!
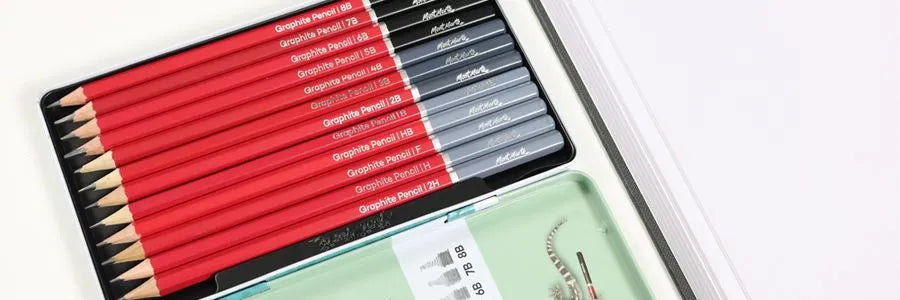
Materials:
- 3 x MMSP0030 Air Hardening Modelling Clay 250g – White
- MCG0062 Palette Knife No.11
- MAXX0024 Leafing Size 60ml
- MAXX0022 Imitation Gold Leaf
- MPN0130 Acrylic Paint Pens 12pc
- PMSA7505 Satin Acrylic Paint 75ml - Yellow Pink
- MAPL0014 Aluminium Round Palette
- MSCH7526 Acrylic Colour Paint 75ml - Sap Green
- MSCH7532 Acrylic Colour Paint 75ml - Lamp Black
- MSCH7501 Acrylic Colour Paint Signature 75ml - Titanium White
- BMHS0009 Acrylic Brushes Signature 4pc
You may also like
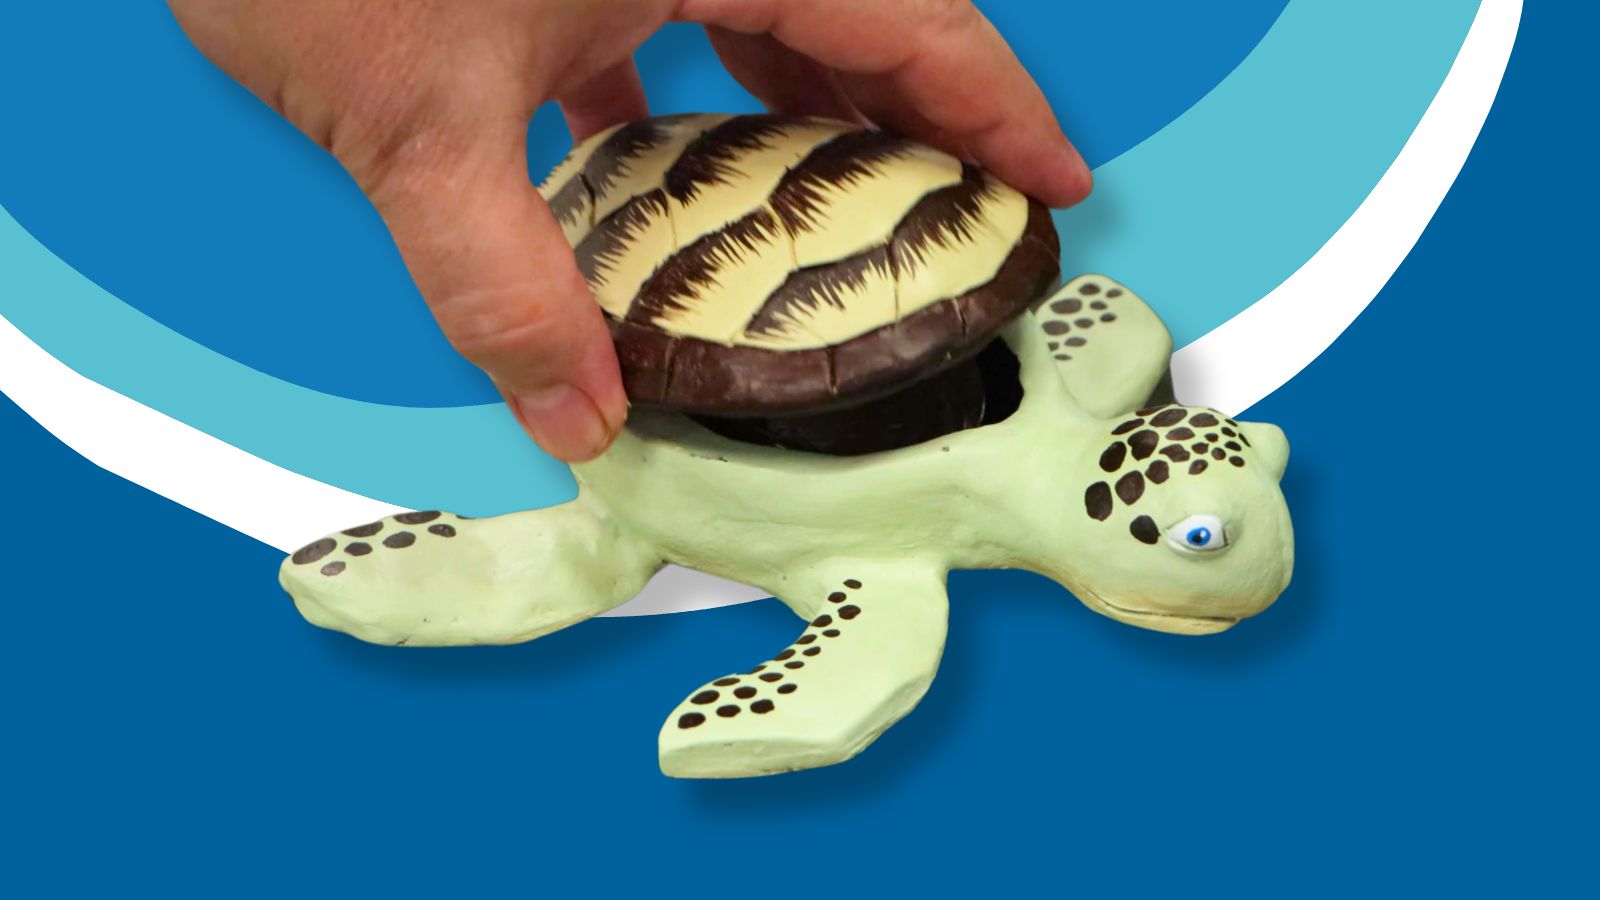
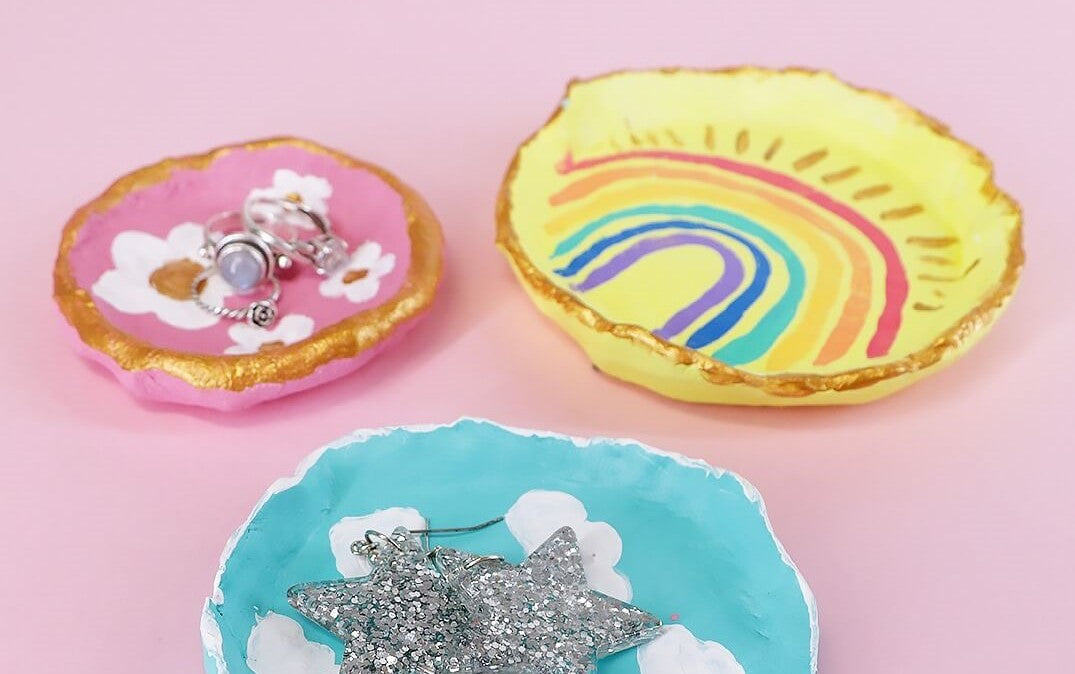
Turtle pinch pot with air dry clay
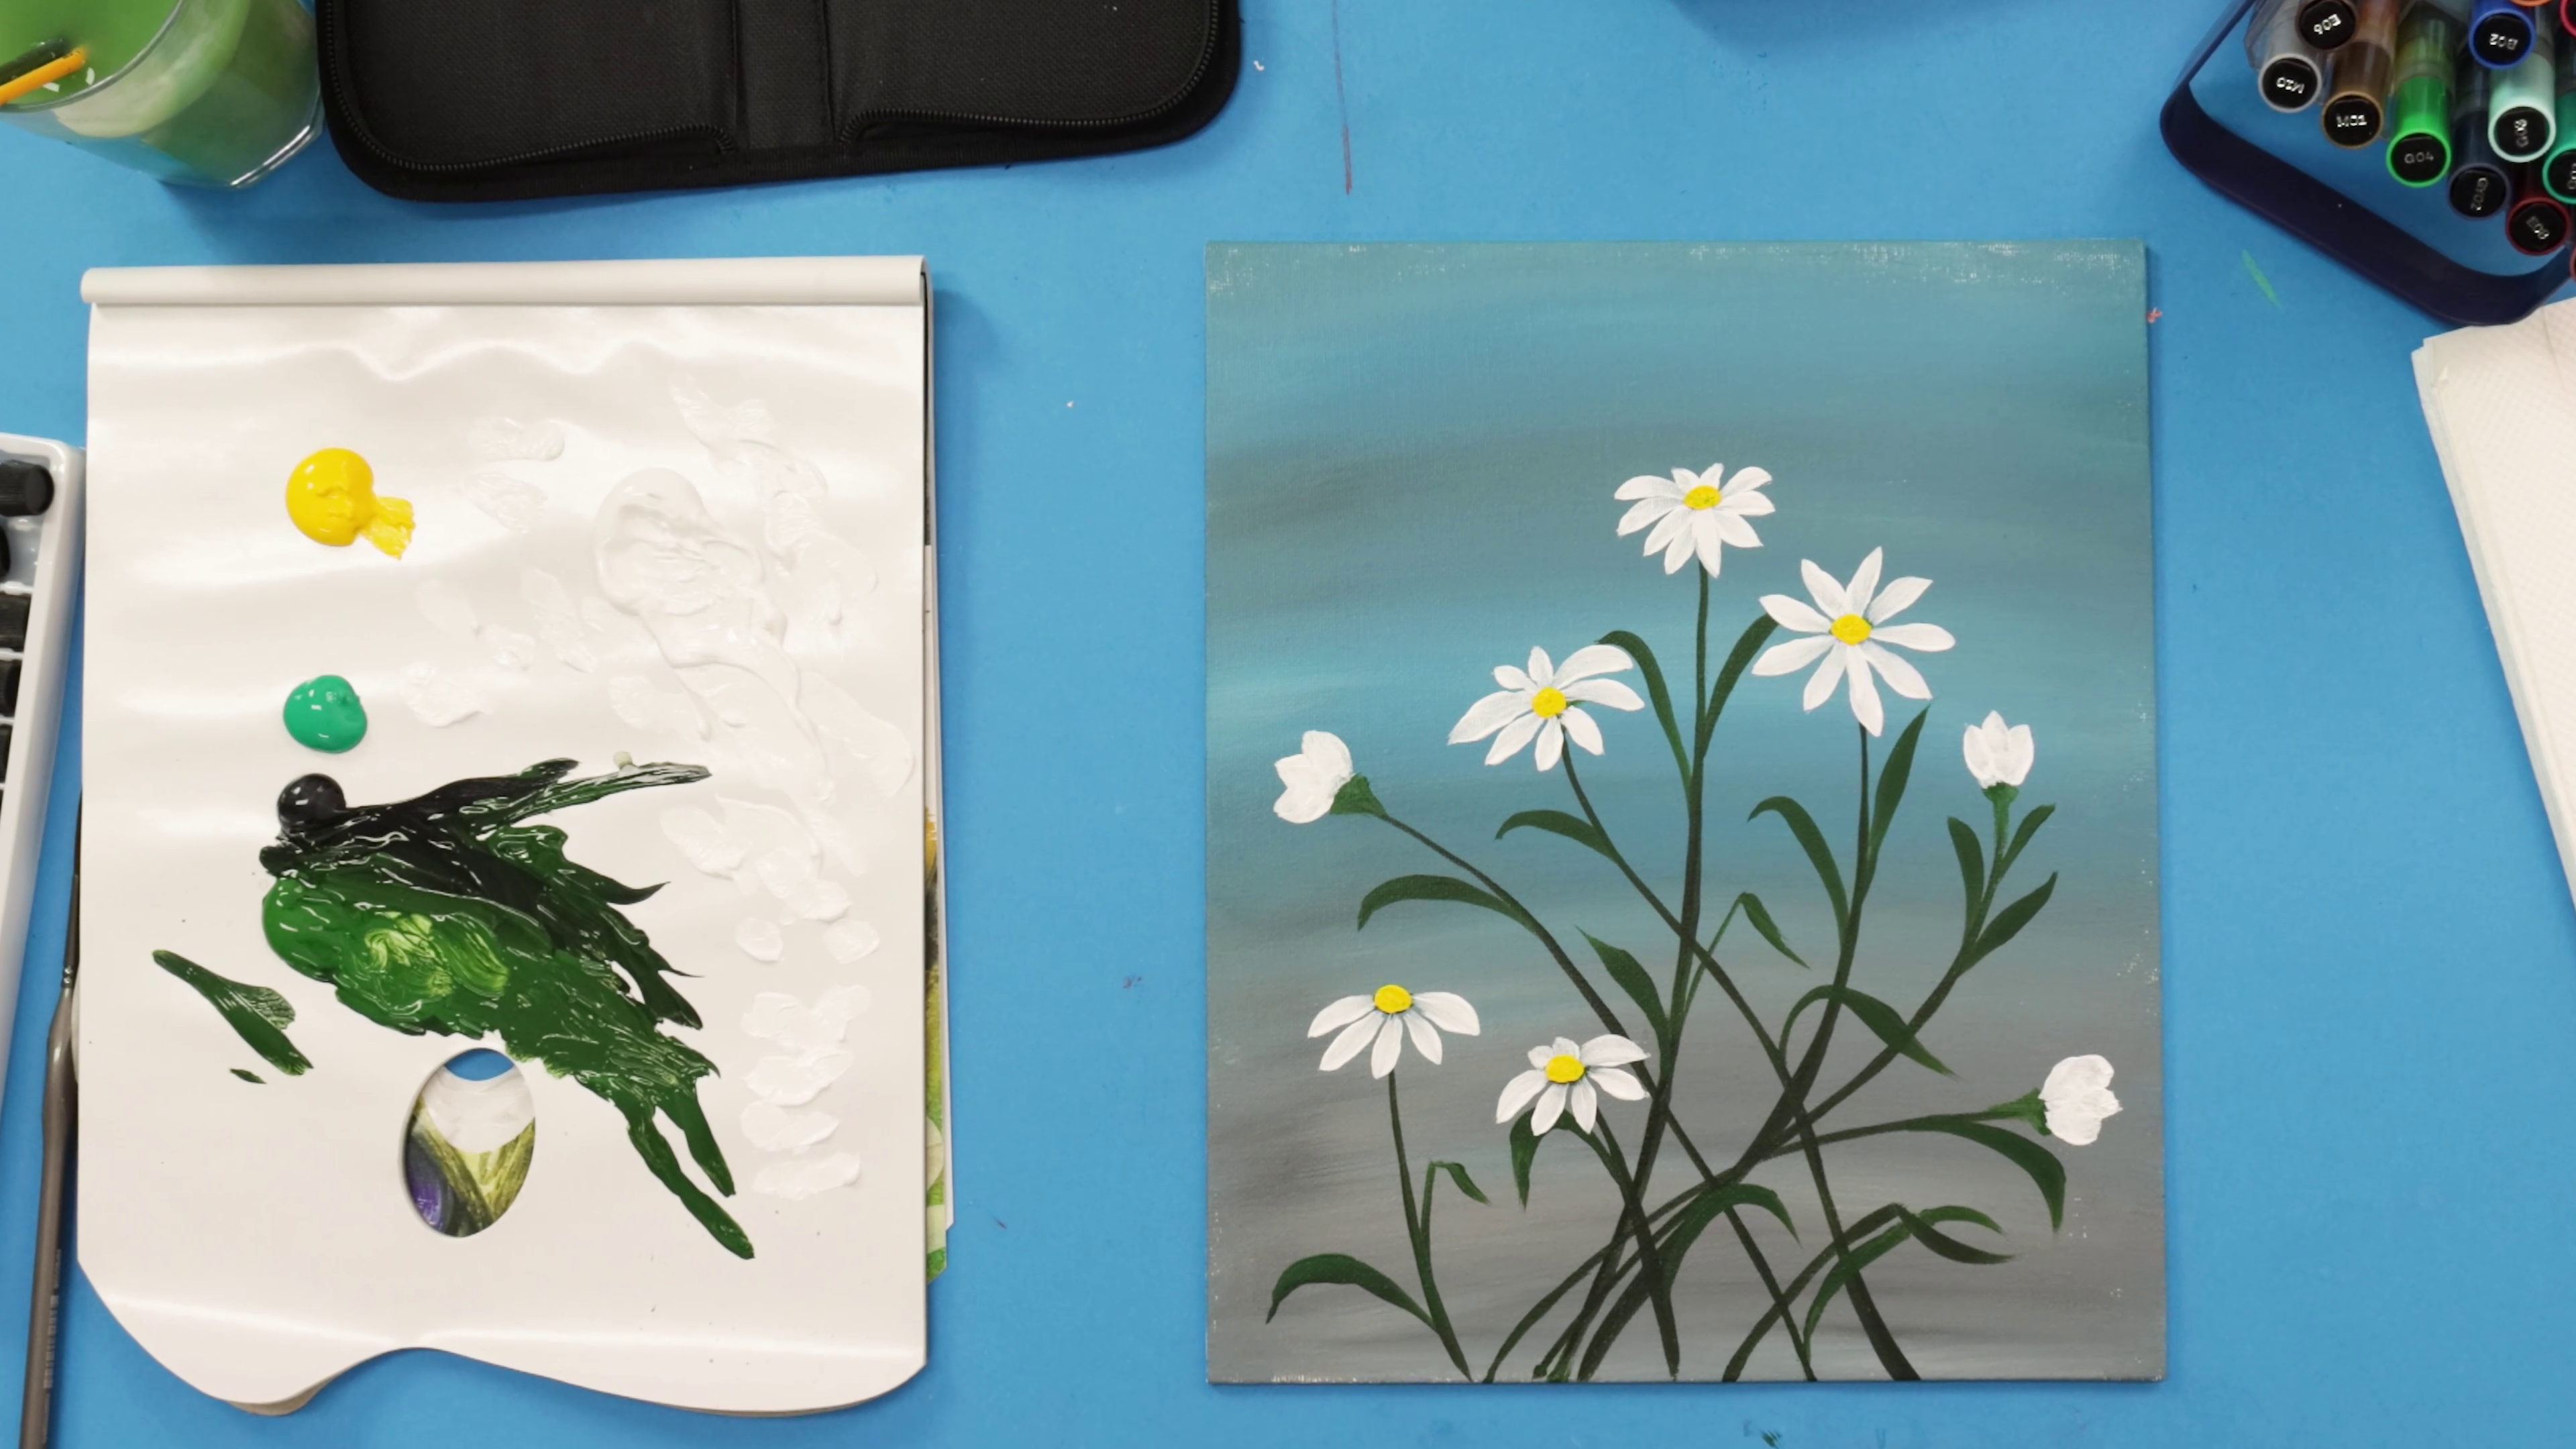
How to paint acrylic flowers for beginners

Cactus ring holder DIY


