Have a white t-shirt lying around looking for a new life? What about a pair of canvas shoes or an empty tote bag? Jazz up your whites, have some fun and wear your art on your sleeve with these 10 fabric paint techniques.
1. Batik
A popular fabric paint technique from Indonesia, batik involves creating lines and dots on fabric using a hot wax. Batik painting can be used on most fabrics and can create stunning effects for pillow cases or linen for tables.
Using a frame or embroidery ring, clamp the fabric and keep it straight, hot wax can then be drawn over the fabric using a metal tool. A natural fiber brush can work too, but make sure it’s a natural fiber and not artificial, or it will melt! When using a brush, don’t wipe your brush off as you will need the wax to be hot. Simply work with a piece of kitchen paper/paper towel to dab the brush to absorb the wax and stop any drips getting onto your work. As you work, you will also need to return the tool to the wax to ensure its’ kept hot. Once you have the desired shape or design, let the wax dry before you begin painting with fabric paint. You can also go back in with more wax to build up layers if you want to.
Leave the design overnight to dry and then iron over with a piece of baking paper or a thin cloth sitting on top, the wax will then begin to peel due to the heat and leave you with a nice pattern effect. Wash thoroughly in warm water to remove any left-over wax and seal the design.
2. Stamping
Stamping can be used on any fabric, try your hand at table cloths, t-shirts or tote bags. Whether you have some stamps sitting around at home, or want to create your own, the choice is yours. Carrots can be used for creating neat circles and potatoes can be cut into specific designs using a knife or a cookie cutter.
To get a feel for it first, you can try stamping on paper before you begin stamping onto the fabric Then dip your design into the fabric paint, or for more control, add paint directly to the stamp using a sponge and then stamp onto the fabric.
3. Freehand painting
Jazz up a pair of canvas shoes or a t-shirt and try freehand painting on fabric. Go wherever creativity takes you with this fabric paint technique, puff paints make for a fun, 3 dimensions and fabric paint sticks can help you cover a larger surface area, like canvas shoes.
Draw your design first and then pop your design inside the fabric to both protect the back of the fabric and give you a guide for where to work. Begin to paint using fabric paint, puff paint or a fabric paint stick to decorate your fabric. Once finished, let it dry overnight before washing in a cold hand wash.
4. Dot Print Painting
Create stunning dot effects or mandala style looks on fabric using just fabric paints and household items. This technique is simple to achieve and you won’t need a special tool to achieve the desired result. You can use the end of a pencil or paint brush, cotton bud sticks or even toothpicks, depending on the size of dots that you’re looking to create.
Simply draw your design lightly onto the fabric first, then place the end of a pencil or a cotton bud stick into some fabric paint and apply the dots to your design. Once finished, let your creation dry overnight, then wash in cold water lightly.
5. Salt technique
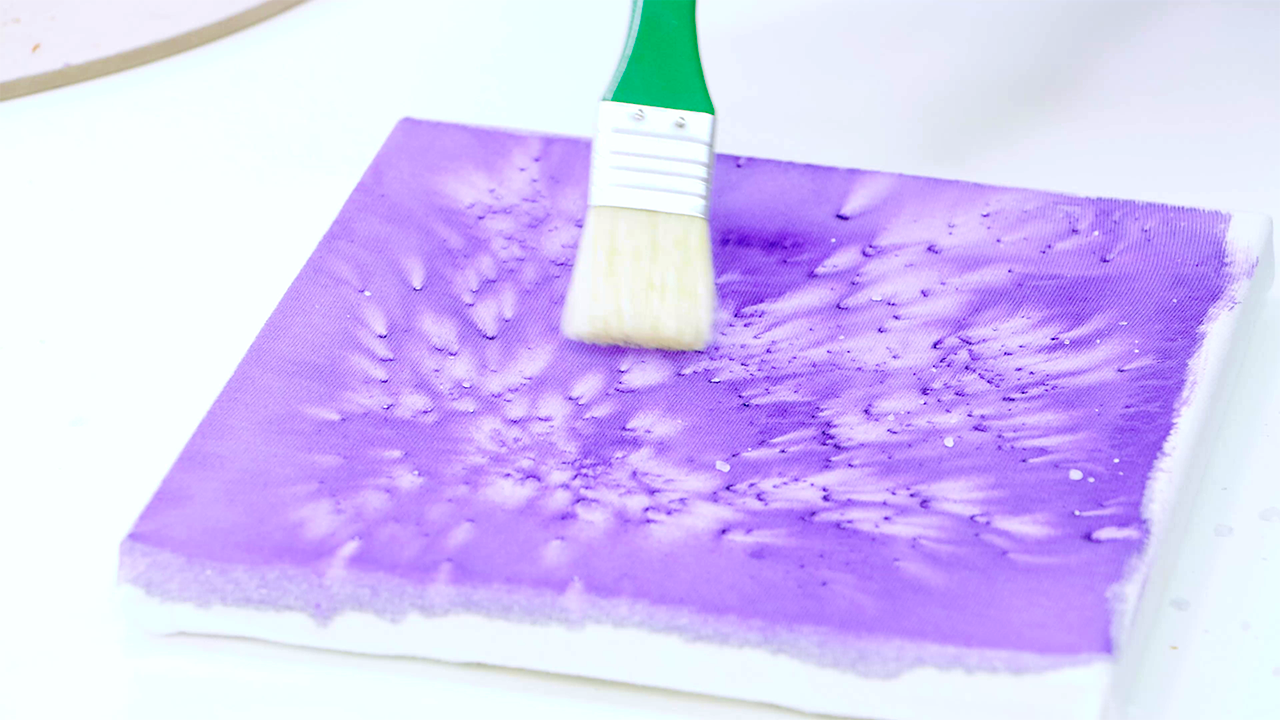
This salt technique will create starburst effects onto your fabric, but be sure to use large crystals. Although table salt can be good to lock in dye and paint into fabric, crystal salt will be needed to create larger effects.
Simply paint your design or area of colour, when the paint is still wet, sprinkle salt over the design and leave it overnight to dry. Once dry, shake off the excess salt and you will have an interesting effect where the salt has left the fabric, leaving the fabric colour exposed against the paint.
6. Stencil
If you want to create your own designs but want a little more than free hand painting, try a stencil technique. Stenciling will give your fabric a fun look and you can create your own shapes and stencil designs.
To create a stencil, draw your design onto 300gsm water colour paper and using a craft or hobby knife, cut around the design to create a shape. Then use a sponge roller and some fabric paint and paint over the surface of your design. Slowly and gently lift the stencil and leave to dry overnight.
7. Spray Painting with Fabric Paint
This technique looks just like spray paint, but is done by using fabric paint. Create cool bursts of colour and washes by mixing fabric paint in with a spray bottle. You can use an also use an acrylic paint and mix with water for this one.
Combining a small amount of water with a small amount of fabric paint (use about half) and pop this into a spray bottle. Pop the nozzle back on and shake until it has mixed together, this will avoid drips. You may find testing this first on a piece of paper or card helpful before you begin, this will also give you a test run to see if you need to add any more water or paint to the mix.
8. Tie dye

Tie dying is a fun way to add a splash of colour to fabric such as a t-shirt. If you’re after a permanent, water resistant result, it’s best to tie dye using fabric dyes or a tie dye set. This will lock the colour into the fabric and keep your threads looking vibrant for longer.
On the other hand, if you’re wanting to have some fun and experiment, you can tie dye with acrylic paint. Although acrylic isn’t as long lasting as a fabric paint or dye because it will sit on top of the fabric instead of bonding chemically with it, for a fast fix give this technique a whirl.
Whether you’re using dye or acrylic paint, the process is pretty similar. Simply gather your t-shirt or fabric into sections using rubber bands, then using a squeeze bottle, squeeze your dye or paint into each section and continue until you have the amount of colour that you’re looking for. Allow your fabric to dry for at least 24 hours, before cutting the rubber bands off. When finished, iron your shirt, to hold the dye or paint in. If you are ironing over acrylic paint, it’s best to use a silicon sheet or baking paper over your design. Then hand wash your t-shirt with cold water and allow it to air dry.
Remember to keep to your primary colours in mind, as the colours will come together and blend. For starters, try fuchsia pink, turquoise blue and bright yellow, these will make stunning purples, blues, greens and oranges, groovy!
9. Screen Print

Release your inner Andy Warhol and try screen printing. Screen printing can be transferred onto fabric and is a technique commonly used on t-shirts.
You can use fabric paint on a screen, although screen printing ink will lock in the colour for longer. You will need a strong and sturdy frame and a quality mesh screen for a top result or if you’re feeling nifty, you could even make your own. Be careful when choosing your screen as a loose screen can cause your image to distort or leave ink lines on your fabric.
Put newspaper inside the shirt to protect the back of the t-shirt or fabric, and then stretch the fabric over a desk, placing the screen facing upward on top of your shirt, and clamp it in place.
Put some ink or fabric paint at the top of your screen in a line and begin to move the squeegee quickly, back and forth. Lift the frame carefully and use a thin brush to go over any areas where the ink or paint may not have reached. Let this dry completely, then iron over it to seal, all done!
10. Free hand drawing

Unleash your creativity and have some fun free hand drawing with this fabric paint technique. You can draw your design with a fabric art marker and then go back in using fabric paint to strengthen any lines or add some detail to your design. If you're looking for some creative inspiration, check out our abstract face t-shirt project.
Can't wait to start? We don't blame you. Check out our range of fabric paints here.


