


Polymer clay fox tutorial: sculpting
How to make an armature

- Use a small double-thick canvas as the base for your sculpture
- To increase the strength and flexibility of your tie-wire, twist it around itself to effectively double its thickness
- Bend the thickened wire to shape using the downloadable template above
- Cut the plan out and puncture the position where the dots are to find the position of the holes
- Place the wire through the holes, holding them with pencils to make sure they sit in the middle of the base
Mixing Plaster of Paris
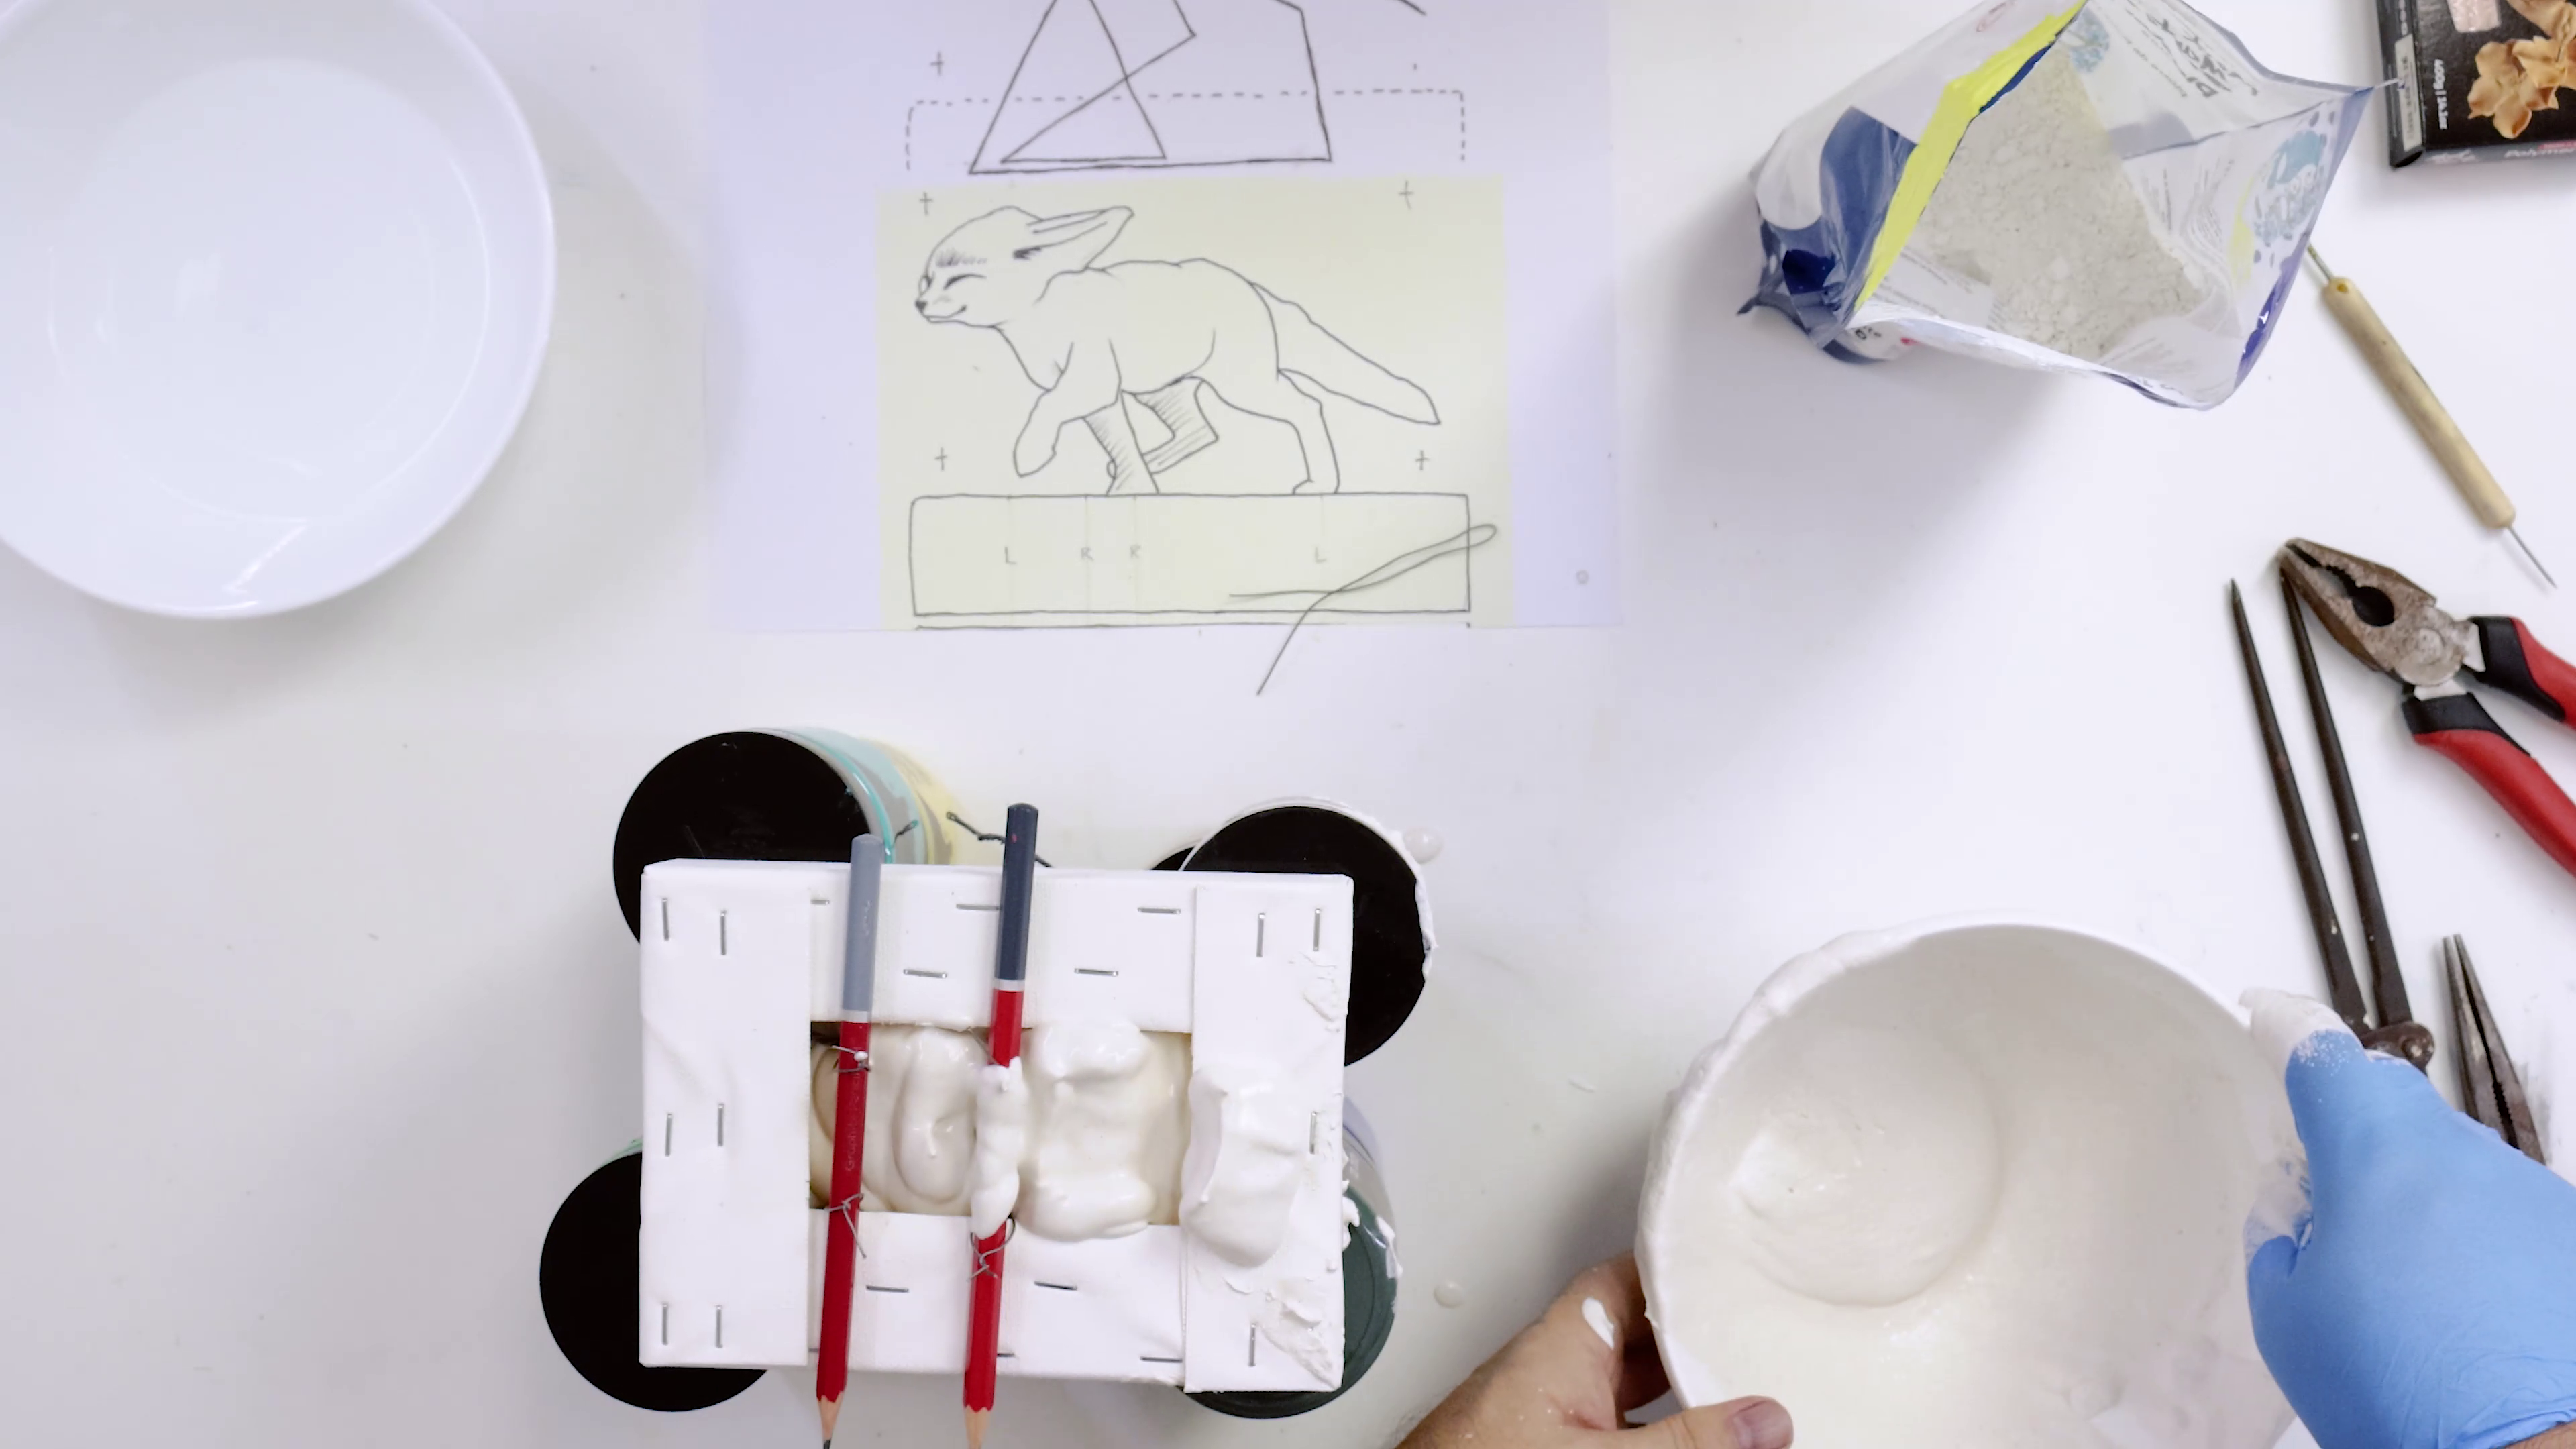
- Mix plaster into water following the instructions on the packaging (it should end up the consistency of pancake batter!)
- Elevate the prepared canvas on tubs so the wire hangs freely then fill the canvas with plaster
- This technique helps ground our fox so we can make it look like it’s in motion!
- Allow the plaster to set
- Once cured, cut the wire and remove the pencils
Shaping the armature
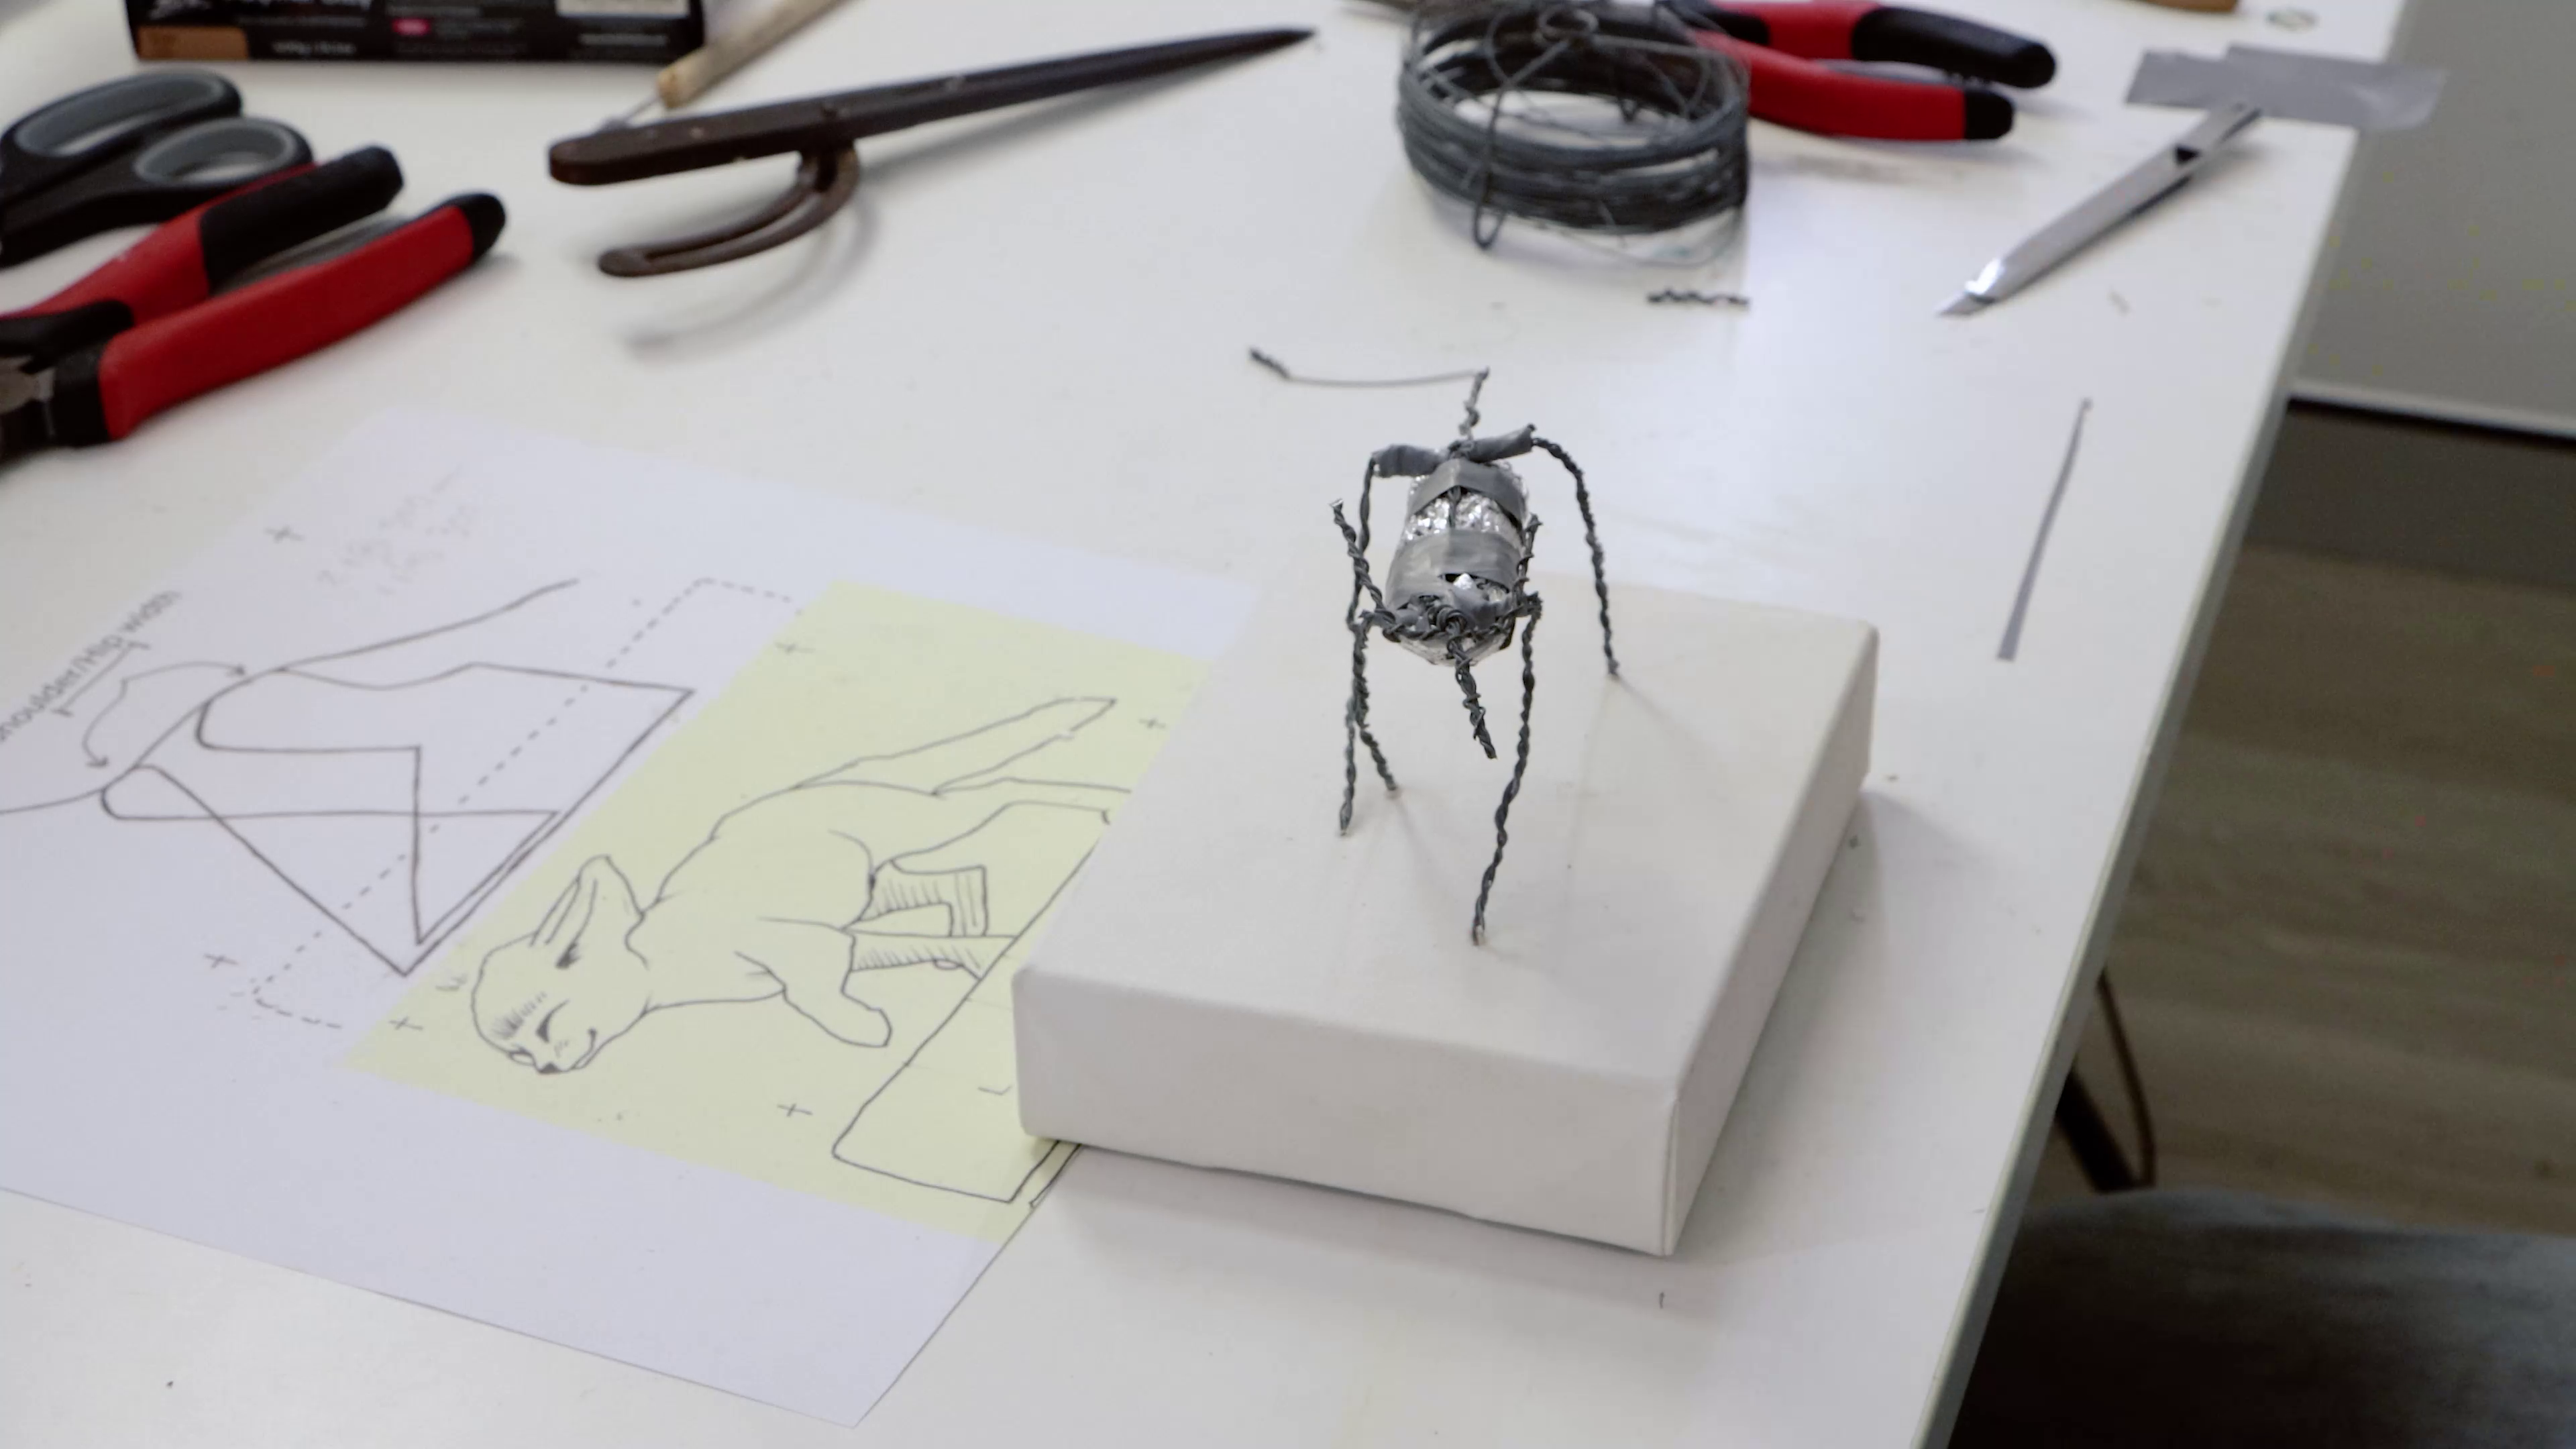
- Adjust the angles of each leg using measurements from the printout
- Mark where the bends go using poster tack or something sticky but easy to remove
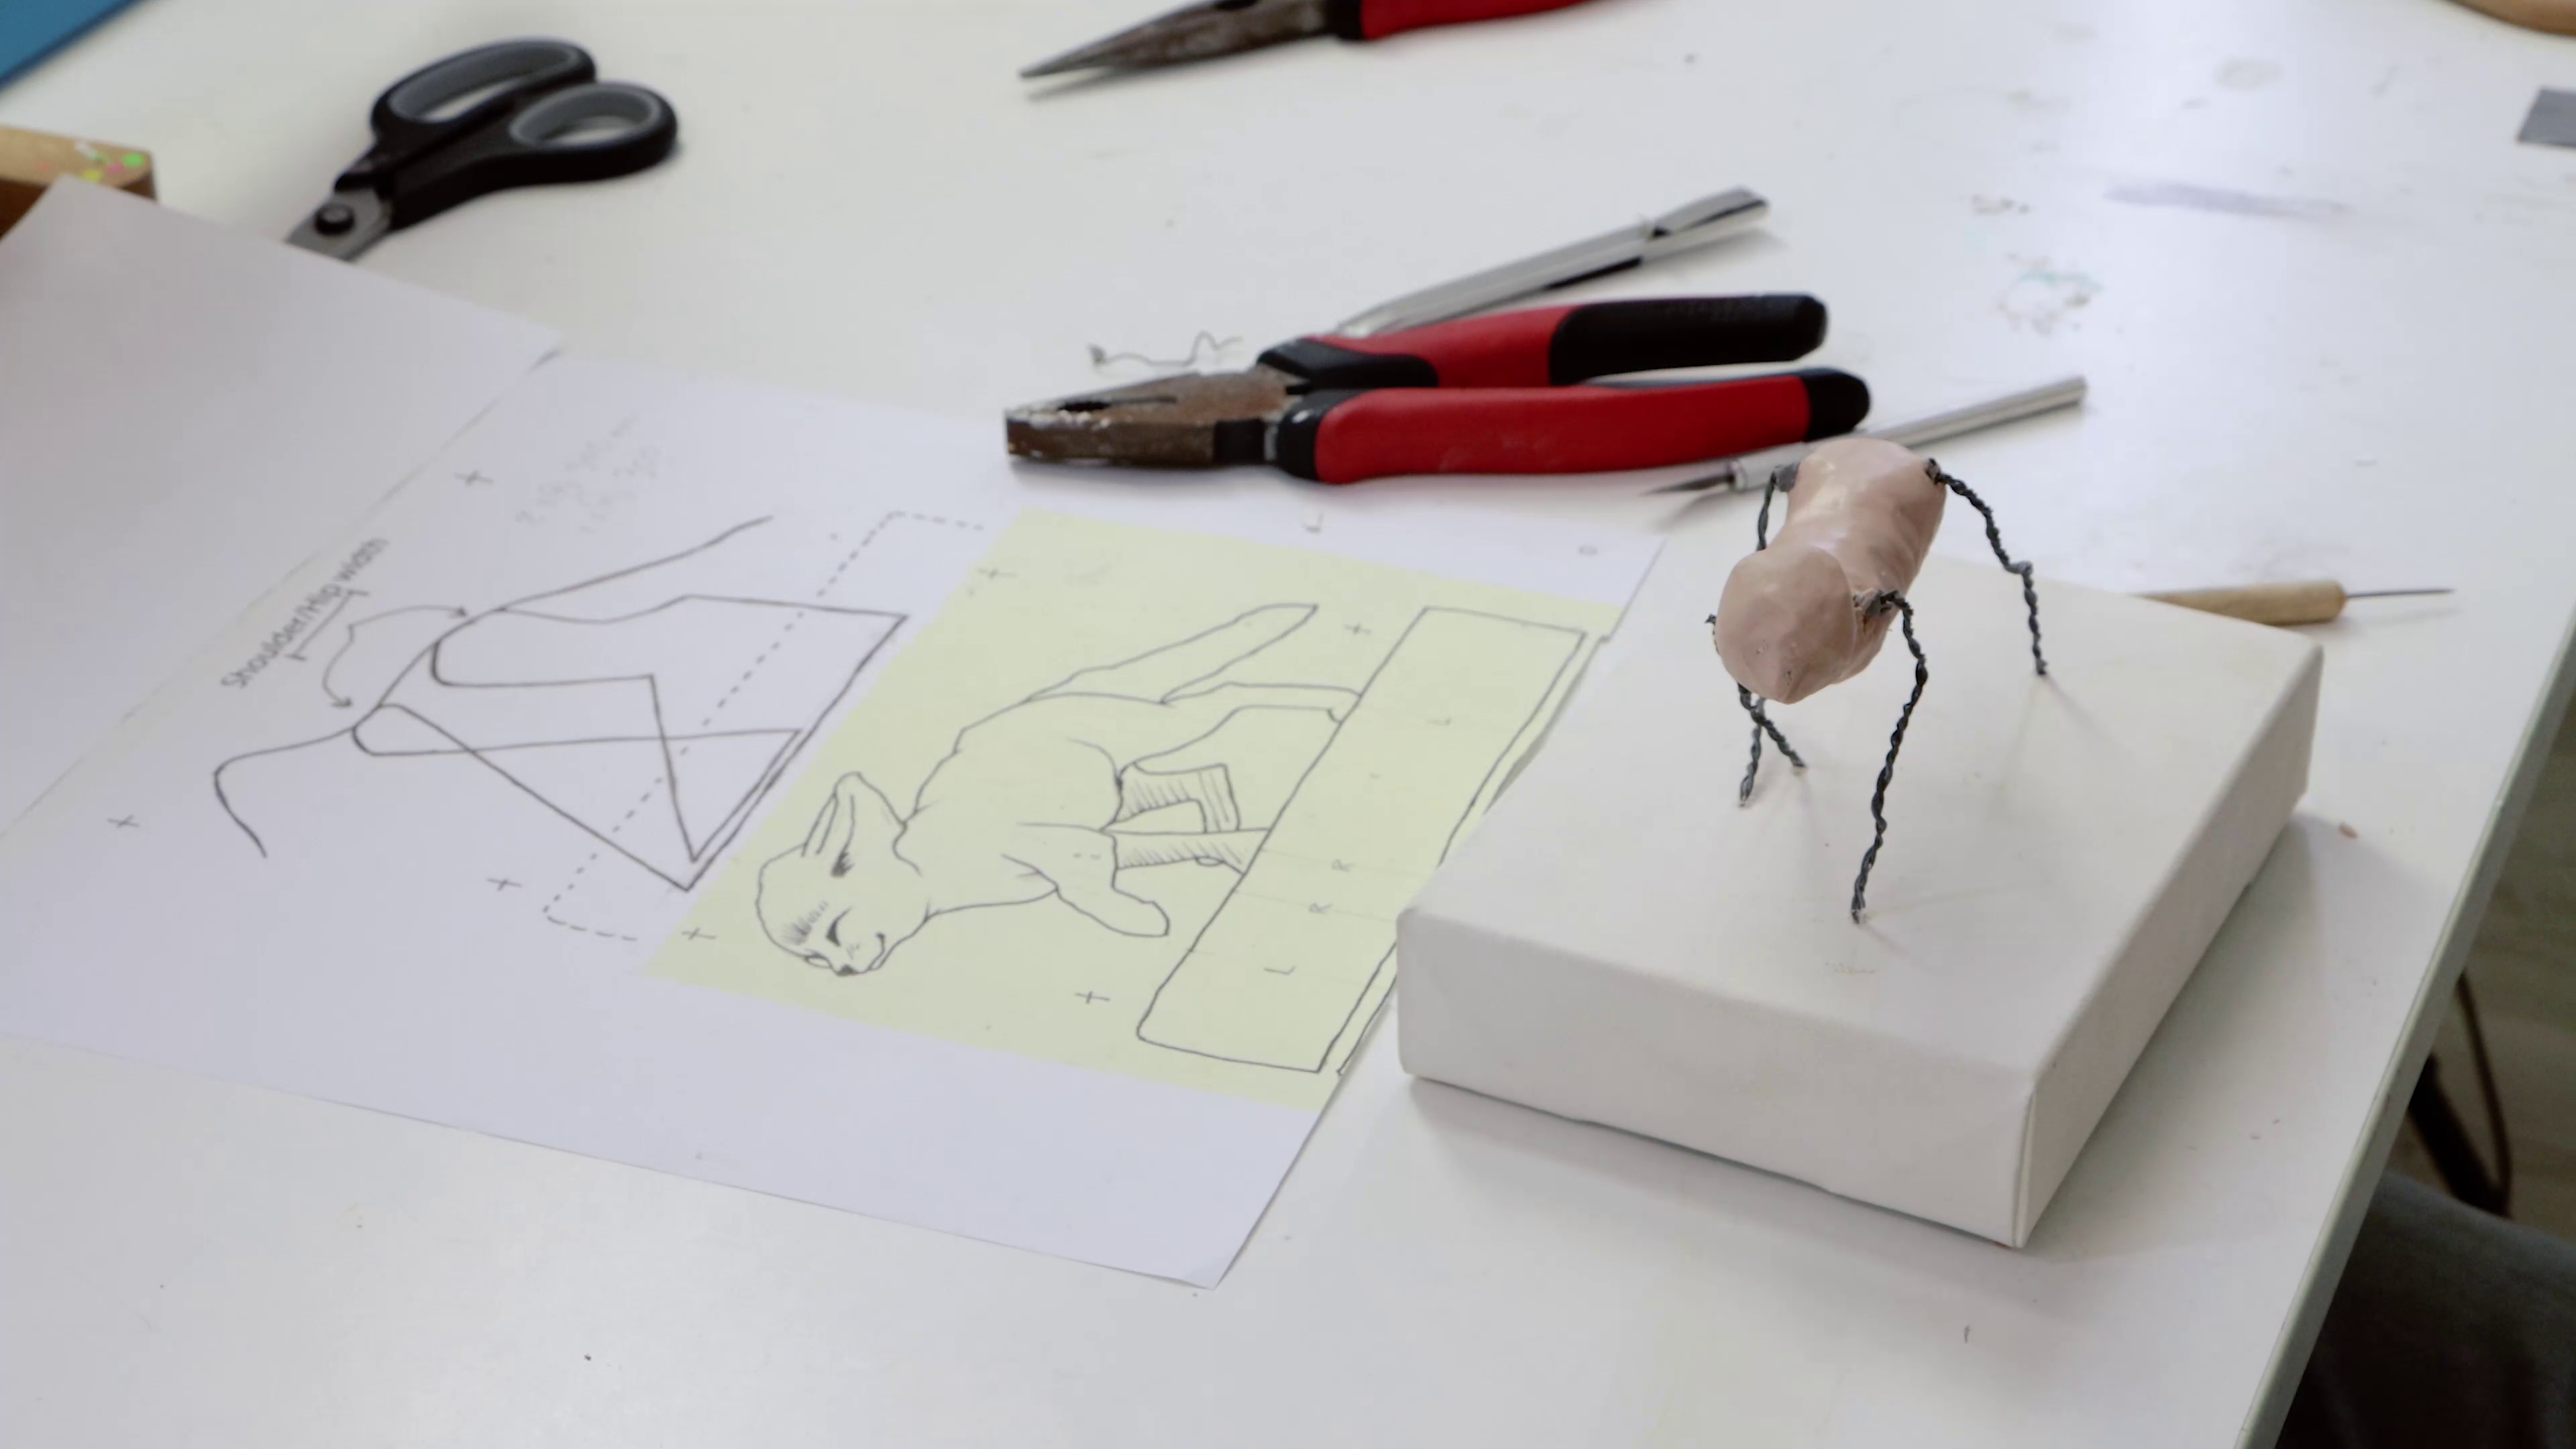
- Bend the legs back horizontally to form the shoulders
- Tape the shoulders together and bind them tightly with tie-wire
- Pack out the armature with aluminium foil and tape it into position
How to model clay
- Condition the clay and roll it to a thickness of 6mm using a clay press or roller
- Cut the clay into a shape that roughly fits your fox and model it around the body
- Smooth it out to fill the form
- Create a small ball for the head and smooth it on
- Bake at 130°C (266°F) for 45 minutes
Sculpture details
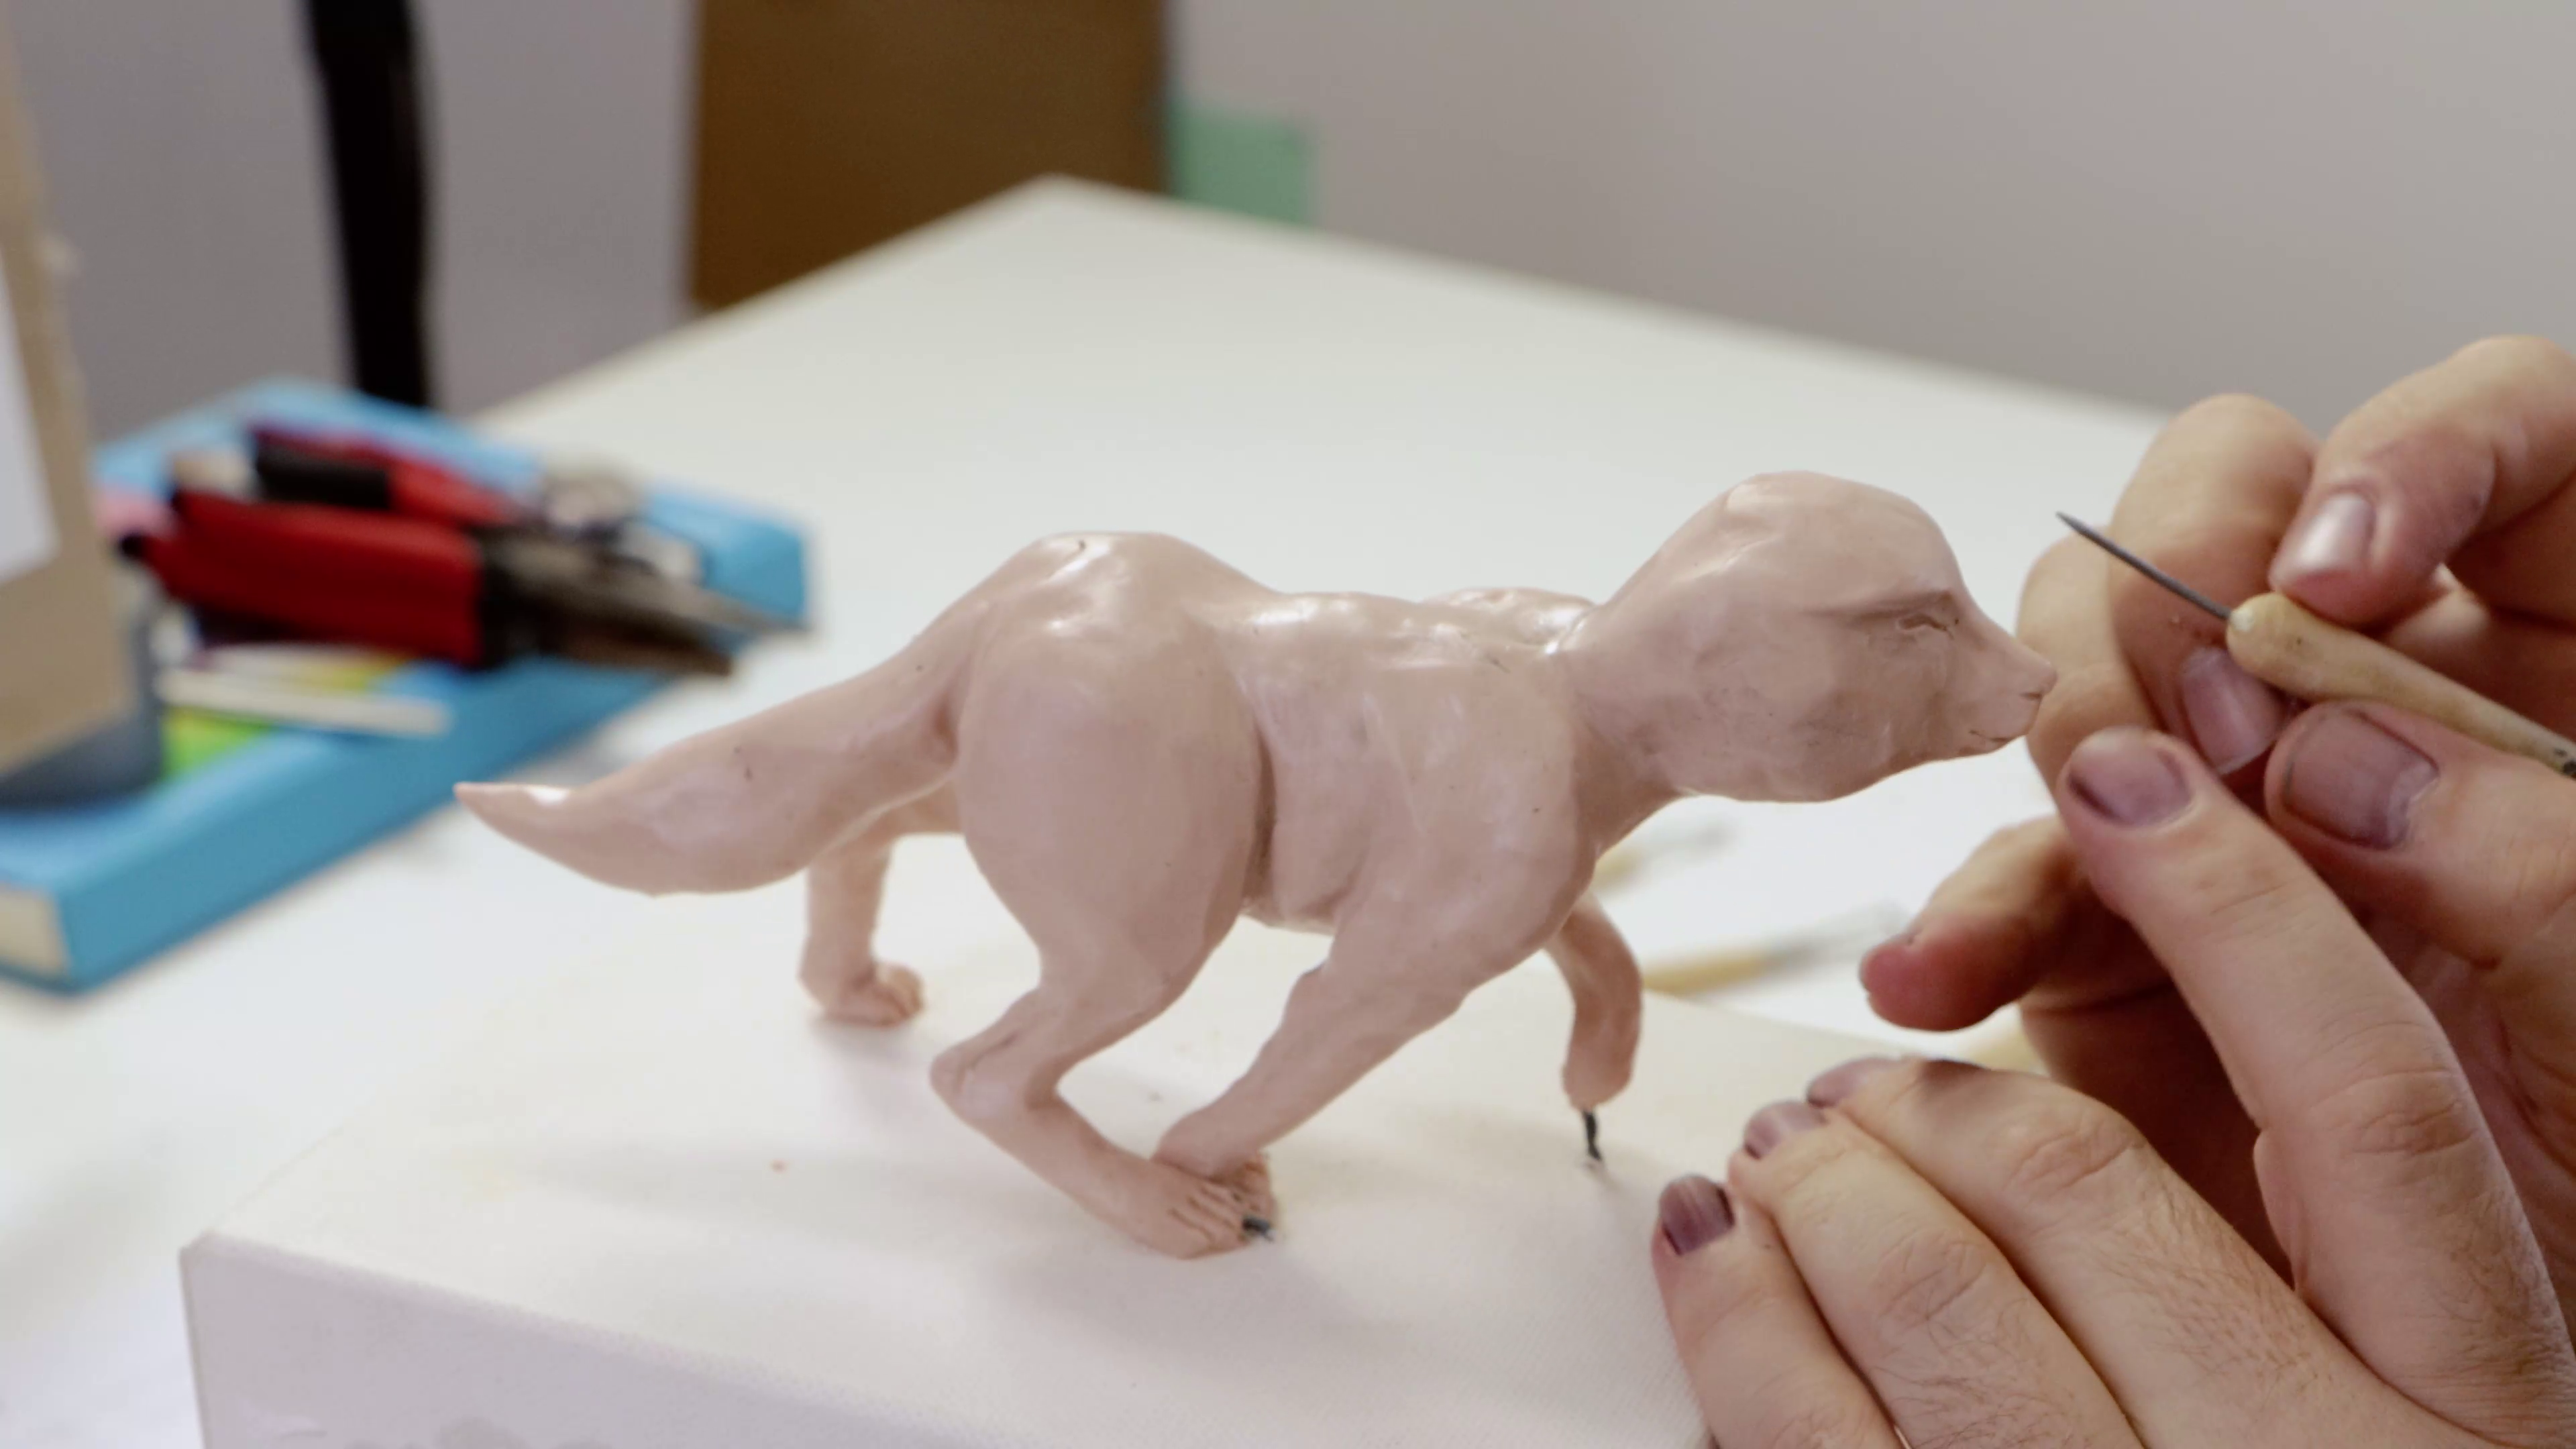
- Once cooled, add details using the 4 views printout from our website as a guide
- Pack clay onto the legs tightly in the rough shape, using more clay than needed
- Refine the muscle and bone shapes with a hobby knife
- Ensure there’s no air between the clay and the armature
- Slowly refine the sculpture by carving away small bits, looking at it from all angles
- Pack clay onto the head and shape it
- Ensure the snout is short and the eye sockets are deep
- Give the fox a squinting look as it’s usually found in sandy environments!
- Don’t forget to add paw pads to the underside of the feet
Clay fur
- Roll out a thick sheet of clay for the ears, and cut them roughly to shape
- Blend the ears onto the head using a ball tool and the end of a paintbrush
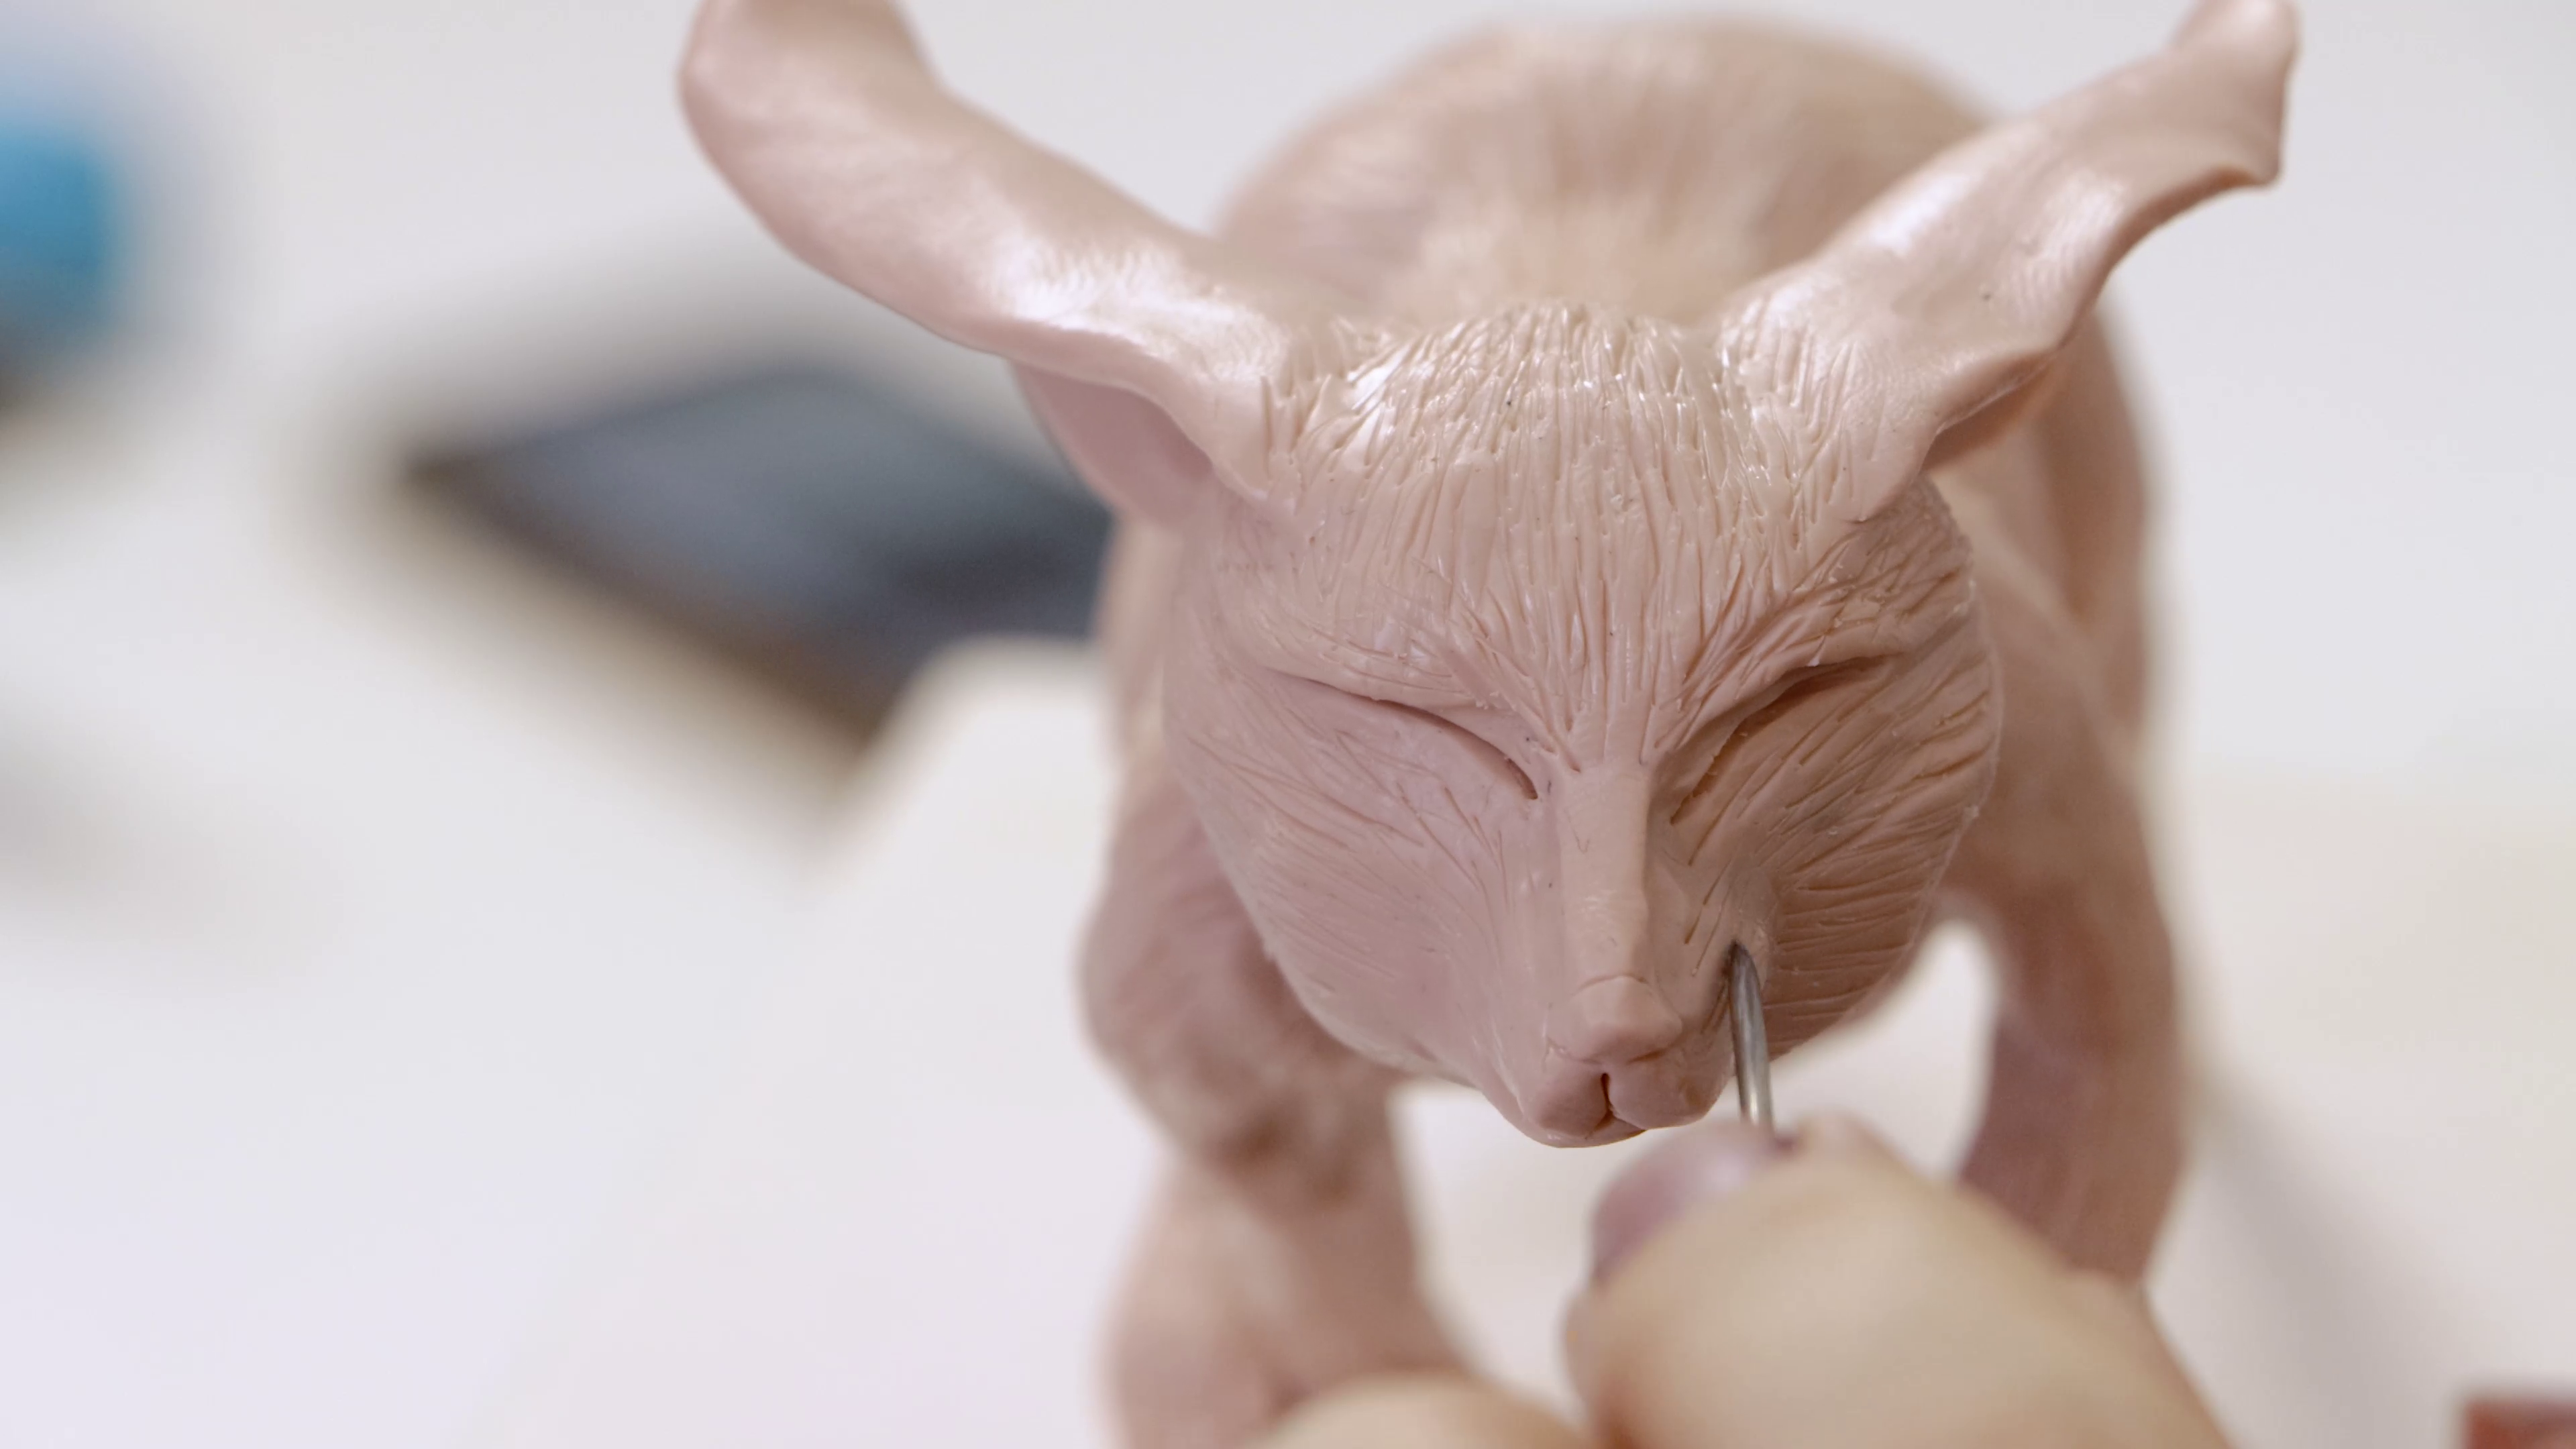
- Use a pin tool to suggest the coarse fur texture
- Take note of the direction of the fur in different places and where there is less fur
Final bake
- Bake the fox once more, following the instructions on the packaging
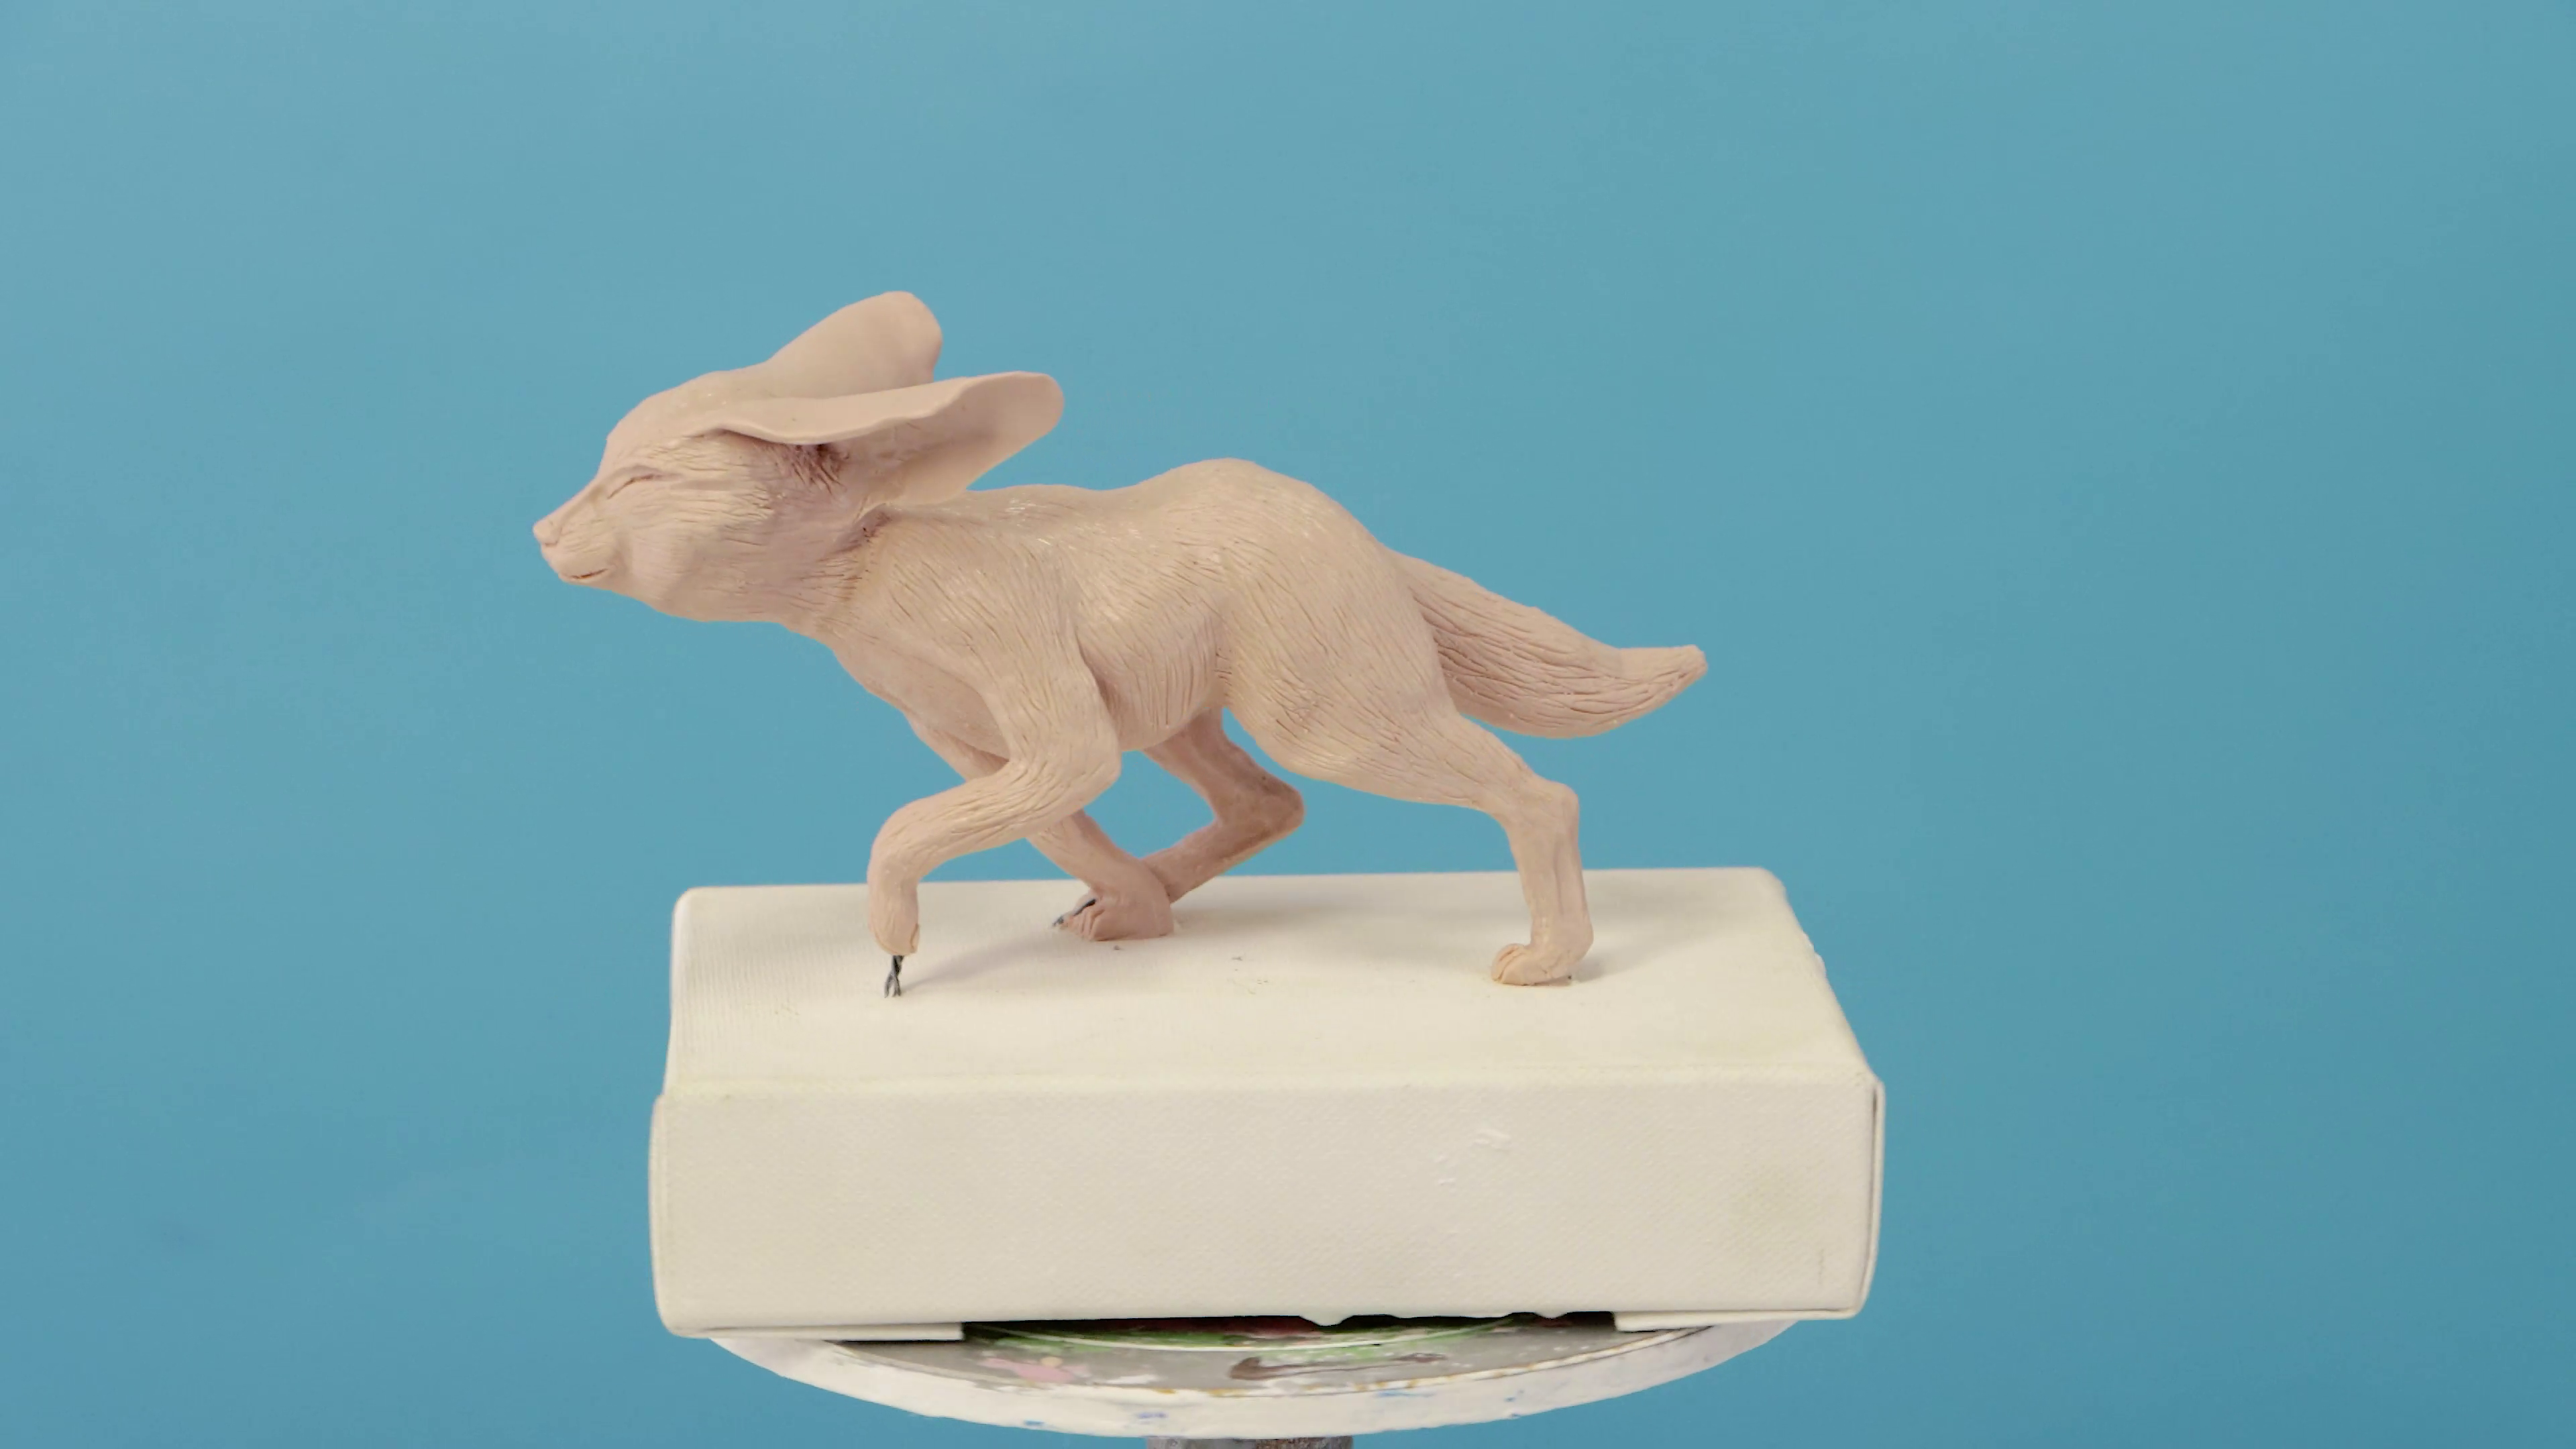
- And voilà! Your sculpted fennec fox is complete
- Make n Bake Polymer Clay Signature 400g - Beige
- Precision Craft Knife
- Sculpture Tools
- Polymer Clay Press or Roller
- Plaster of Paris
- Small Double Thick Canvas
- Wire (tie-wire or wire coat hanger)
- Pencils
- Aluminium foil
- Tape
- Ruler or large compass
- Poster tac
- Vice (optional)
You may also like
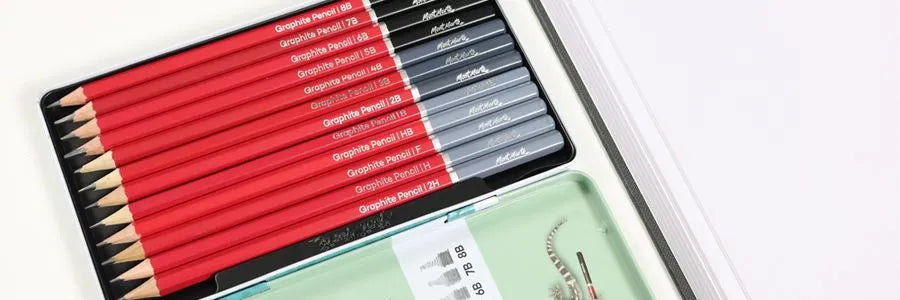
How to draw an orchid with coloured pencils
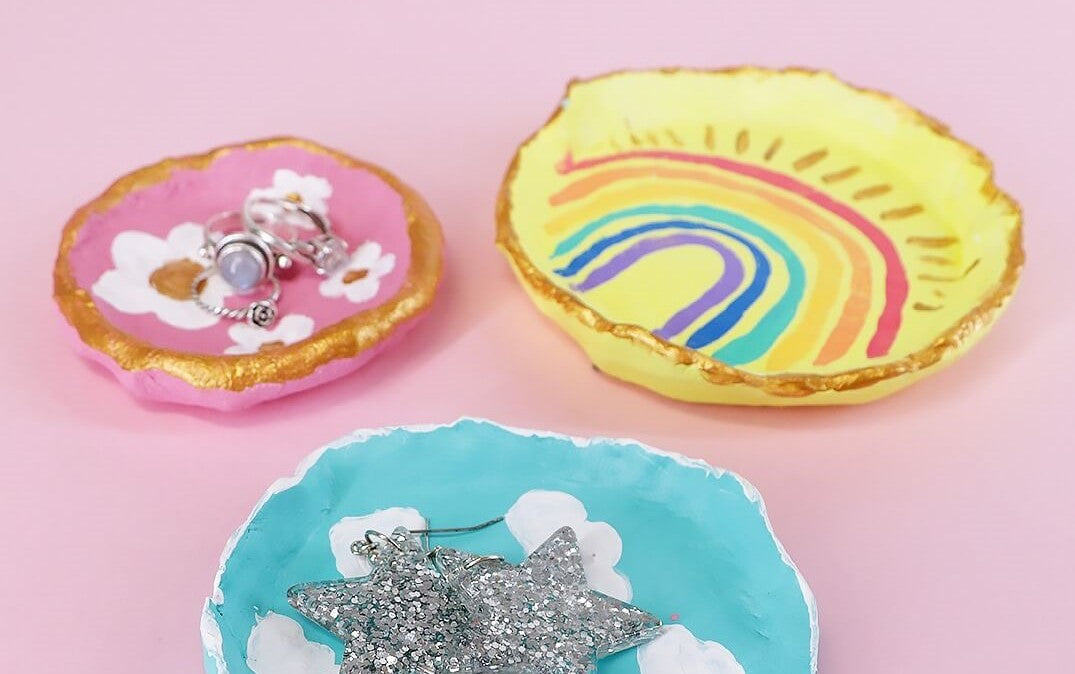
Turtle pinch pot with air dry clay
How to paint acrylic flowers for beginners


