How to sculpt a gnome
Many moons ago, we made our good friend, Mr Gnome. We finally made him a fellow gnome friend – introducing Luna! Follow along with our video and lesson plan to make your very own gnome buddy at home.
1. Clay base
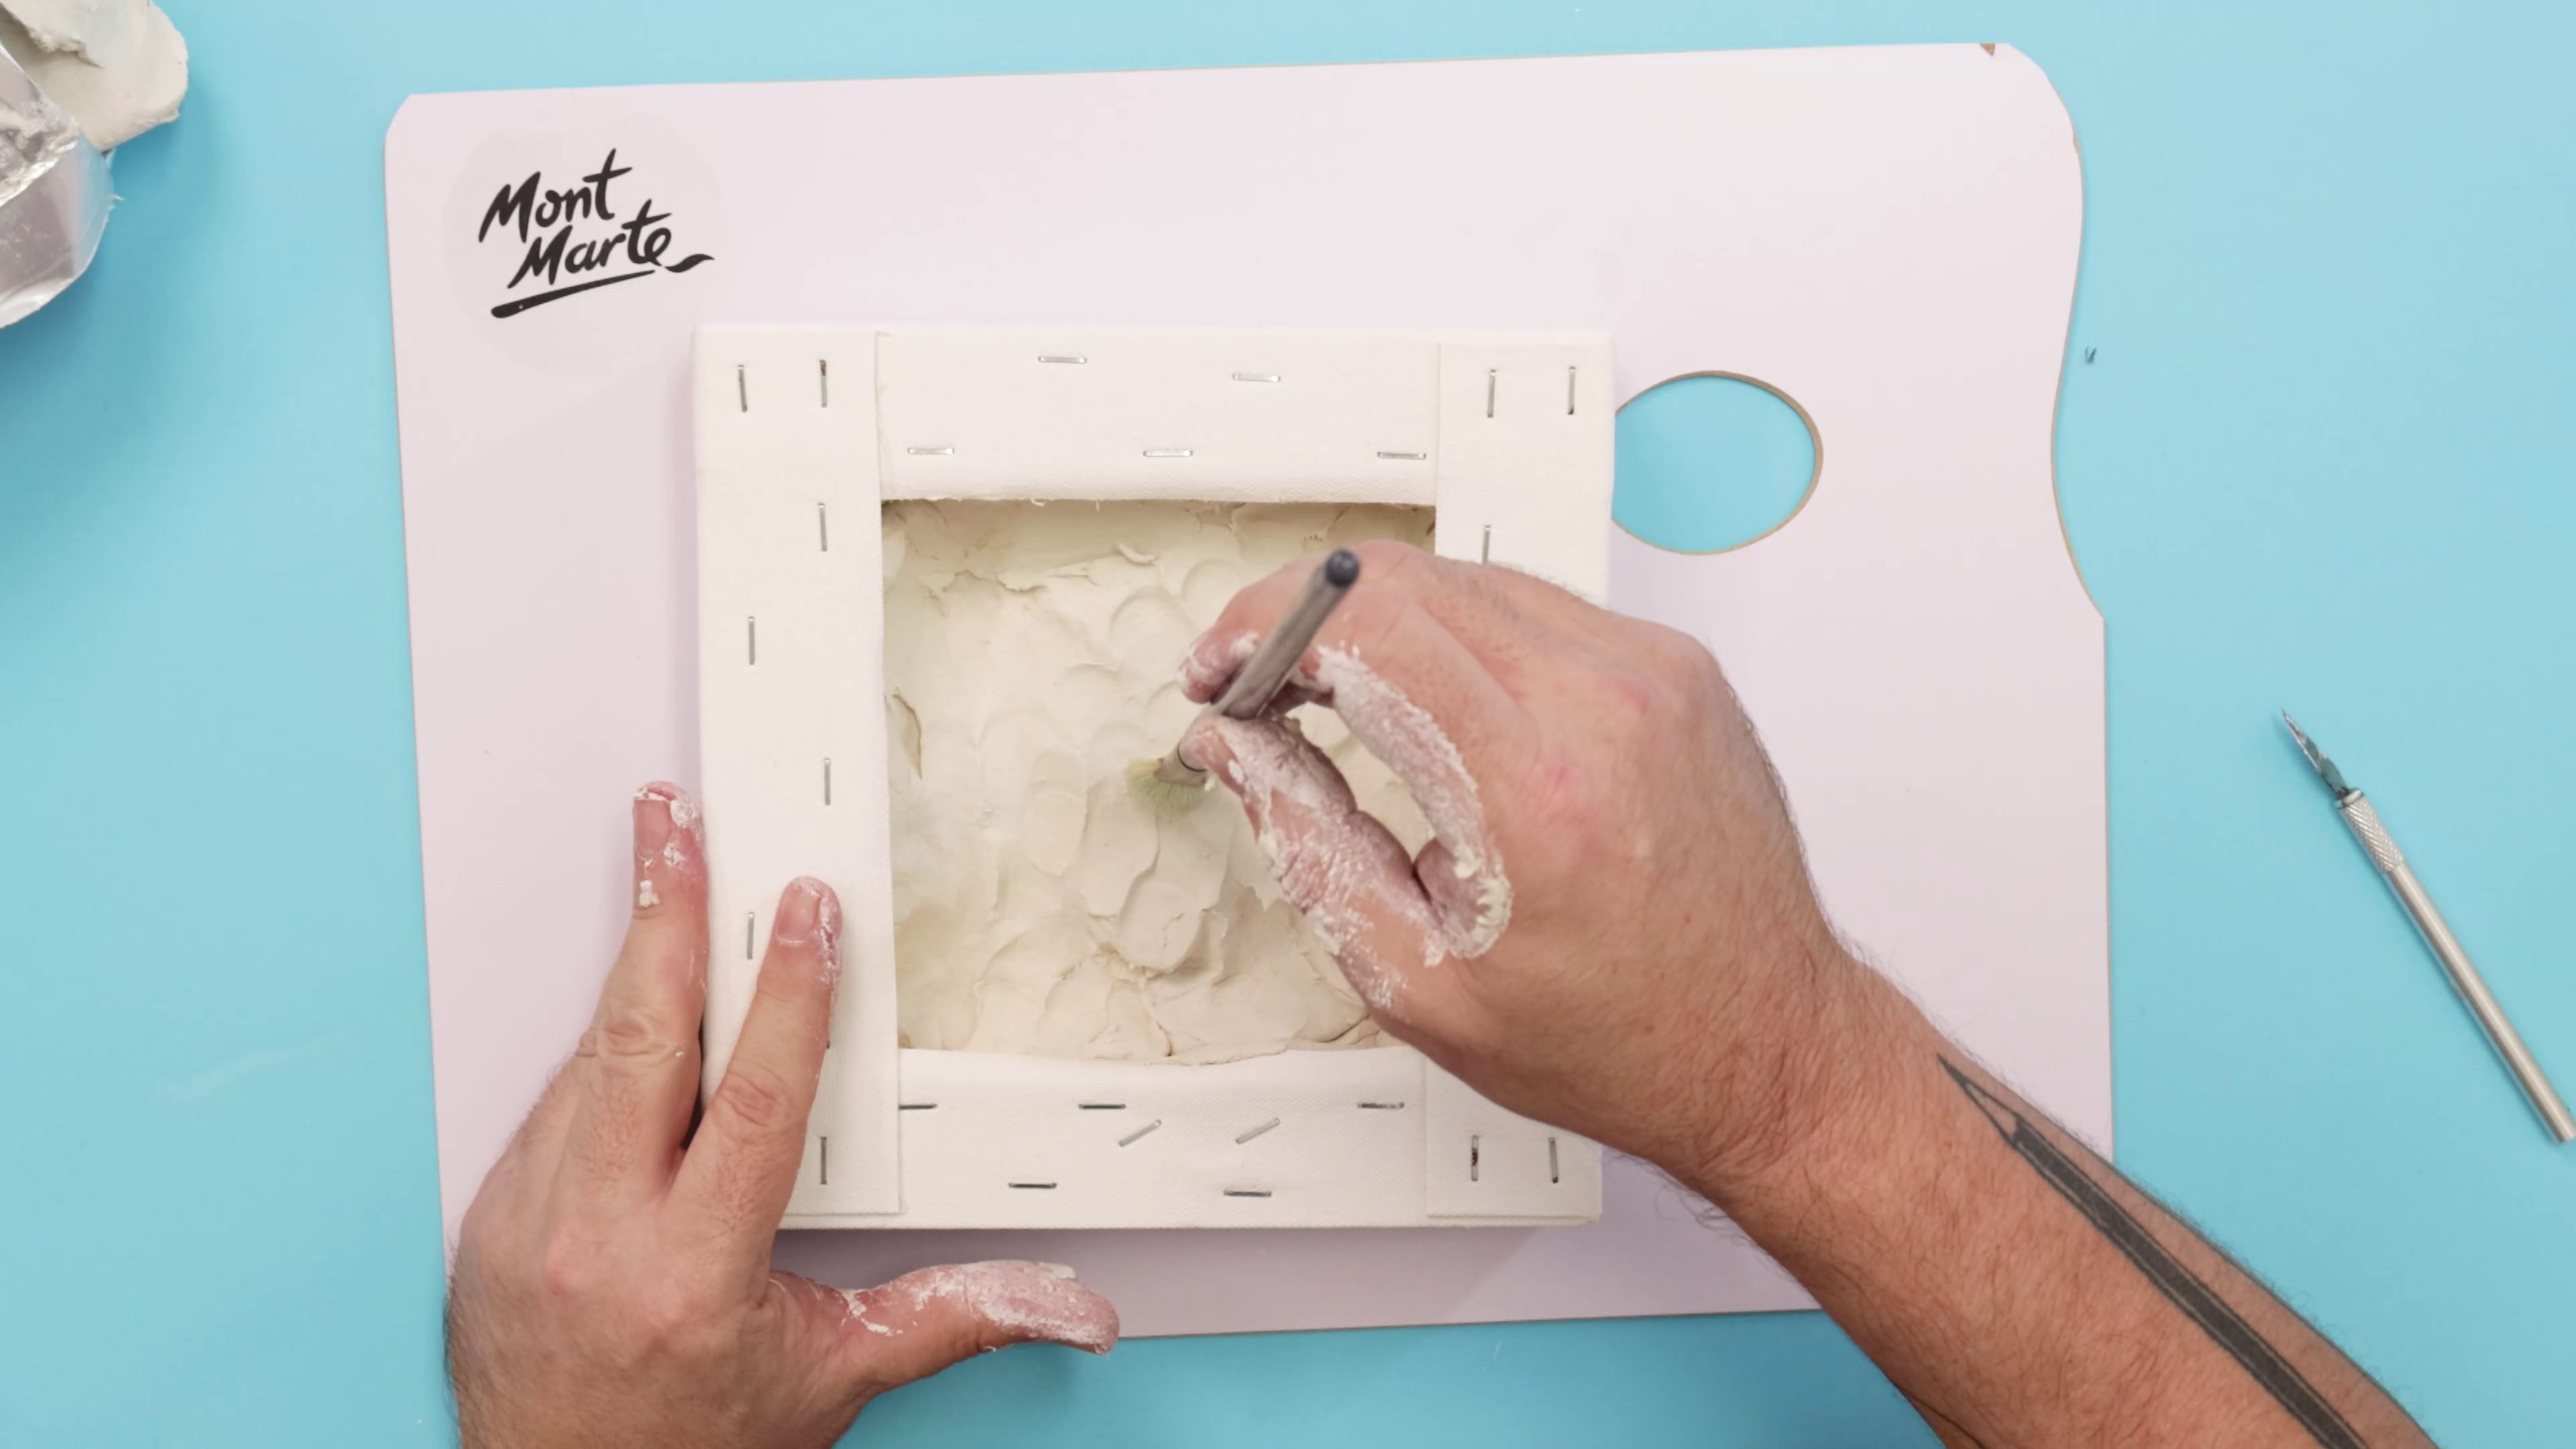
- Cut holes into the corners of an 8x8" canvas – this will help your clay base dry consistently
- Flip the canvas and tightly pack it with clay until level with the top of the wood stretchers
- Insert an old 28cm-long brush into the clay to act as a sturdy core
2. Clay core
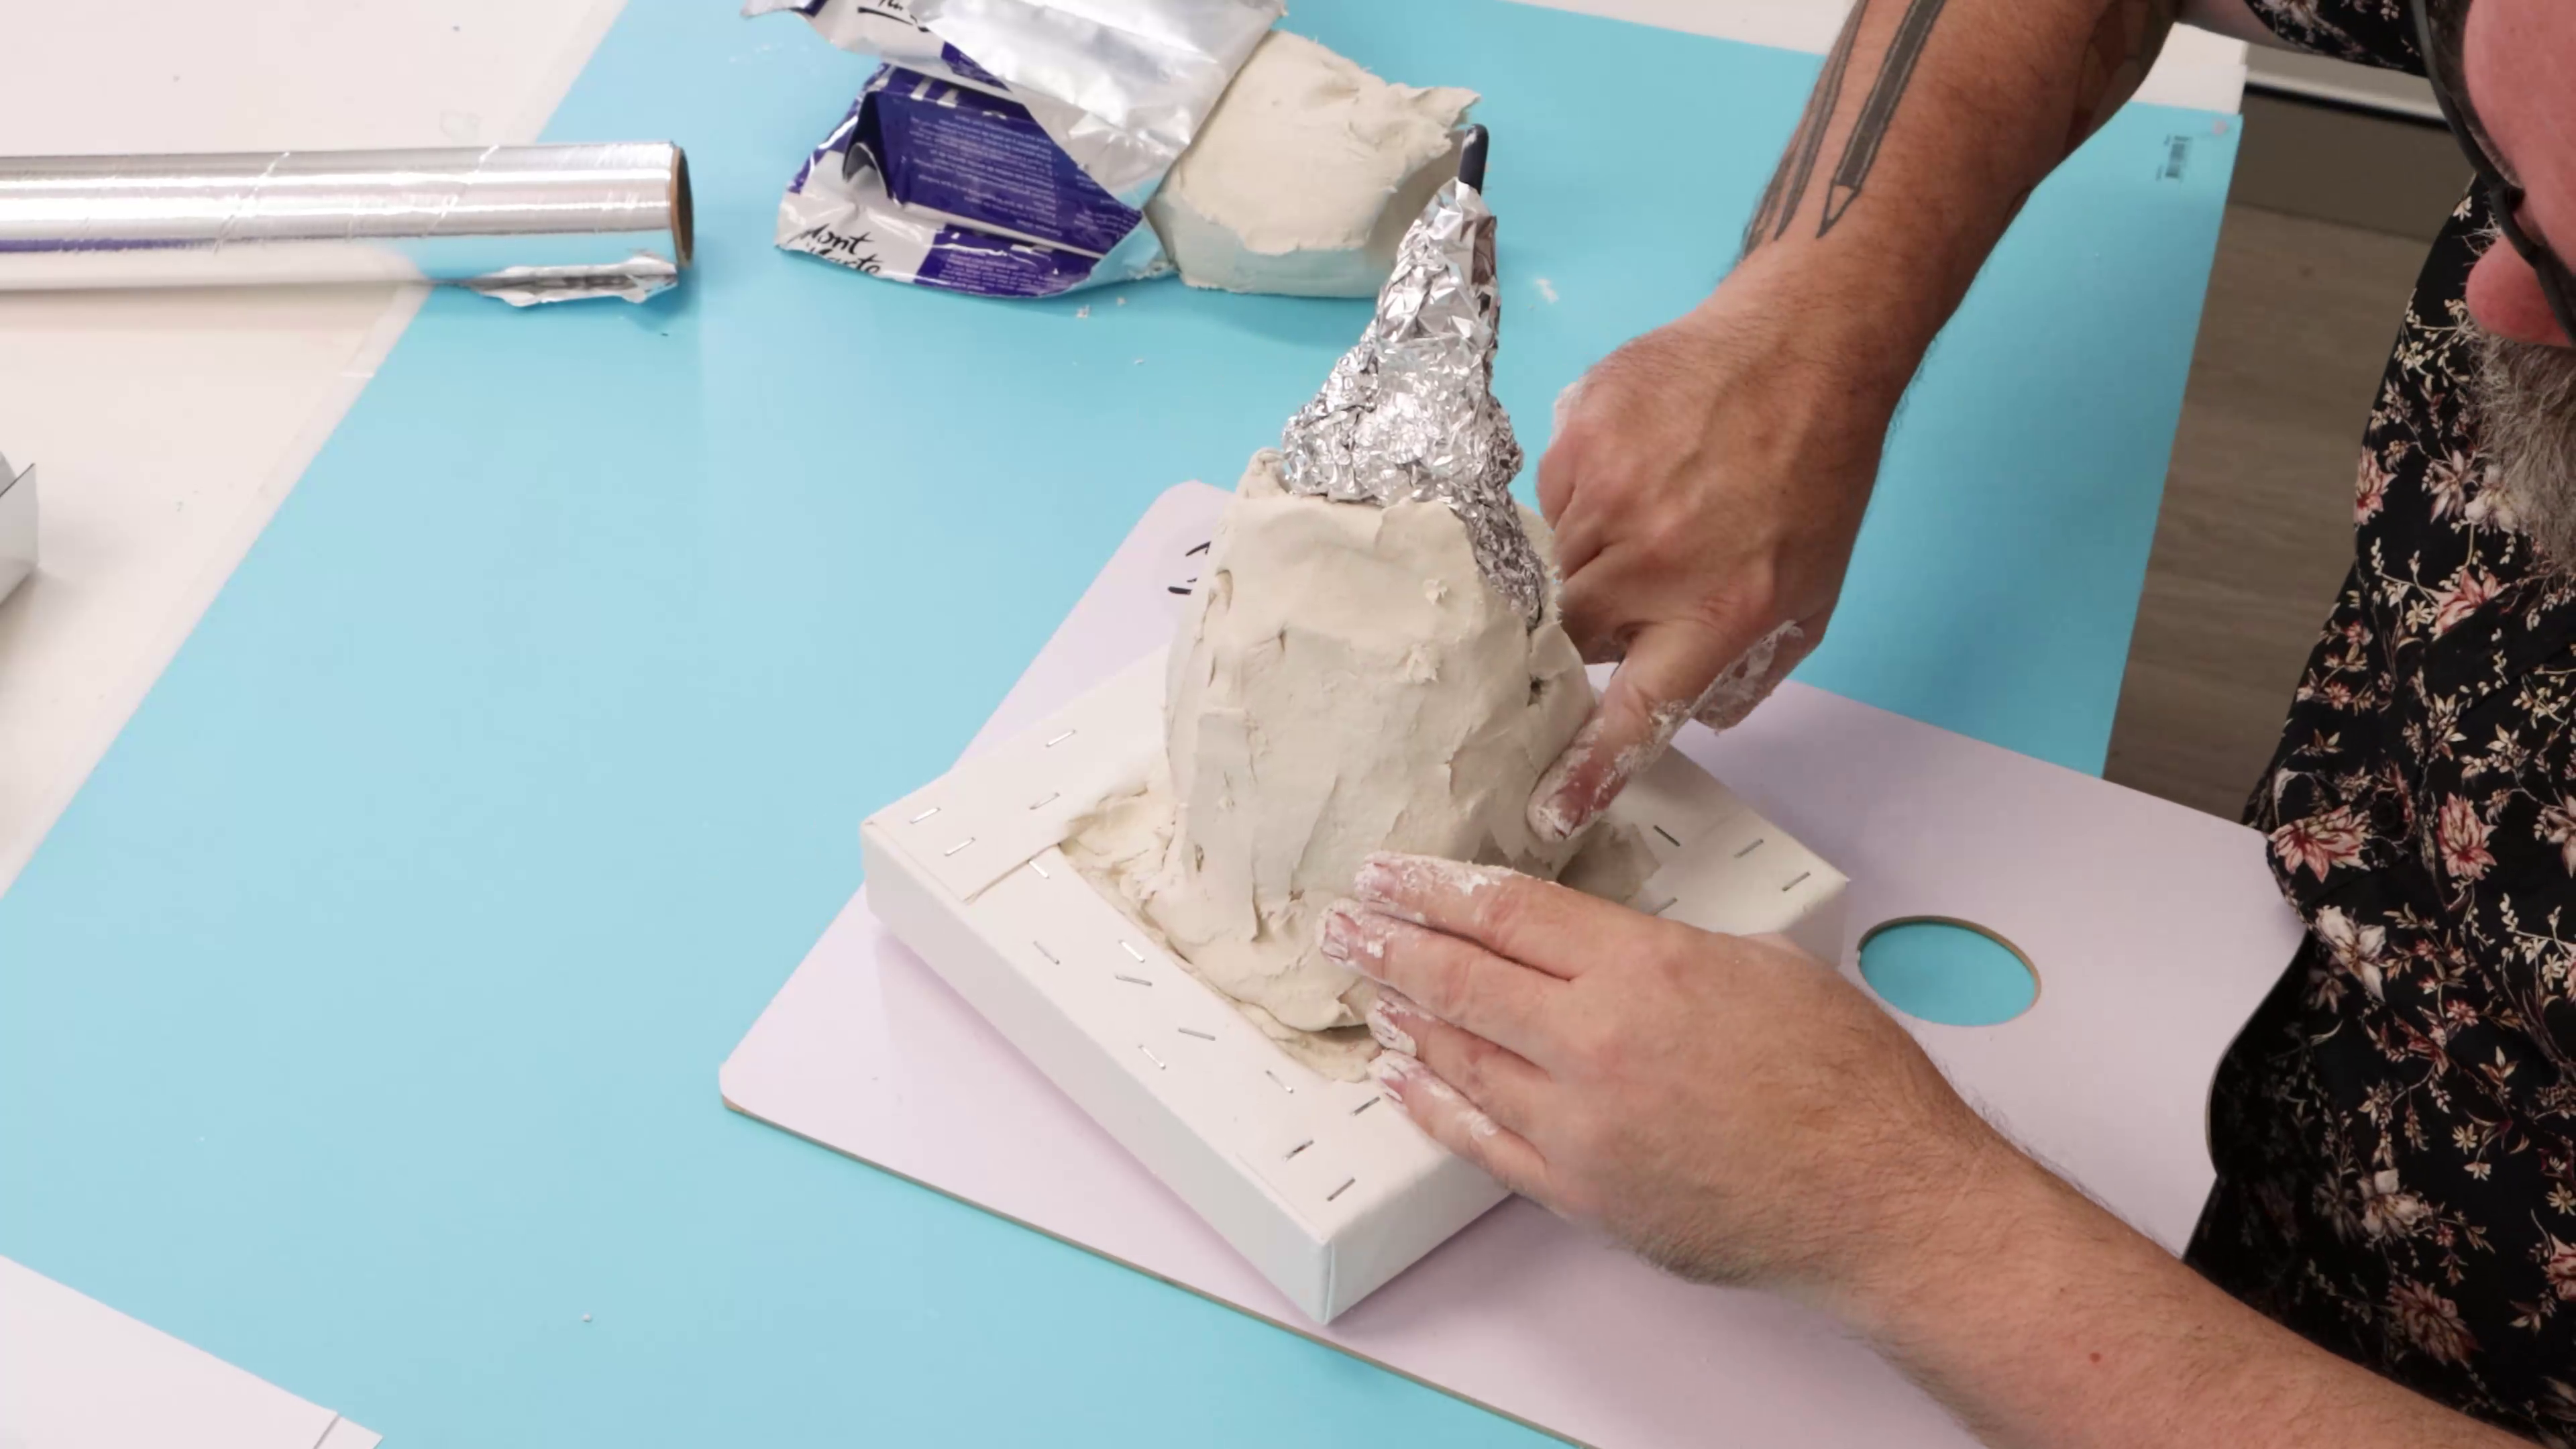
- Create a lightweight structure by wrapping aluminium foil around the brush handle
- Pack clay around the foil, shaping it into a smooth cone form
- Ensure the structure is balanced and sturdy
3. Clay clothes
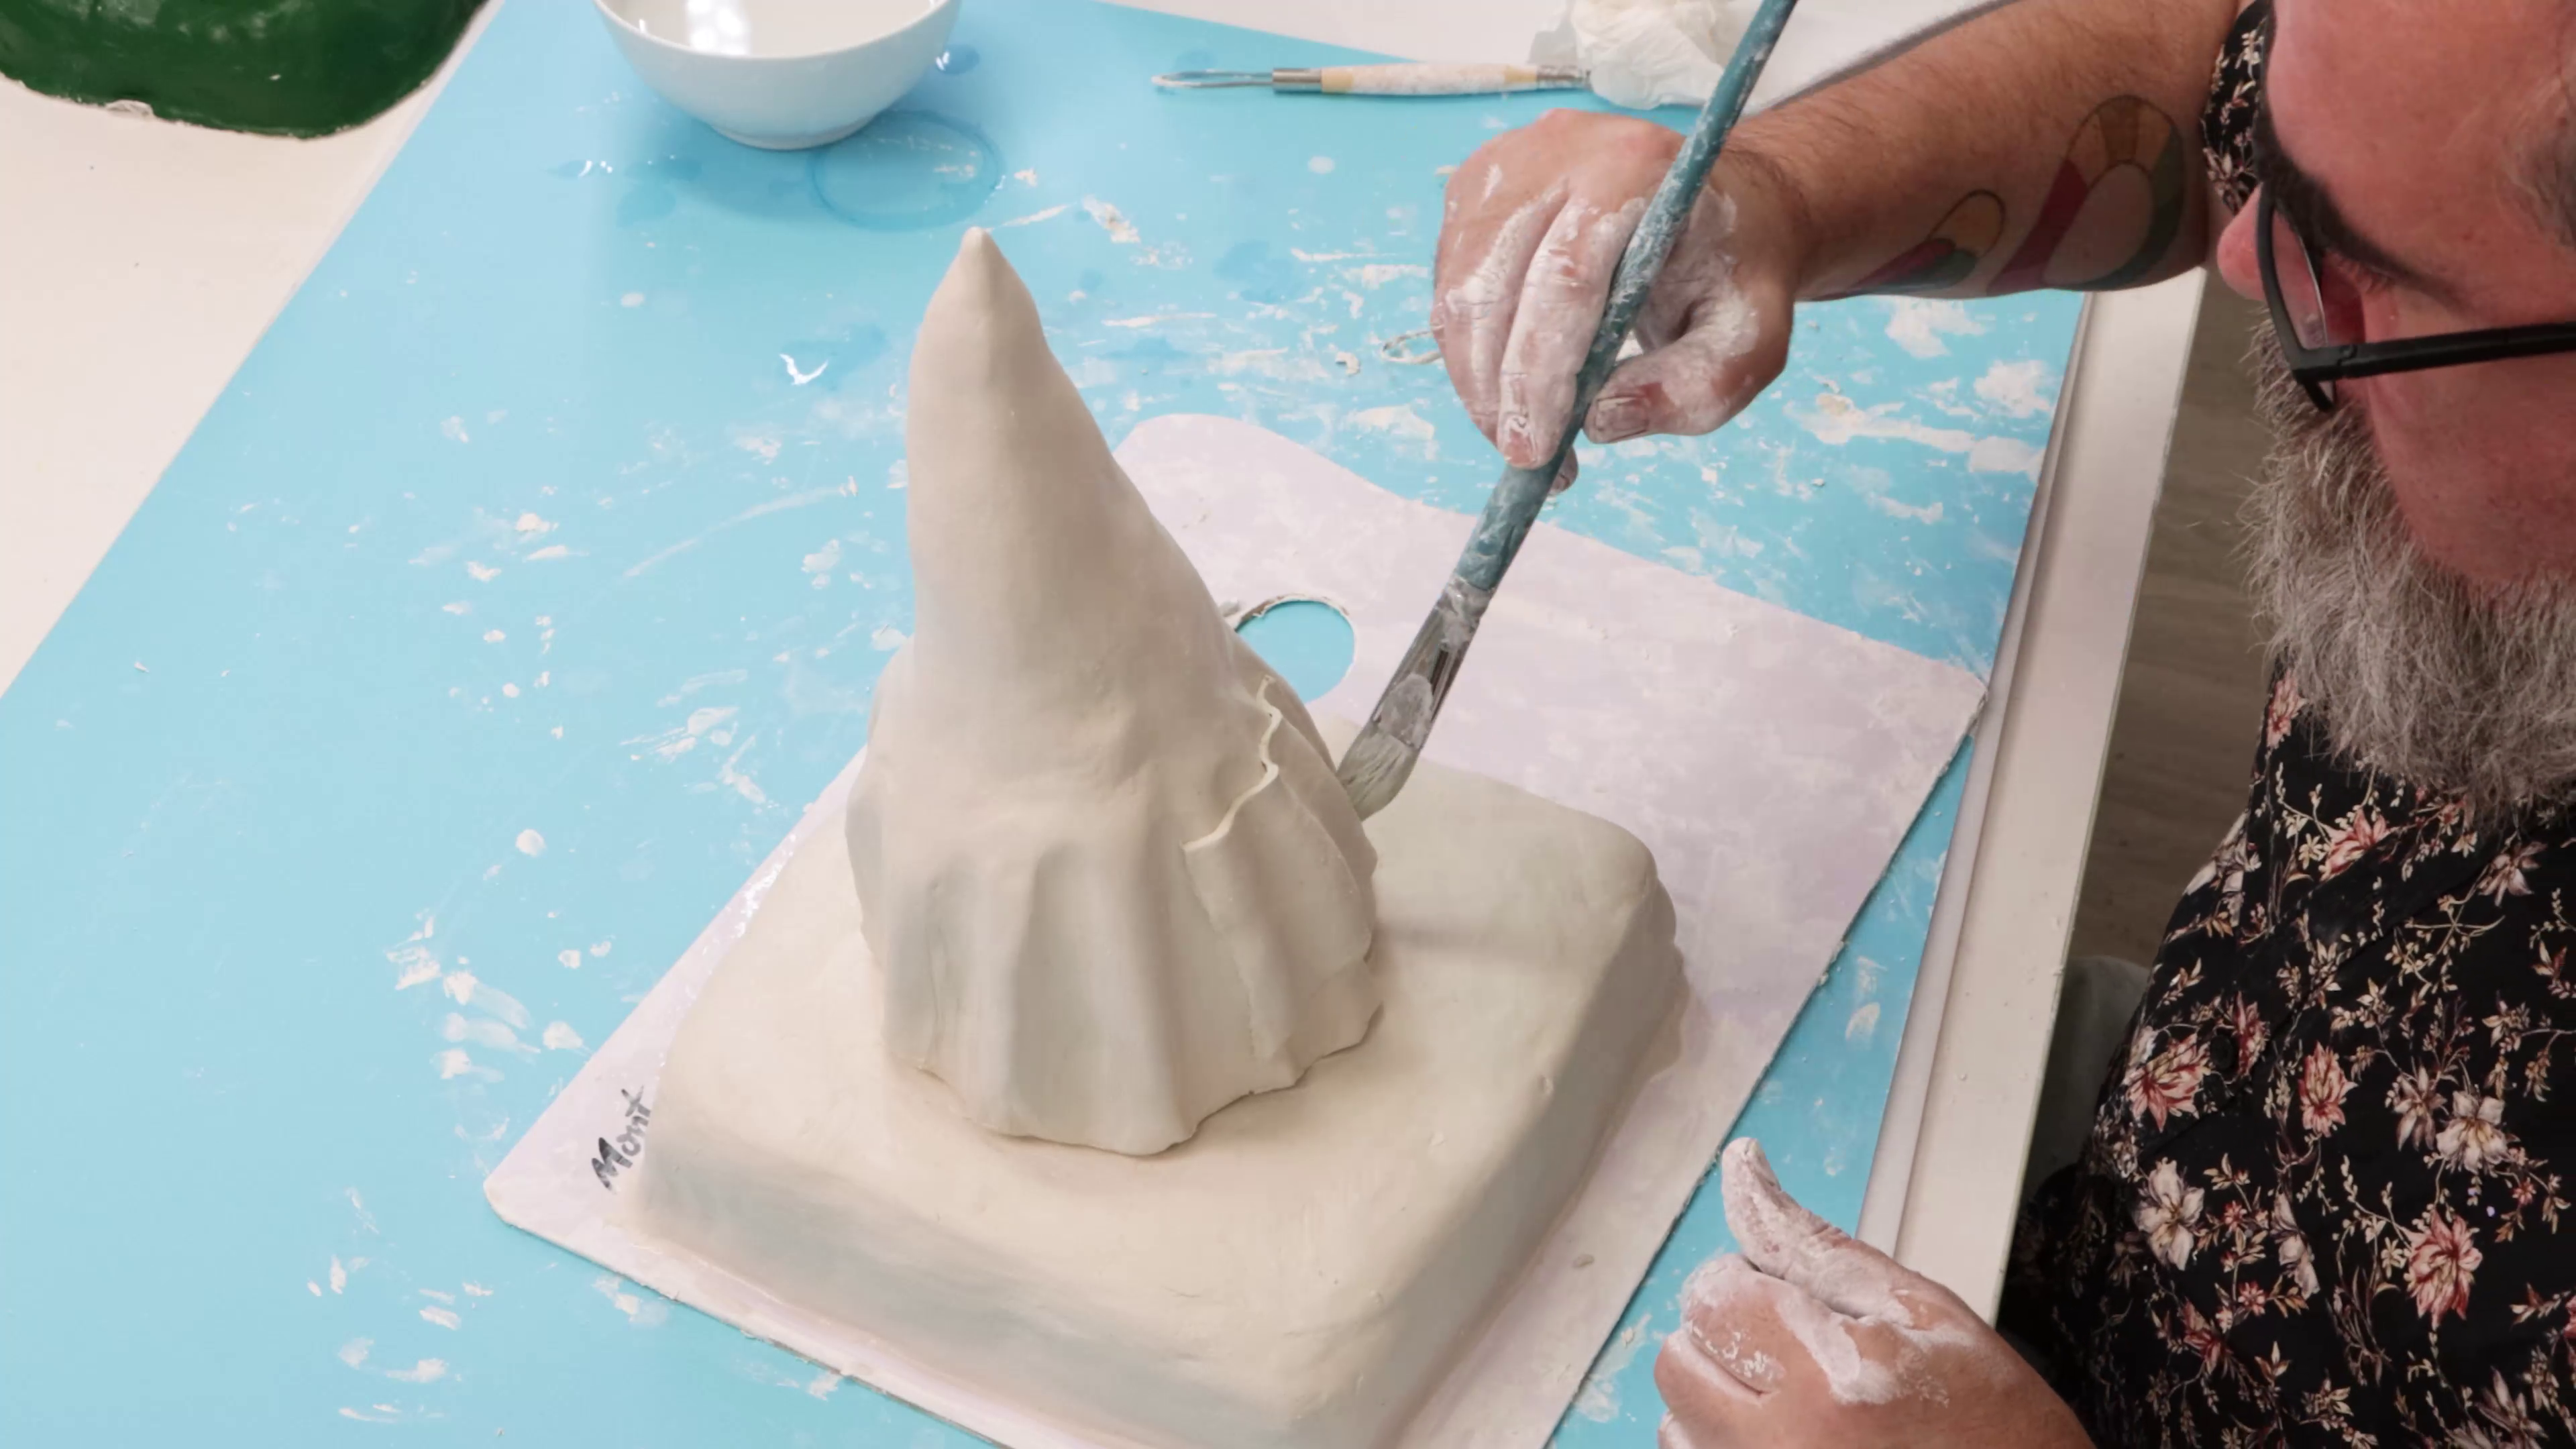
- Wrap a thick slab of clay around the core about ¾ of the way up for the dress
- Smooth the clay and use a large round loop tool to carve pleats down the dress
- Space the hollows evenly, rounding off and smoothing the high points
- Carve a small gap between the dress hem and the base
- Roll out a small rectangular sheet of clay
- Press it gently into the grooves at the front of the dress to create a waist apron
4. Clay arms
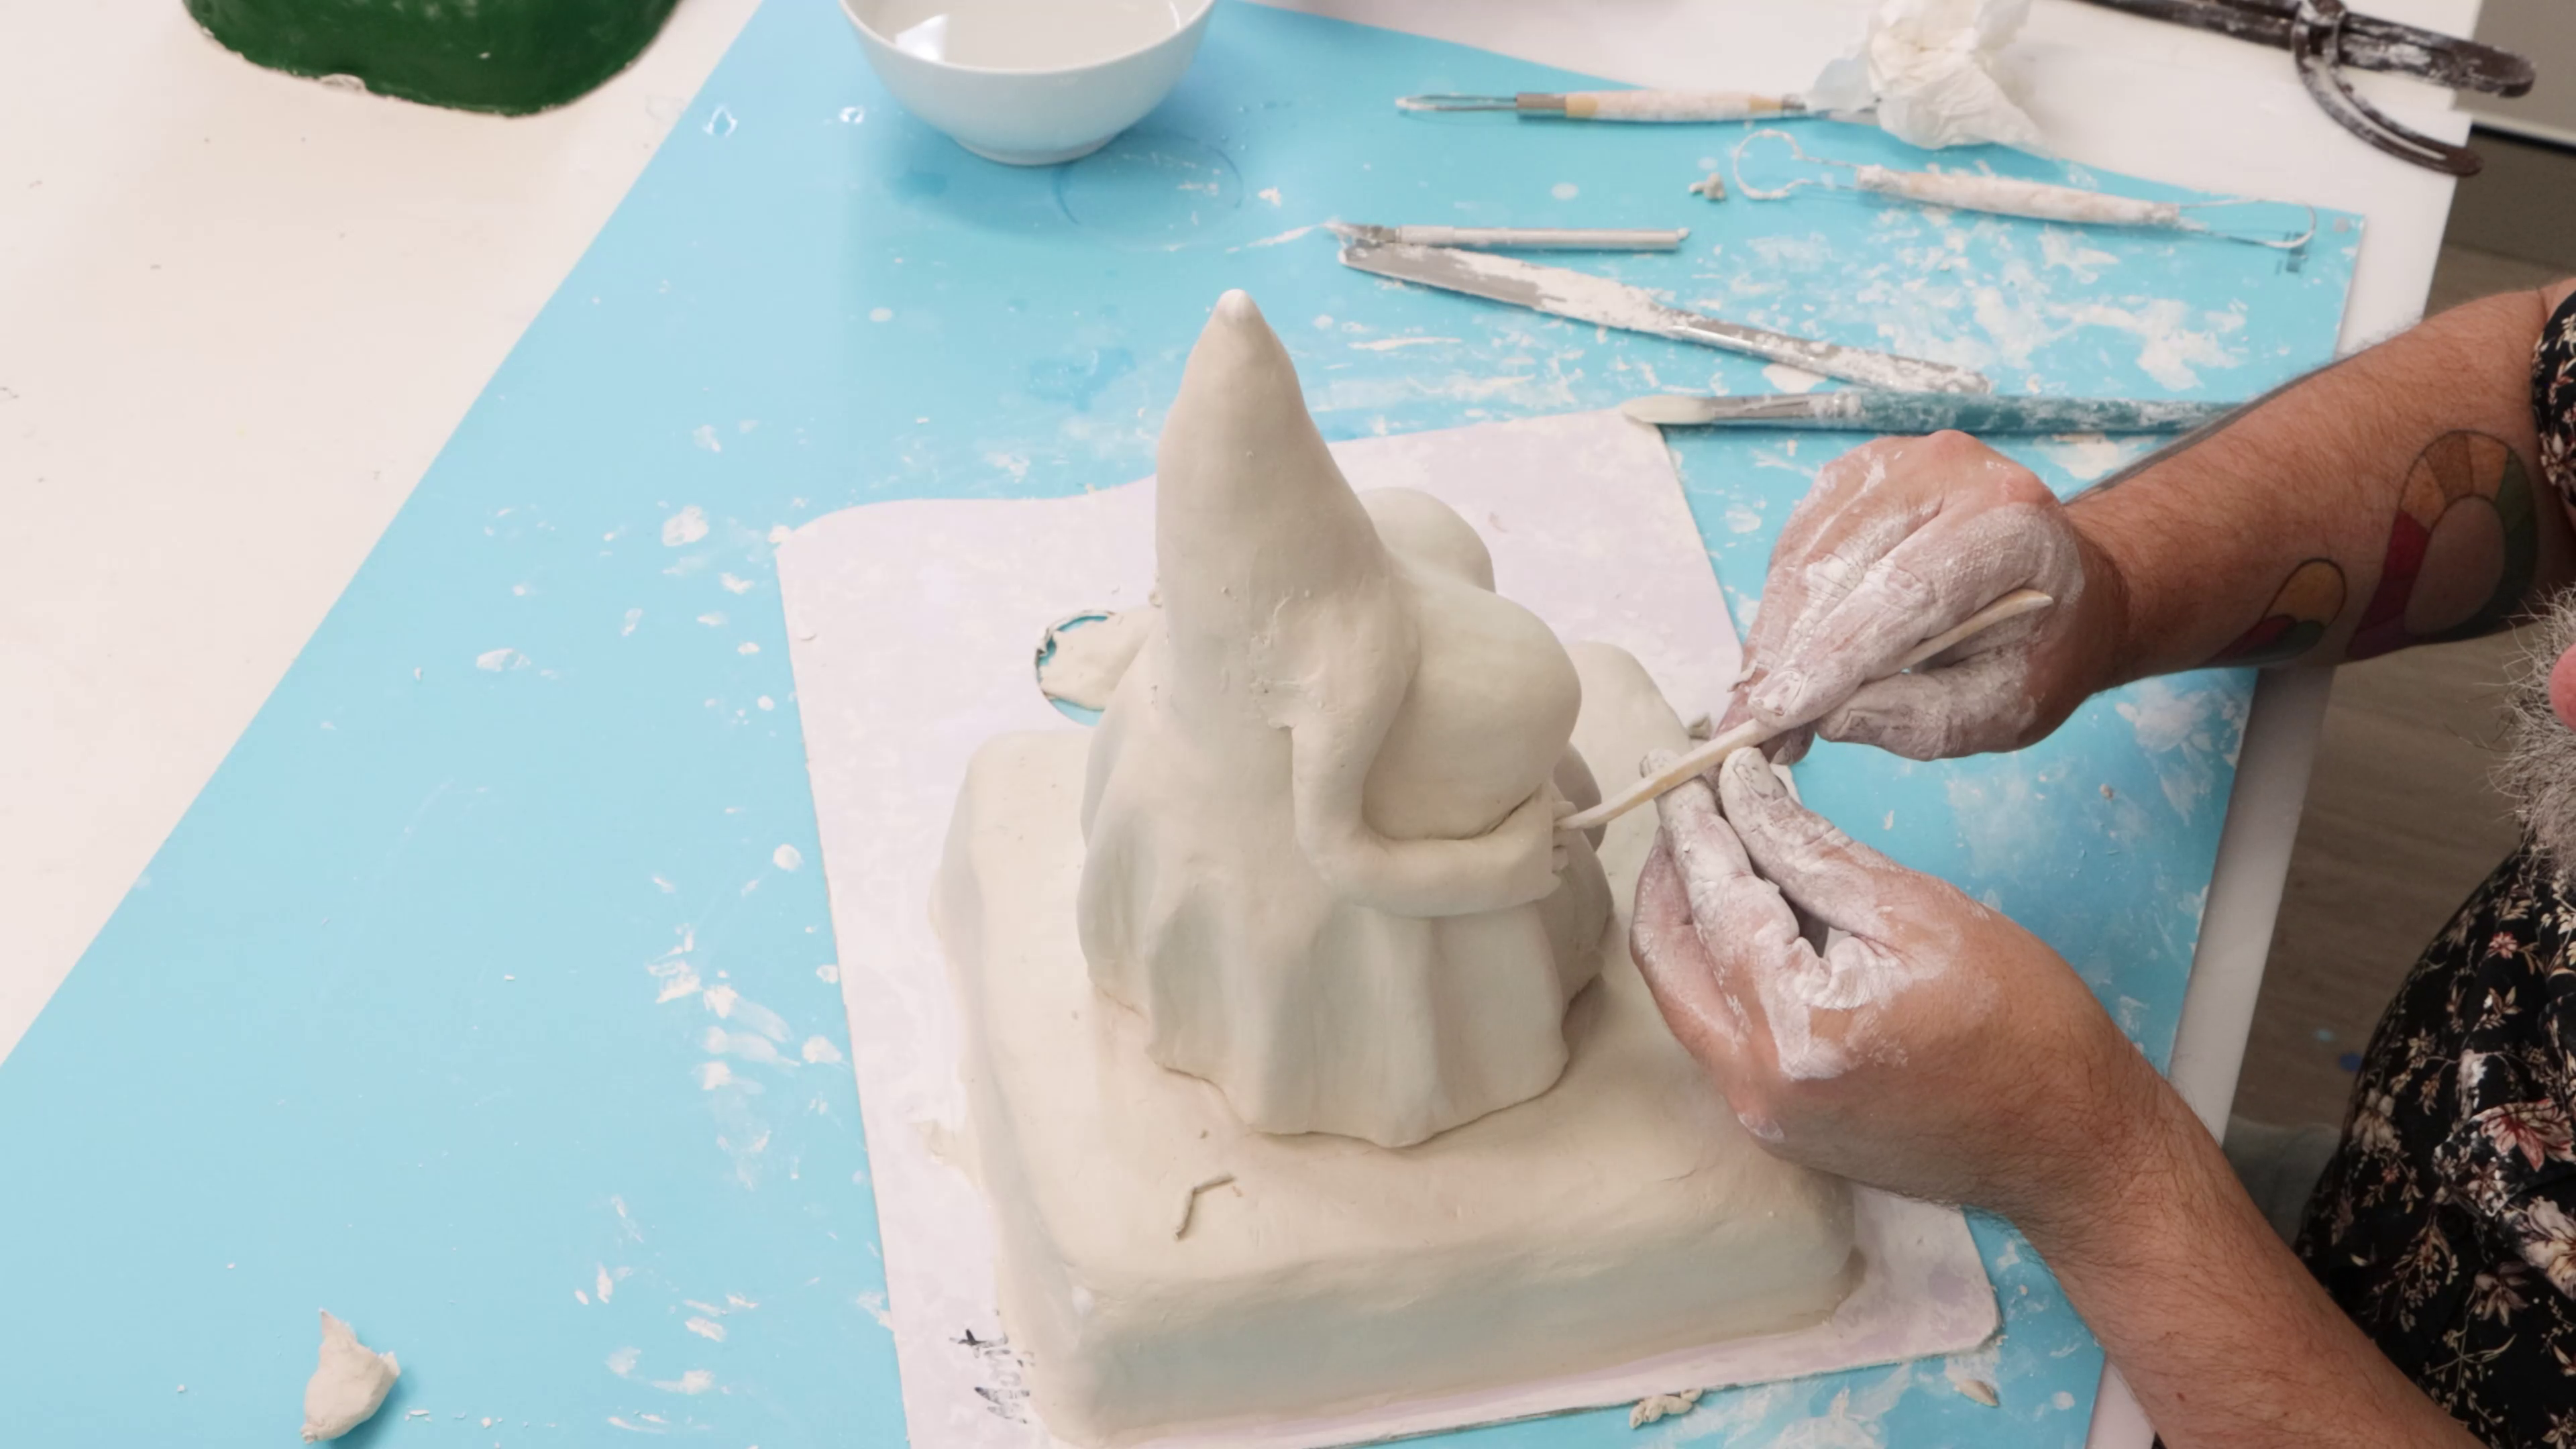
- Add clay to shape the upper body and smooth it out
- Create arms using simplified tubes of clay, attaching them to the shoulders and blending them in
- Flatten the areas for hands and sculpt a thumb and four fingers on each hand
5. Sculpting a face out of clay
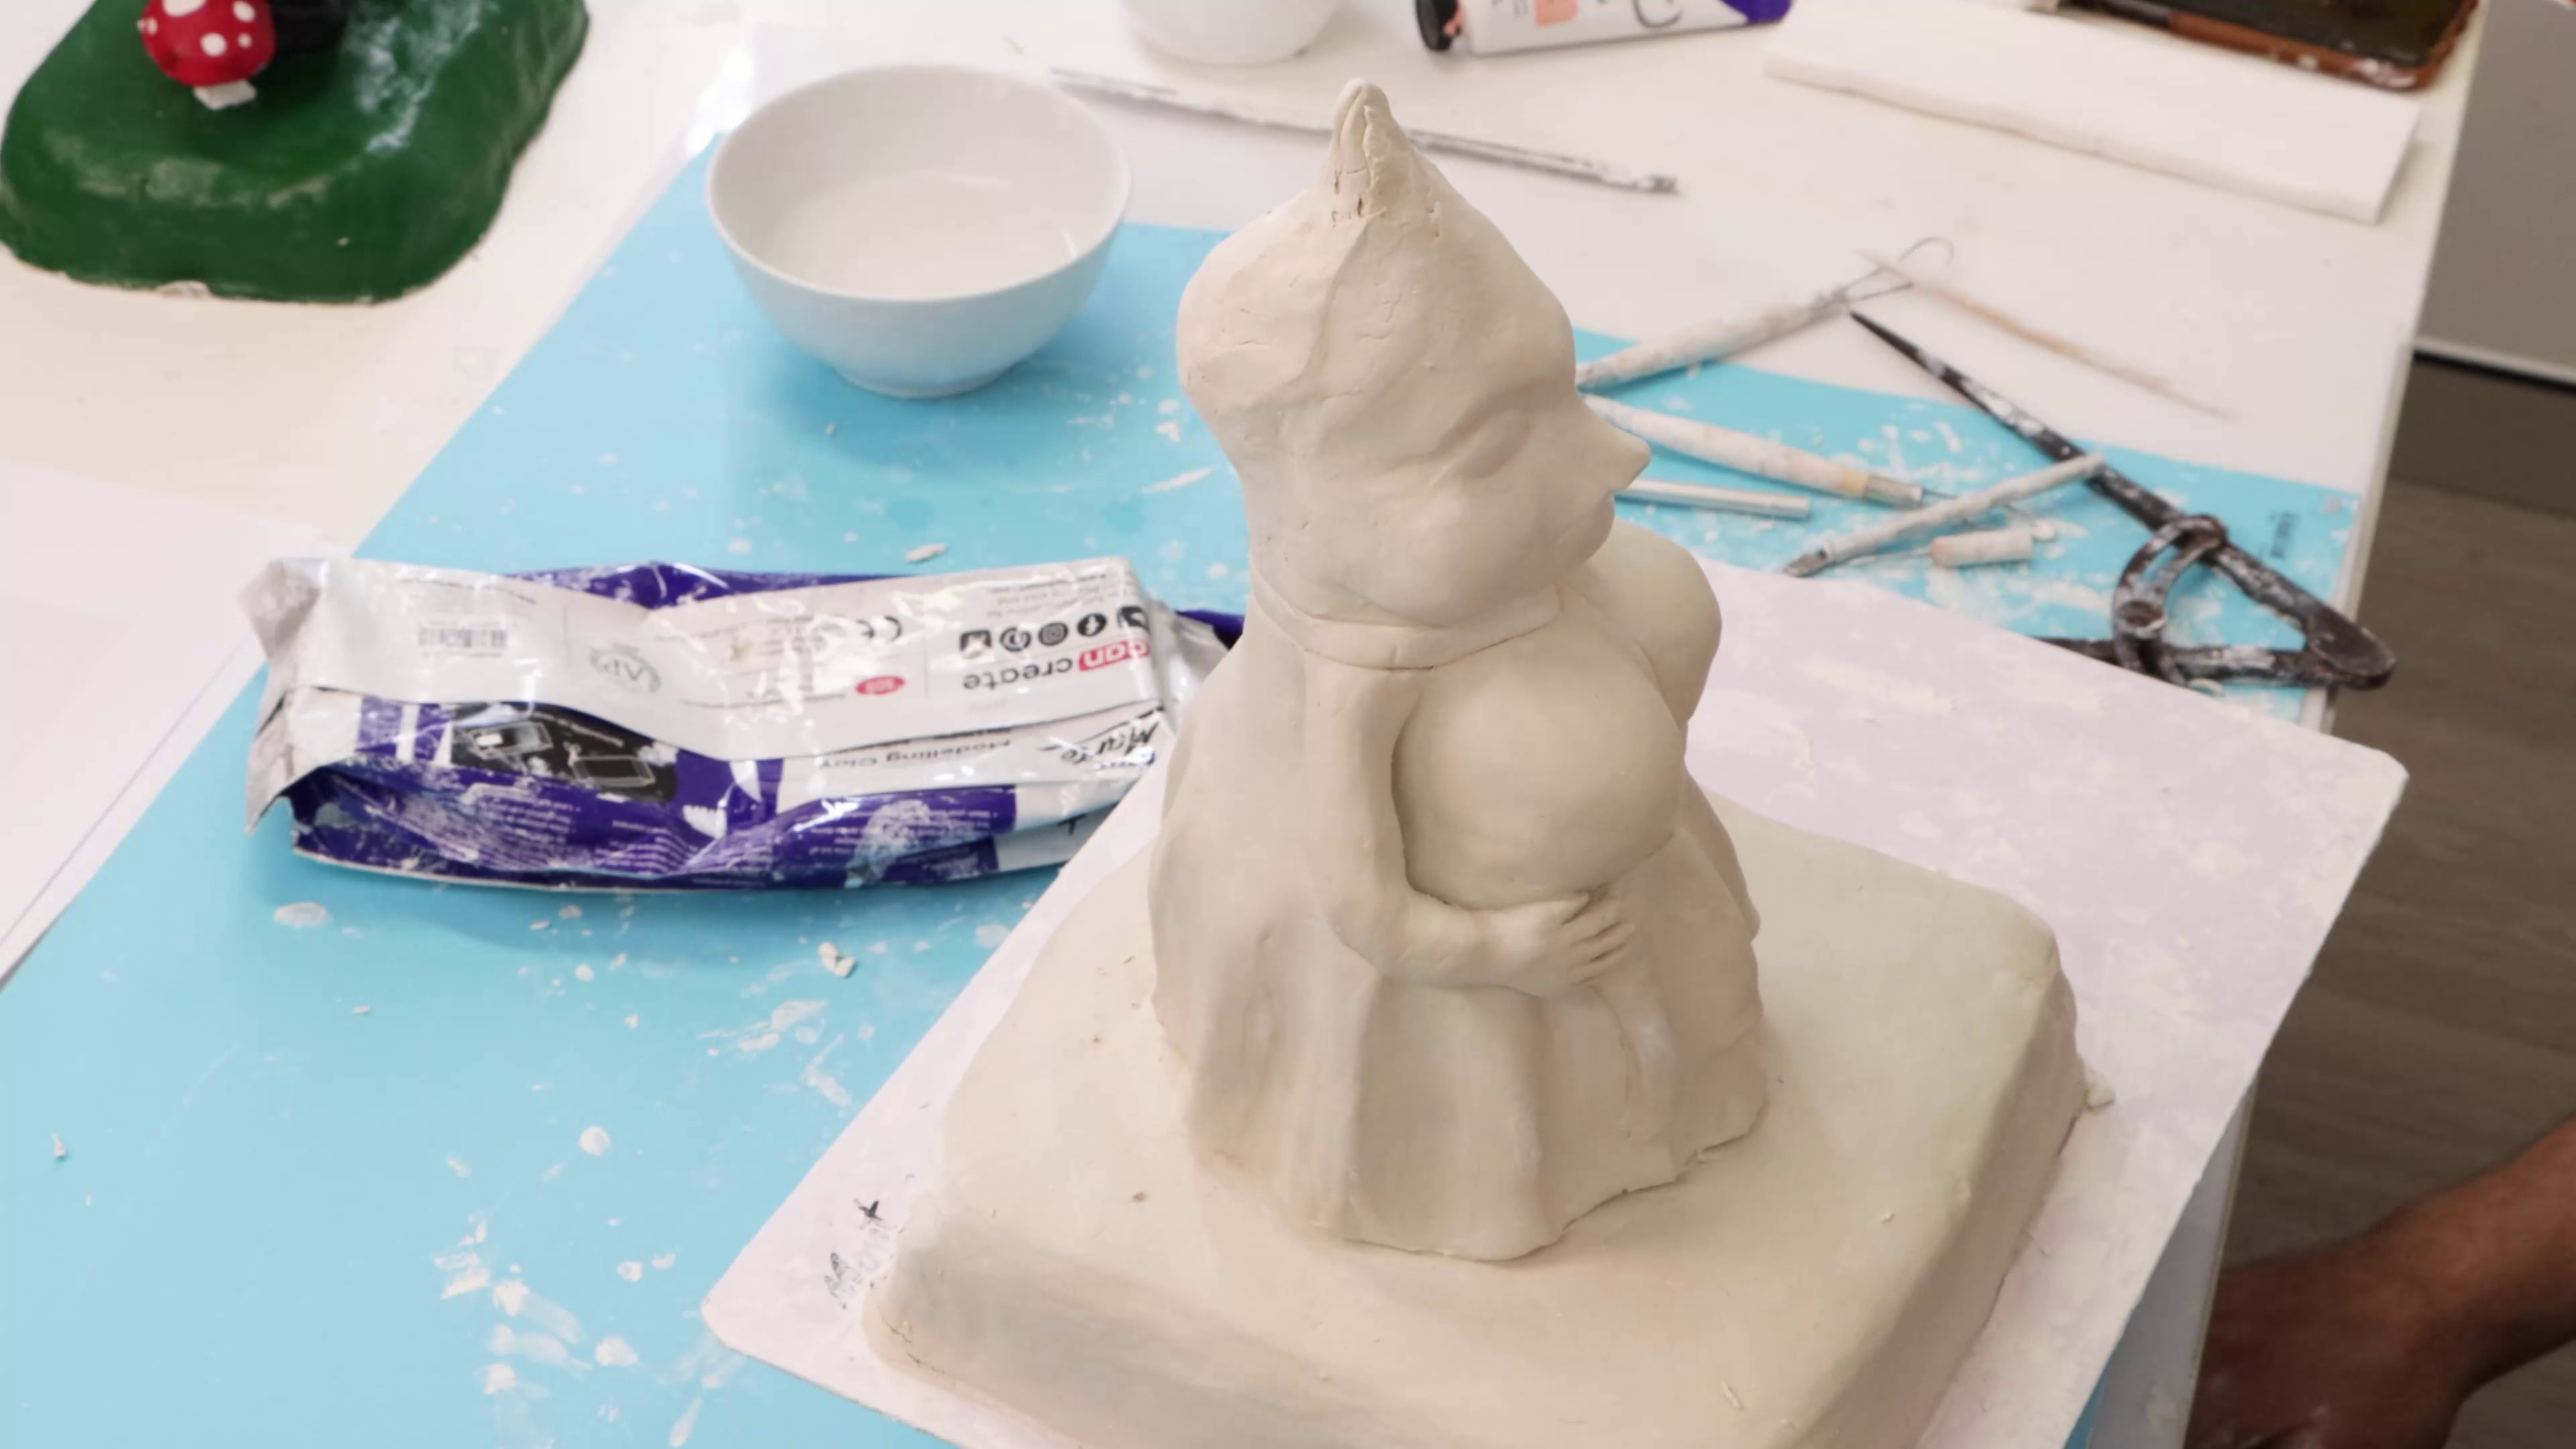
- Pack clay onto the head area and shape the face
- Create eye sockets using your thumbs, making them as even as possible
- Add clay for the eyes and blend them in, refining the face as needed
- Use reference images to make the features softer and more "gnome-like" with rounded cheeks and a small nose
6. Hair and hat
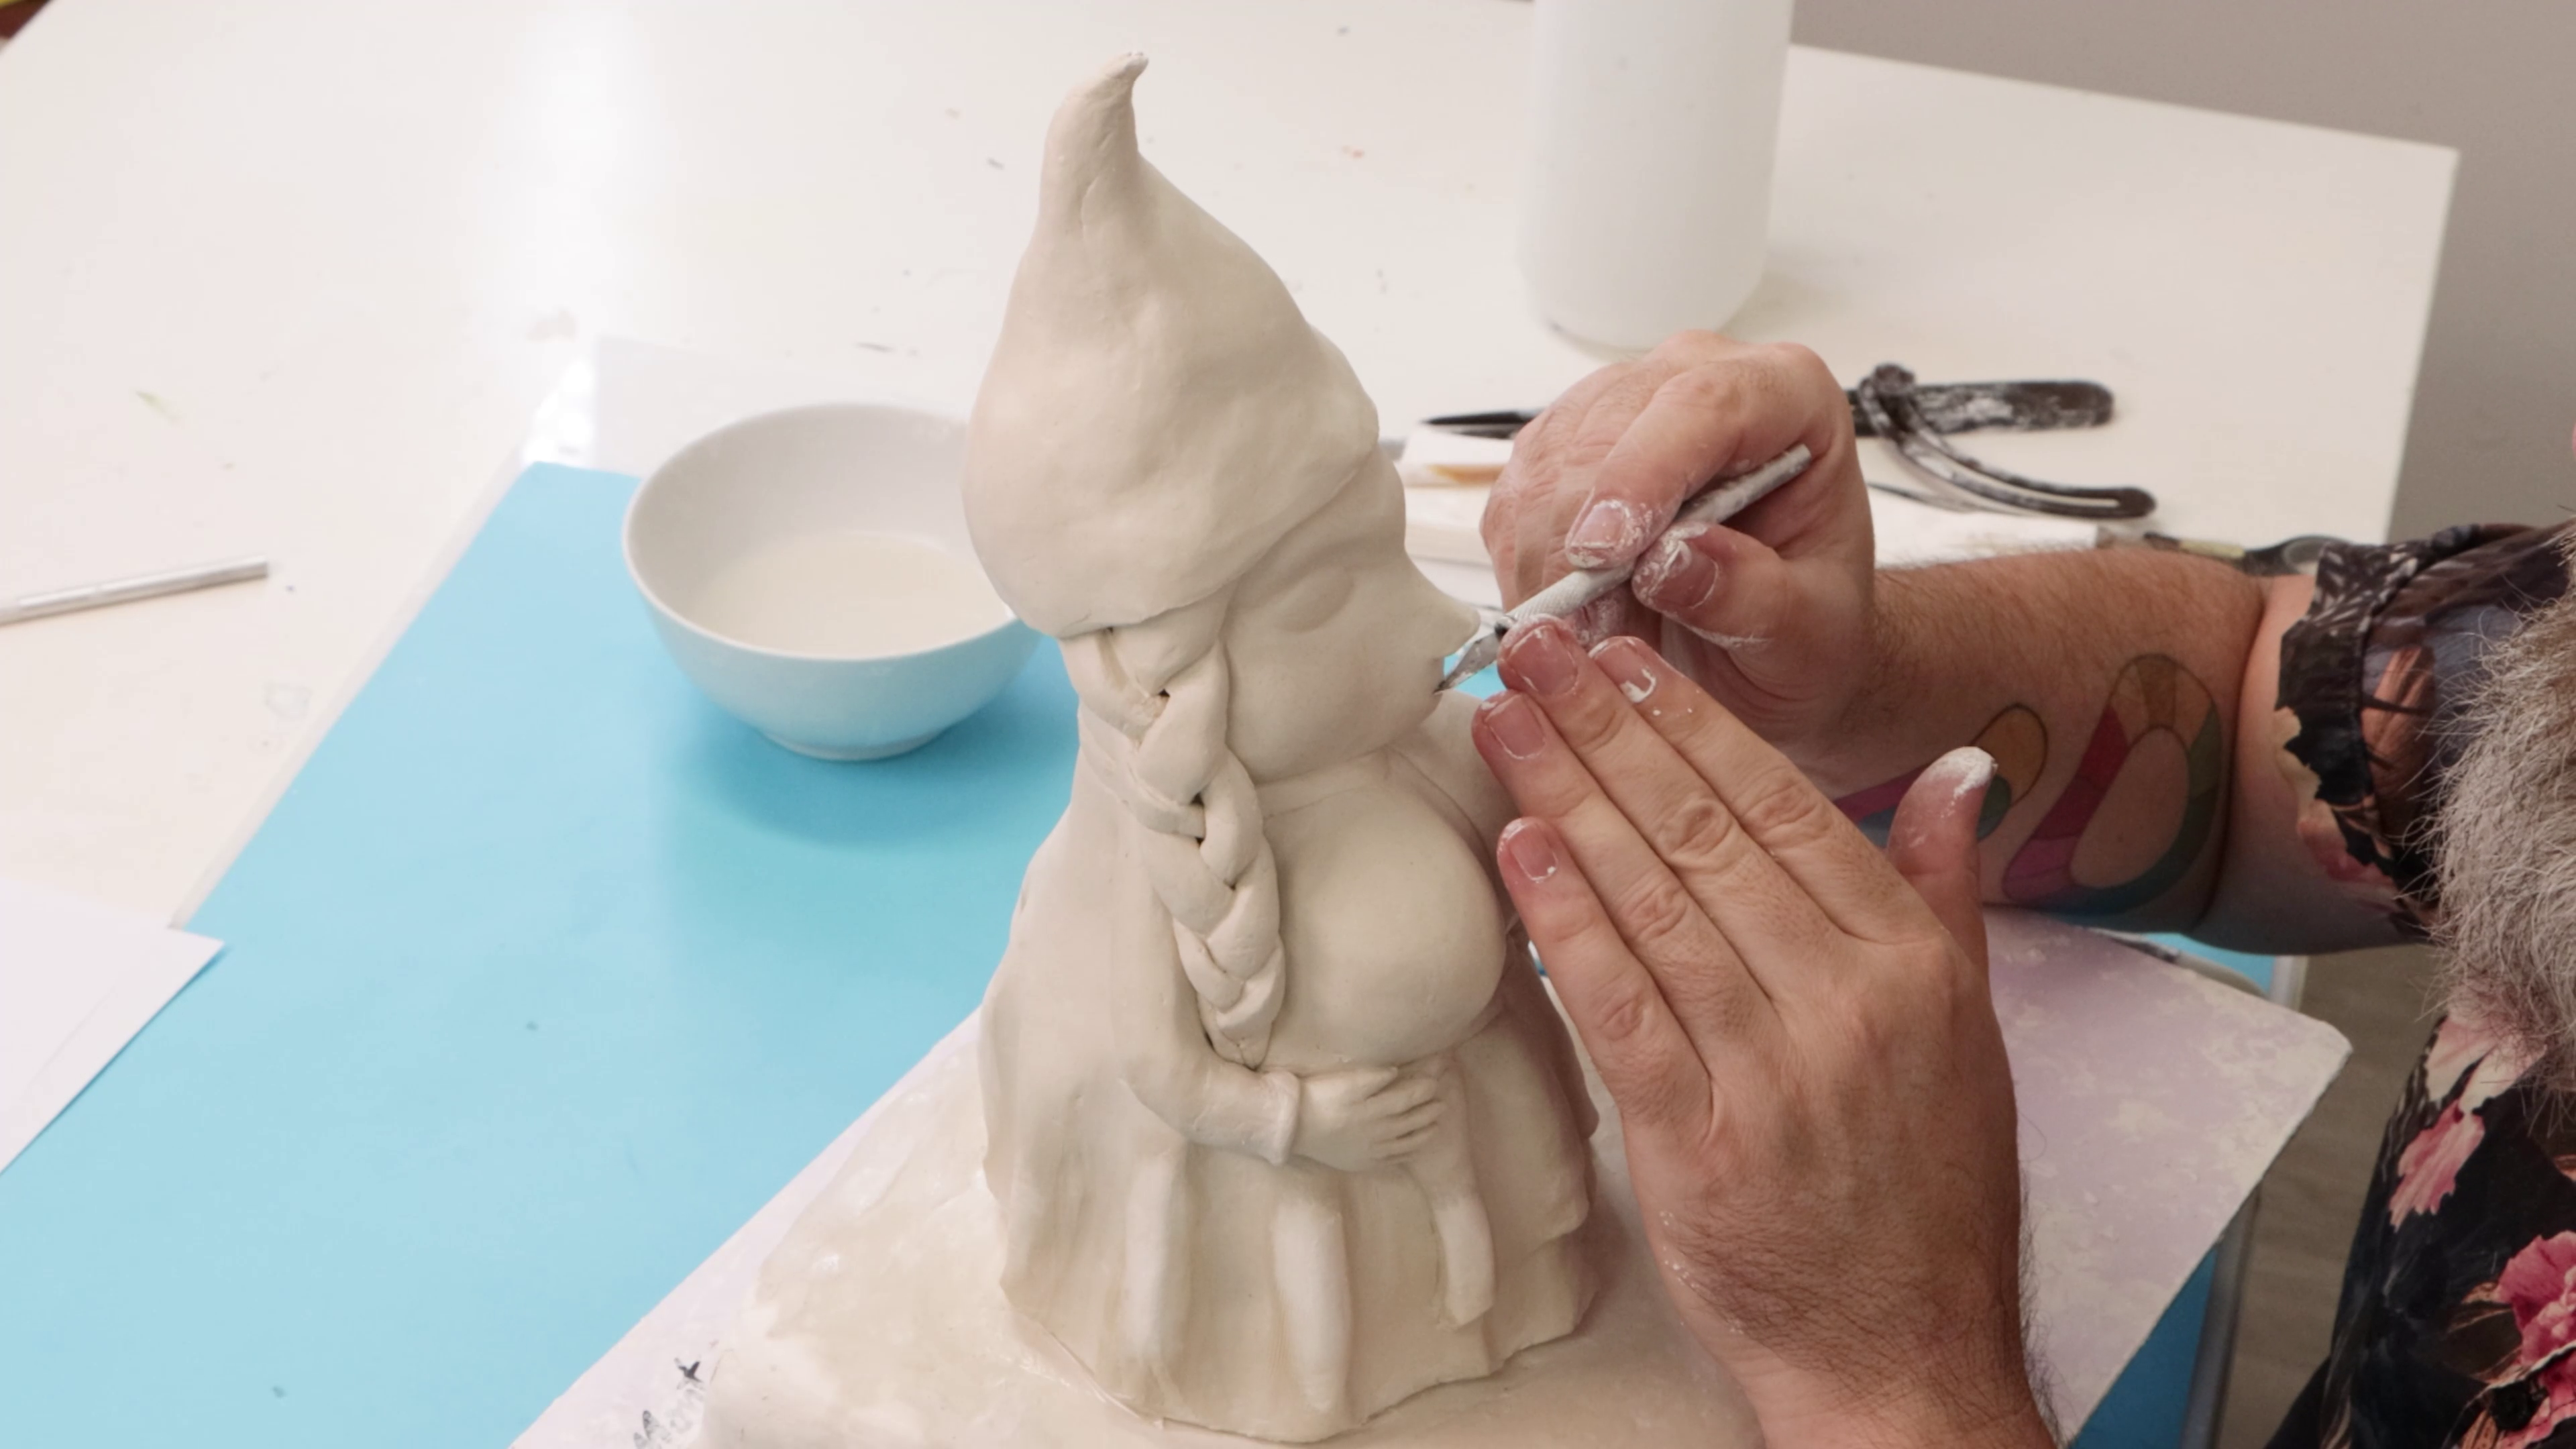
- Create plaits using three rolls of clay braided together
- Attach the plaits to the head, pressing the ends against the body and arms
- Roll out a sheet of clay and wrap it around the head to form a cone-shaped hat
- Smooth the hat to remove any visible joins
7. Dry and fix Cracks
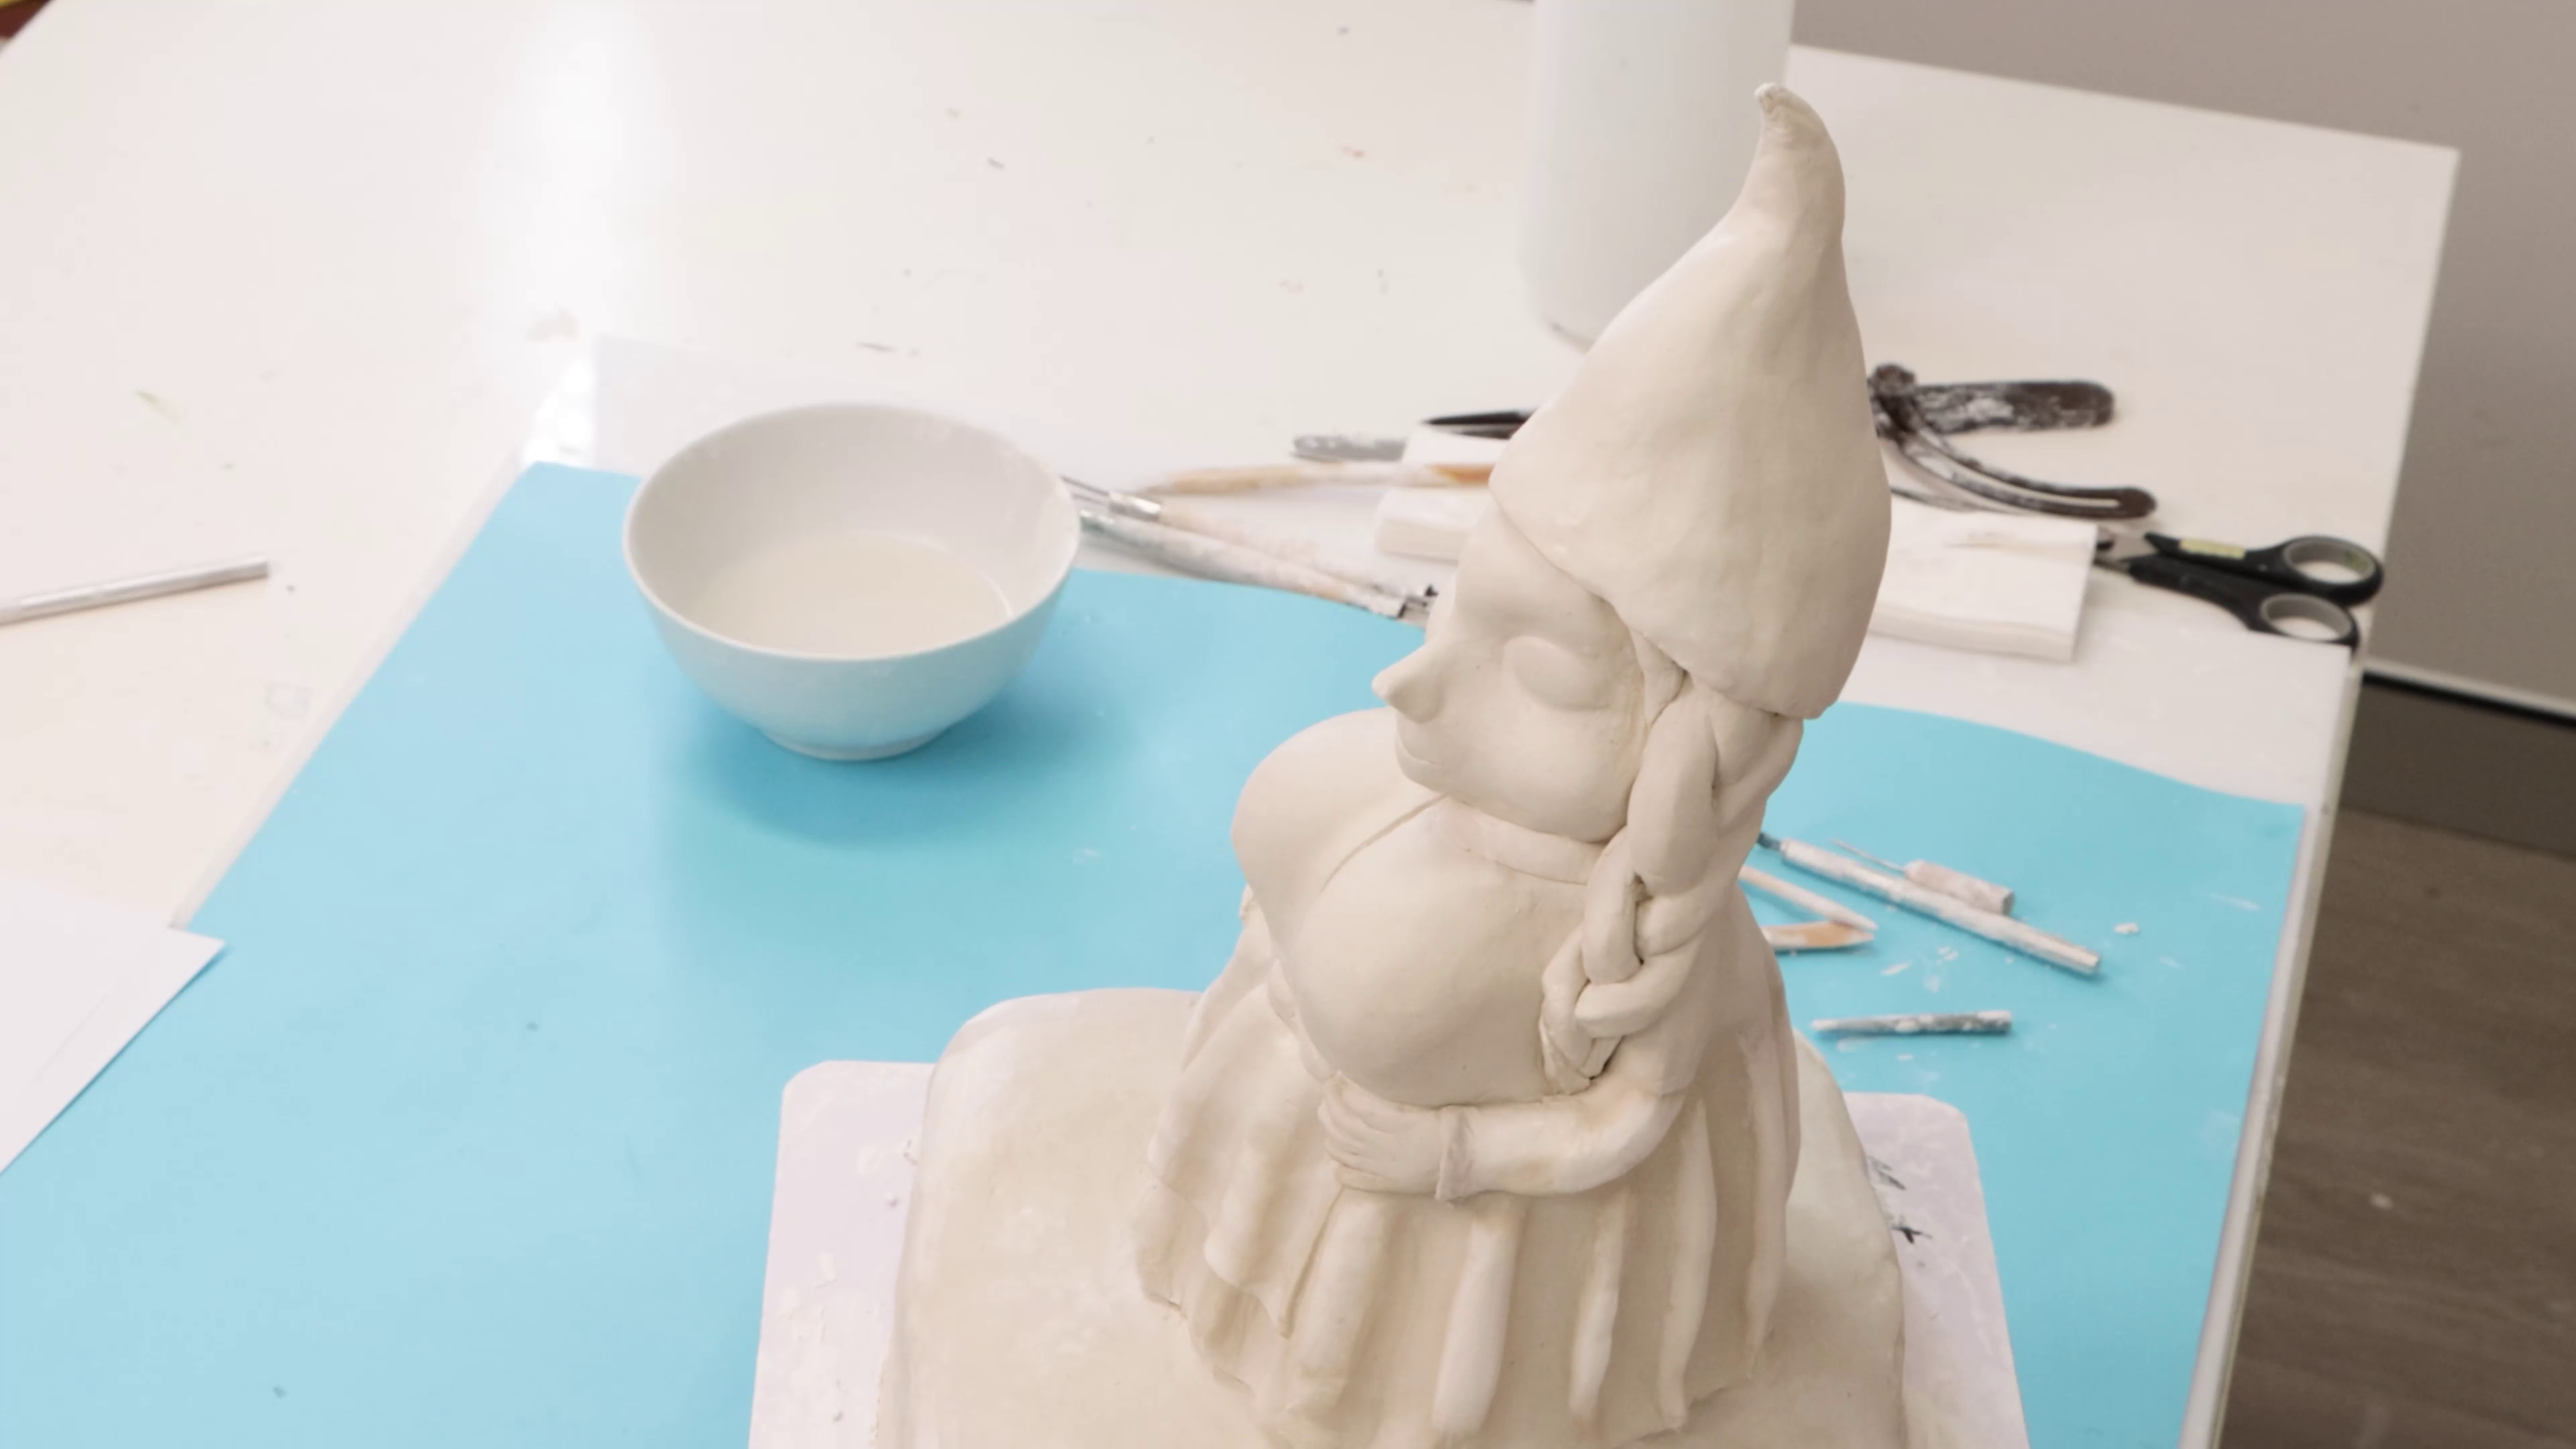
- Allow the gnome to dry completely; cracks may appear during the drying process
- Once bone dry, refill any cracks with fresh clay and let it dry fully again before painting
8. How to paint a gnome
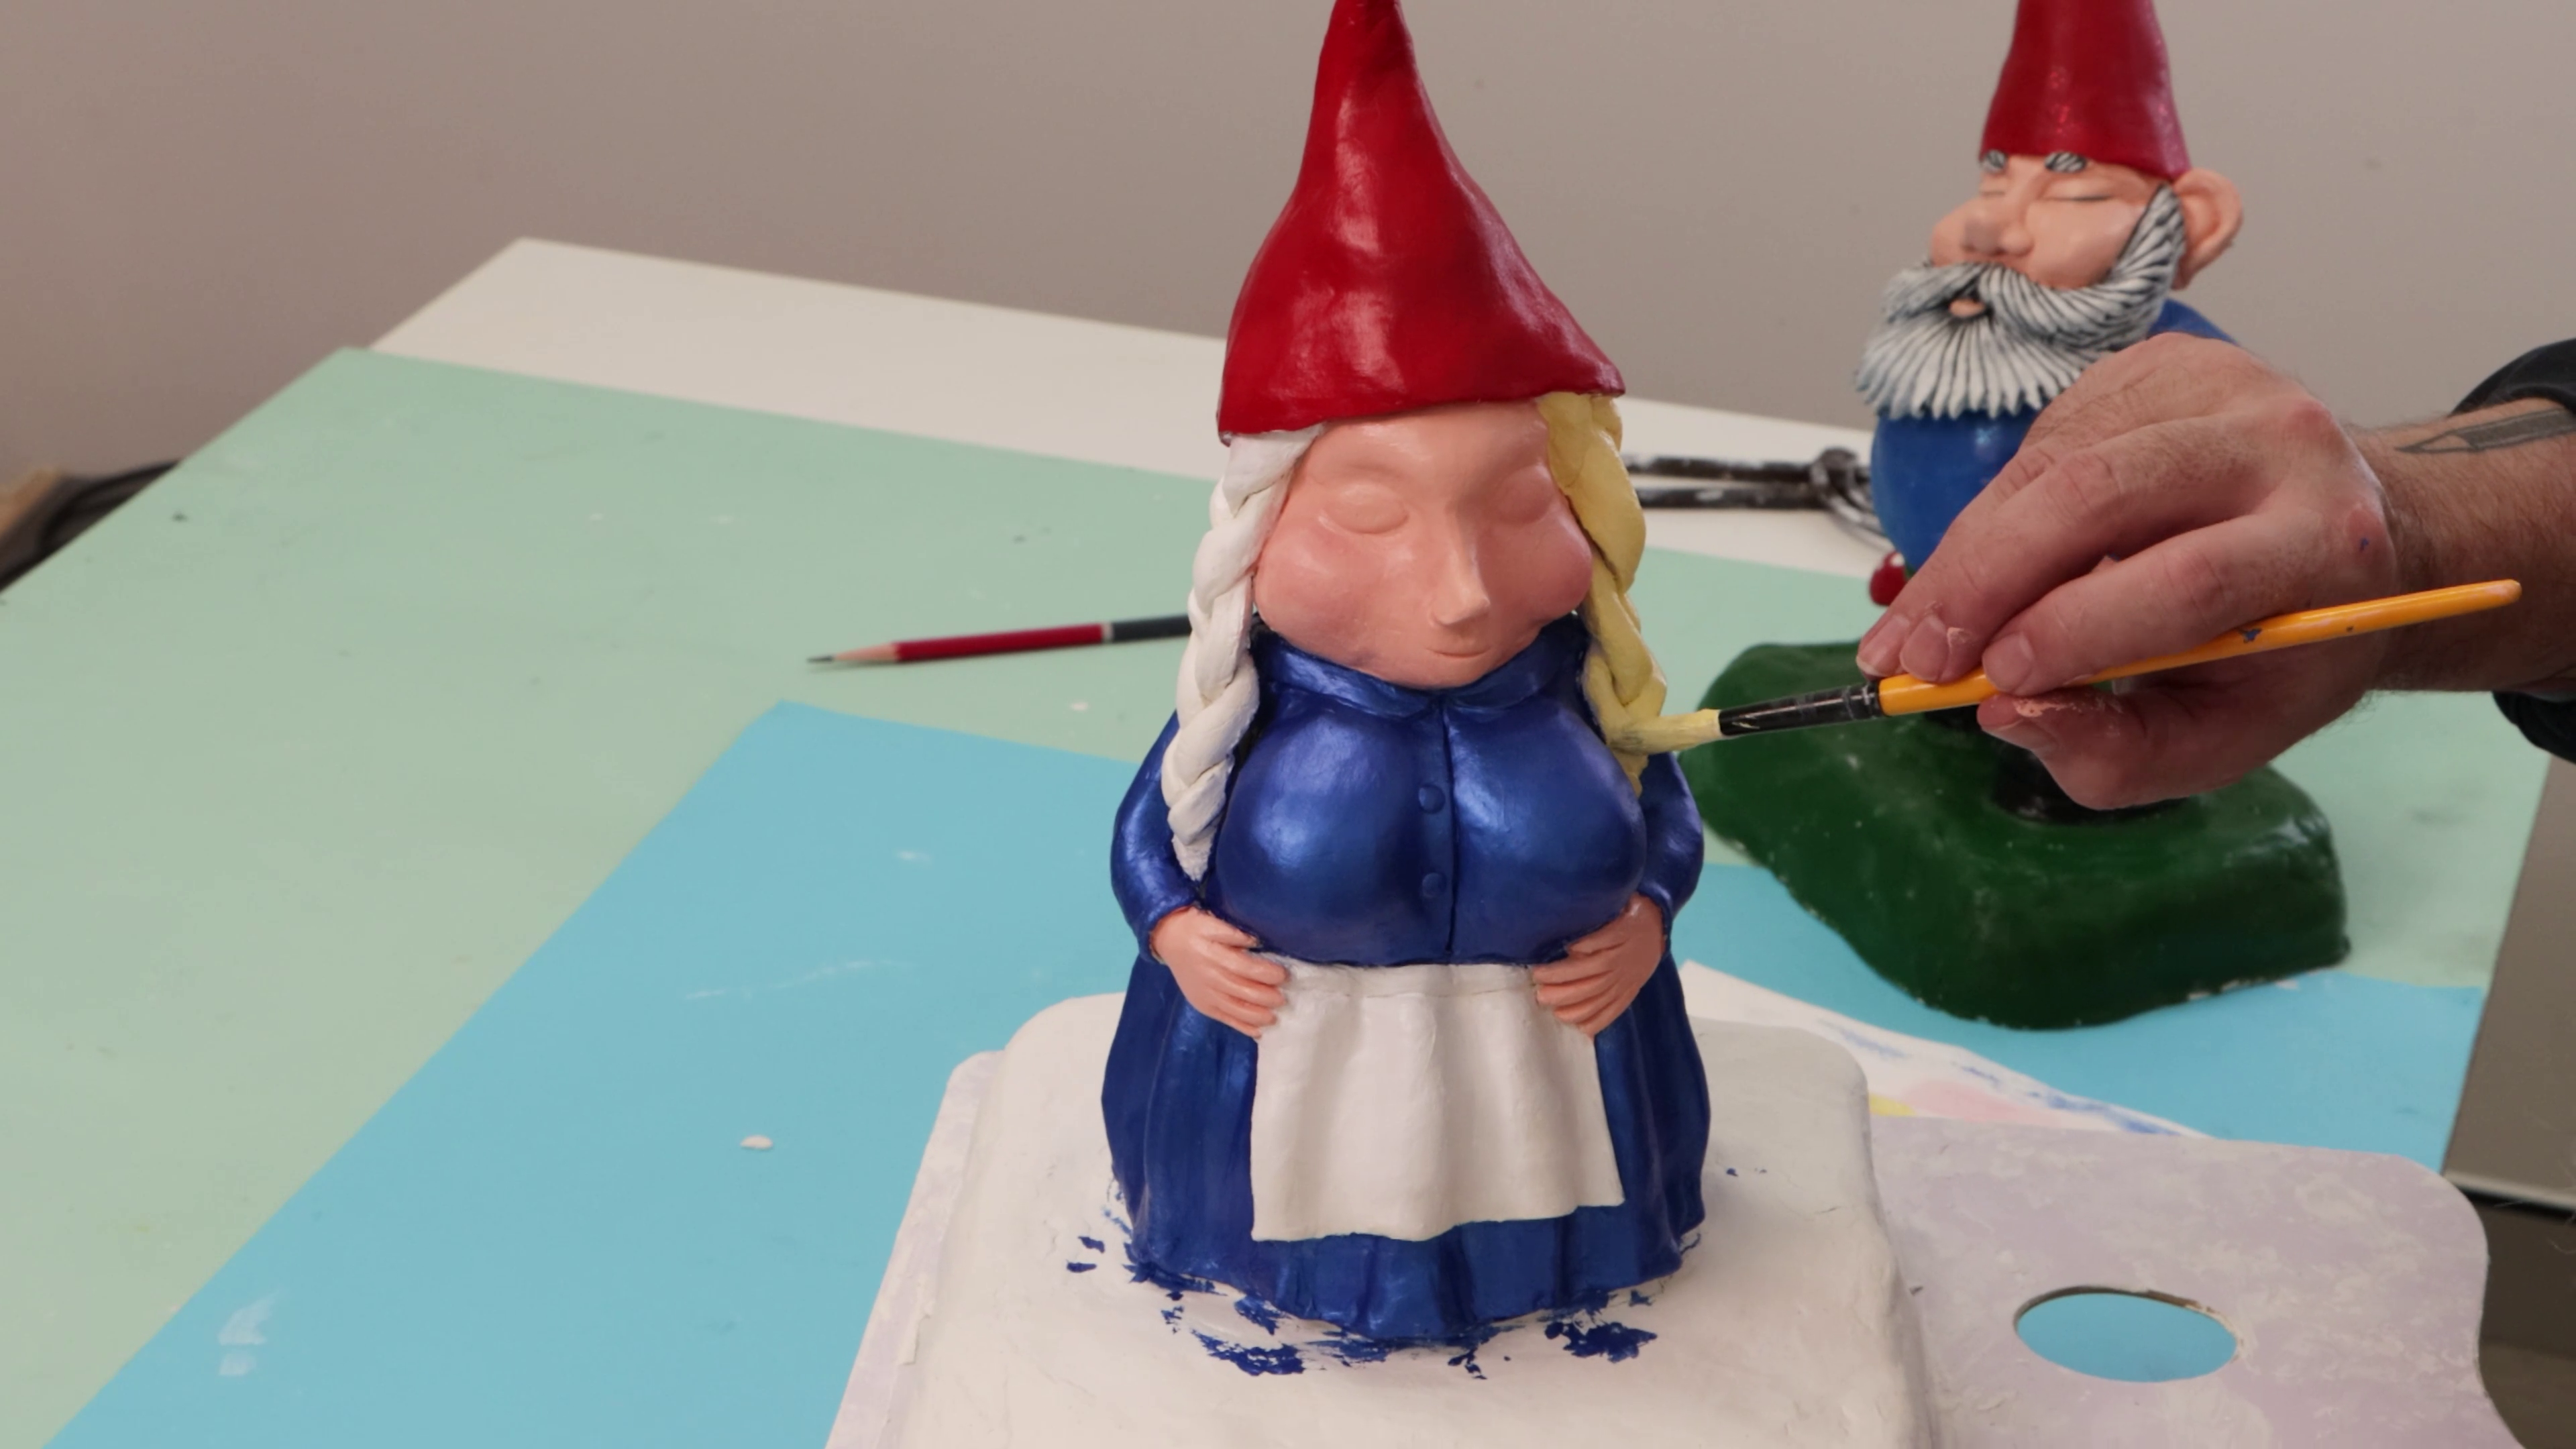
- Paint the cap with Brilliant Red
- Mix Yellow Pink and Titanium White to paint the face and hands
- Use Pearl Sapphire for the dress for a metallic shimmer
- Paint the apron with Titanium White
- Mix Lemon Yellow and Titanium White to paint the hair and eyebrows
- Paint the eyes a light blue and add some eyeliner with Lamp Black if you like!
- Paint the base with two coats of Sap Green
9. Final touches
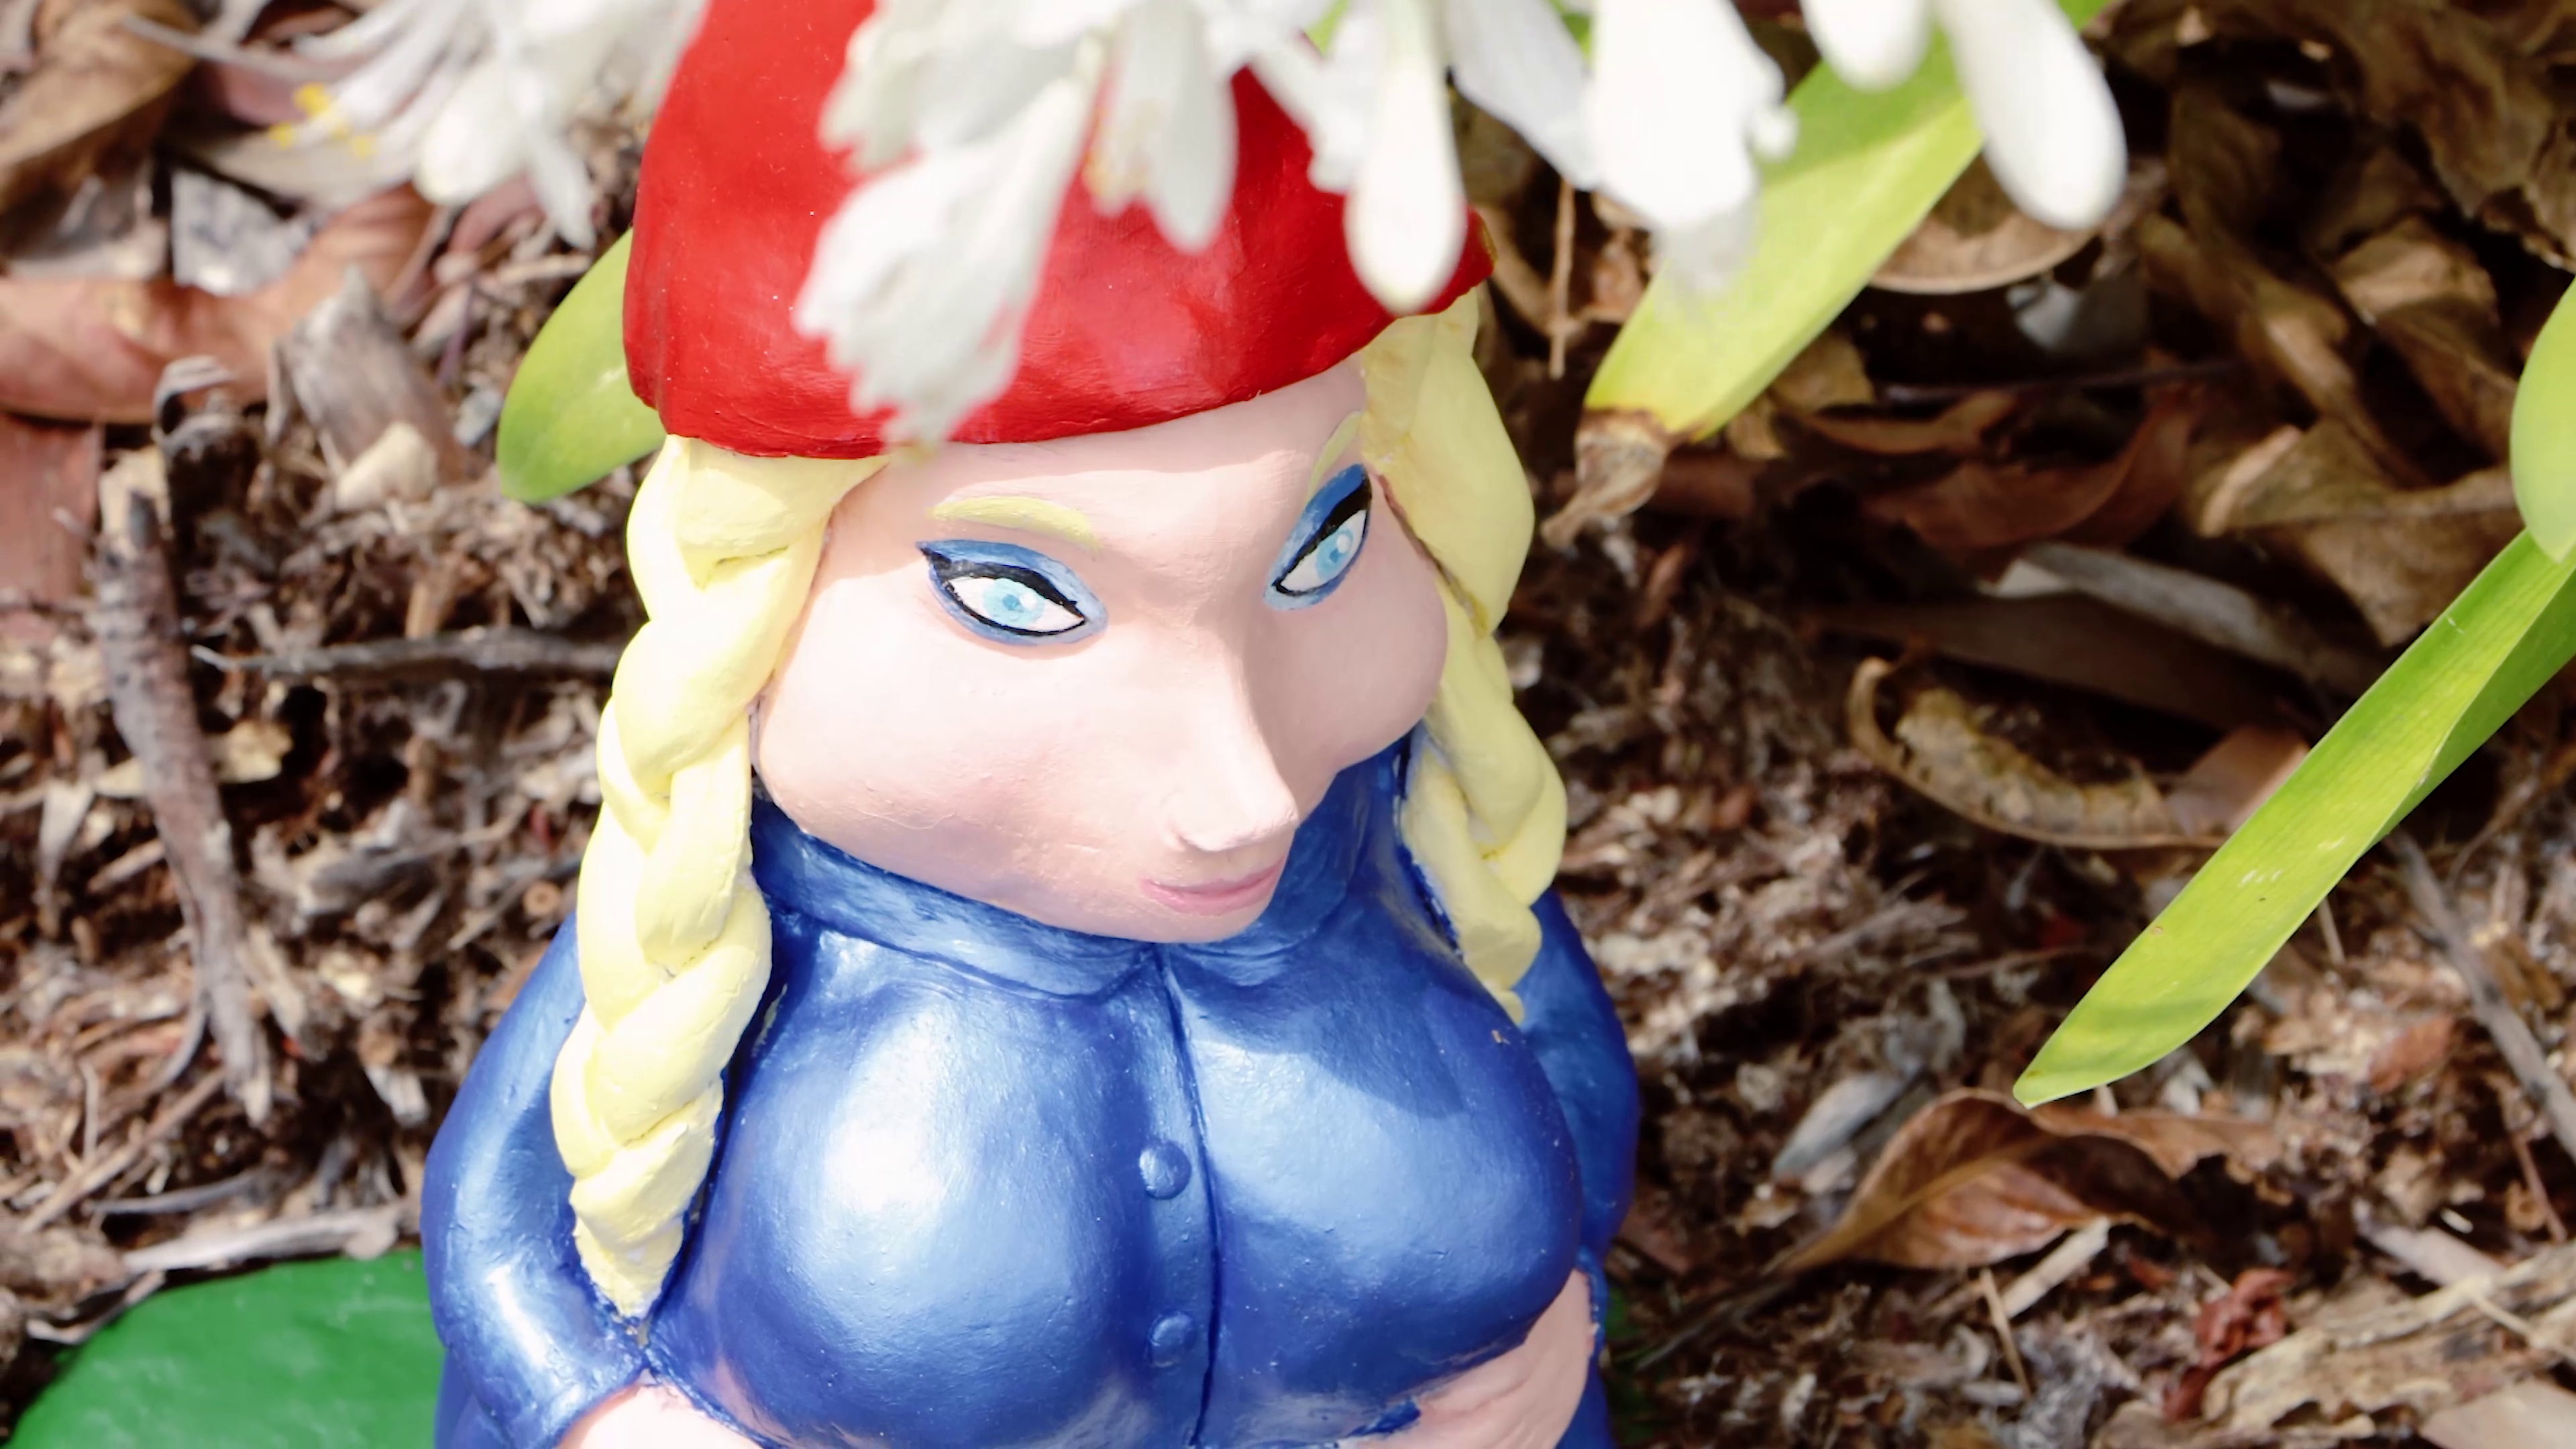
- Check for any missed spots or small details and touch them up
- Let the paint dry completely before displaying your gnome masterpiece!
We hope you enjoyed creating your charming gnome and have found a cosy spot for them to shine! If you haven’t already made Mr Gnome, why not follow our tutorial to make your friend a companion?
- Air Hardening Modelling Clay Premium 2kg (4.4lb) - White
- Canvas Double Thick Signature 20.3 x 20.3cm (8 x 8in)
- Precision Craft Knife Signature 3pc
- Pottery Tool Set Signature 23pc
- Satin Acrylic Paint Premium 75ml (Brilliant Red, Yellow Pink, Titanium White, Lemon Yellow, Lamp Black)
- Dimension Acrylic Paint Premium 75ml (Pearl Sapphire, Sap Green)
- Aluminium foil


