Stained glass painting tutorial
Step 1: Drawing reference
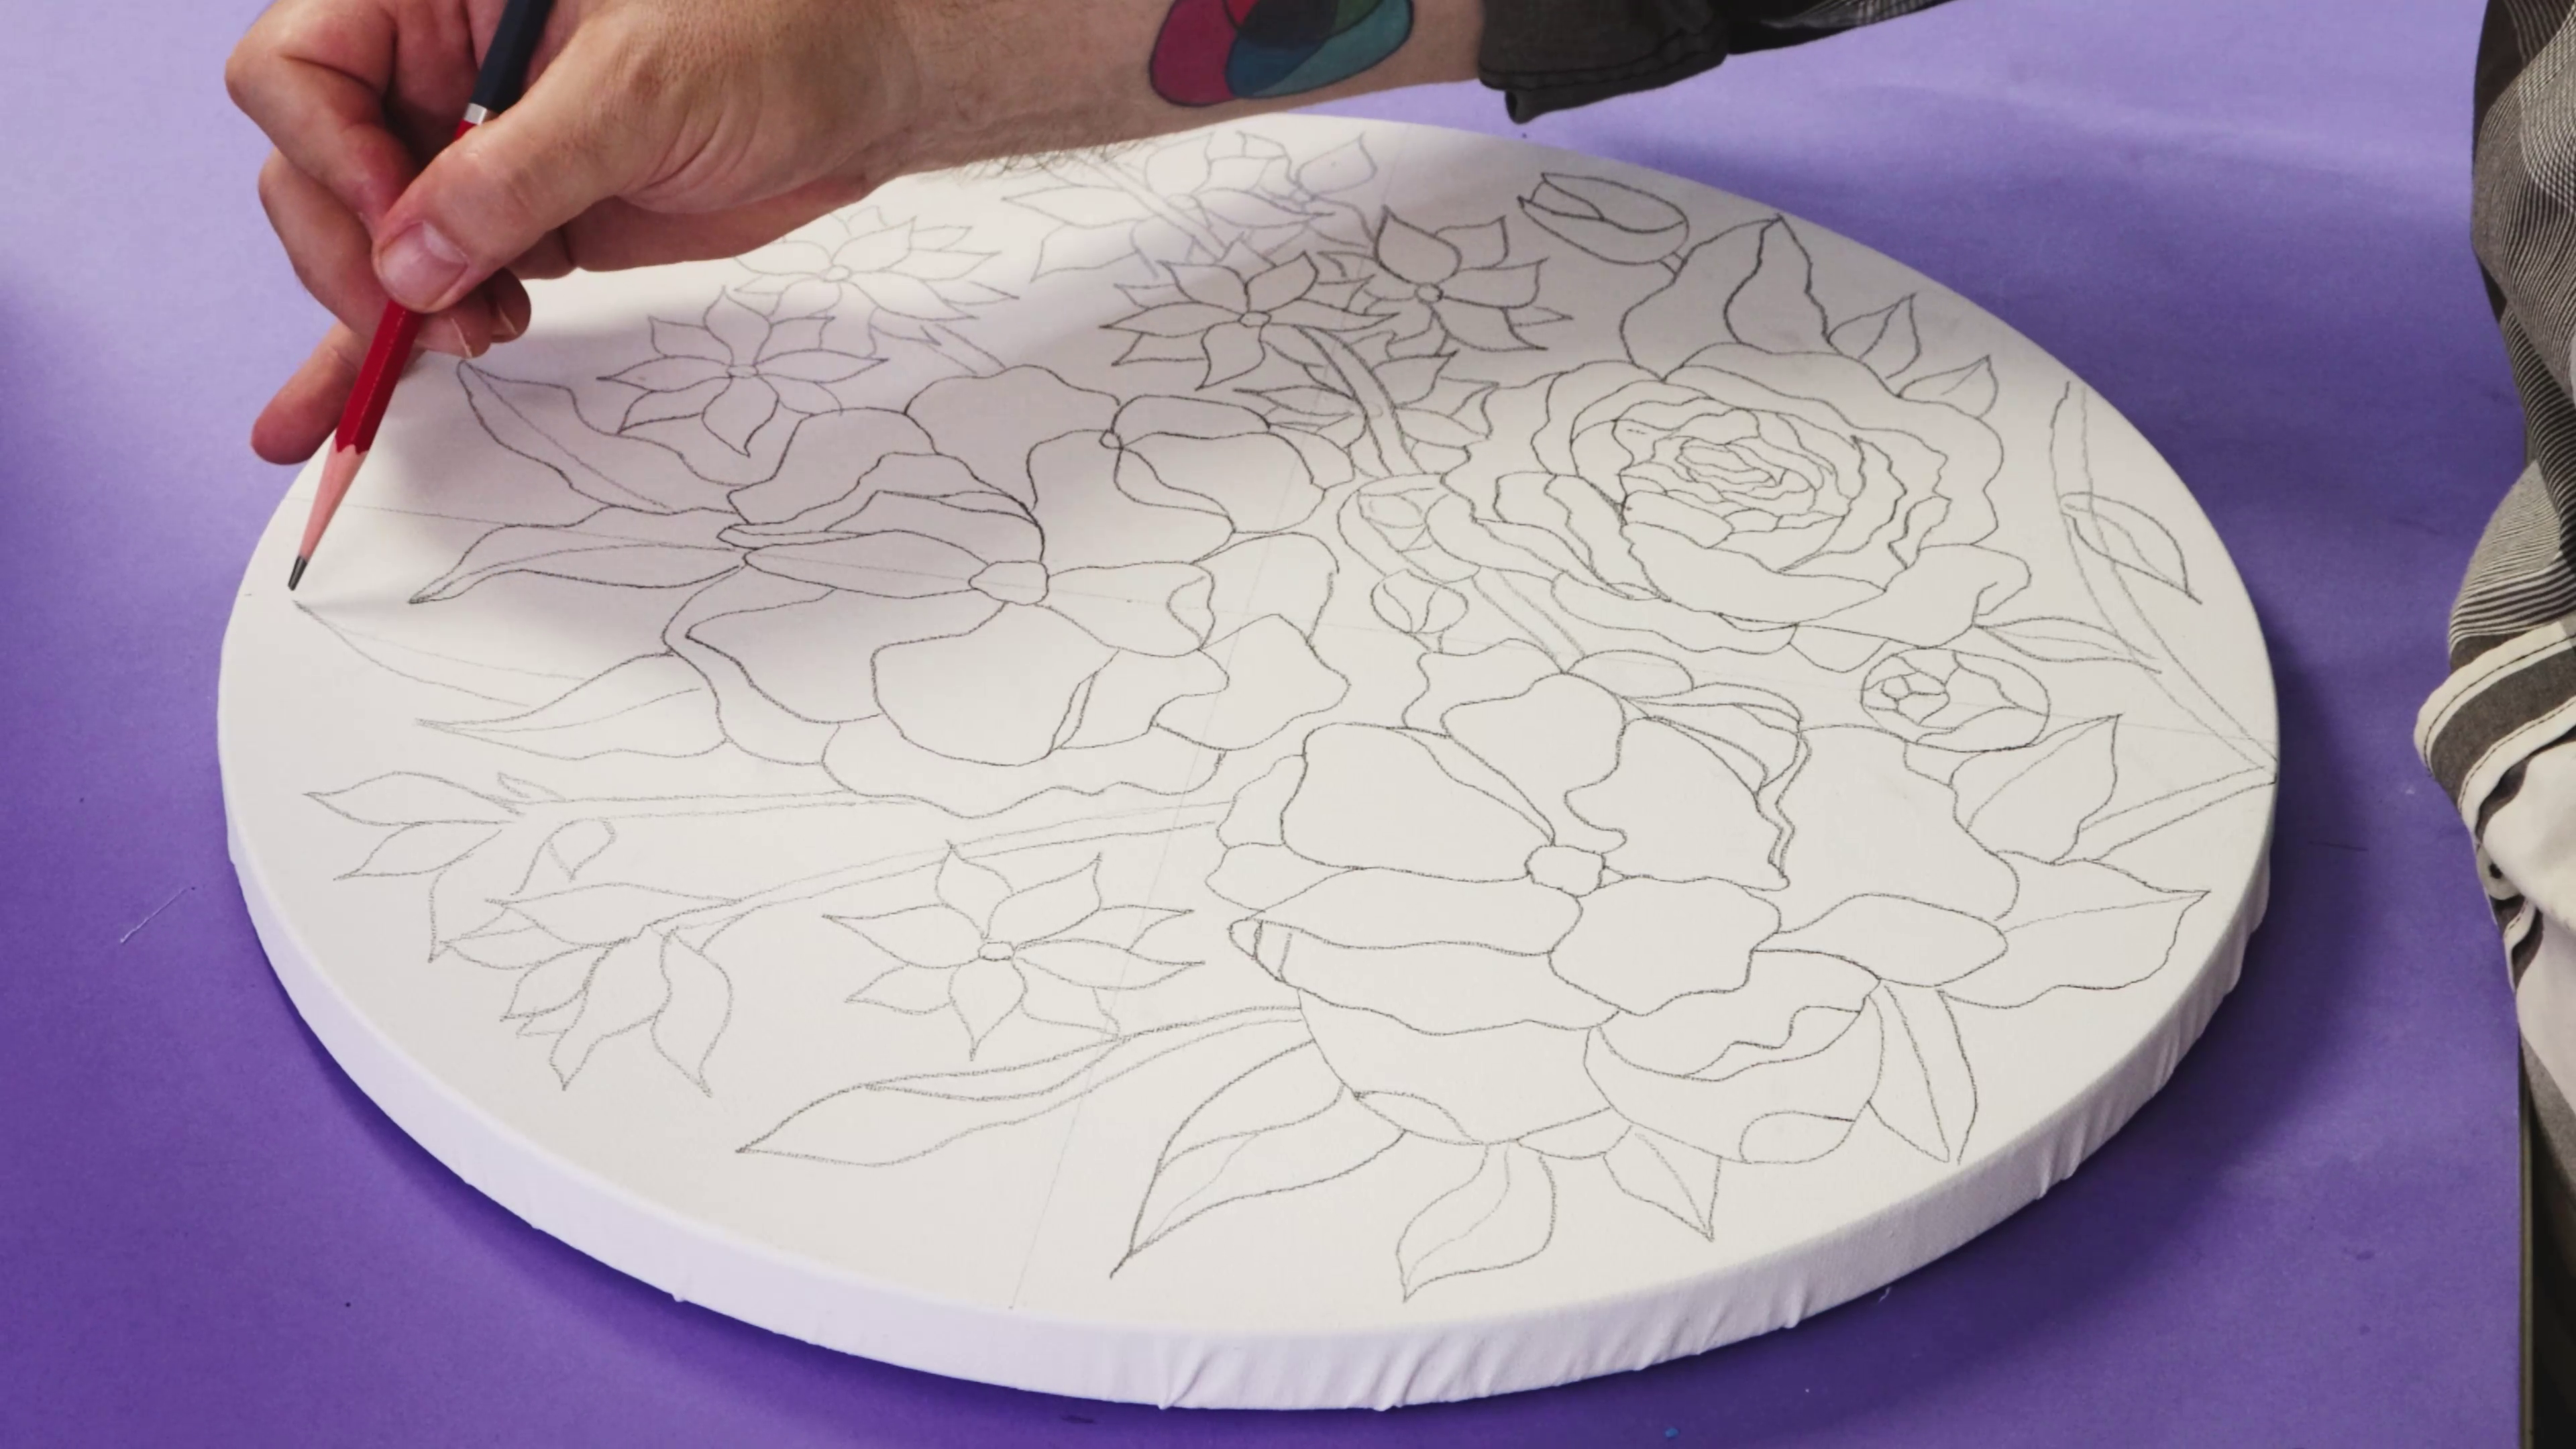
- Lightly draw the design onto your round canvas using a graphite pencil
- Feel free to use our printout for guidance or create your own design
- Keep the lines spaced out to make the next steps easier
- Simplify or stylise the flowers as much as you like!
Step 2: Cutting the paint tube
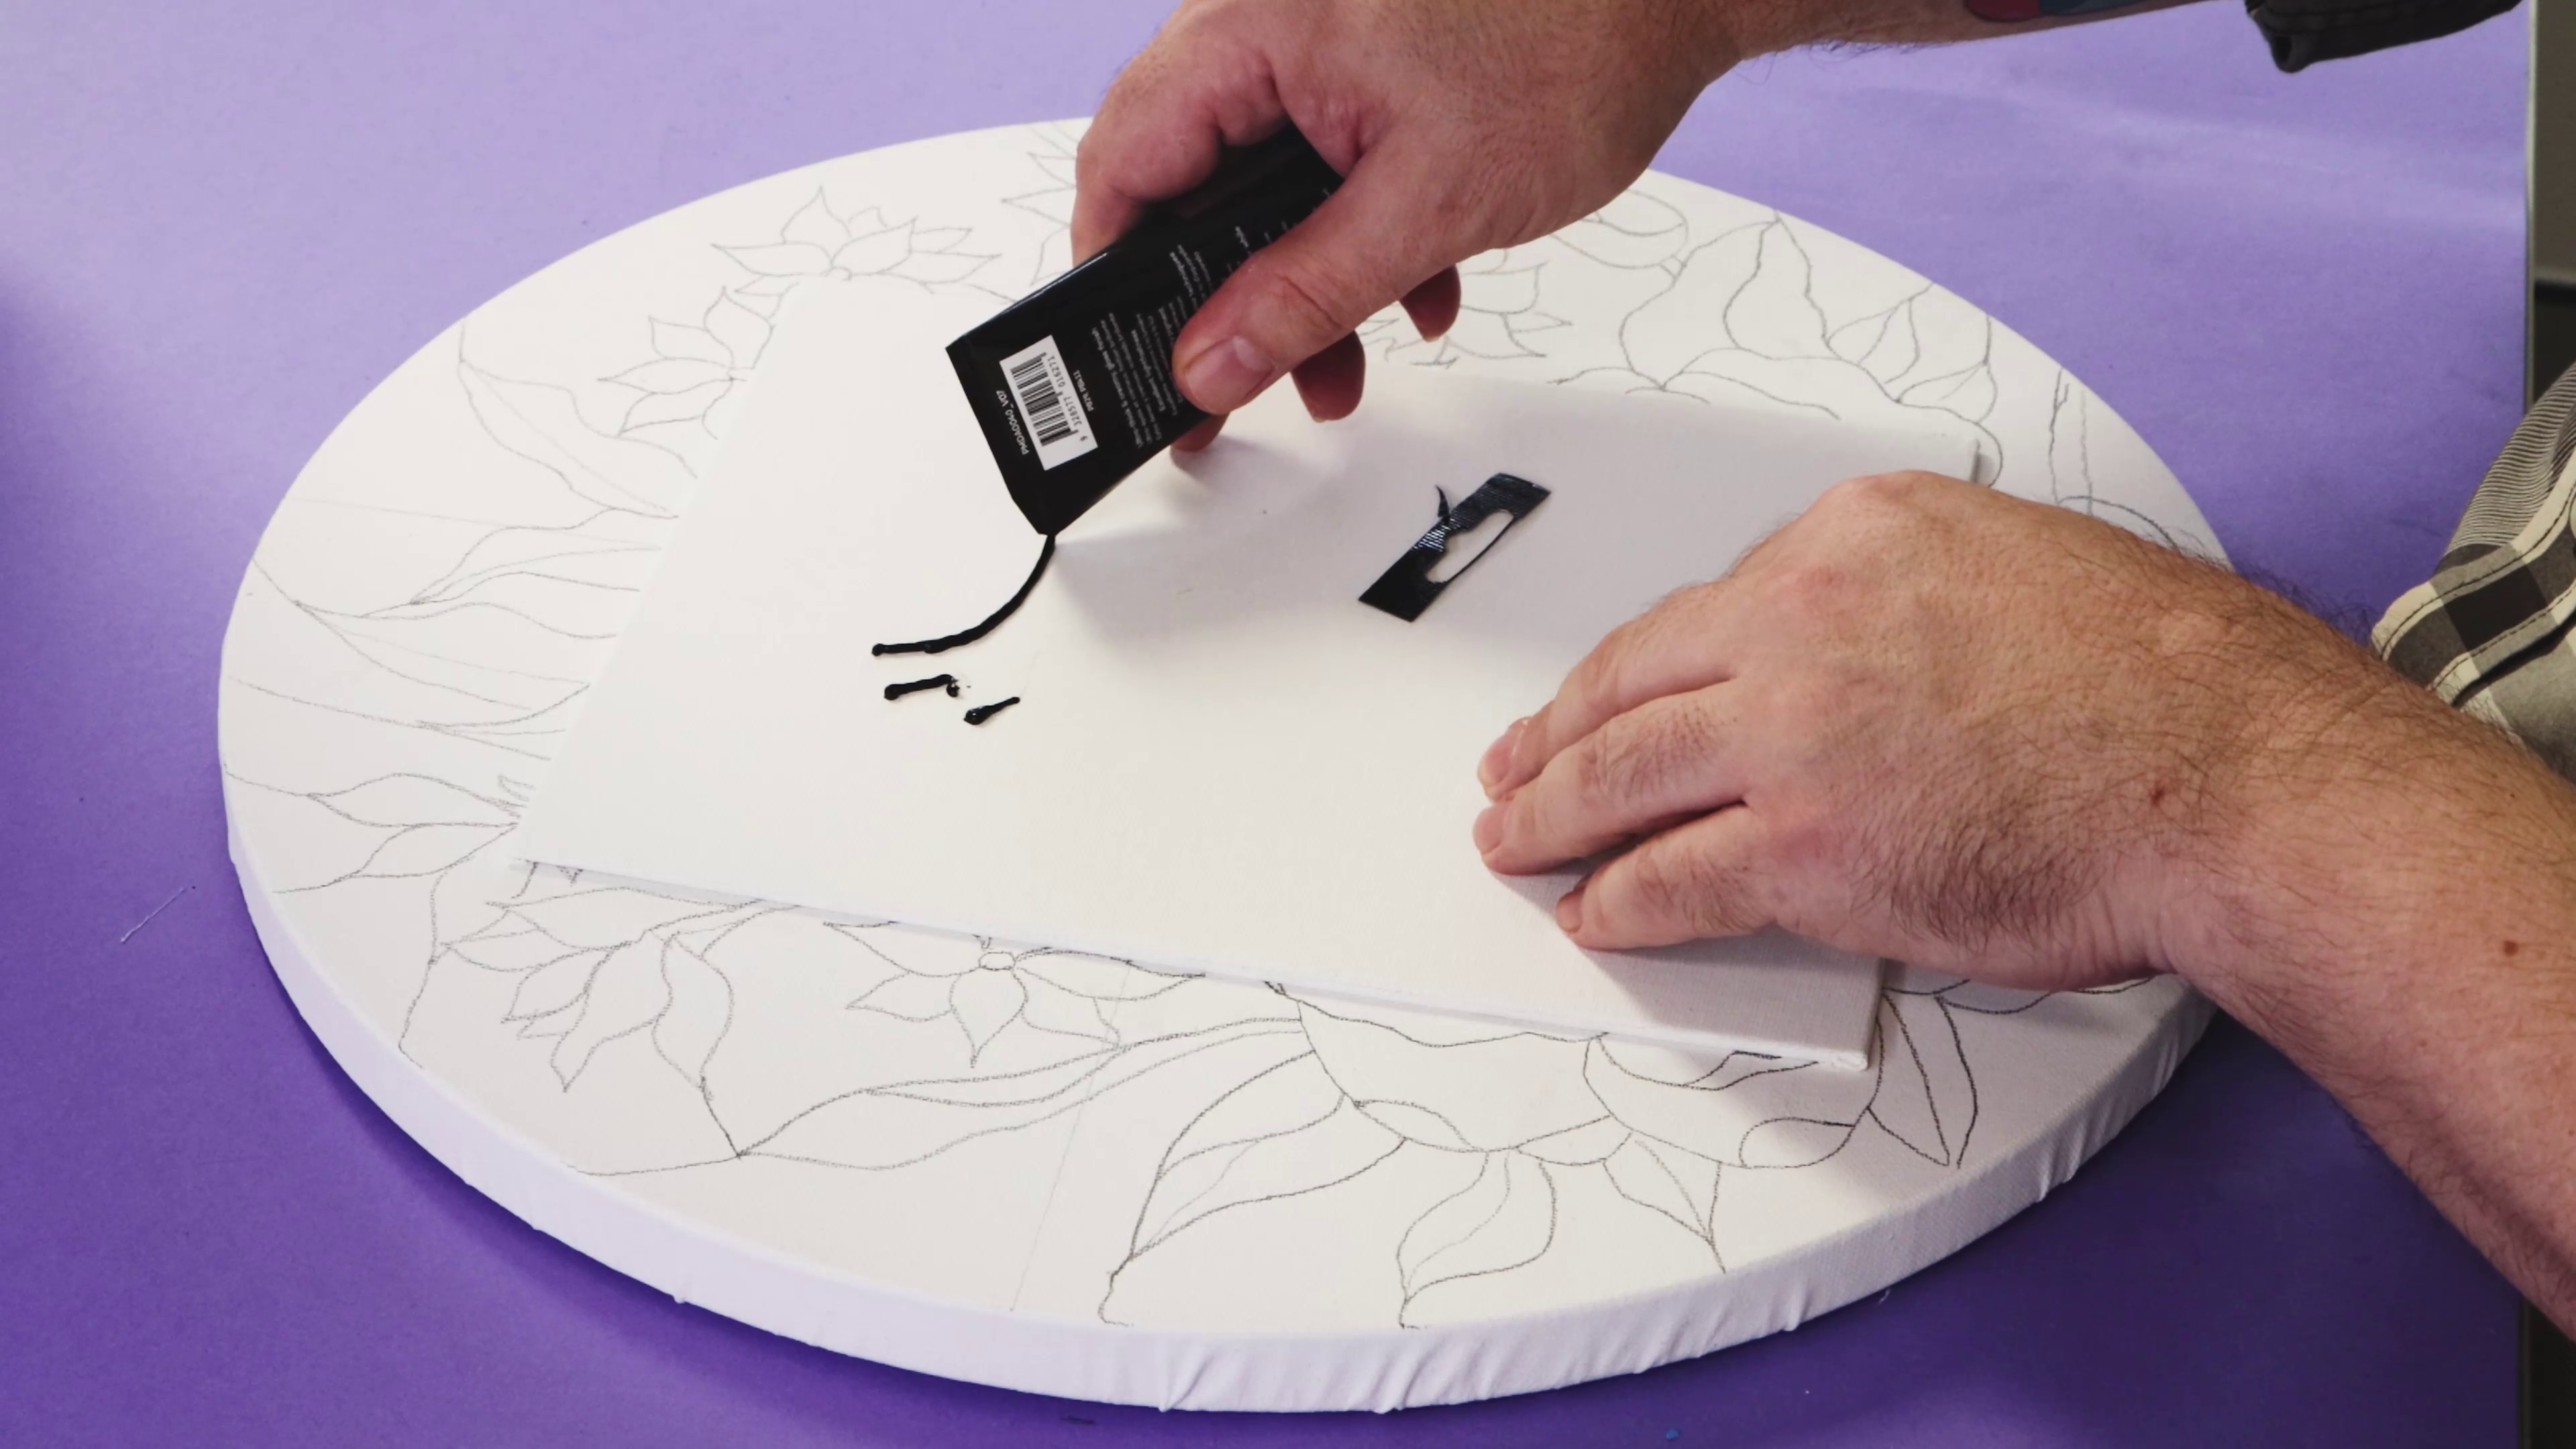
- Use a tube of Payne’s Grey Dimension acrylic paint to create the thick linework
- Cut the tab off the bottom of the tube, leaving about 1 mm
- Cut the corner off the paint tube carefully, ensuring the bead of paint won’t be too thick
- Test out piping linework on scrap paper before starting on your main piece
Step 3: Paint piping
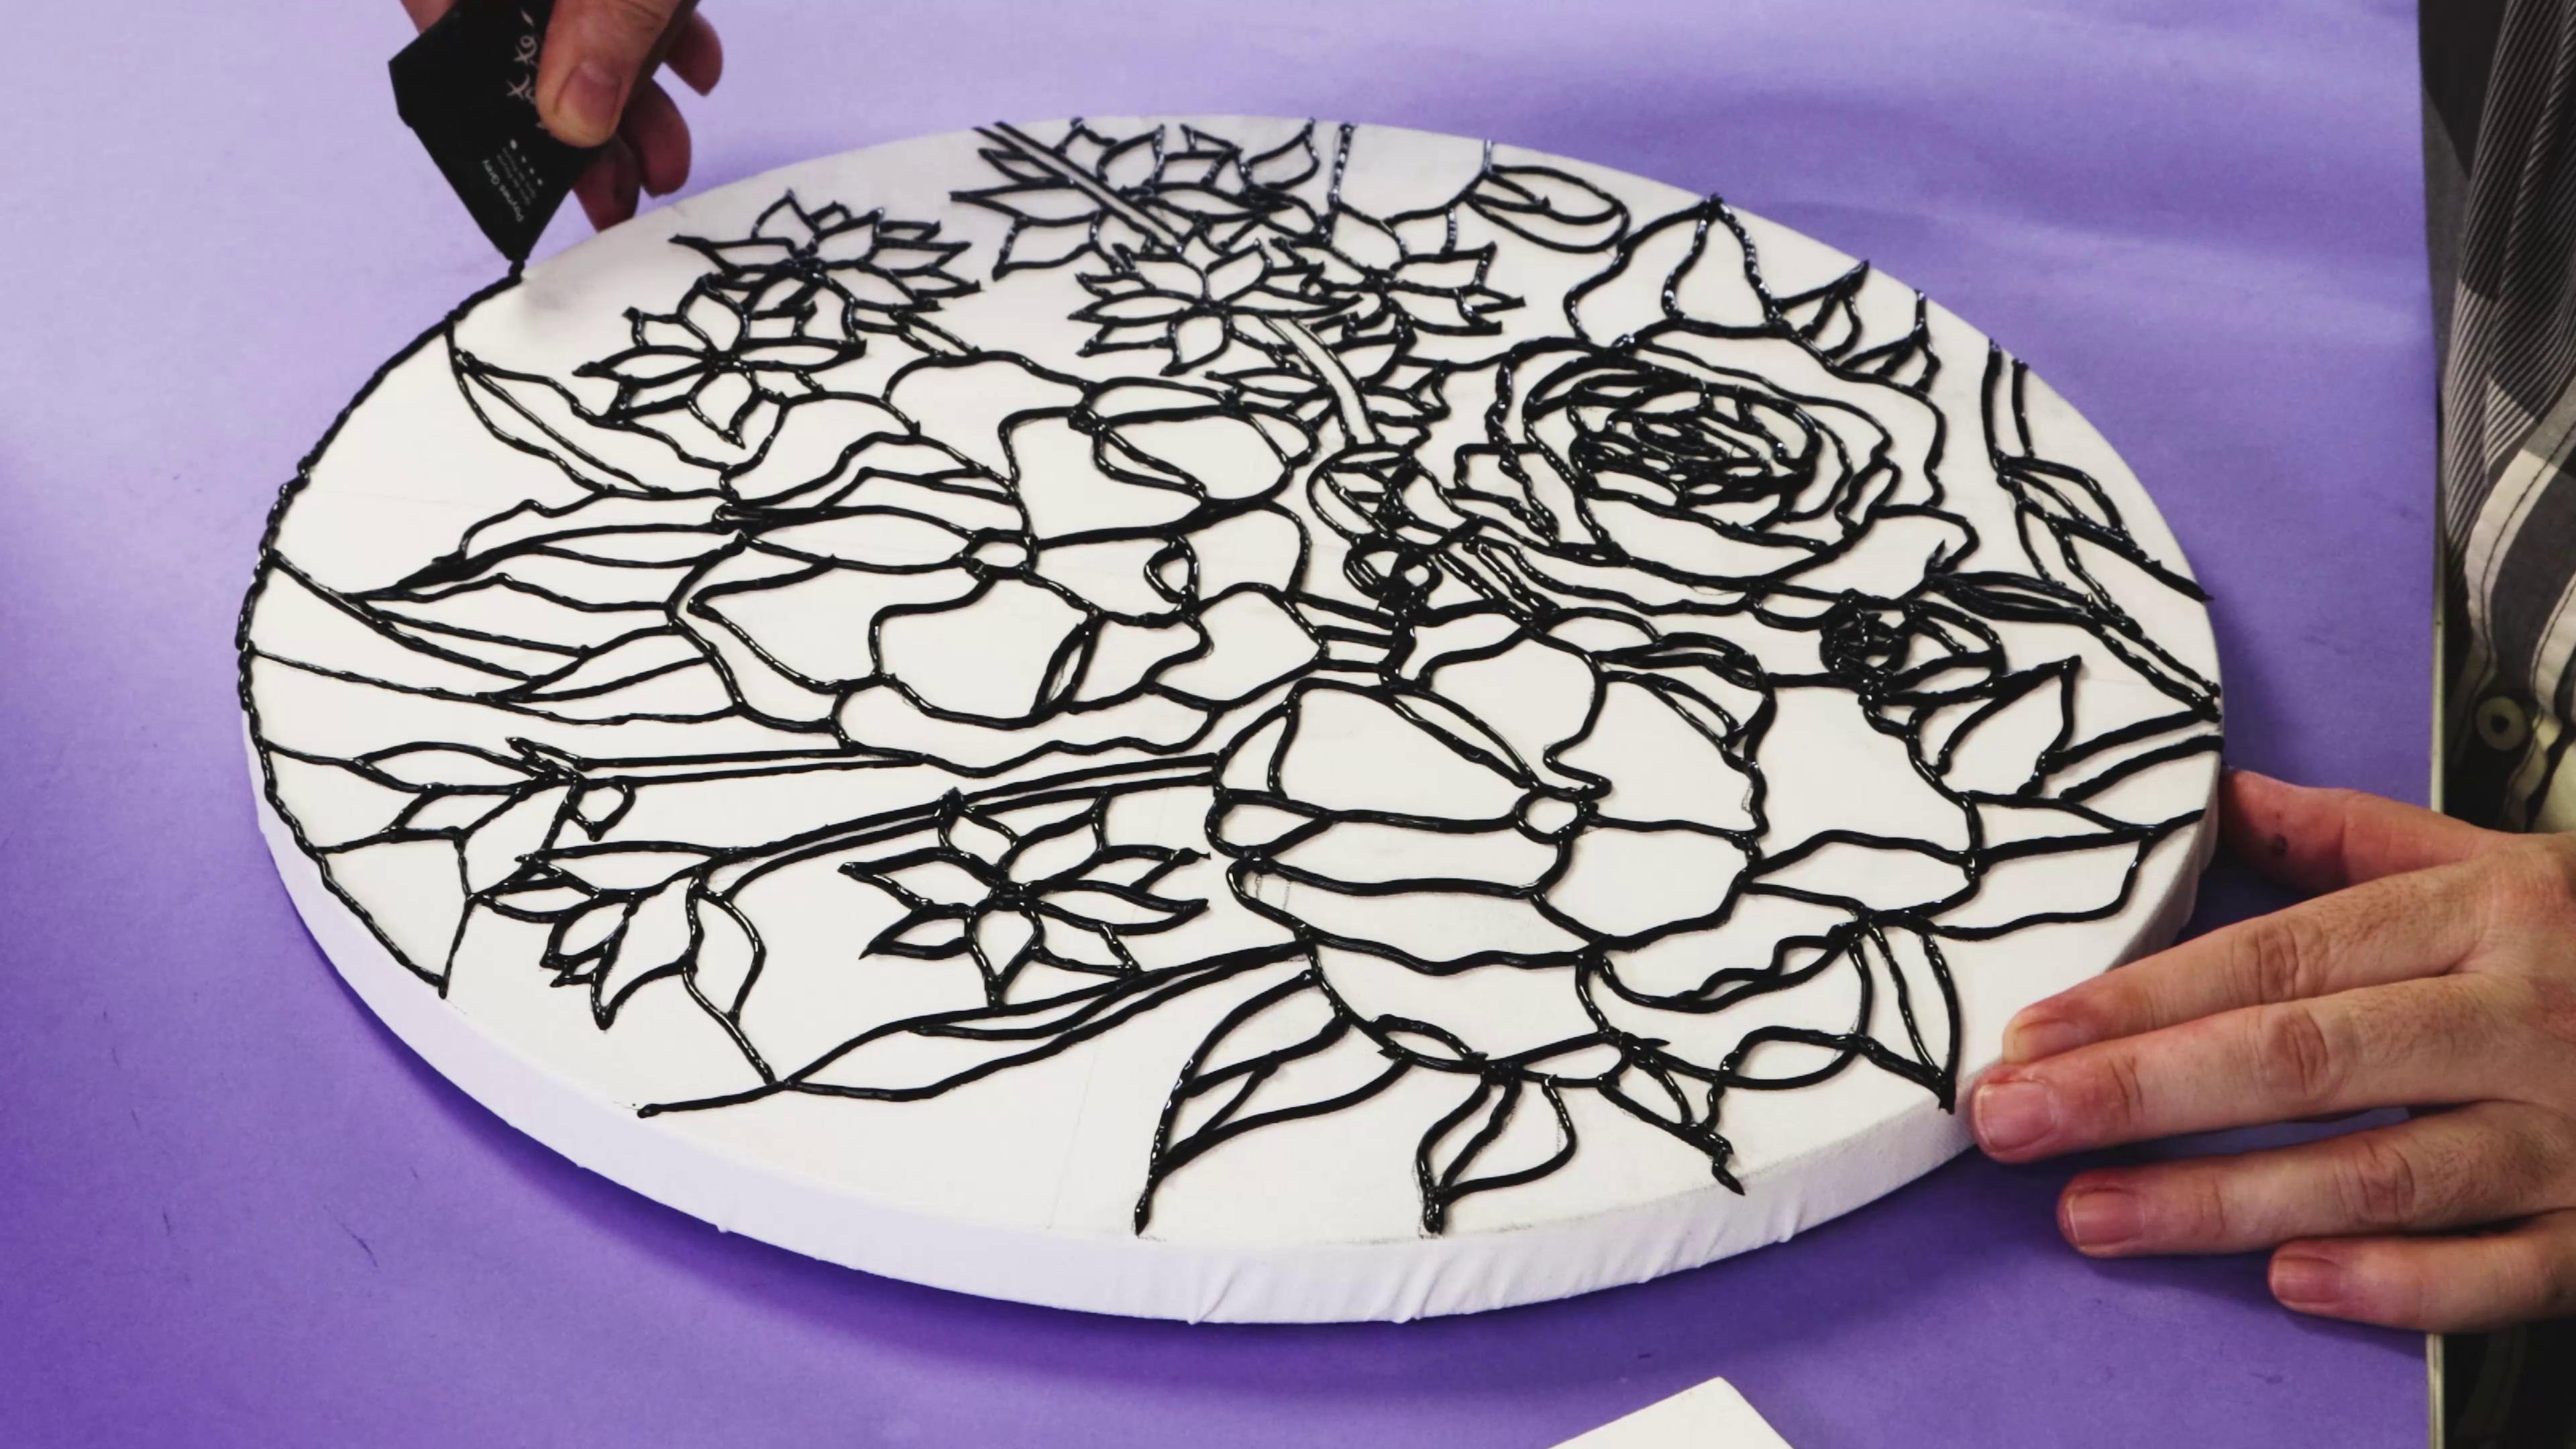
- Hold the tube about 5mm above the canvas and gently squeeze as you move along the drawn lines
- Continue this process until all linework is complete
- Add a line around the entire canvas edge for a finished look
- Allow the linework to dry overnight
Step 4: Satin Acrylic painting
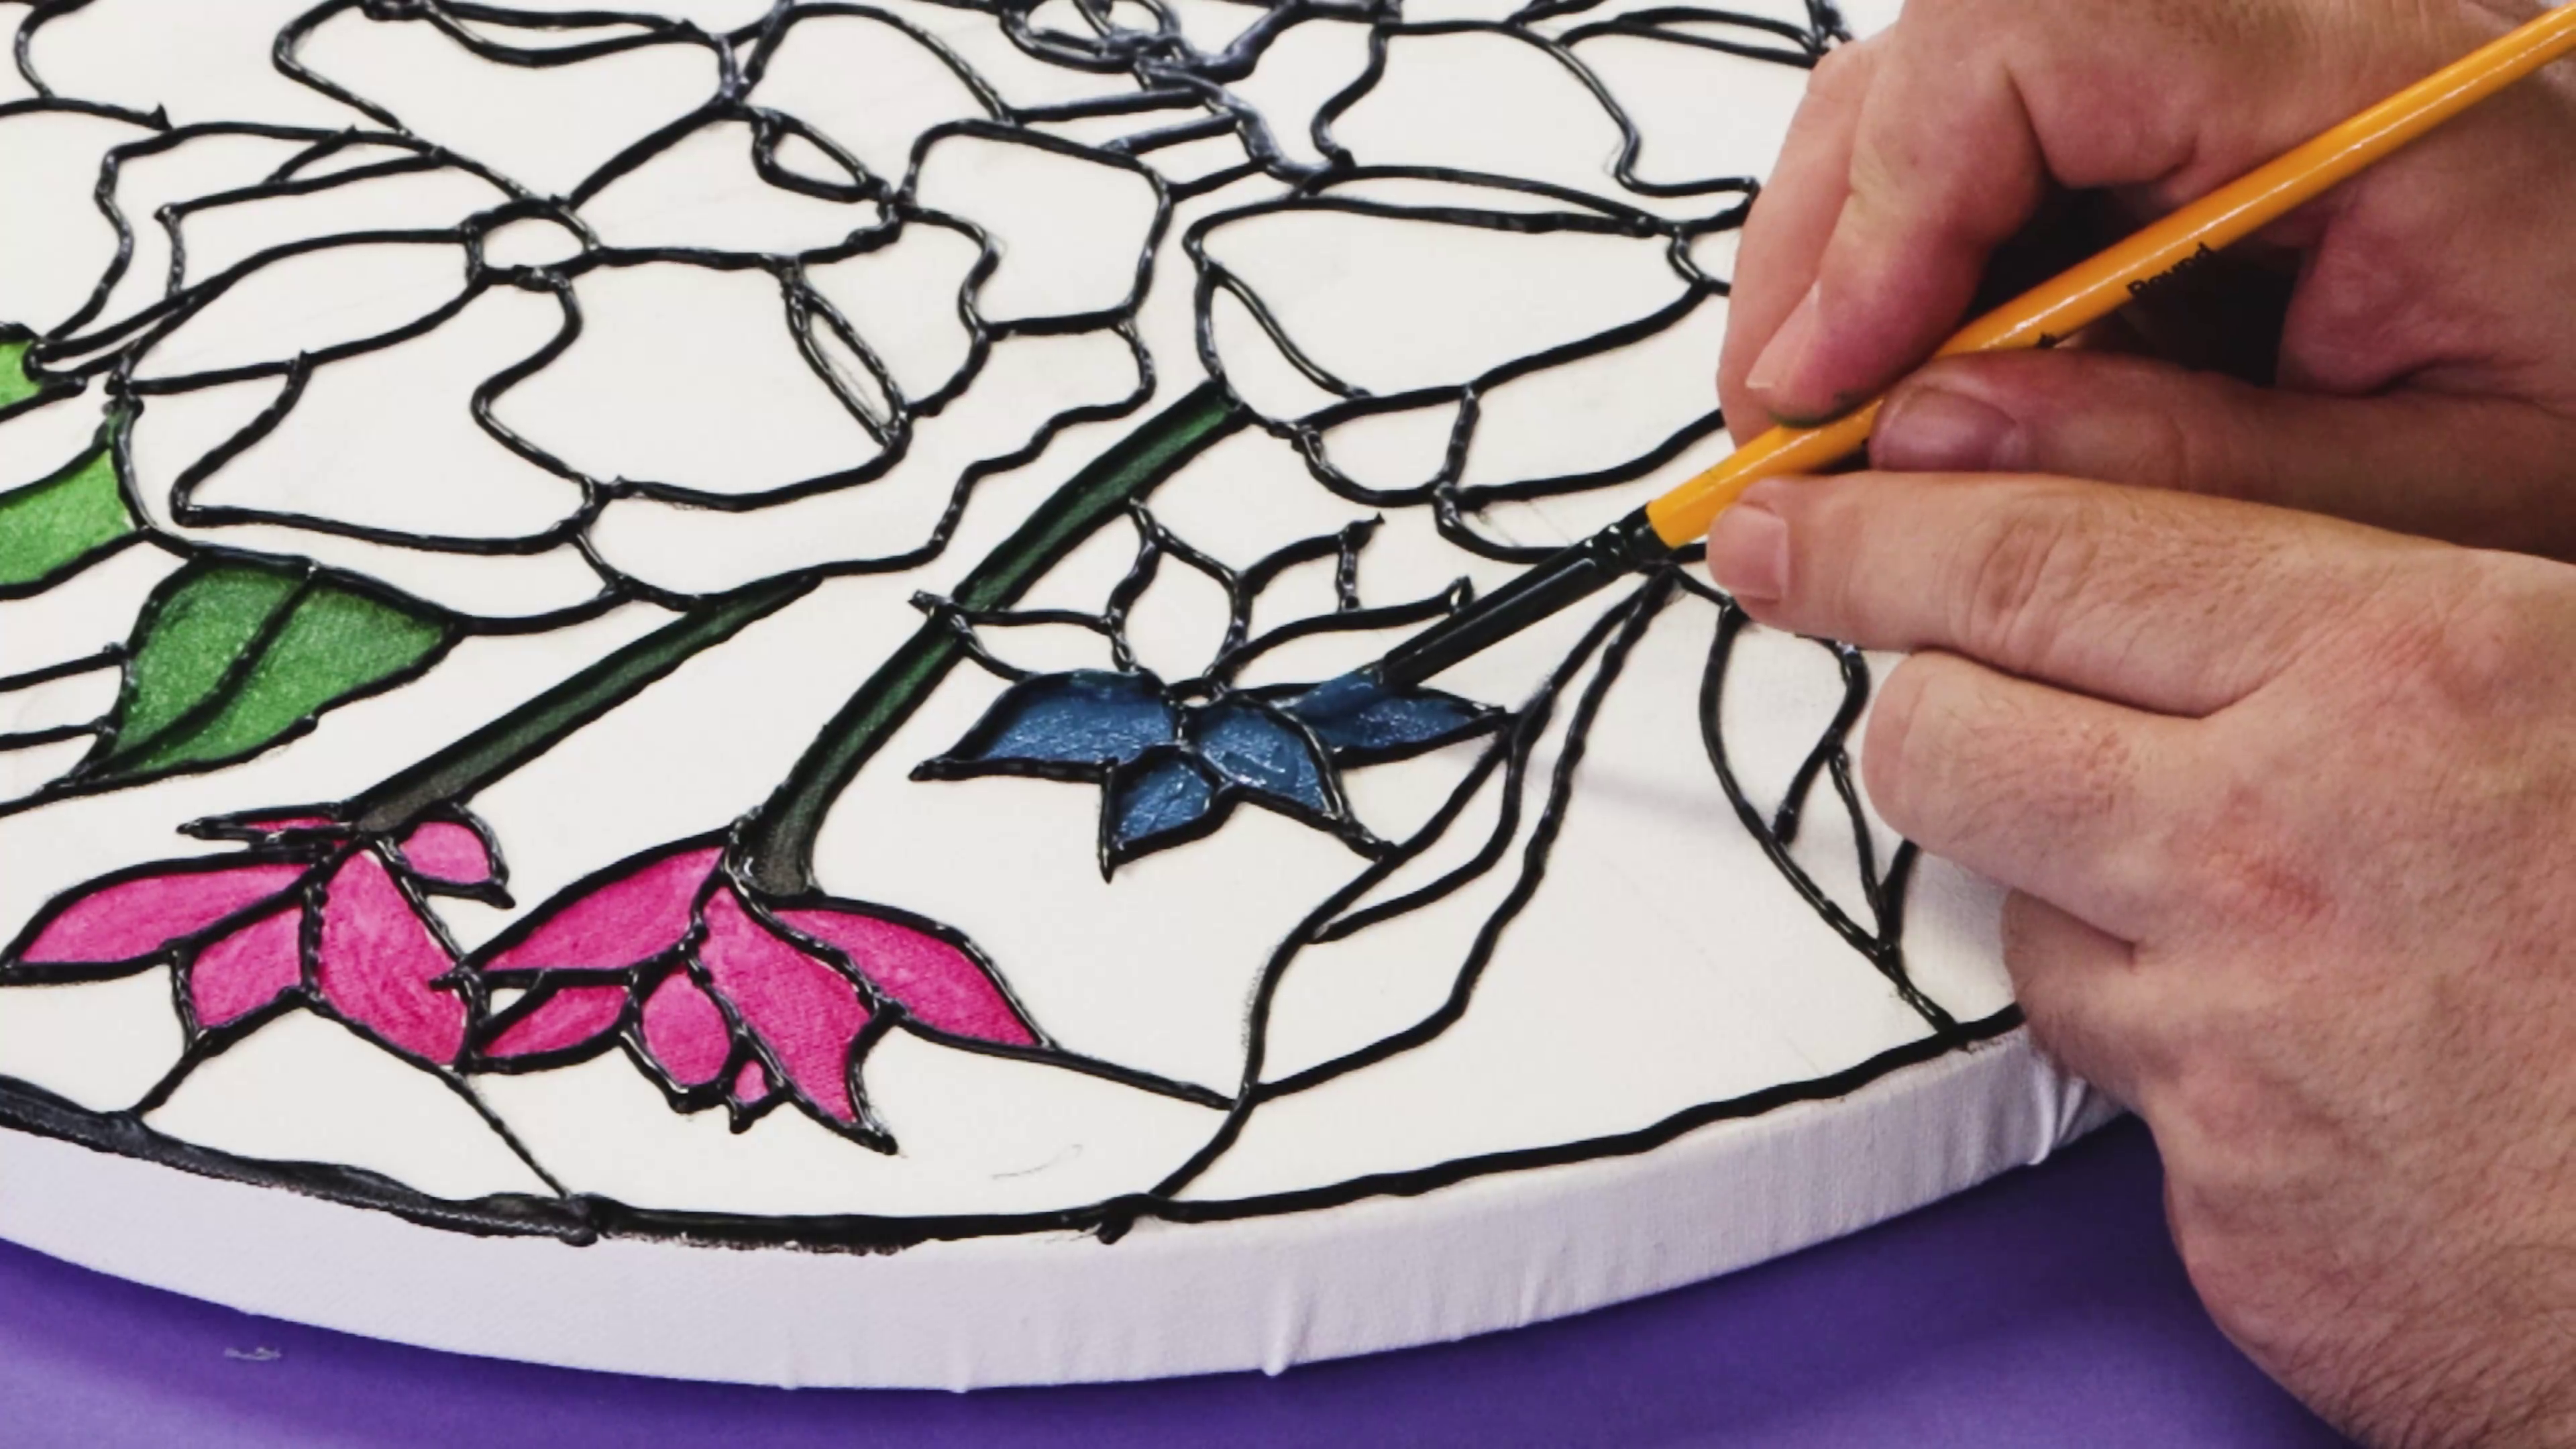
- Squeeze out the Satin Intro Set colours onto your tear-off palette
- Paint each element of the design in whichever order you like
- If you are right-handed, start from the left and move to the right to avoid smudging (or do it in reverse for lefties!)
- Spin the canvas as needed for easy access while painting
Step 5: Layering paint
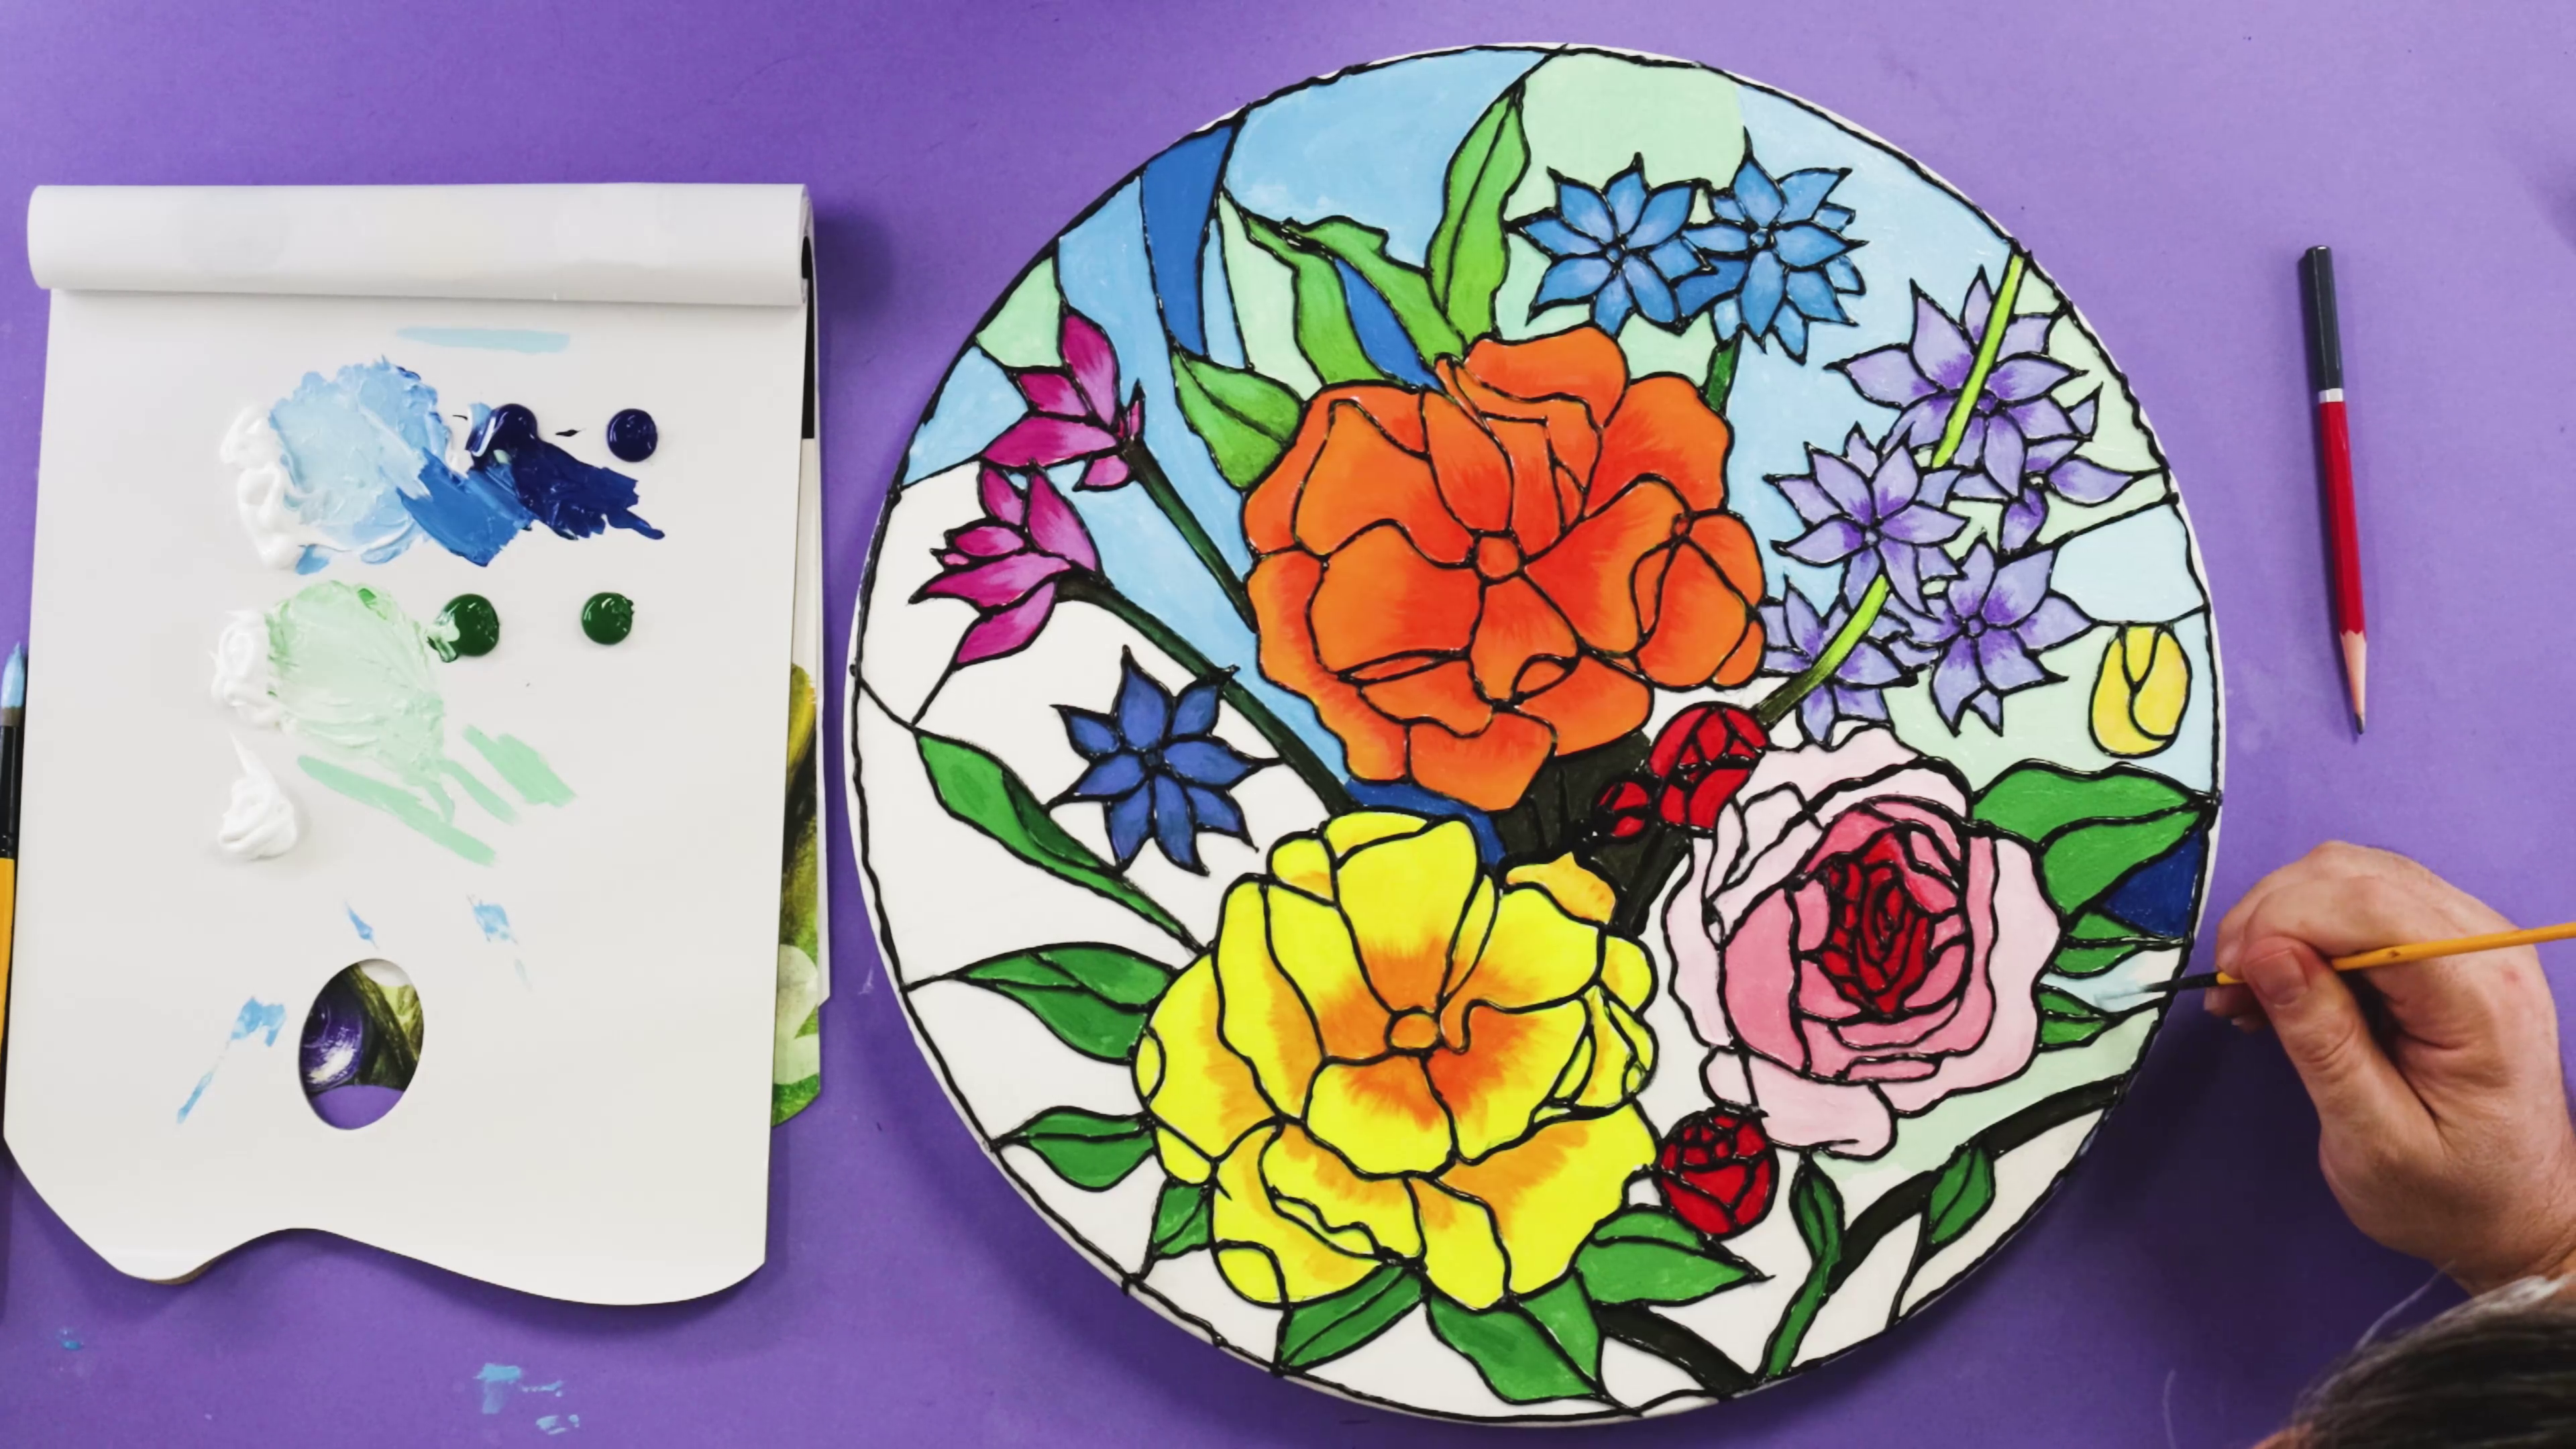
- For each flower, start by laying down a base tone and let it dry to the touch
- Apply a lighter tone and blend it halfway across each petal for added interest
- Experiment with colour combinations like:
- Phthalo Blue with a lightened Phthalo Blue on top
- Orange with watered-down Red
- Yellow with watered-down Orange
- Lightened Purple with watered-down Purple
- Various shades of Pink
Step 6: Painting canvas edges black
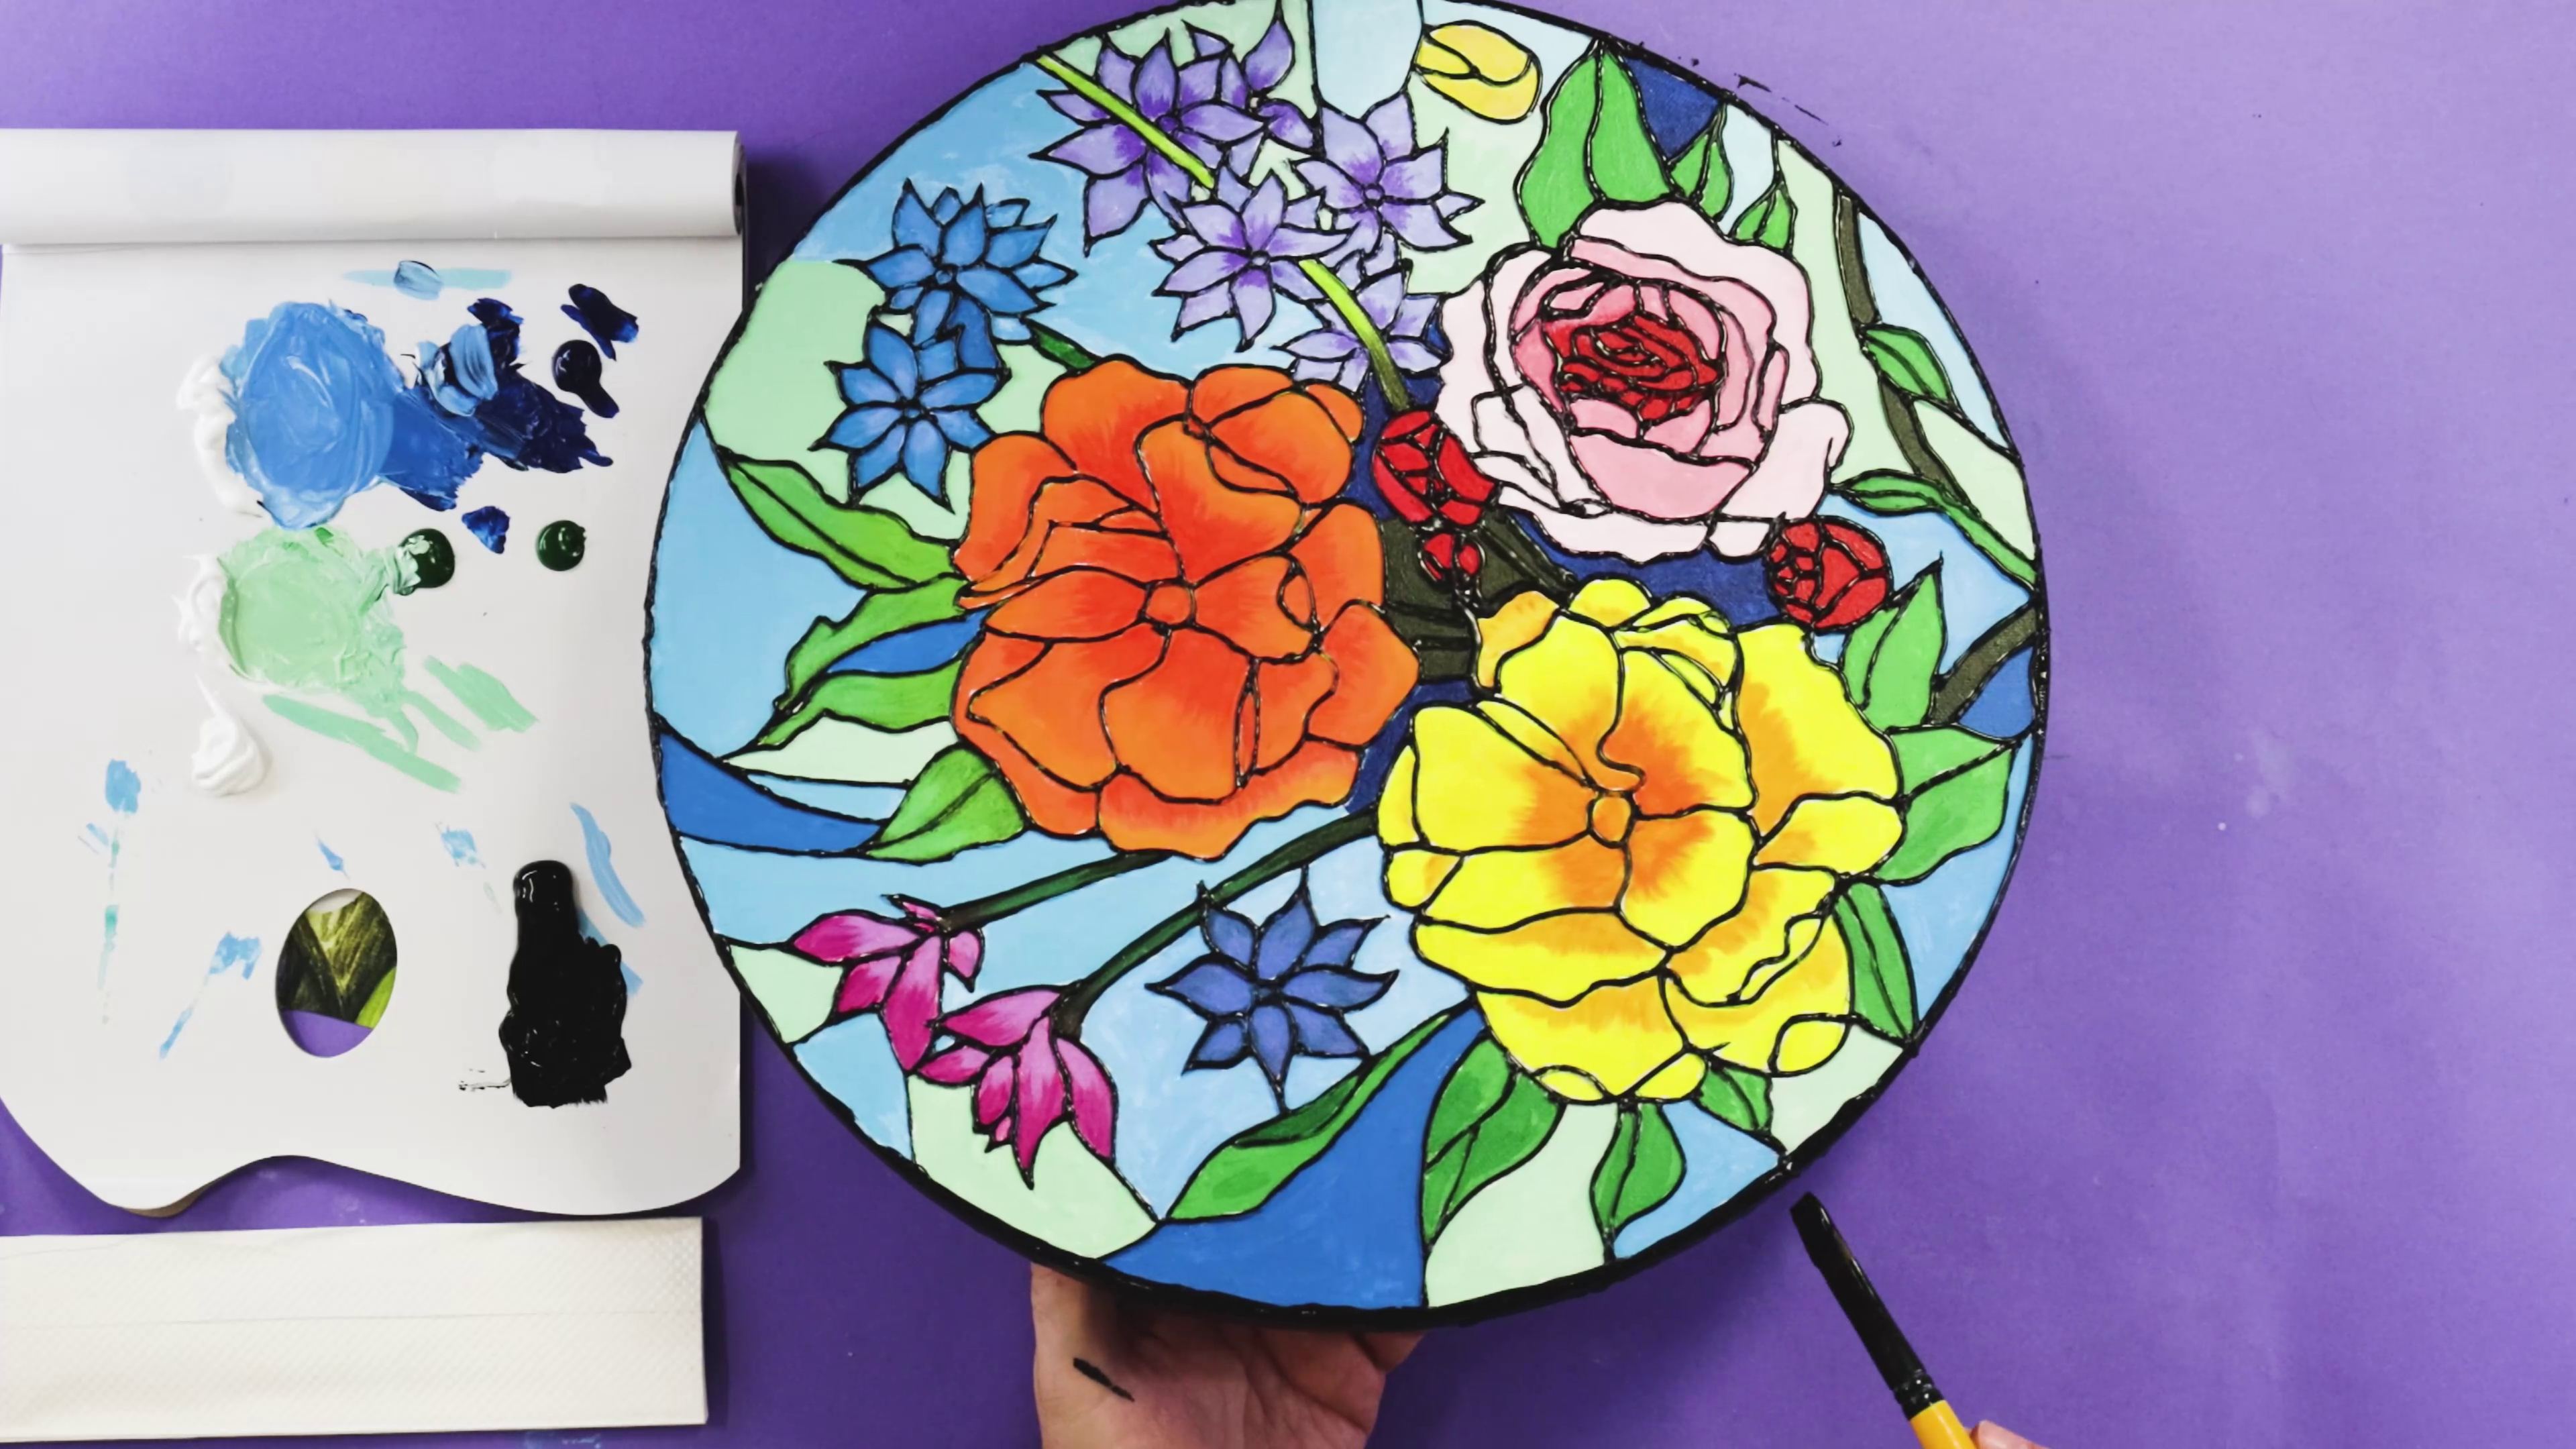
- Once all the colours are dry, paint the edge of the canvas in black for a clean, polished finish
When you’re all done, it’s time to hang it on the wall! Well done and happy creating.


